Setting up the Data Science Project
Let’s begin this workshop by accessing our OpenShift AI instance and creating a new Data Science Project. This project will serve as a central workspace containing all assets related to your data science work—such as notebooks, data connections, model deployments, and more. Let’s get started and explore what OpenShift AI has to offer!
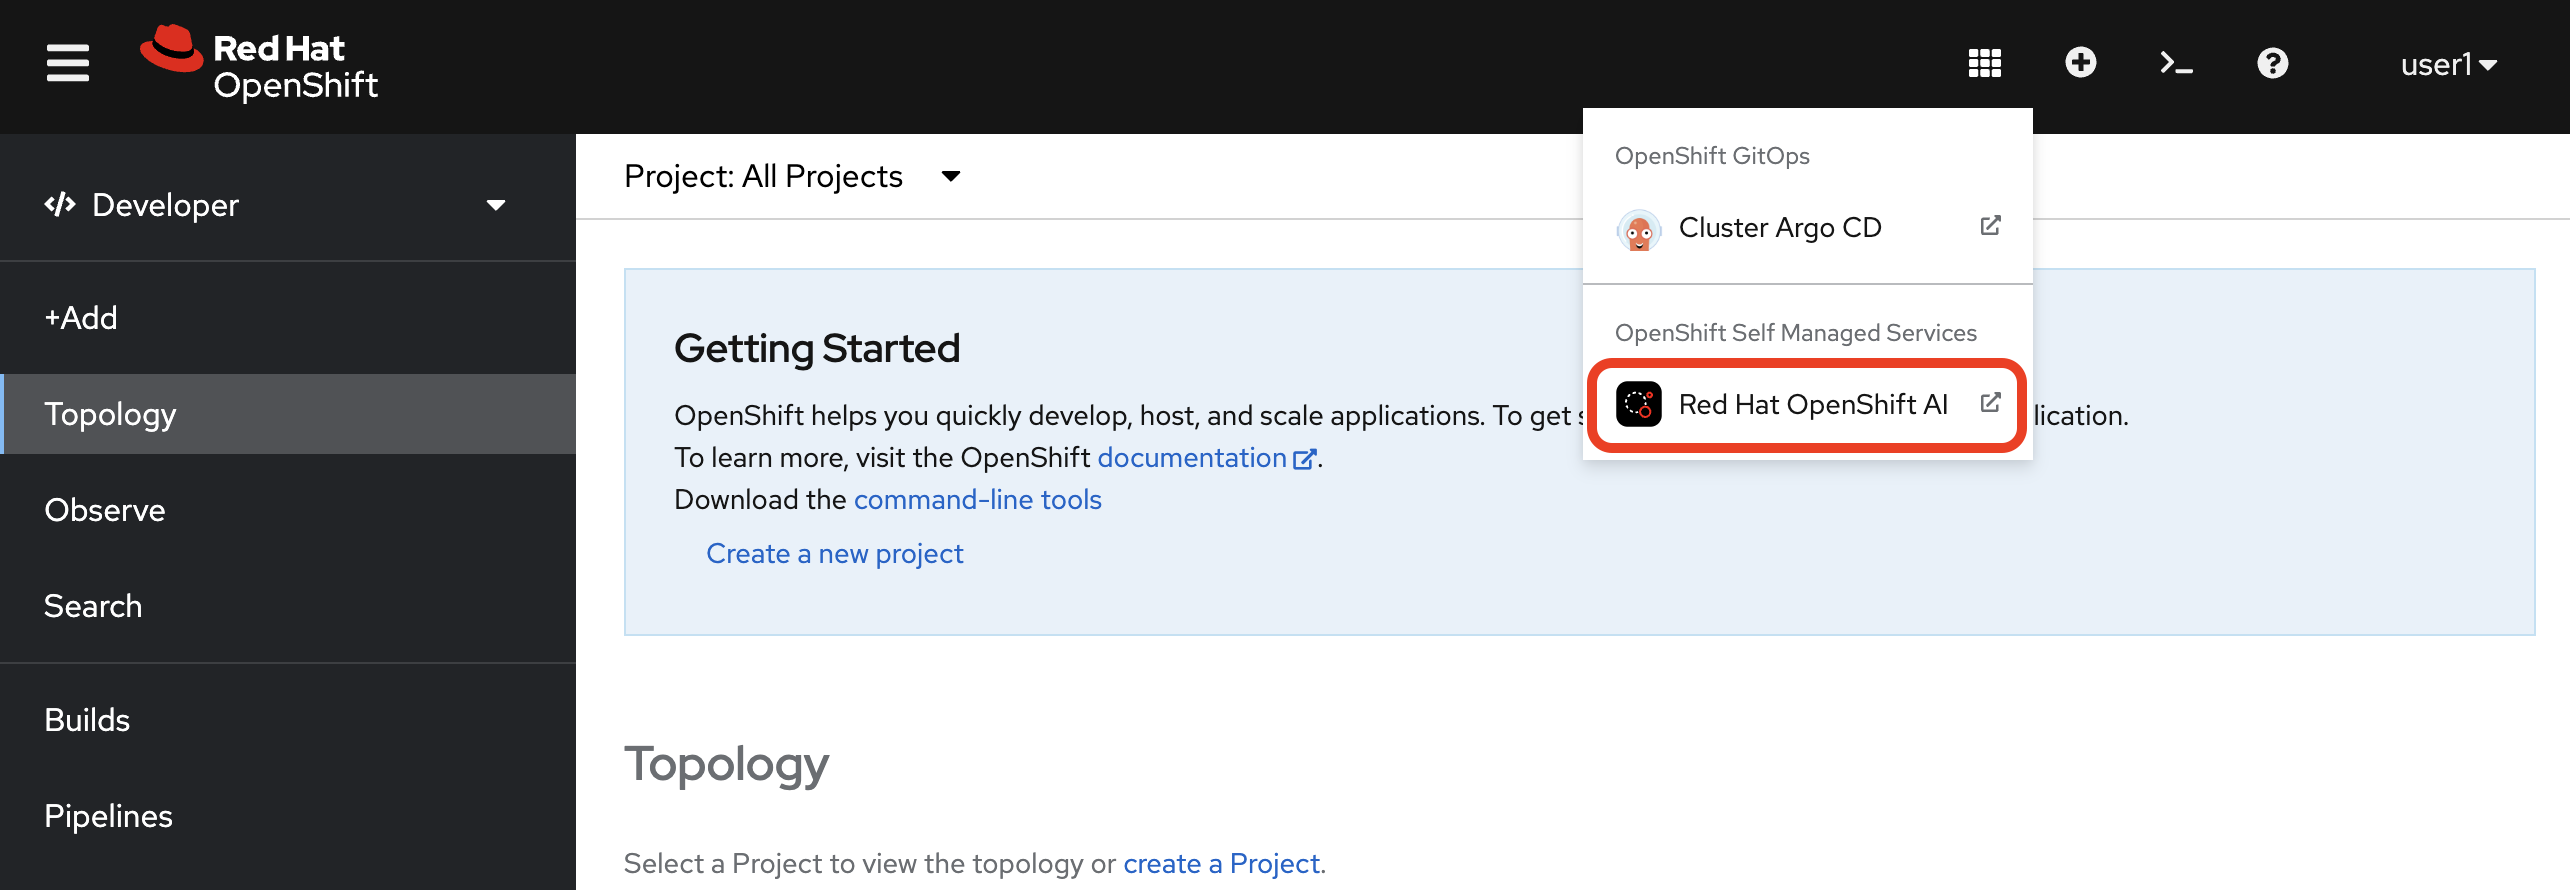
1. Accessing OpenShift AI
To begin, select Red Hat OpenShift AI from the OpenShift Web Console application launcher, or by clicking on the following link: OpenShift AI Dashboard.
2. Exploring OpenShift AI
Here’s your launchpad to building and operationalizing AI/ML models on OpenShift. Let’s briefly explore the different sections of the OpenShift AI Dashboard before we create our project.
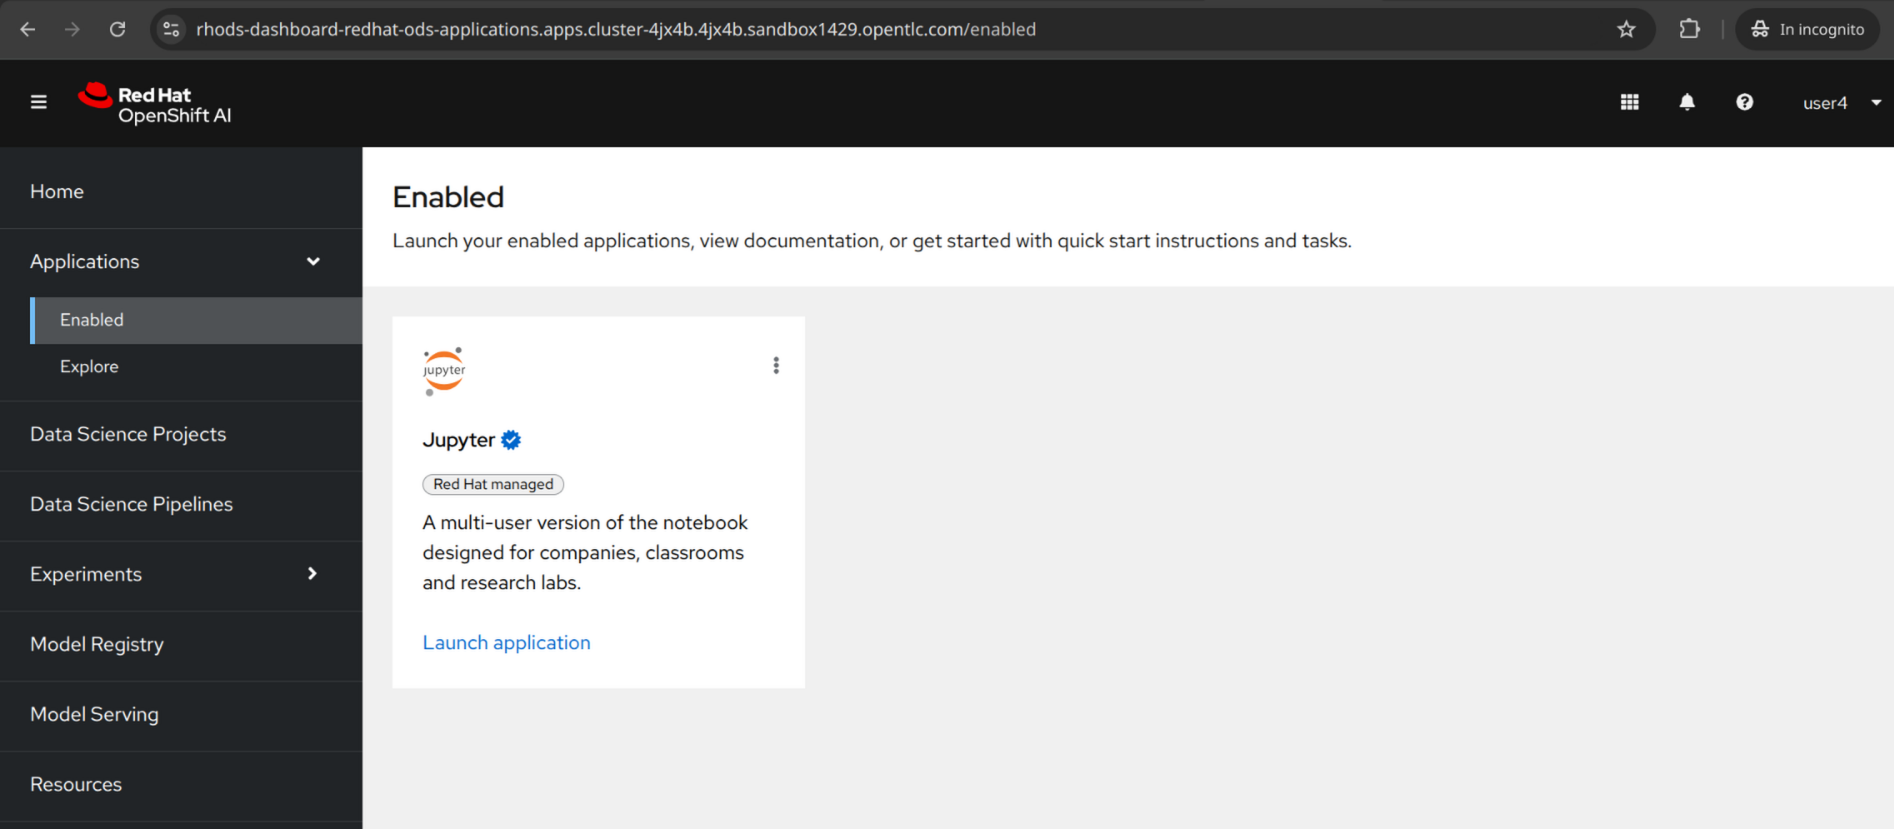
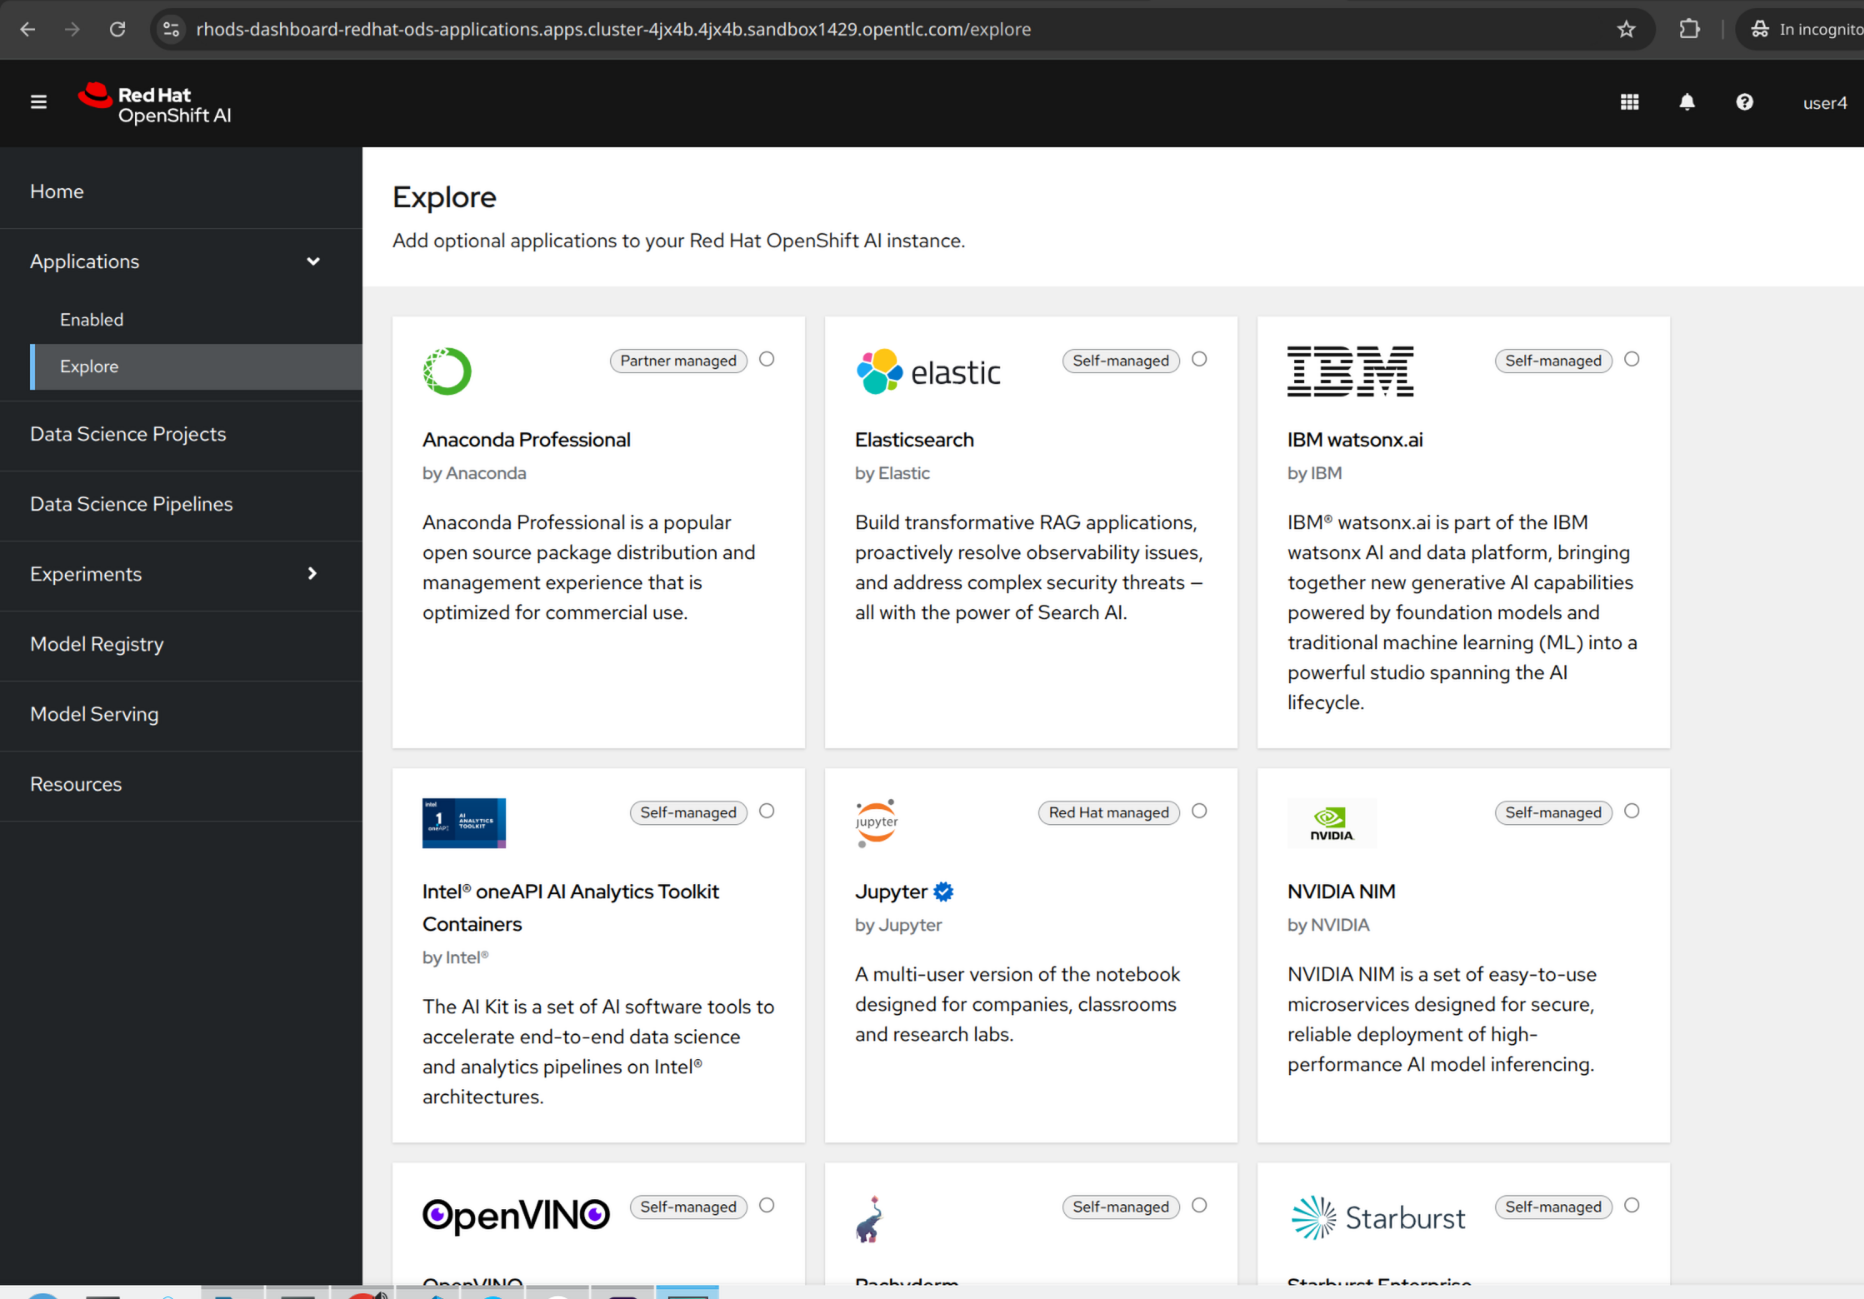
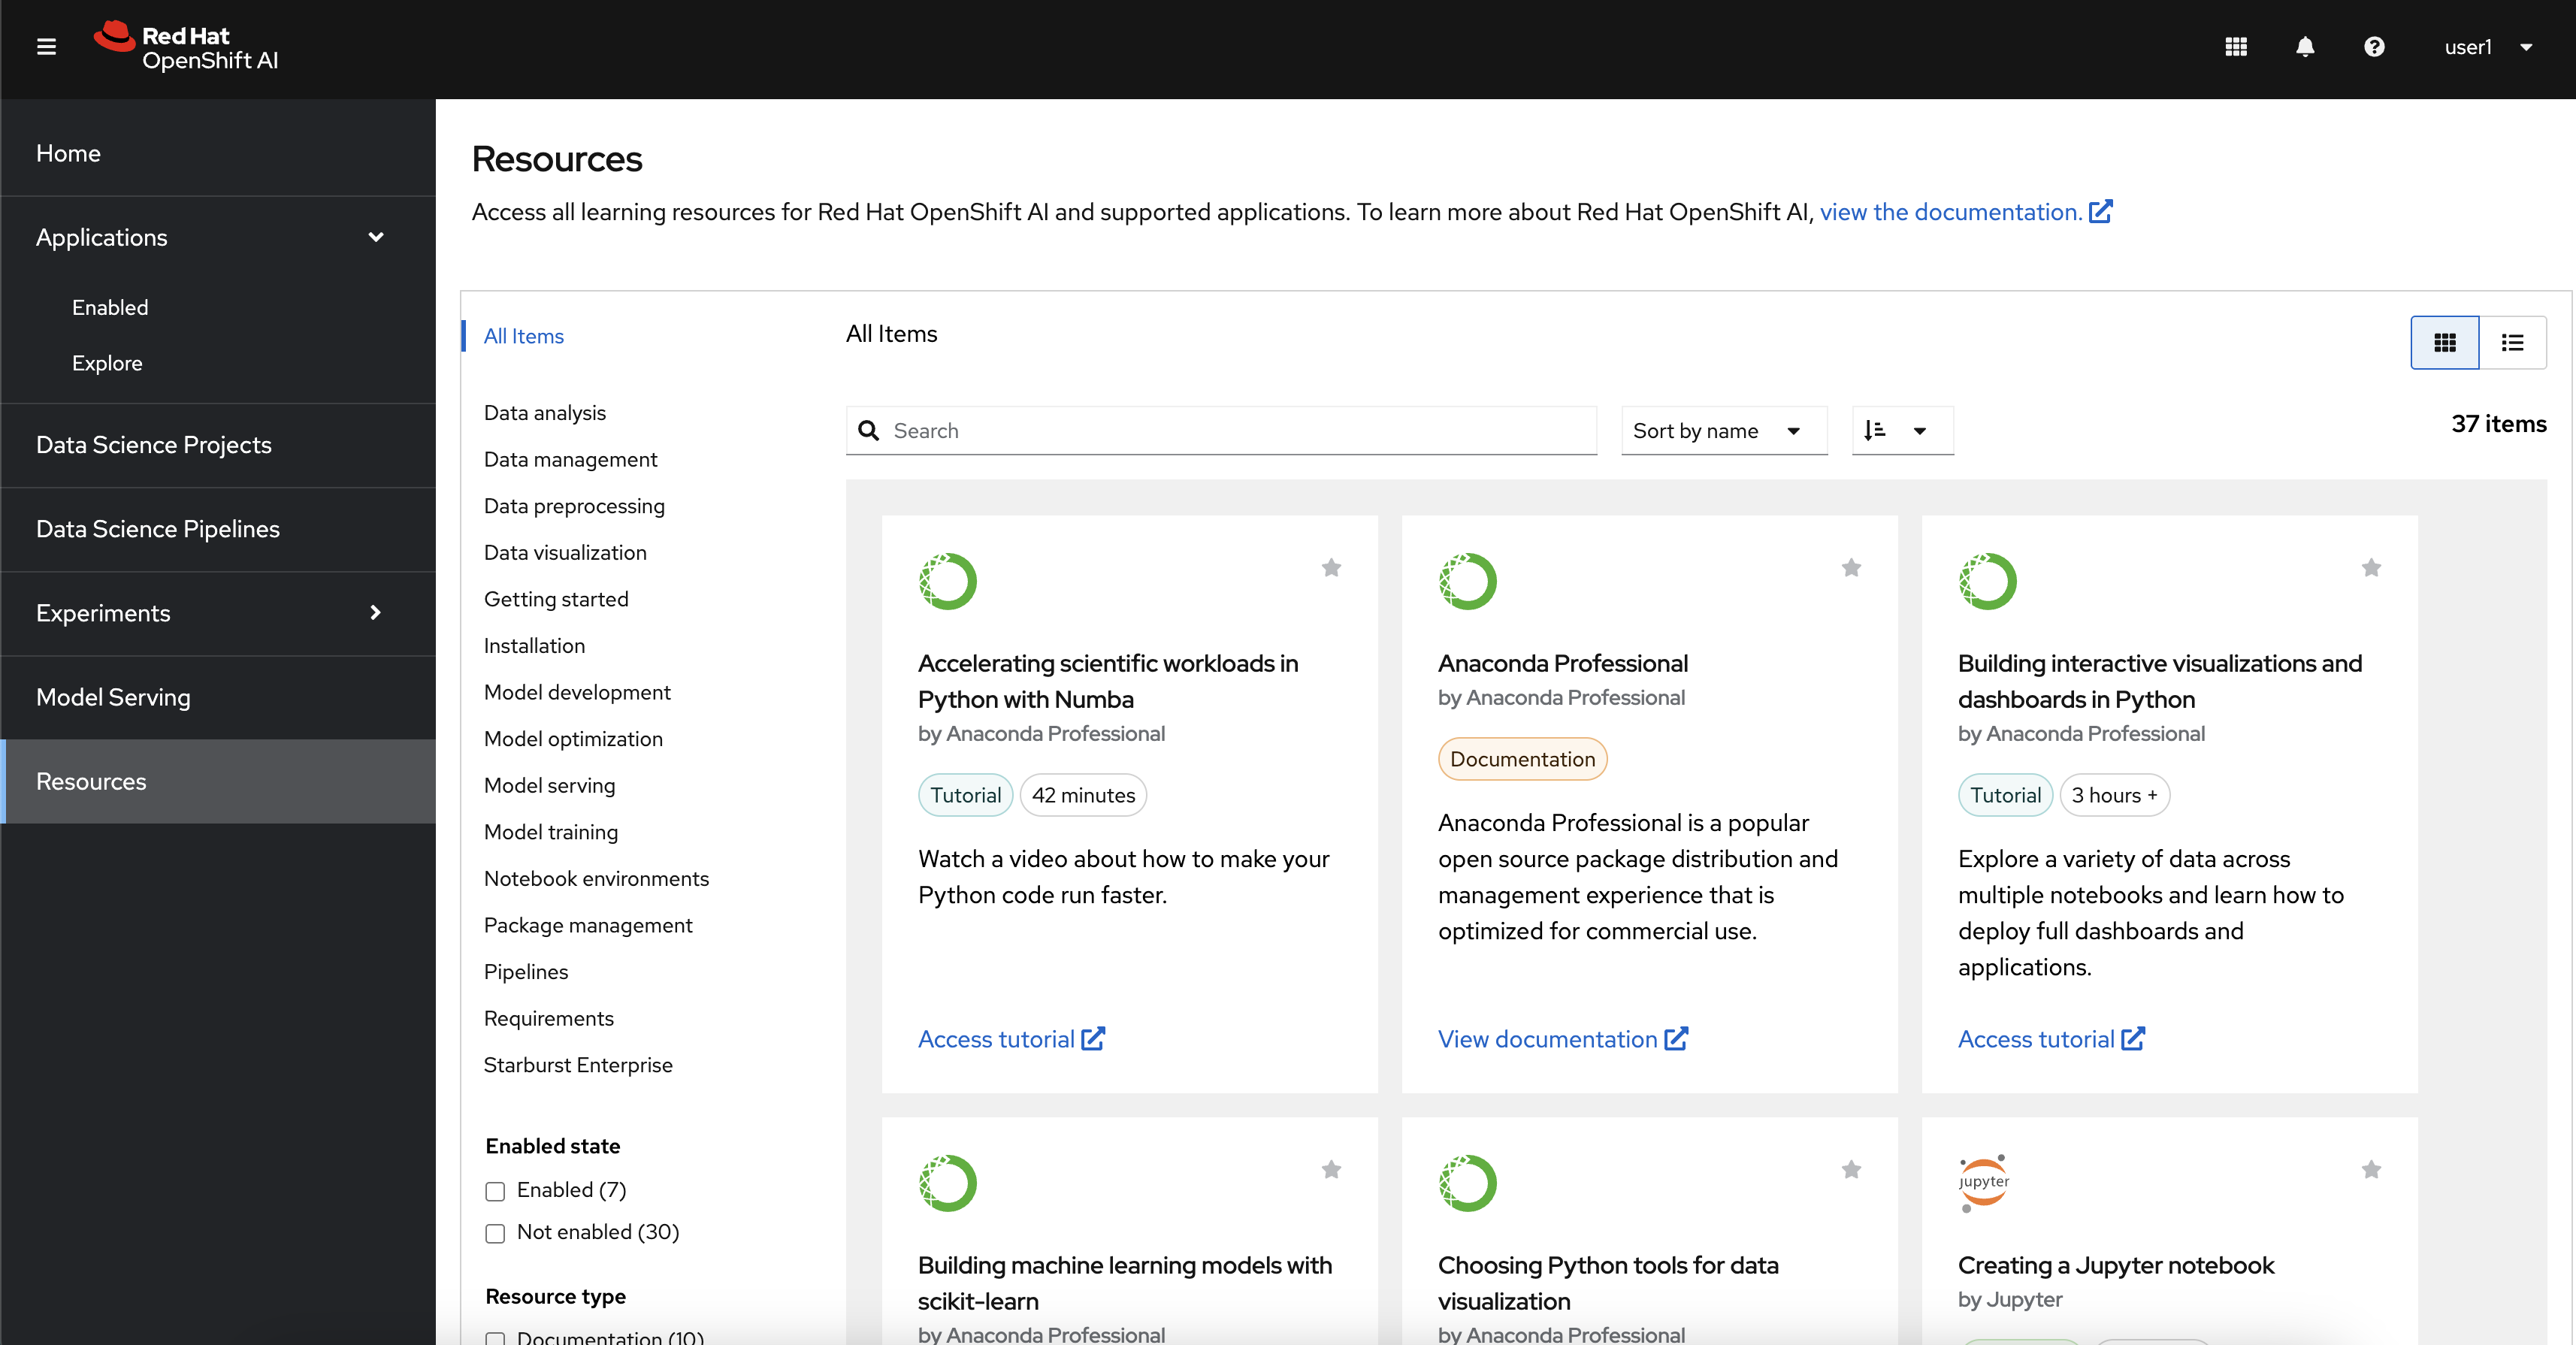
2.1. Applications
The applications section provides access to enabled applications that extend the capabilities of OpenShift AI such as Jupyter Hub, Anaconda, and Starburst.
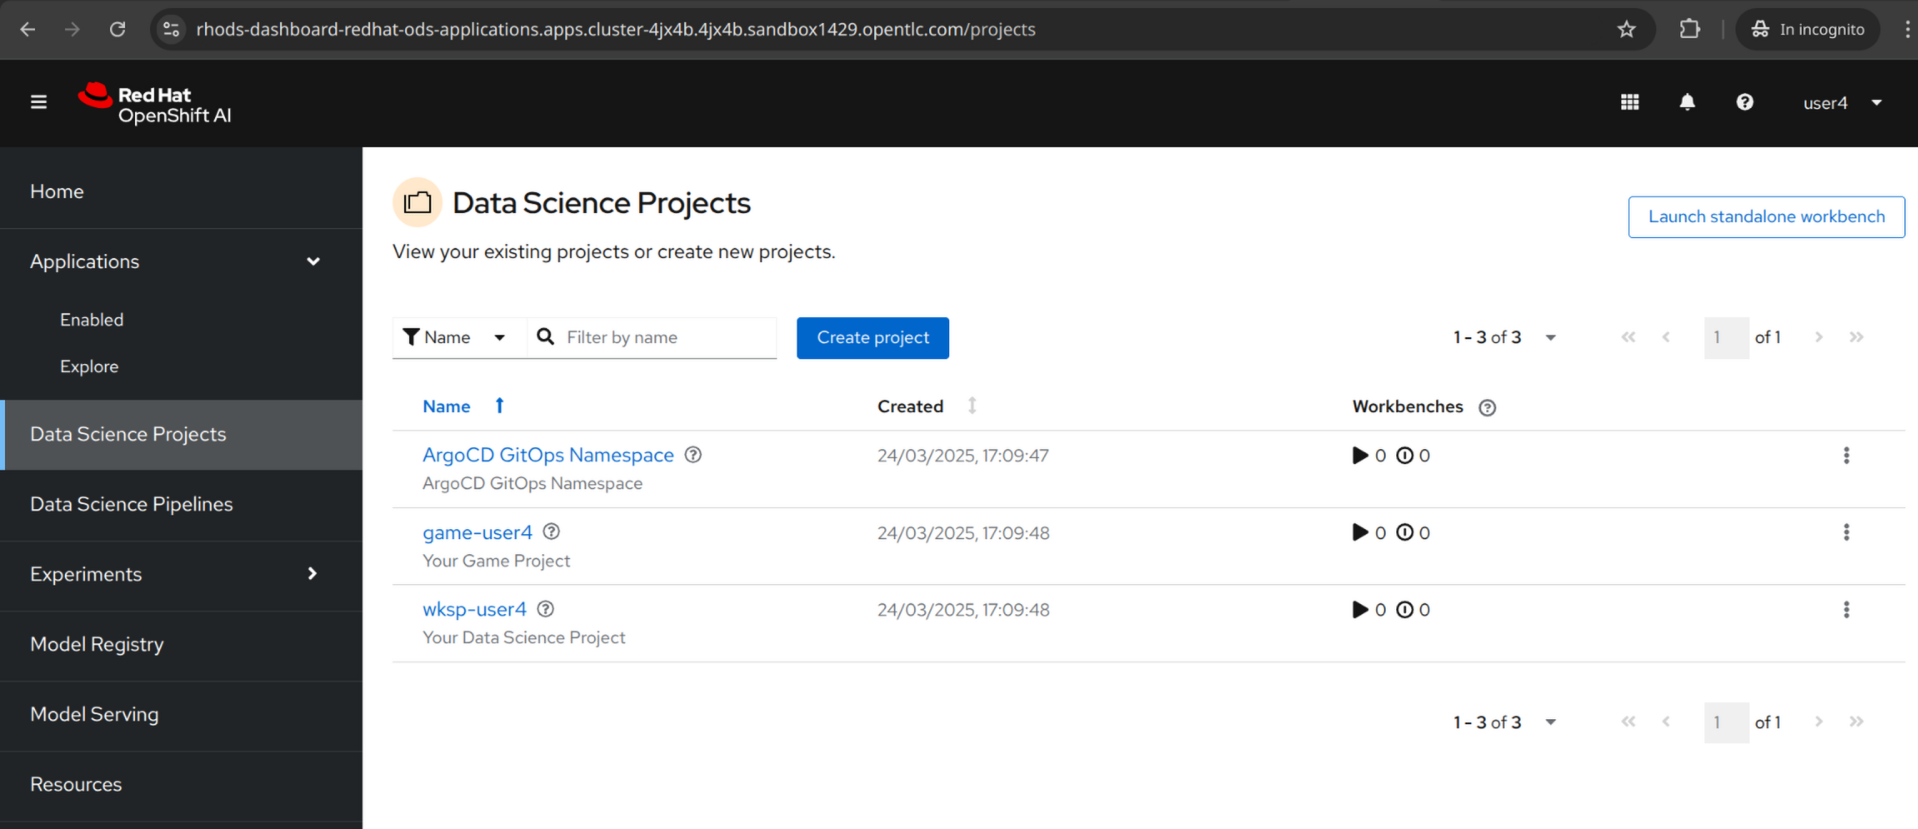
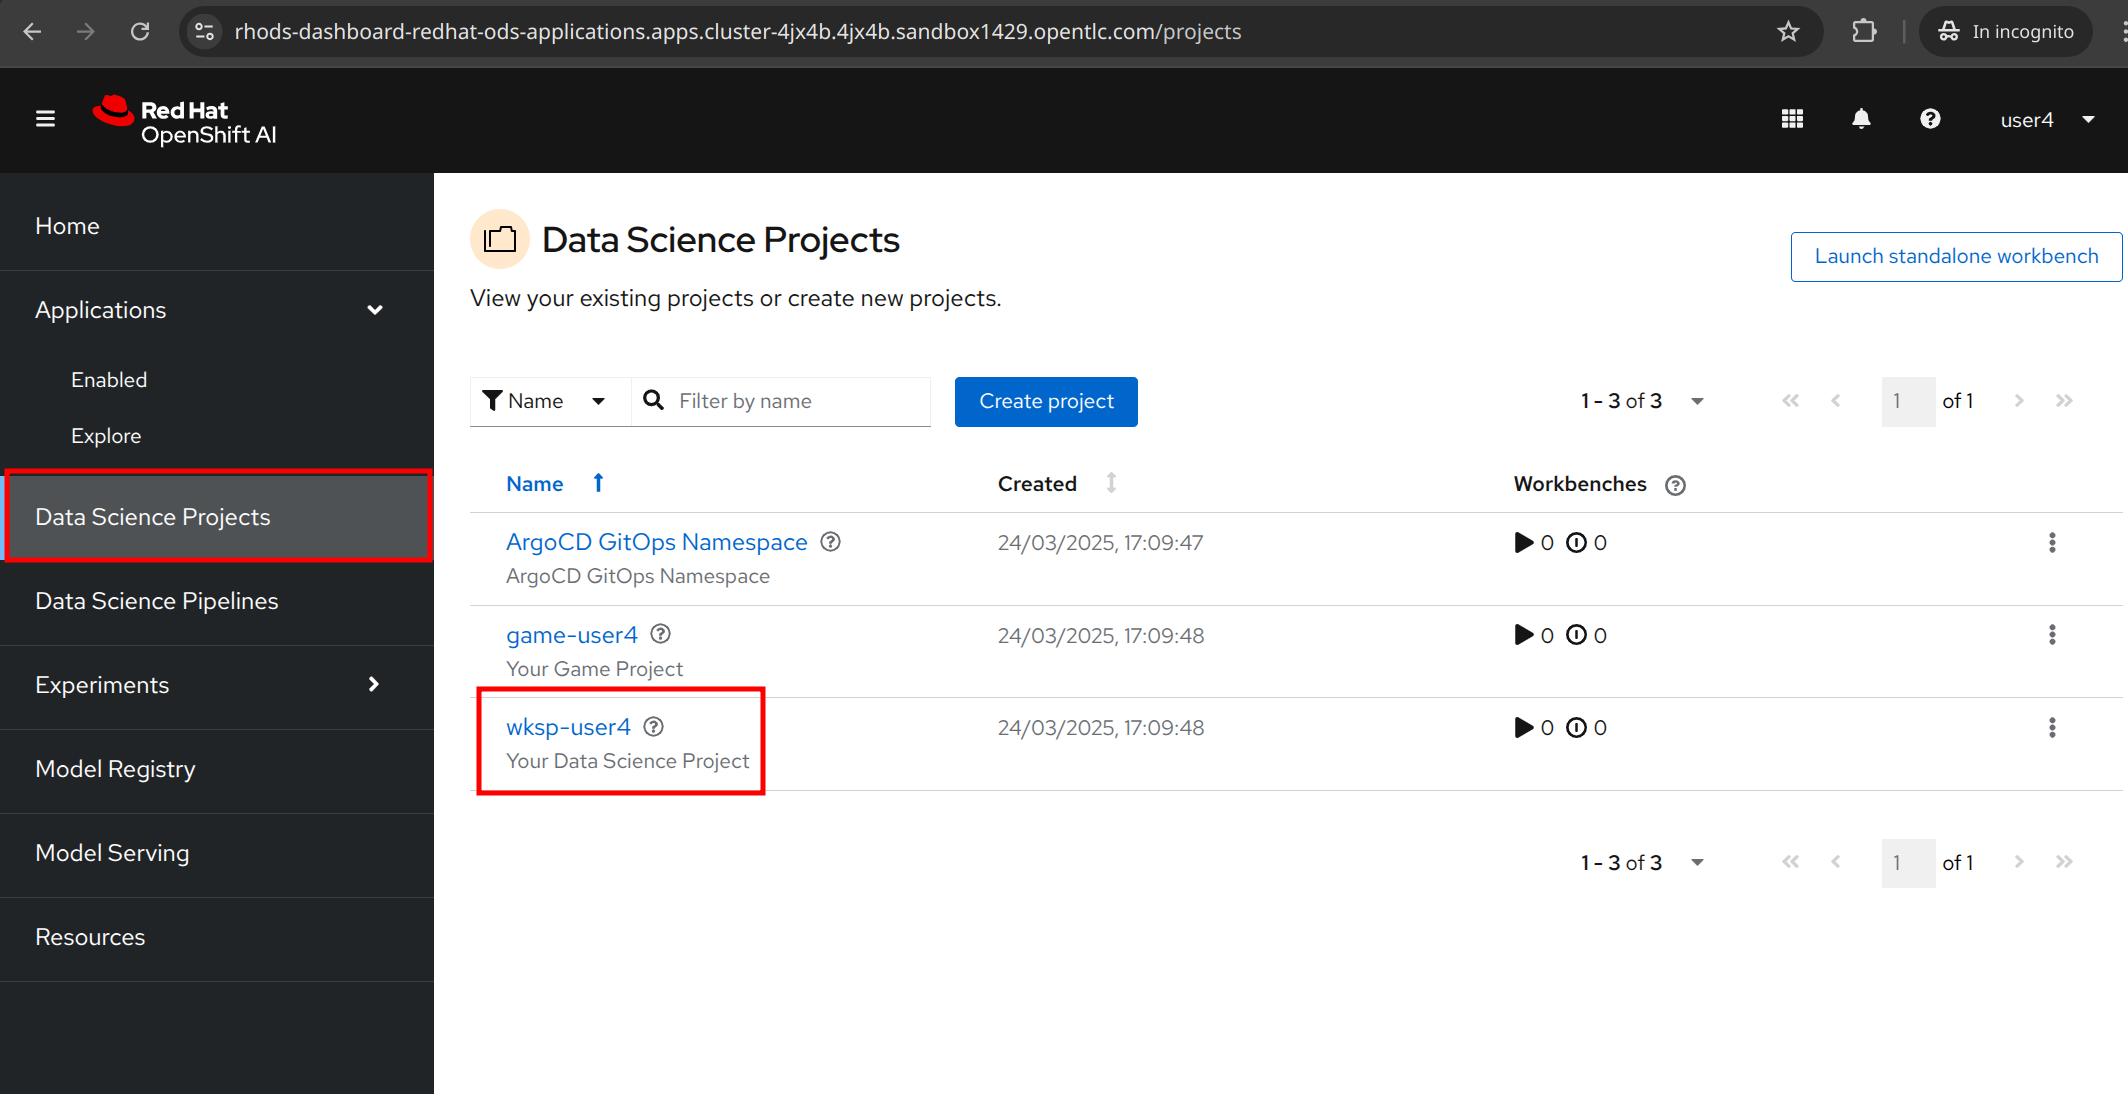
2.2. Data Science Projects
This area is where you can create and manage your data science projects. Today, we created the following 2 projects for you in advance.
-
ArgoCD GitOps Namespace
-
Workspace
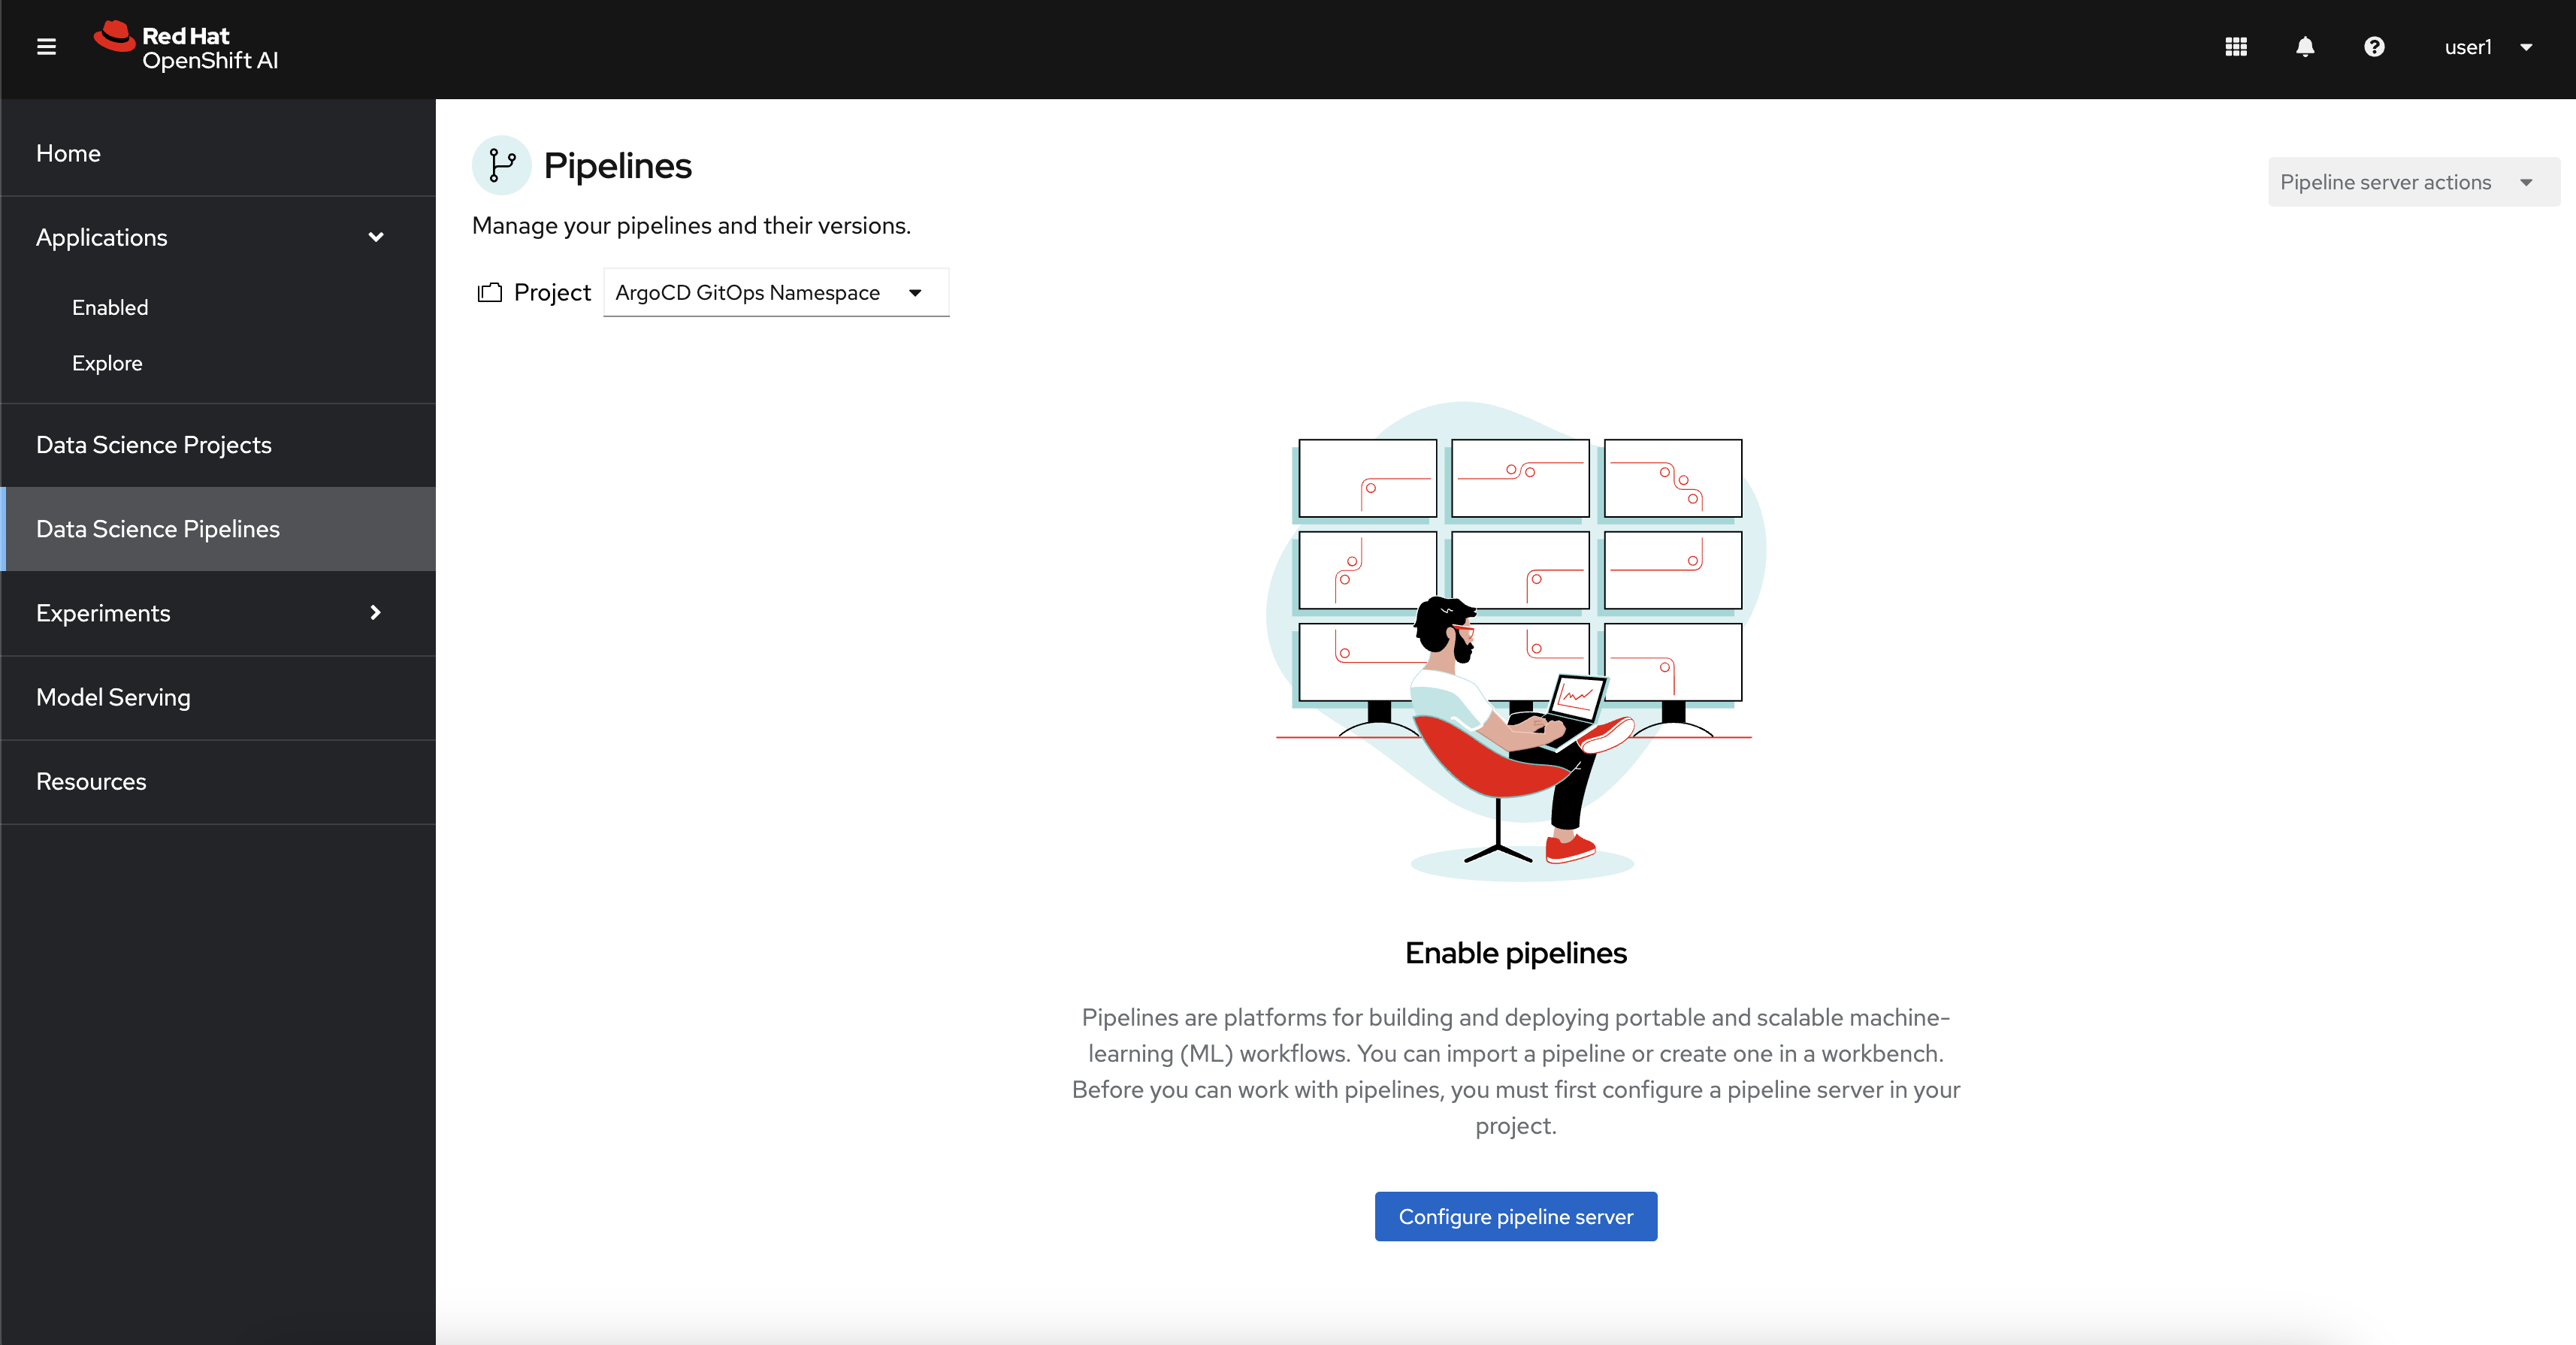
2.3. Data Science Pipelines
This section is where you can create and manage your machine learning pipelines. These pipelines can be used to automate the end-to-end machine learning workflow, from data preparation to model training and deployment. Based on Kubeflow and Argo Workflows, these pipelines are portable and scalable.
3. Working with Data Science Projects
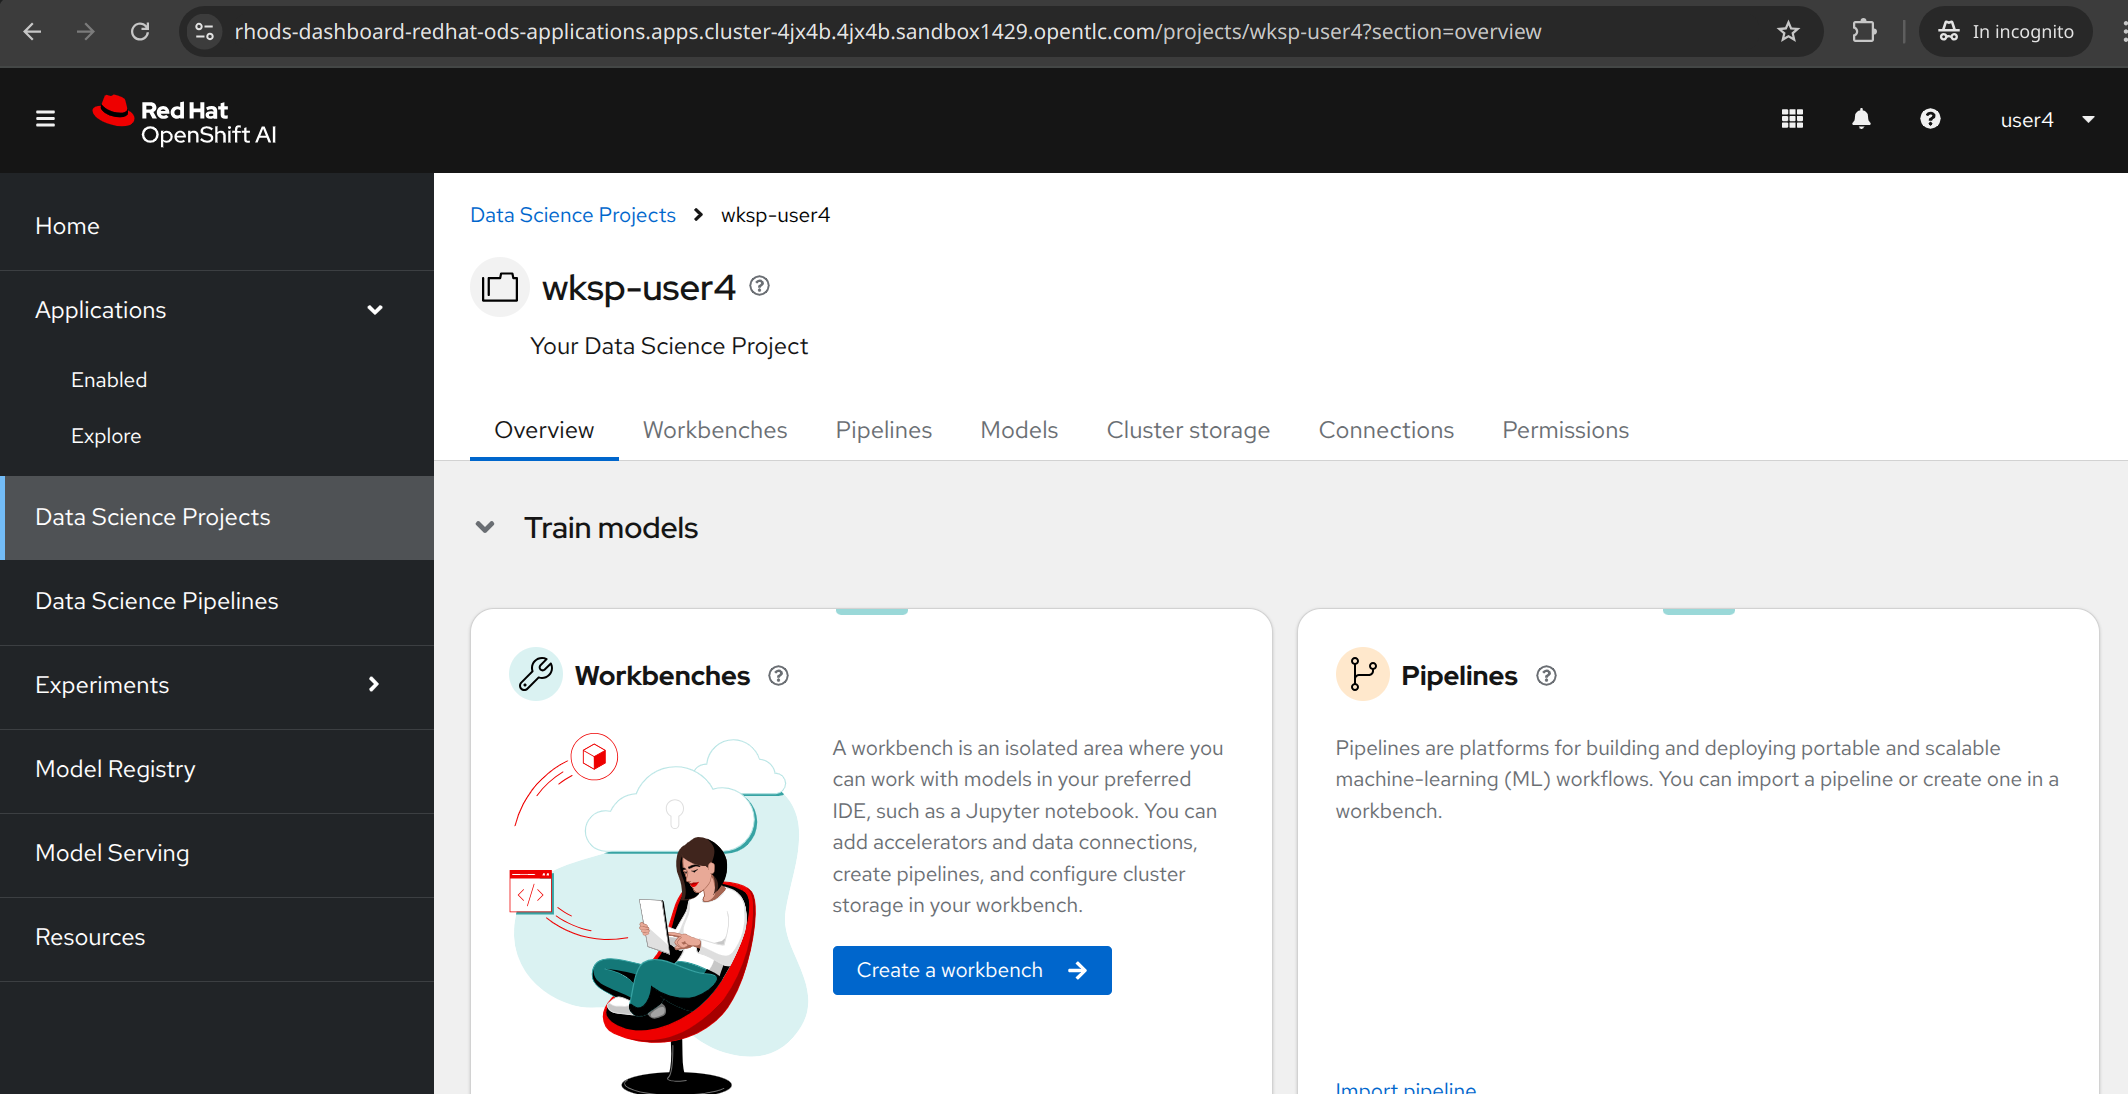
Fantastic, we understand the basics of OpenShift AI and are ready to use our first data science project. Head to the Data Science Projects and select your already created project wskp-{user}.
Welcome to your first data science project! This is where you’ll be spending most of your time in this workshop, building and operationalizing your AI/ML models. Let’s start by creating a data connection where we’ll be loading our data from.
3.1. Data Connections
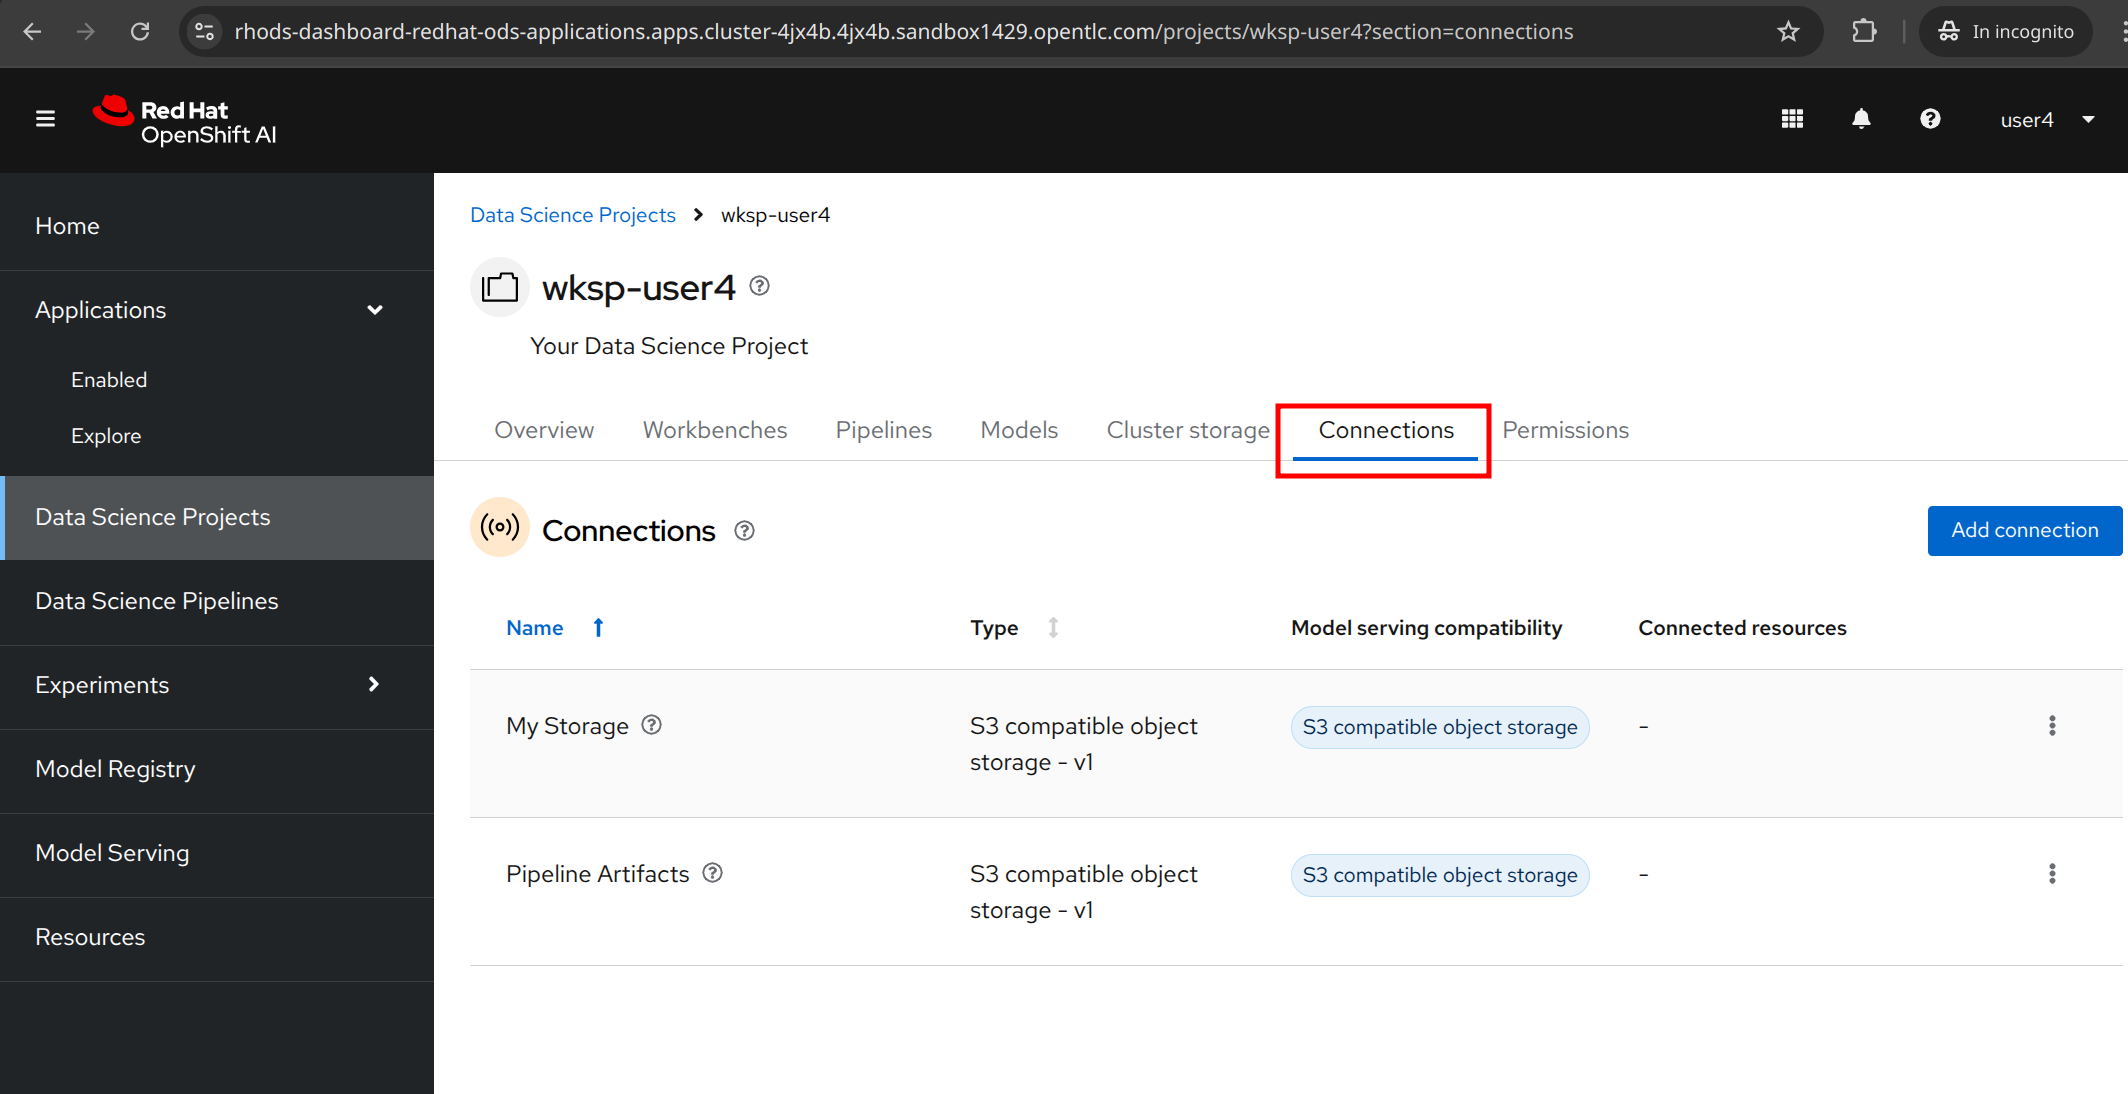
We’ve deployed an instance of MinIO S3-compatible object storage on the cluster. We’ll use MinIO to store our data and create a connection to it in our project.
The data connection to MinIO to store the models and the pipelines have been already created for you, and you can review it by clicking to the "Connections" tab.
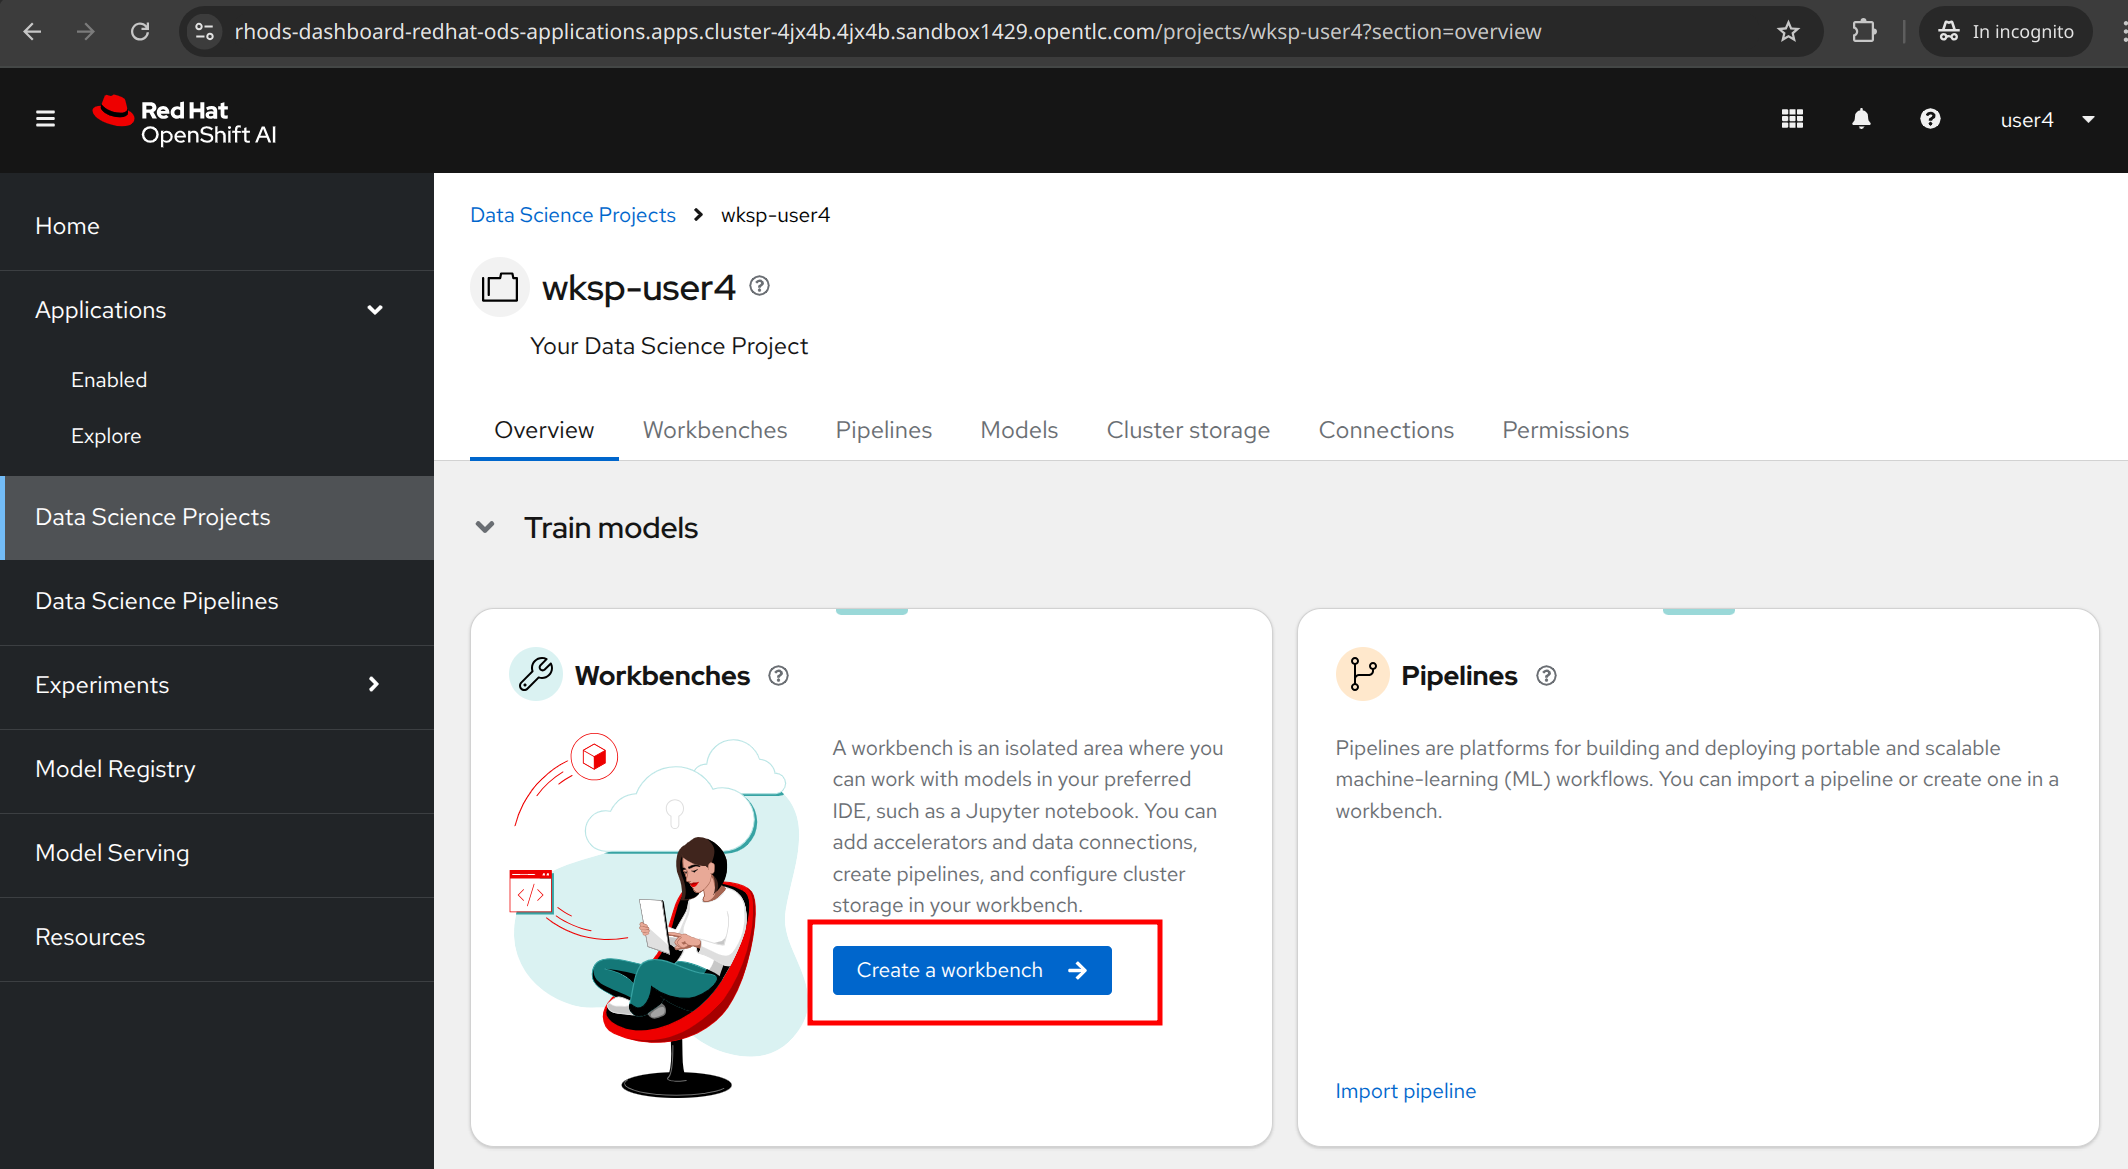
3.2. Creating a Workbench for Jupyter Notebooks
Speaking of notebooks, let’s create a workbench where we can run our Jupyter Notebooks. Scroll up to the Workbench tab and click on the Create workbench button.
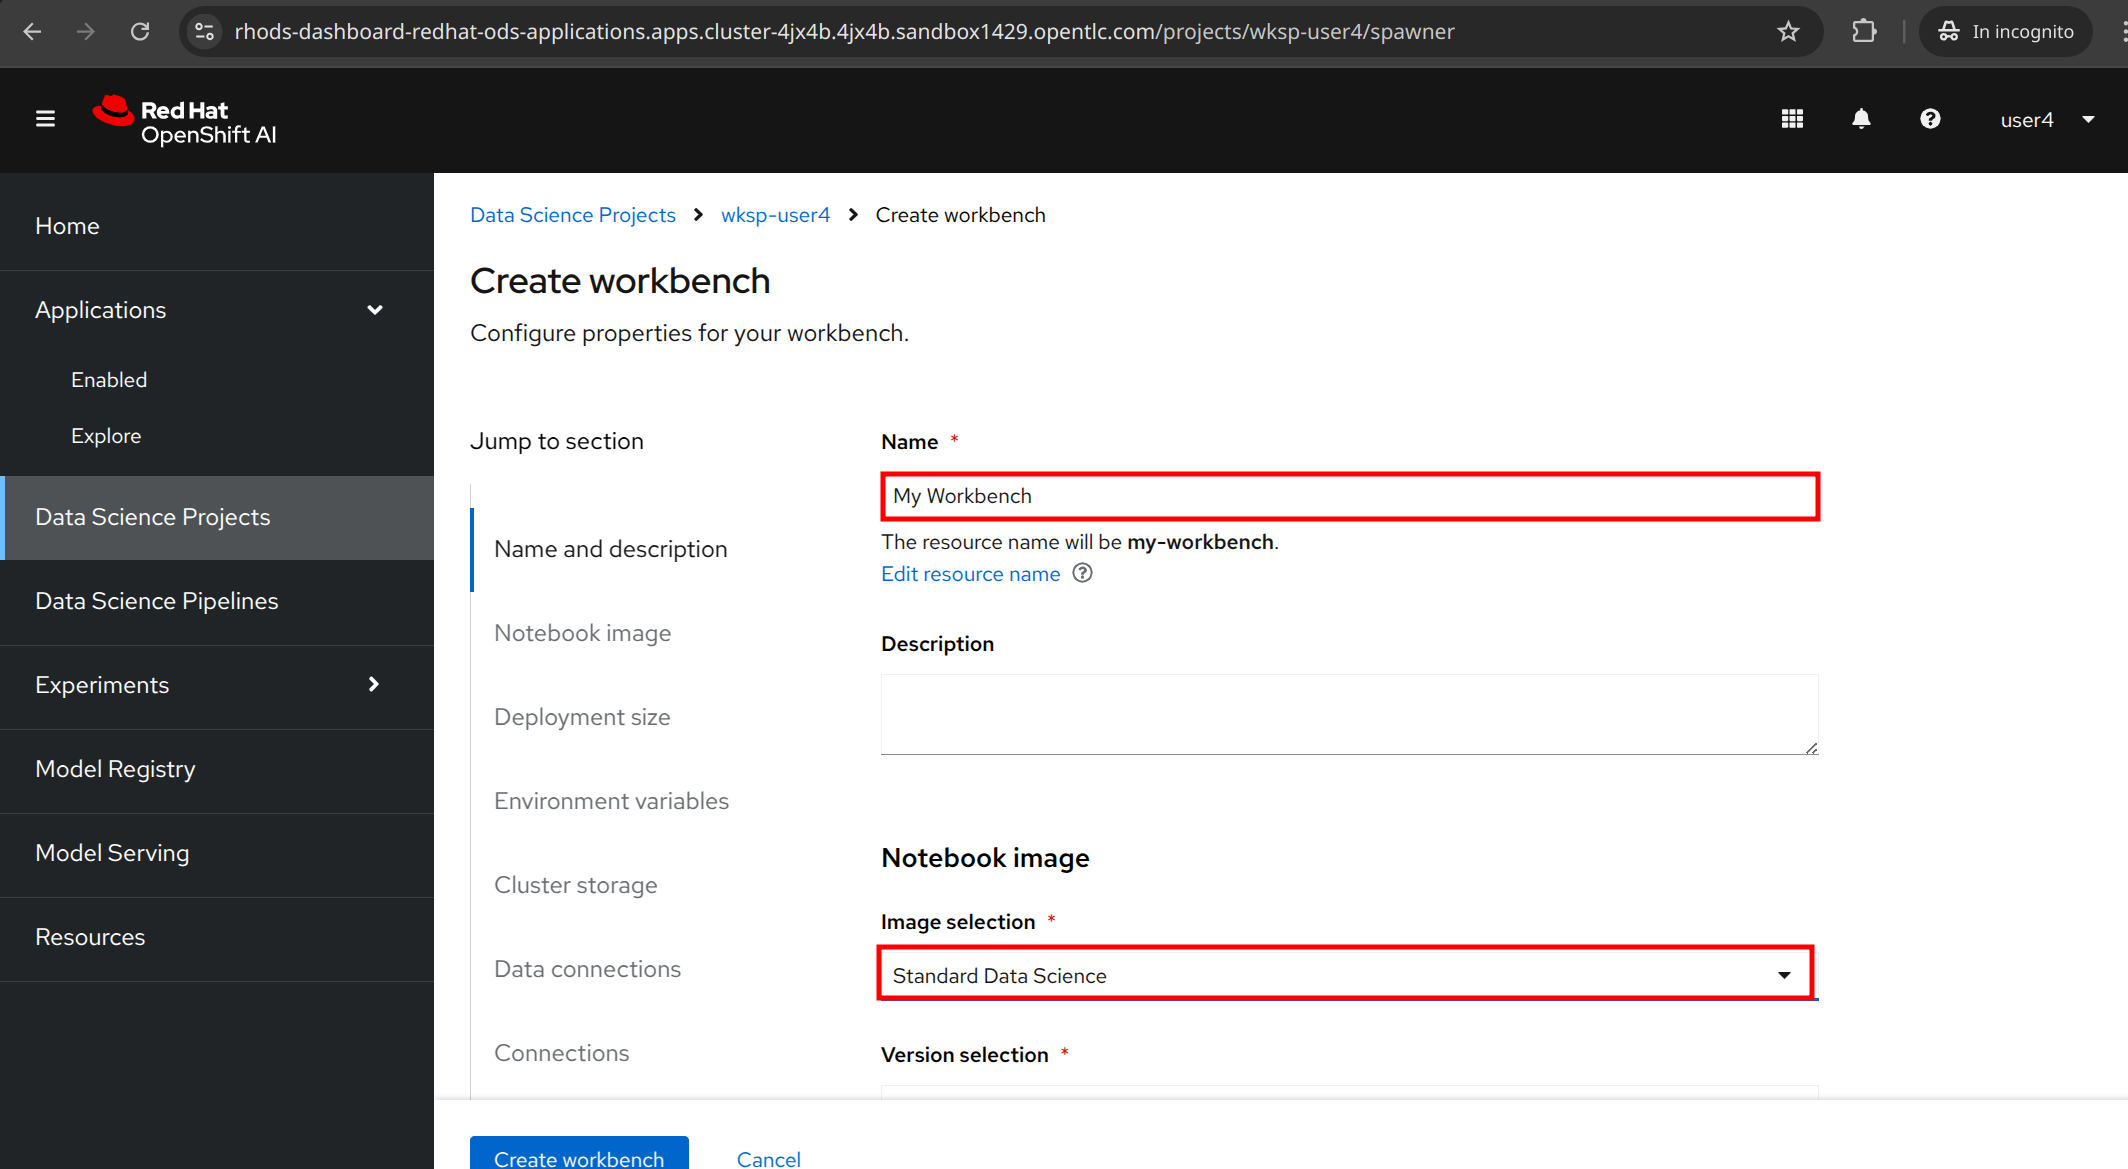
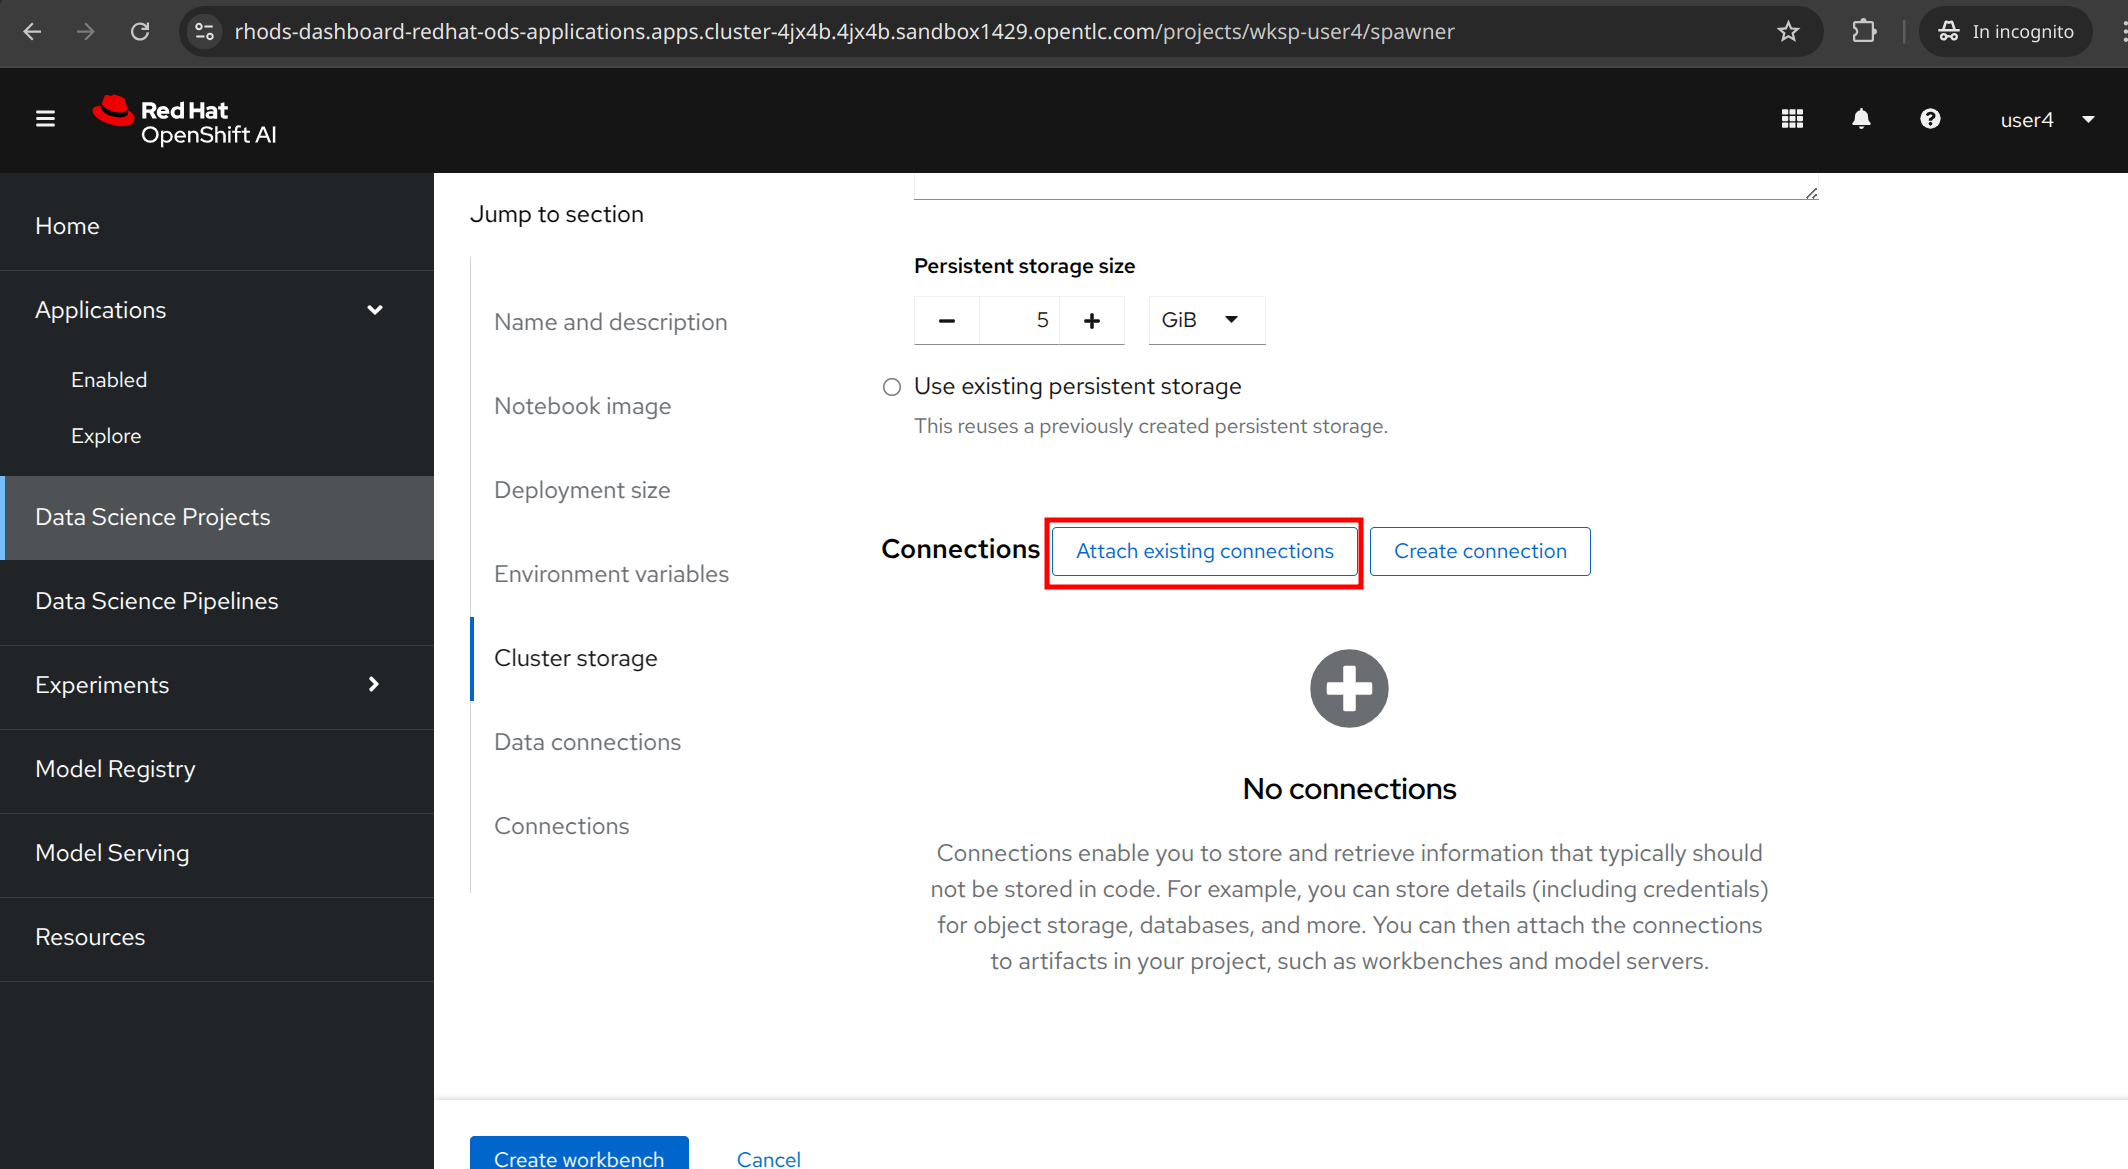
For the workbench name, you can customize it, for ex. My Workbench, and select the Image selection to Standard Data Science. All else can remain as default.
In the Connections section, click to Attach existing connection.
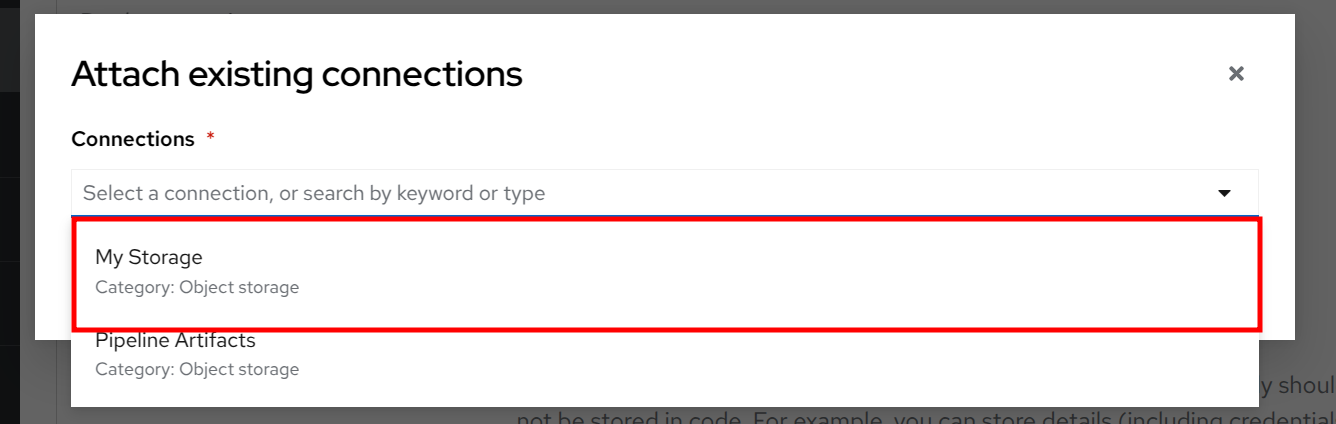
Select Storage from the dropdown list.
Click to Attach.
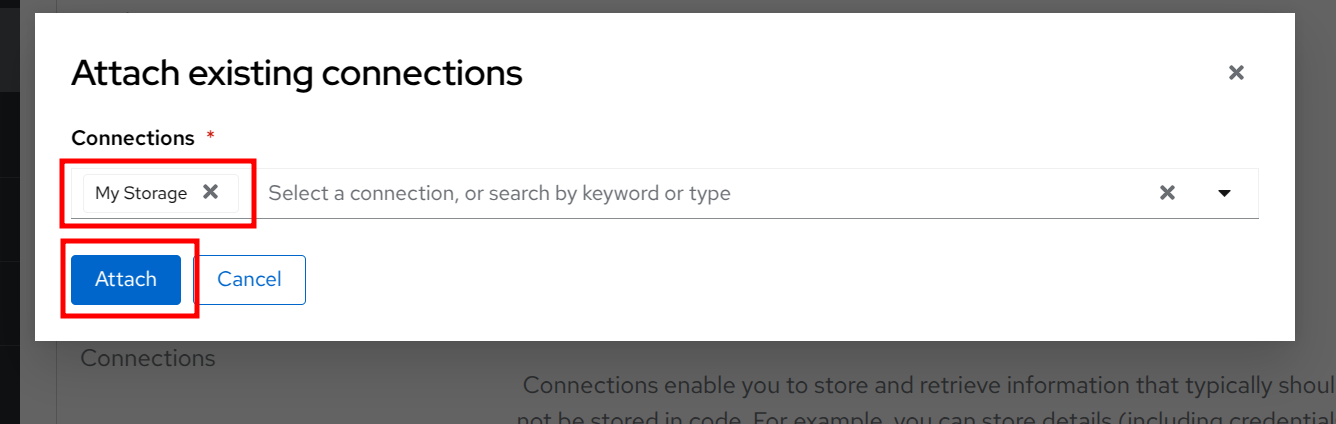
Then click to the Create workbench button.
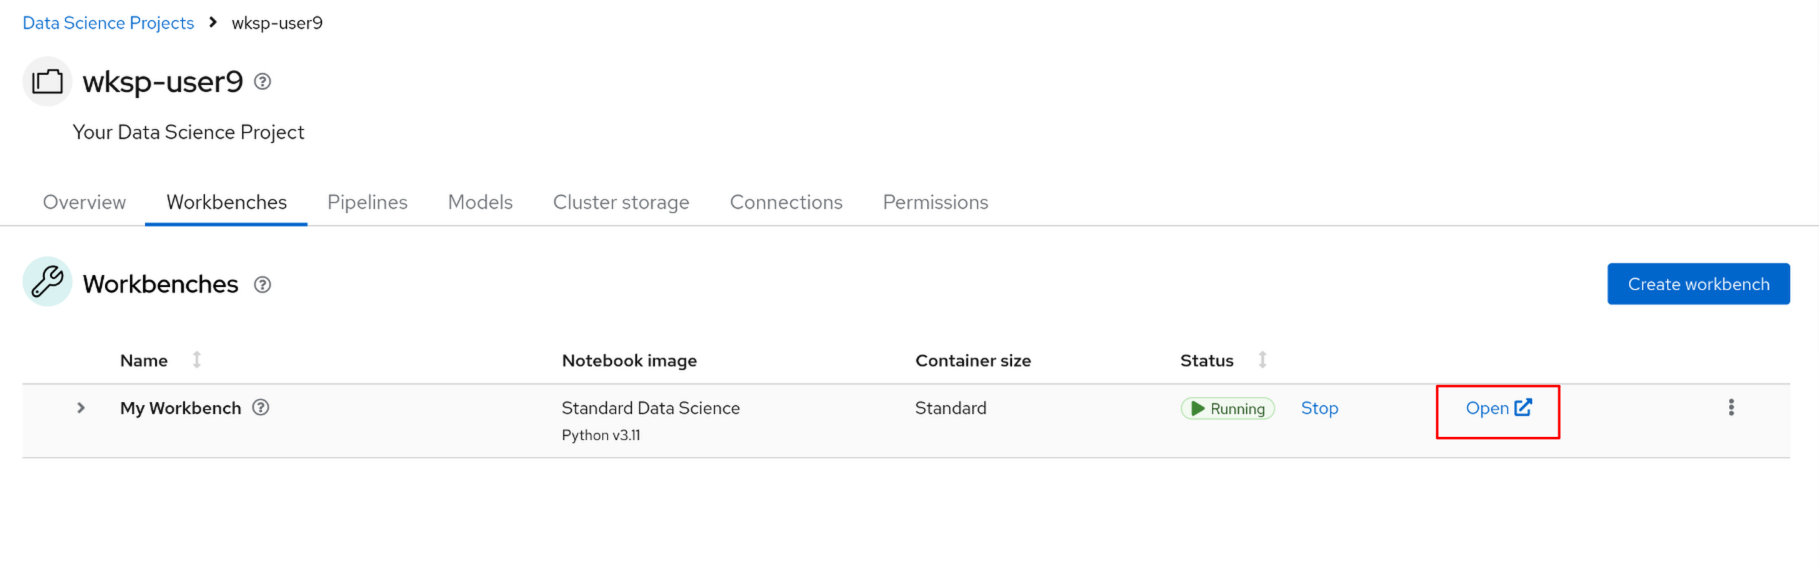
You’ll need to wait just a few minutes for the workbench to be created, but once it’s ready, click the Open button to access the Jupyter Notebook environment.
| During this process, the notebook image is being pulled from the container registry, and pods are being created to run the notebook server. |
Click to Open to start the workbench.
You’ll authenticate with your OpenShift user credentials ({user}, {password}), hit Allow selected permissions after to proceed, and finally land at the Jupyter Notebook environment.
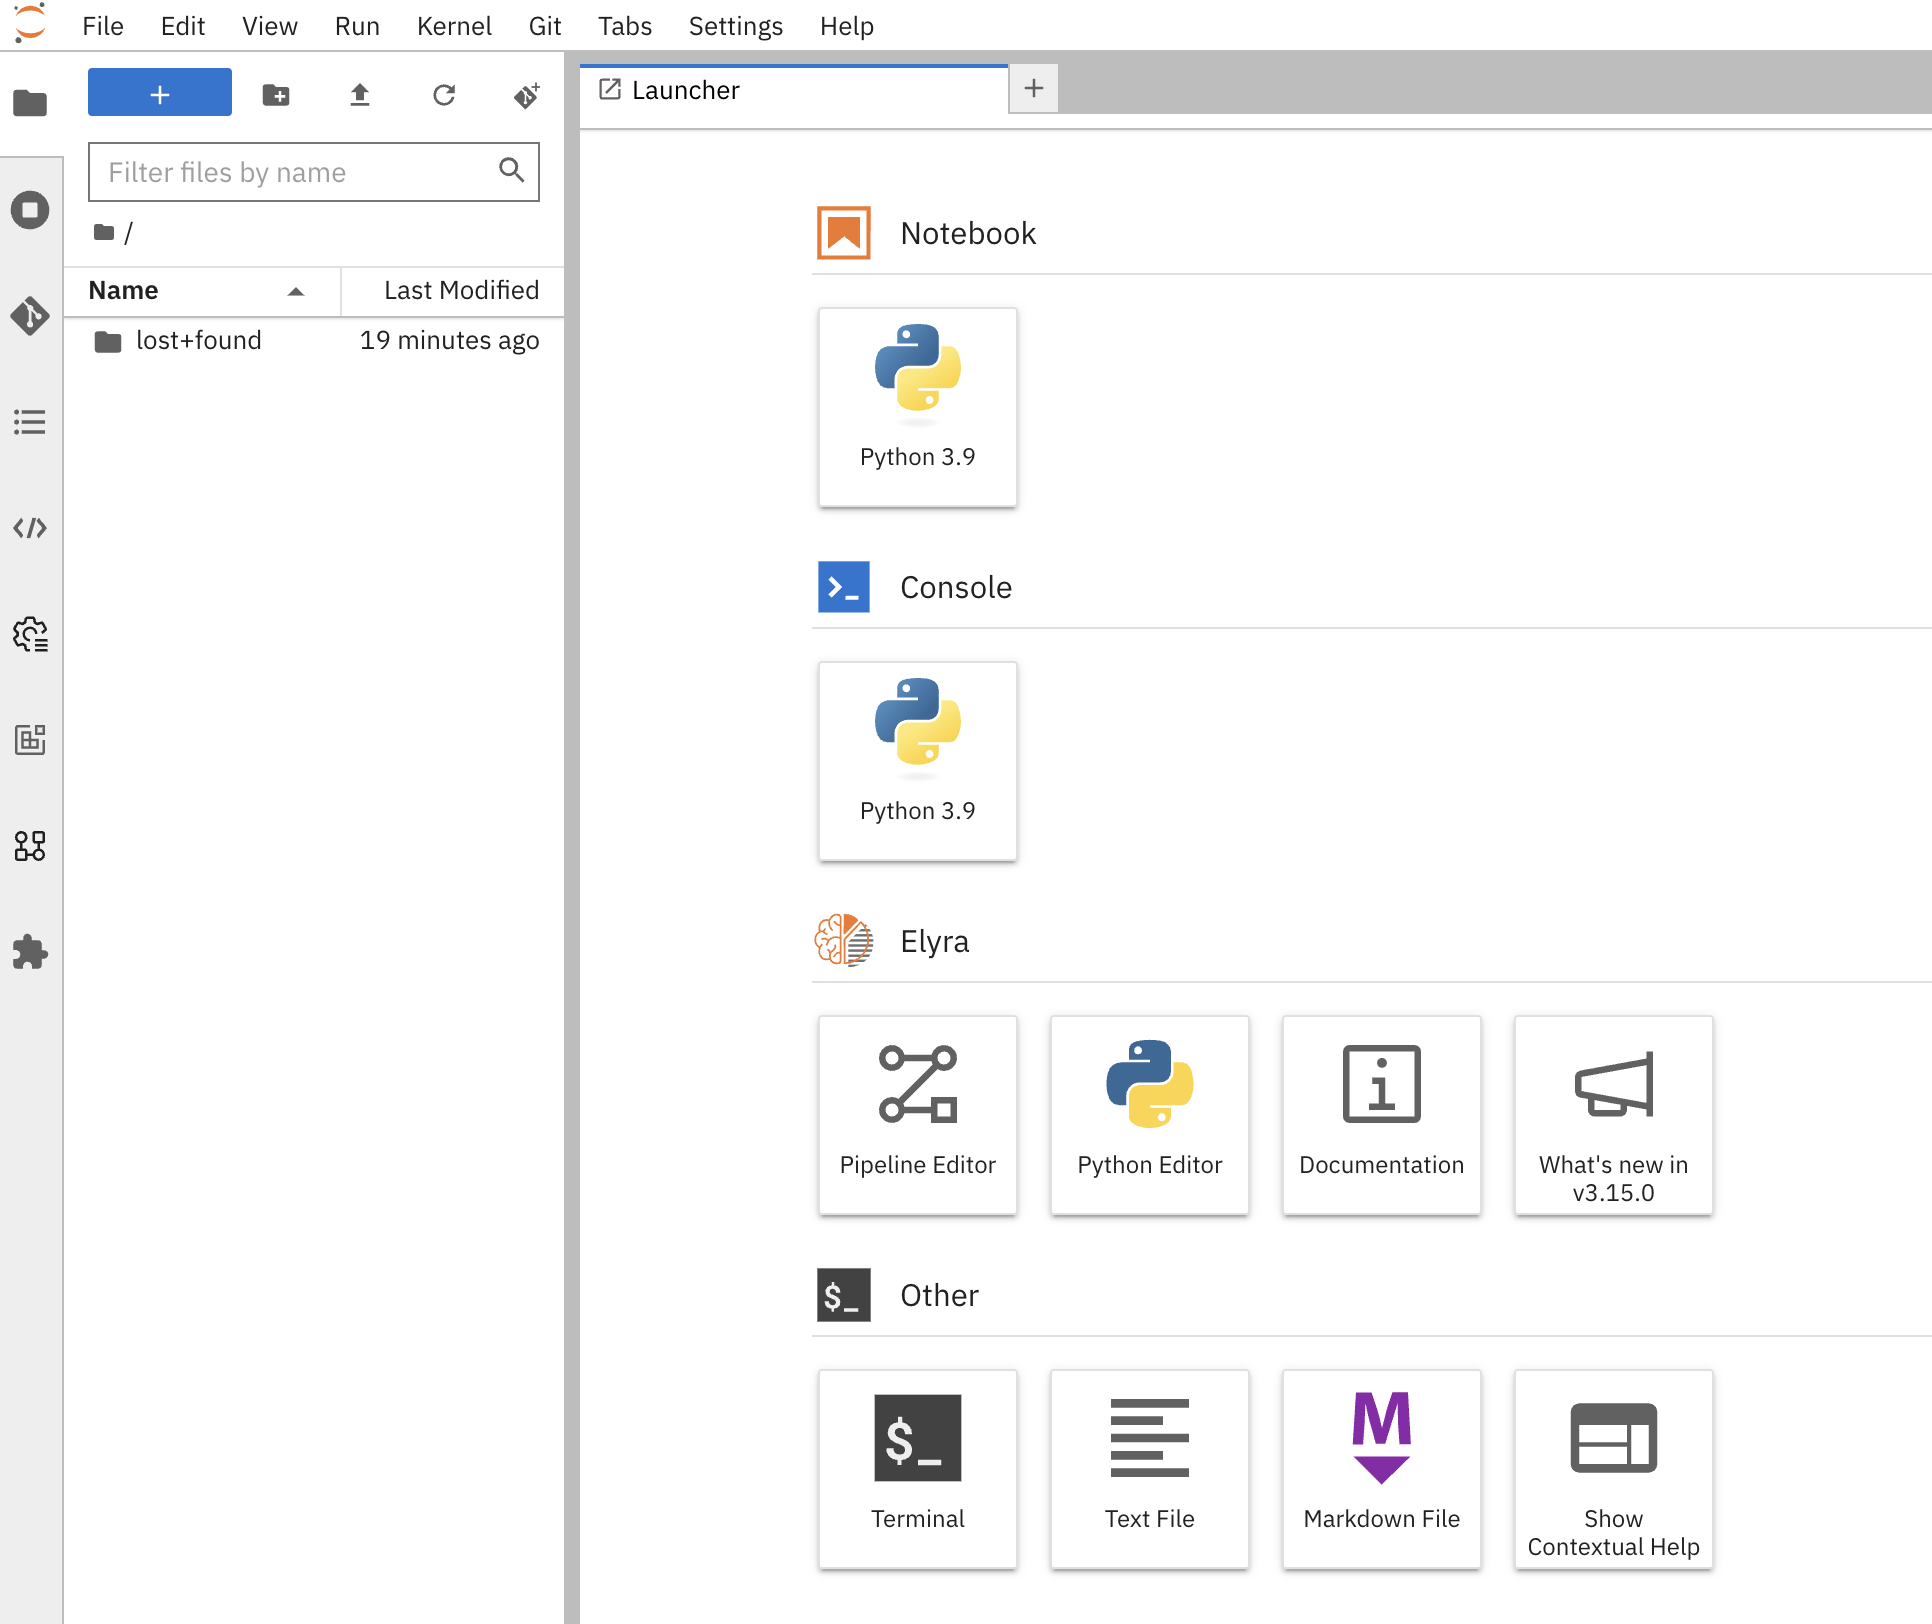
3.3. Cloning the project repository
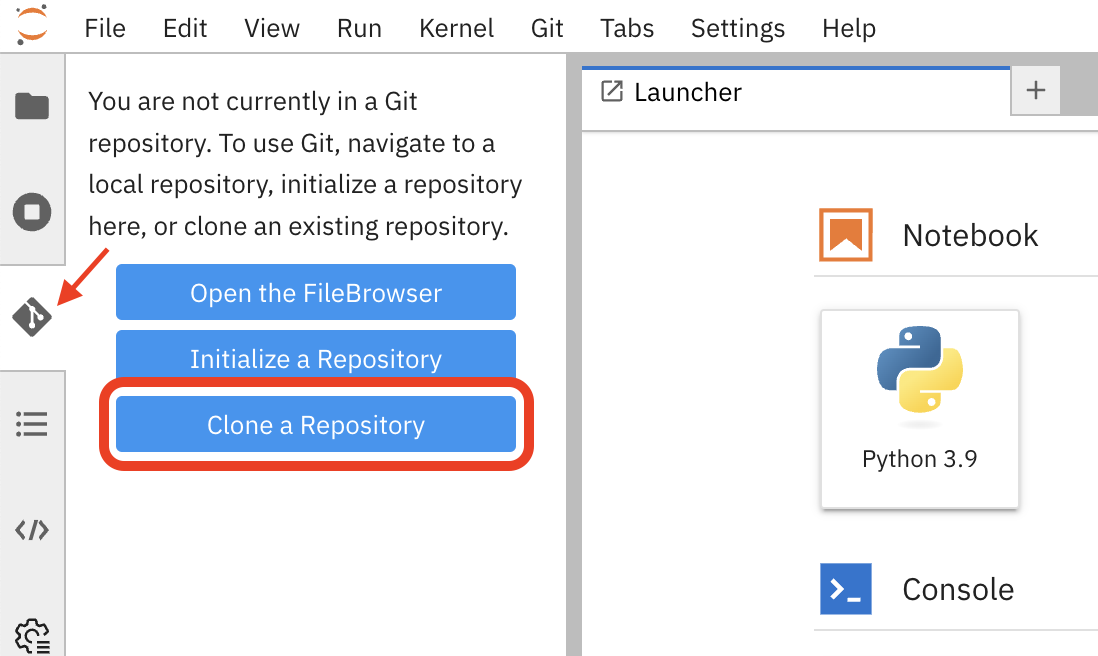
We have a repository with the code and data for this workshop. Let’s clone it into our Jupyter Notebook environment. In the Jupyter Notebook environment, navigate to the Git UI in the left sidebar, and then click on the Clone a Repository button.
Enter the repository URL from Gitea.
{gitea_console_url}/{user}/rps-game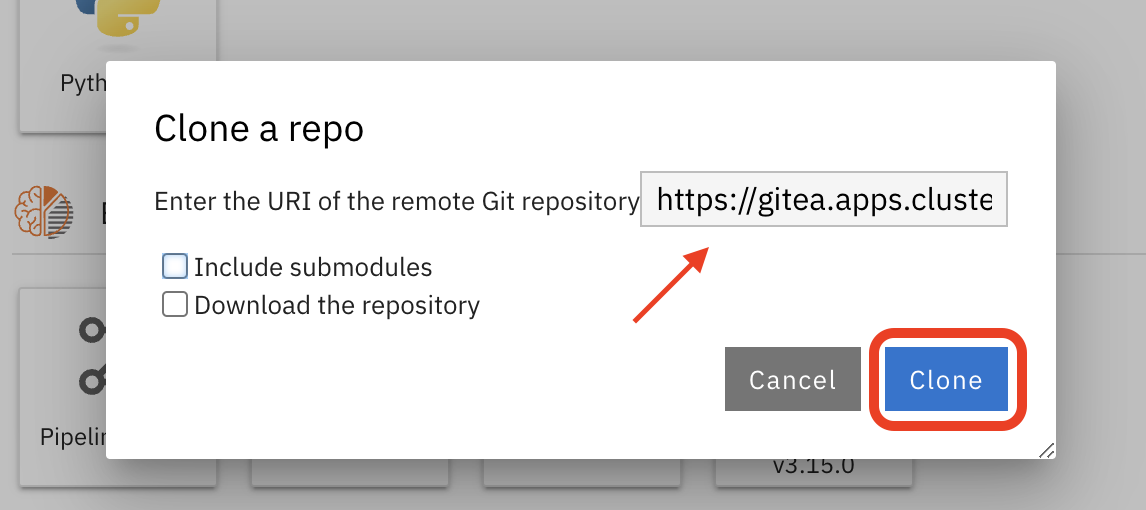
Click on the Clone button to clone the repository.
Go back to the file discovery and navigate to the rps-game/roshambo-notebooks folder to access the notebooks.
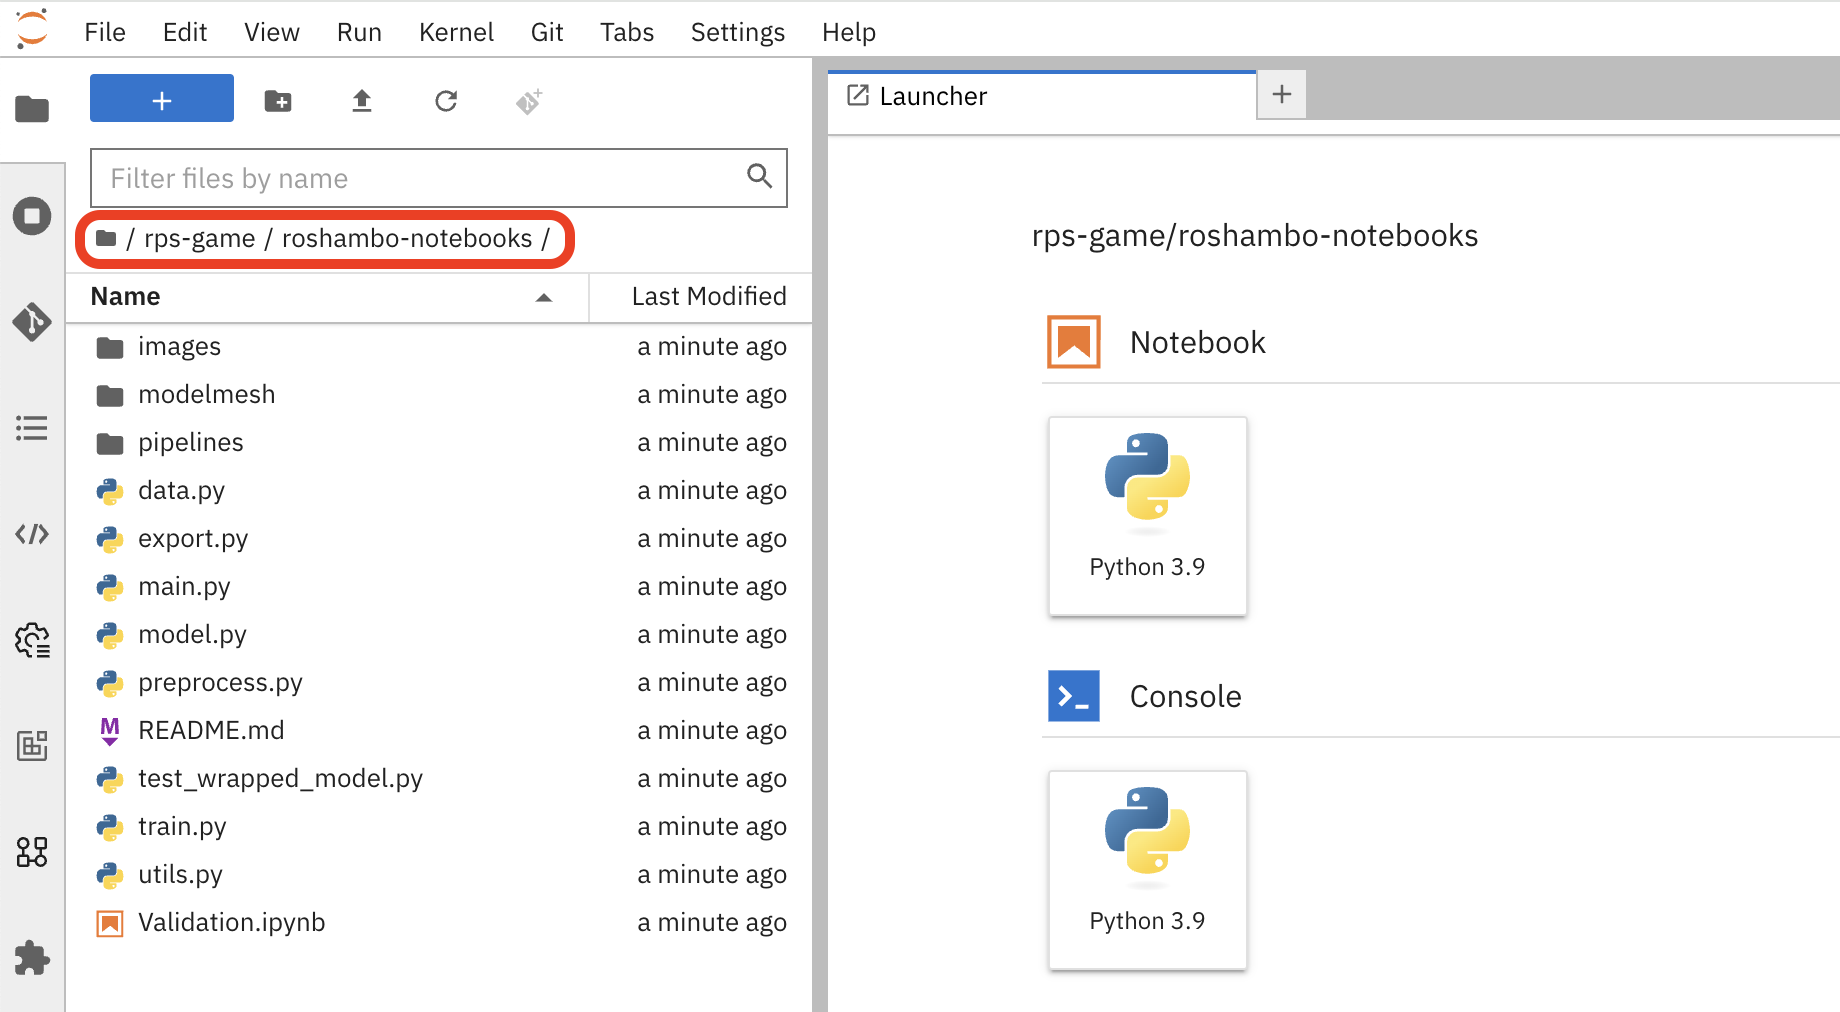
Swich to the kubecon-eu-2025 branch that we’ll be working with today.
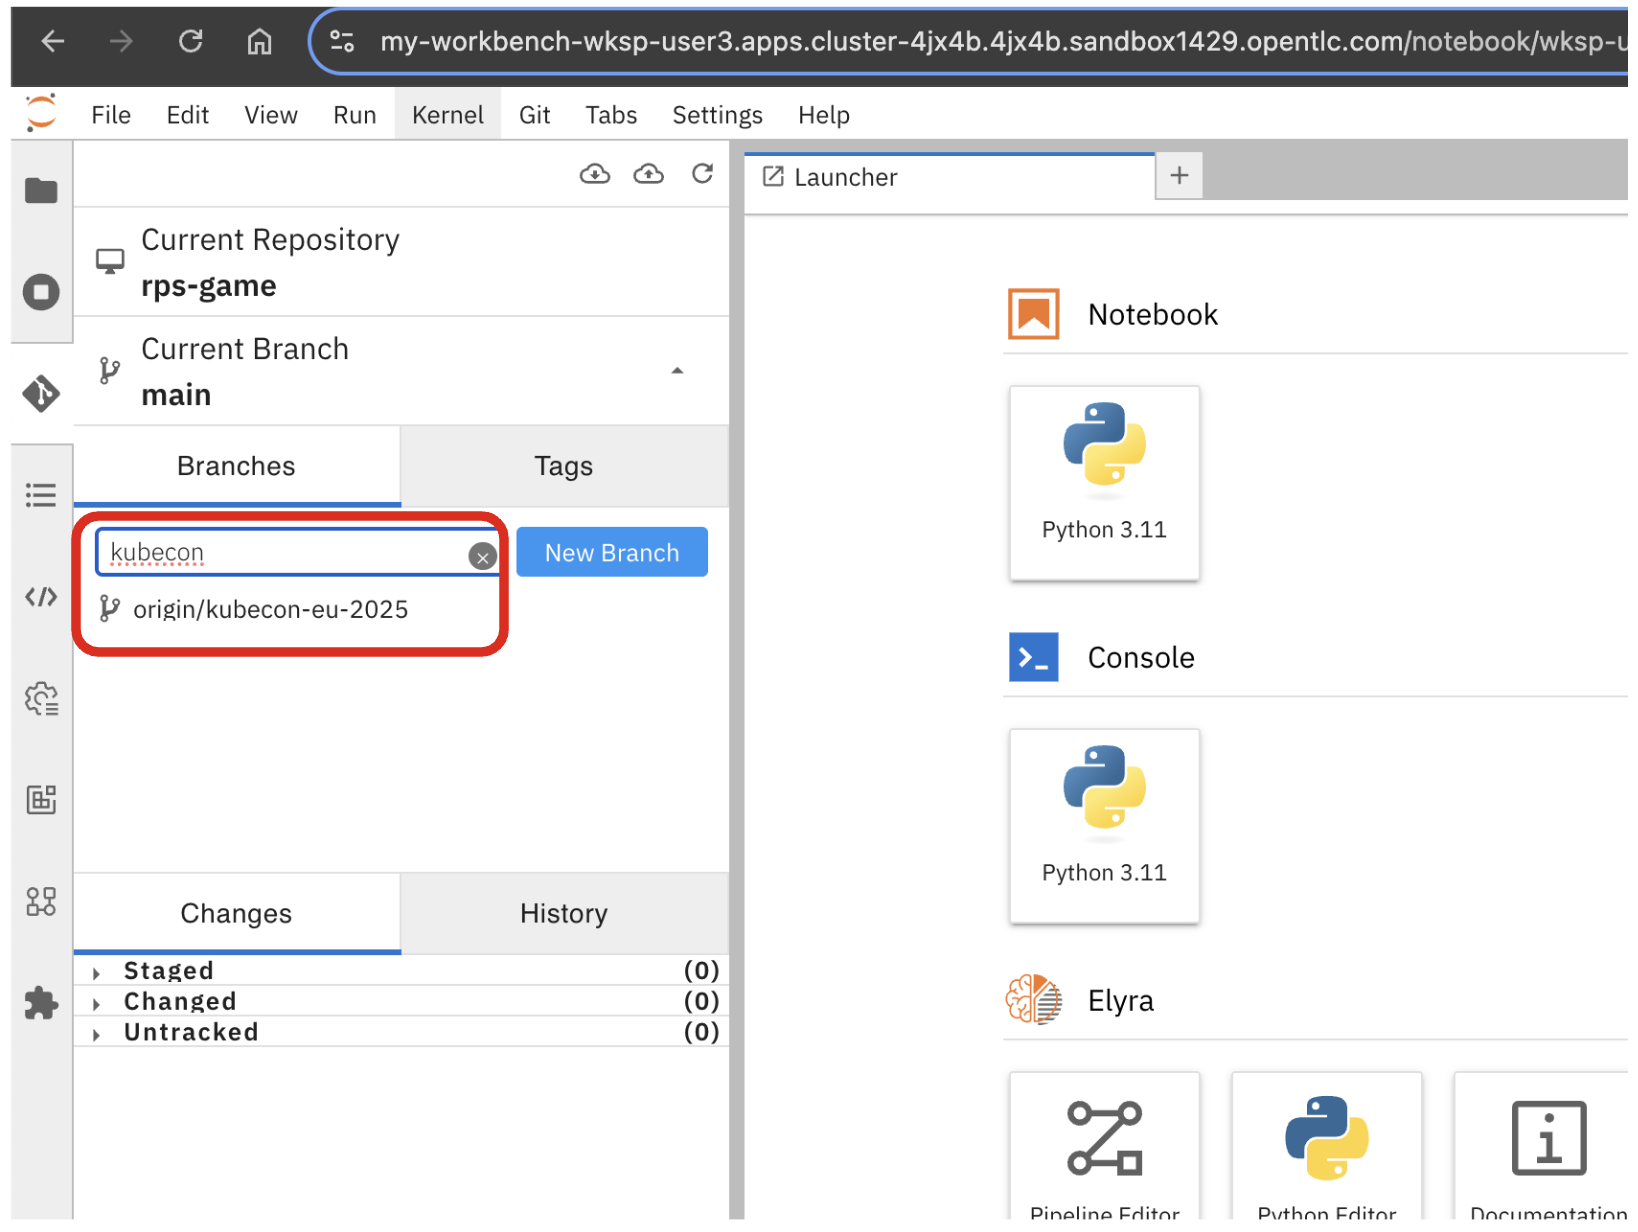
| Don’t forget to switch the branch! |
4. Summary
We’ve successfully created a data science project, connected to MinIO, configured a pipeline server, and created a workbench to run our Jupyter Notebooks. We’ve also cloned the project repository into our Jupyter Notebook environment. Let’s move on to the next section to start learn about the model we’ll be using for the Rock-Paper-Scissors game.