Deploying the application with GitOps
In this section, we’ll deploy the a Python microservice called AI Proxy Service that interacts with the model and does all the necessary image manipulations.
1. Creating a new AI Proxy application
Next, we’ll create an Argo CD application for the AI proxy. The AI proxy application deploys the AI proxy service and the required resources for the frontend and backend microservices to communicate.
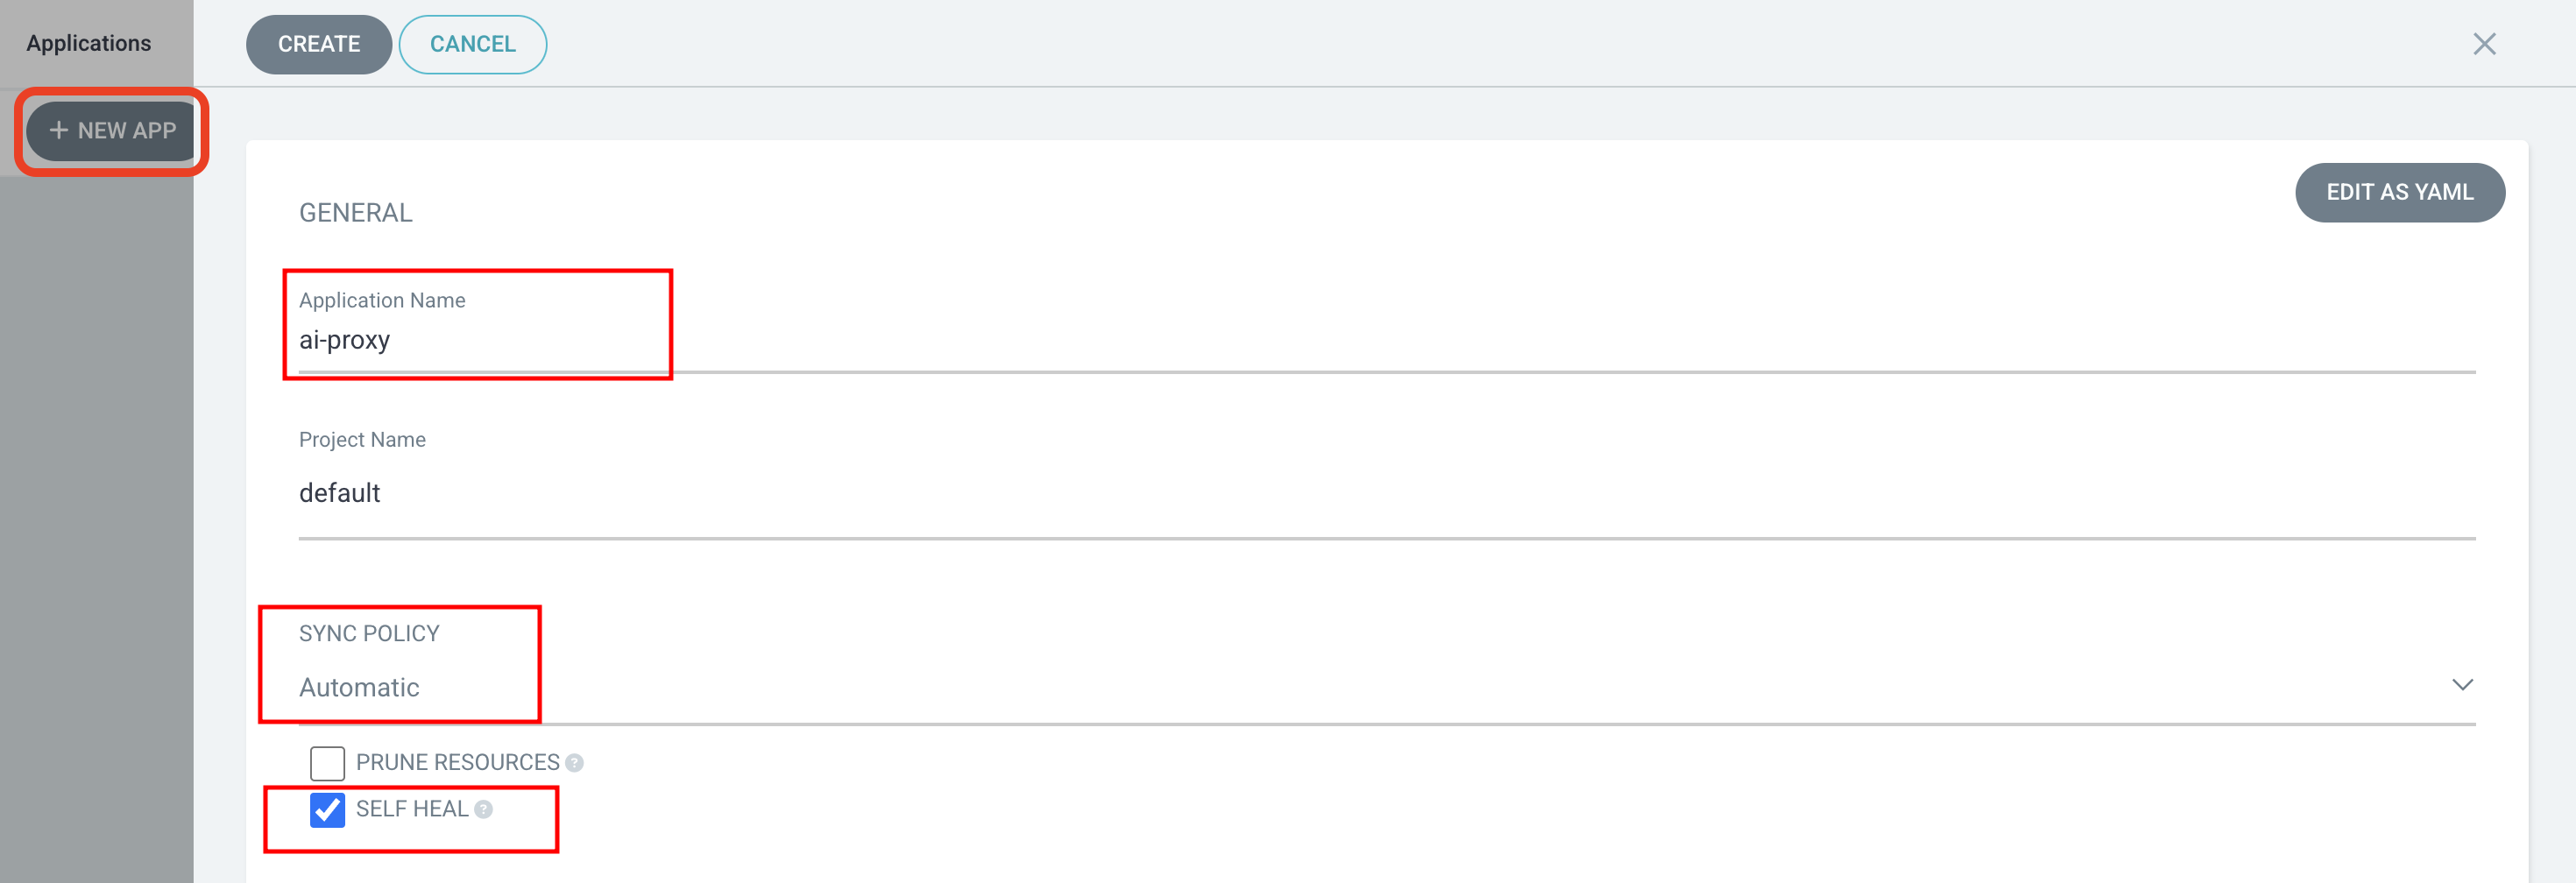
Select + NEW APP from the Argo CD web interface, and fill in the following details:
Application Name |
ai-proxy |
Project Name |
default |
Sync Policy |
Automatic |
Self Heal |
Enabled |
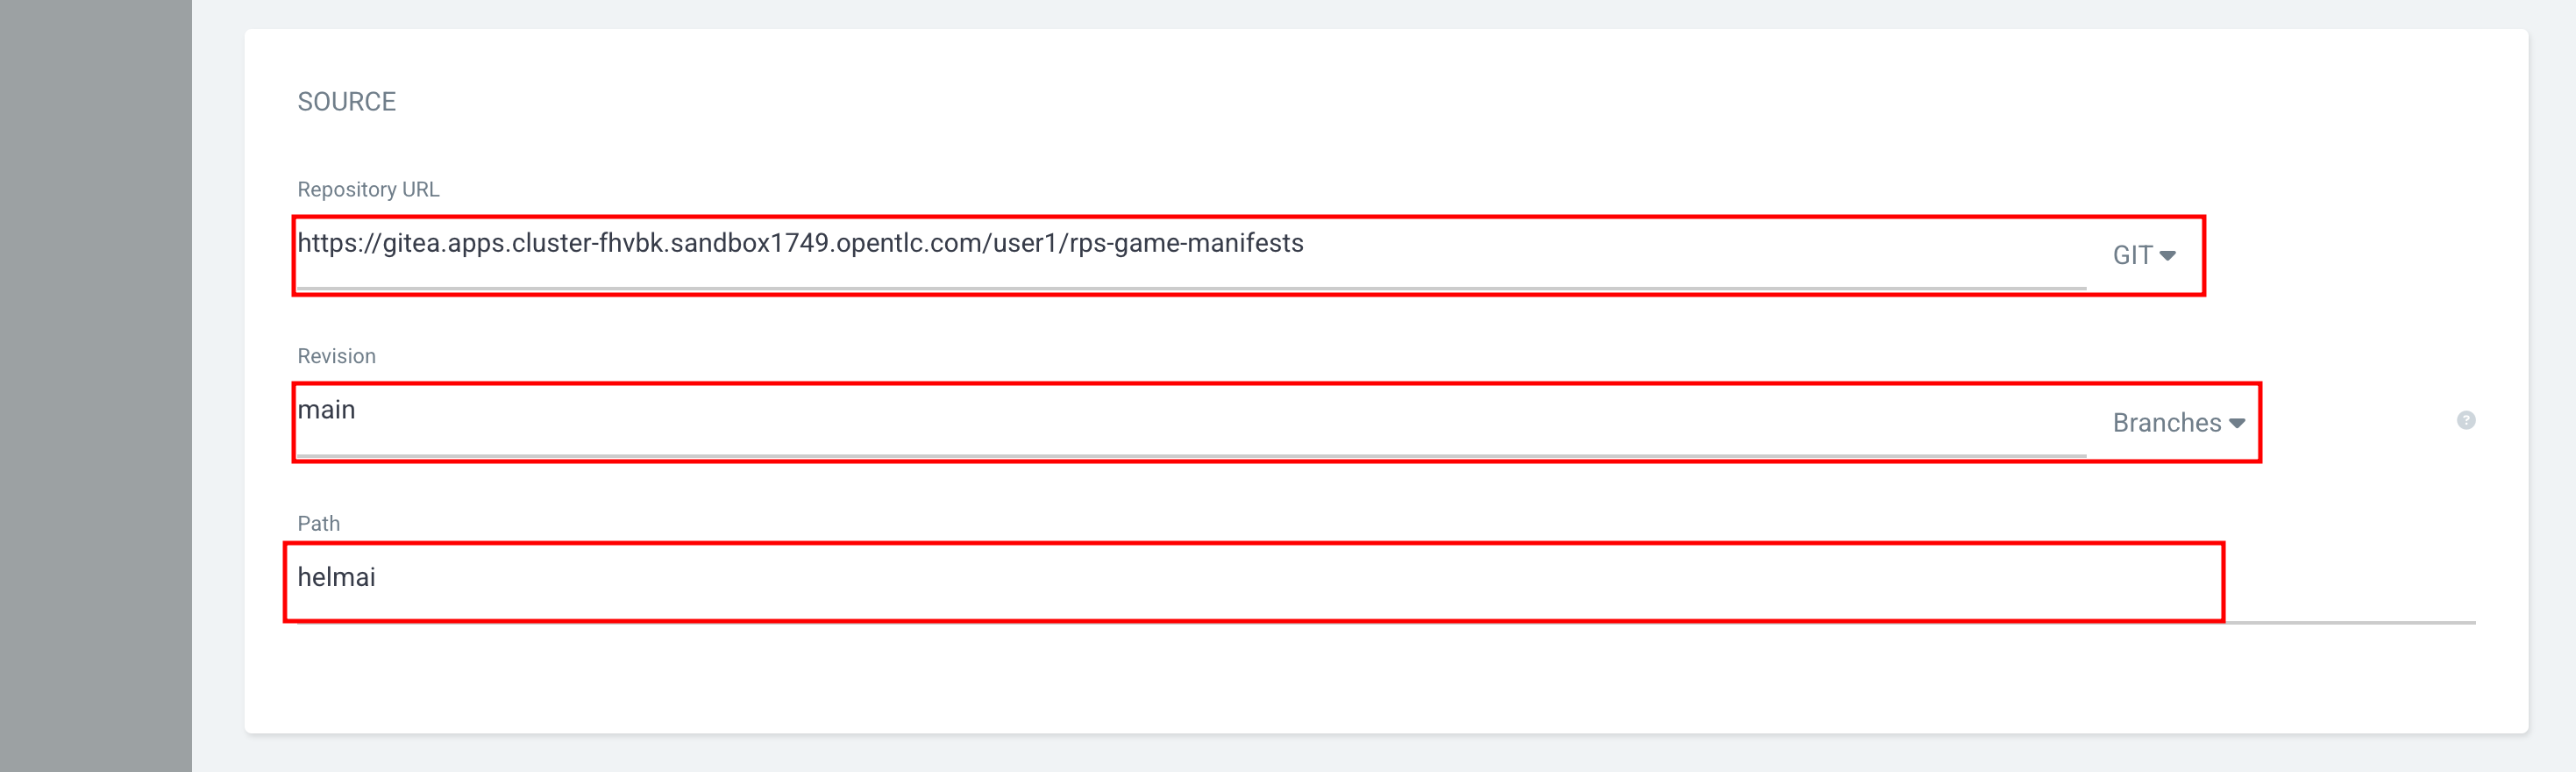
Repository URL |
{gitea_console_url}/{user}/rps-game-manifests.git |
Revision |
main |
Path |
helmai |
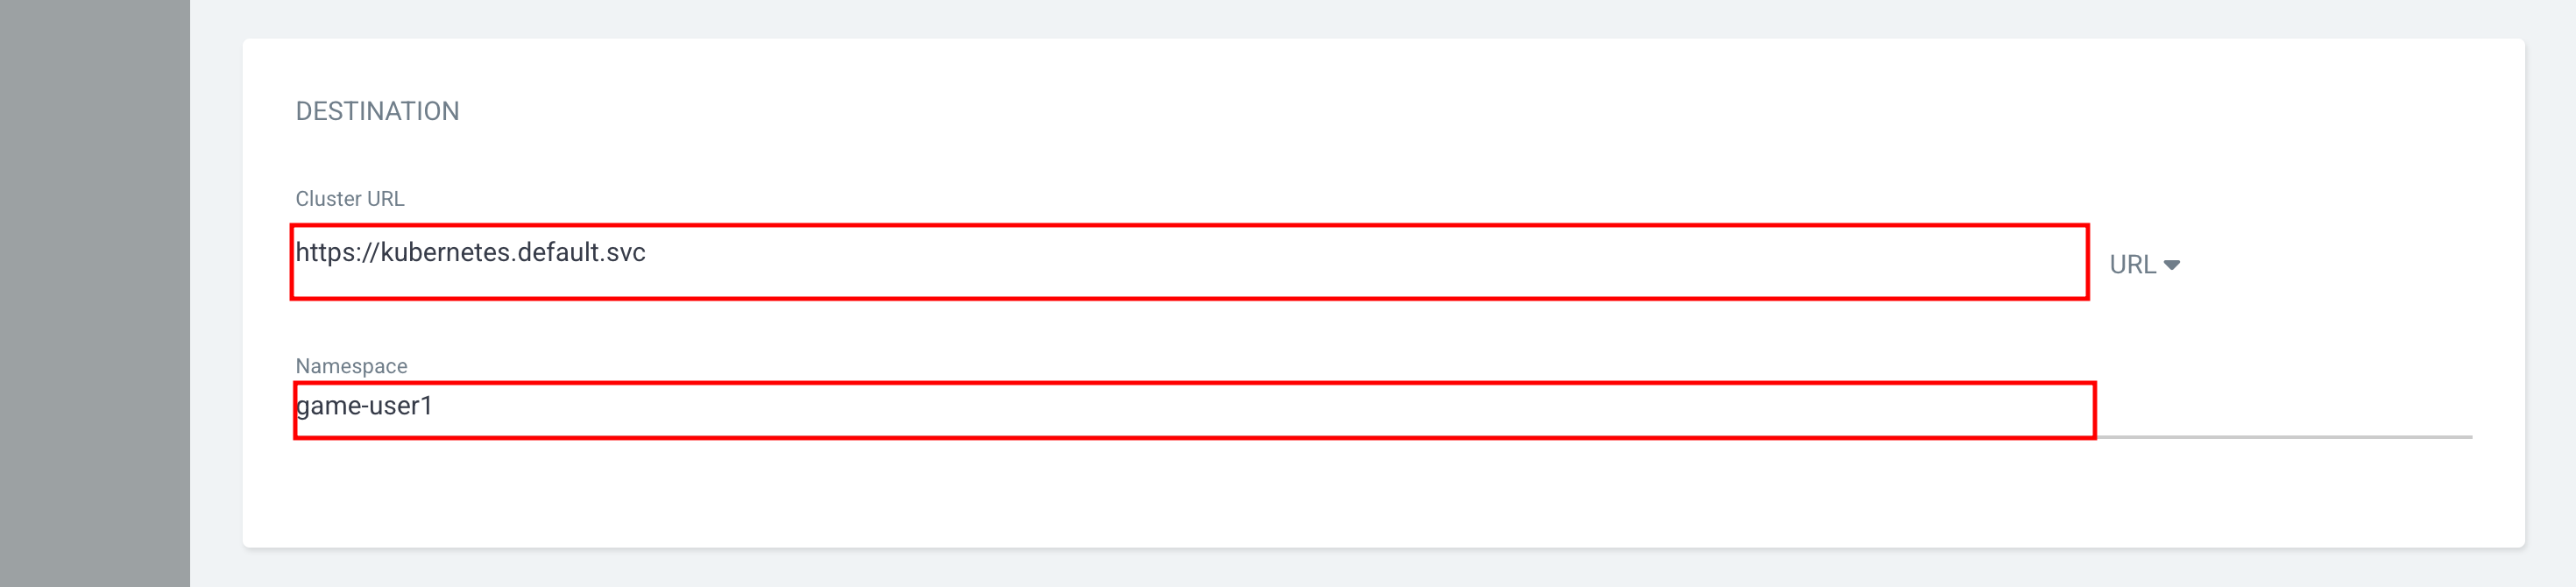
Cluster URL |
|
Namespace |
game-{user} |
Helm Parameters: ai.model_host |
yolo-rps-wksp-{user}.{openshift_cluster_ingress_domain} |
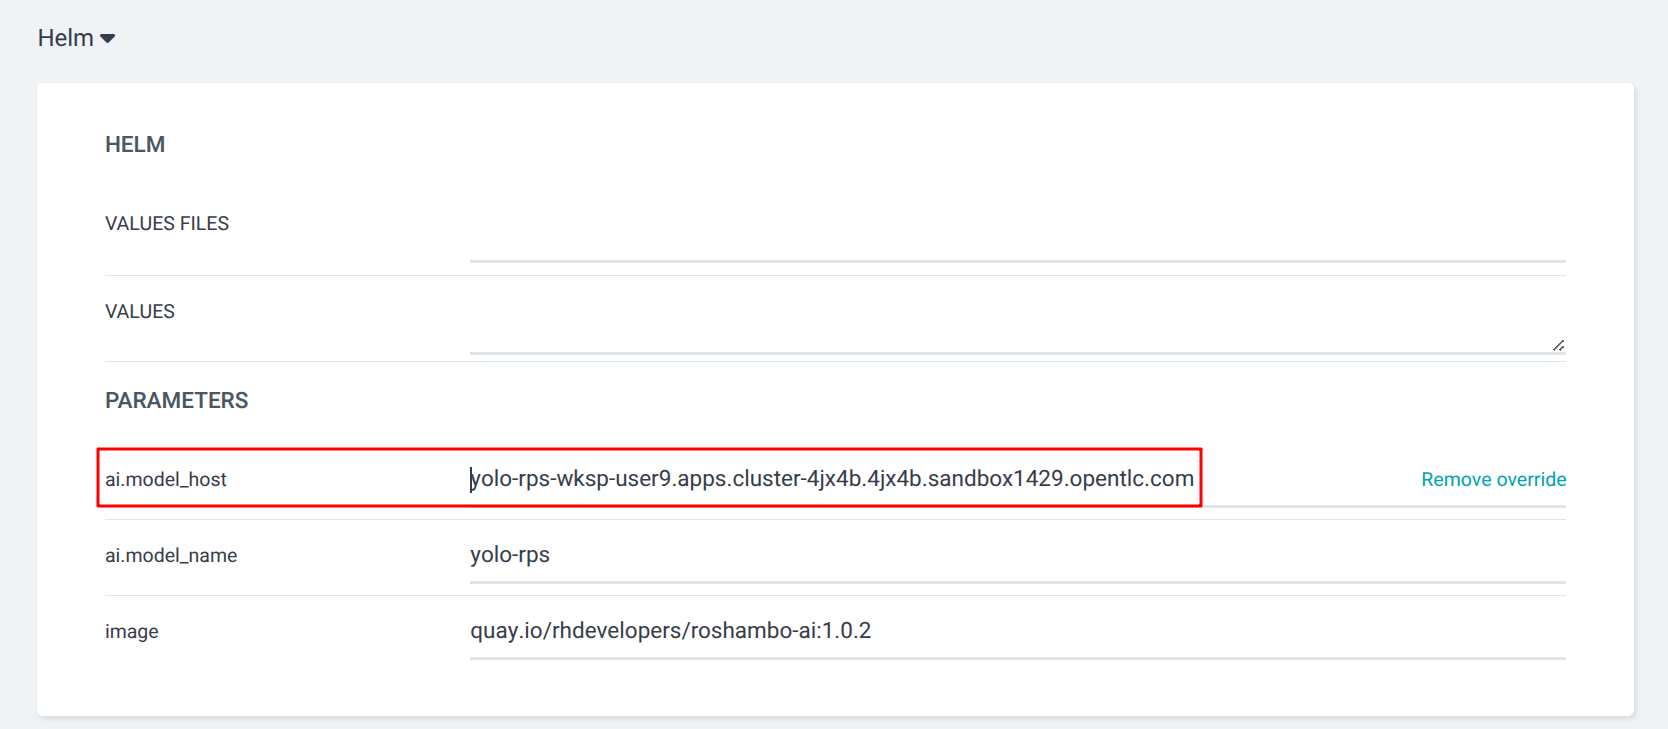
| Helm is a package manager for Kubernetes that allows you to define, install, and manage applications as packages called charts. A Helm chart contains the necessary templates and configuration files to deploy an application in a Kubernetes cluster. |
Hit CREATE when finished. After creating the application, Argo CD will automatically synchronize the application and deploy the AI proxy service in the user namespace. You can view the status of the application, the resources deployed, and the synchronization status in the Argo CD web interface.
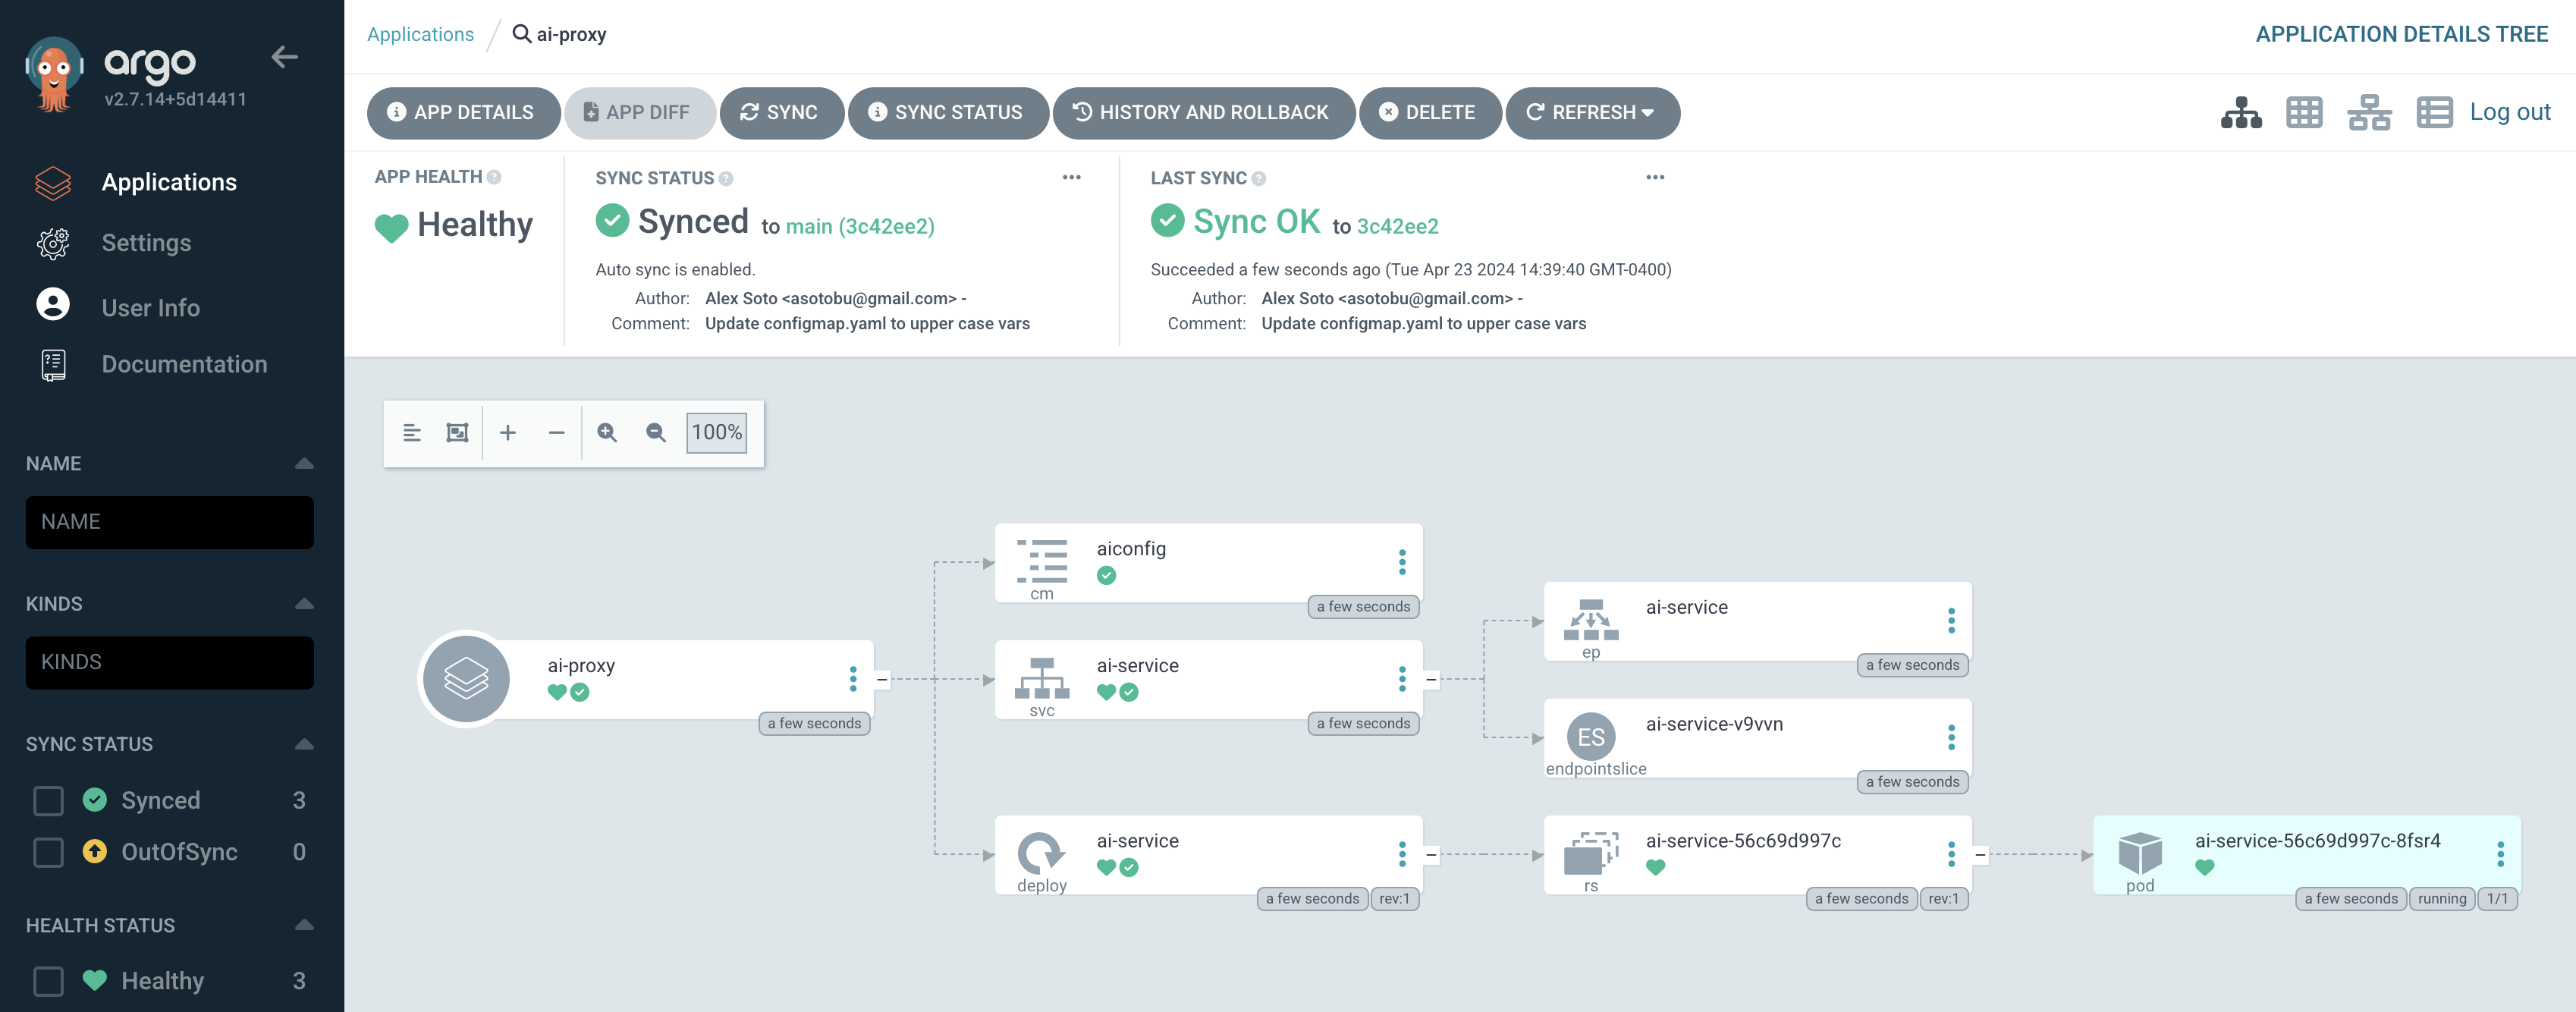
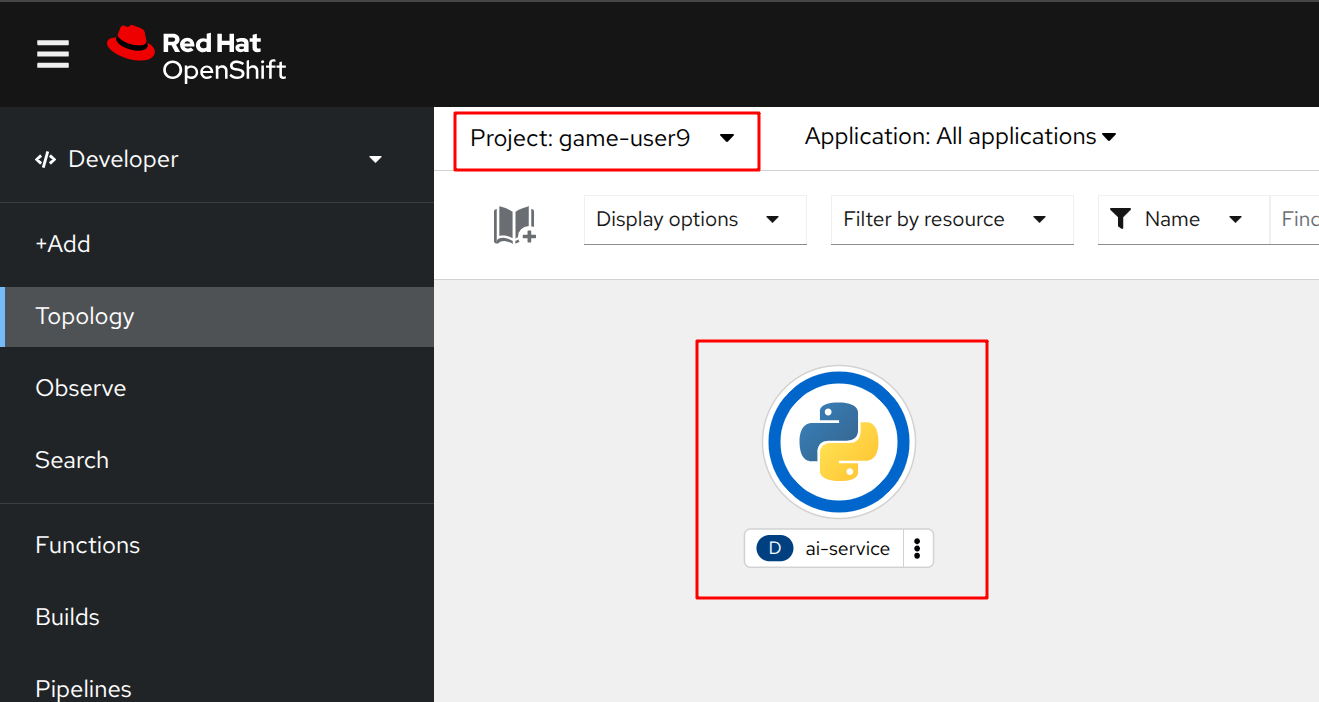
You can also view this in the Topology view, where the AI proxy application is displayed with a Python icon, representing the AI proxy service.