2.3 Calling the API from an Application
Now that we have a working API serving predictions, we can call it from an application.
Until now, we have been using a route which exposes the service externally. Sometimes, services don’t expose themselves outside the cluster. We’ll deploy an application to the same project and can refer to it using its internal service name.
Verify your service URL
If you followed previous naming instructions, your service should be http://object-detection-rest:8080. You can verify your rest service’s name and port on the service detail screen.
-
From the project topology, open your deployment’s detail screen.
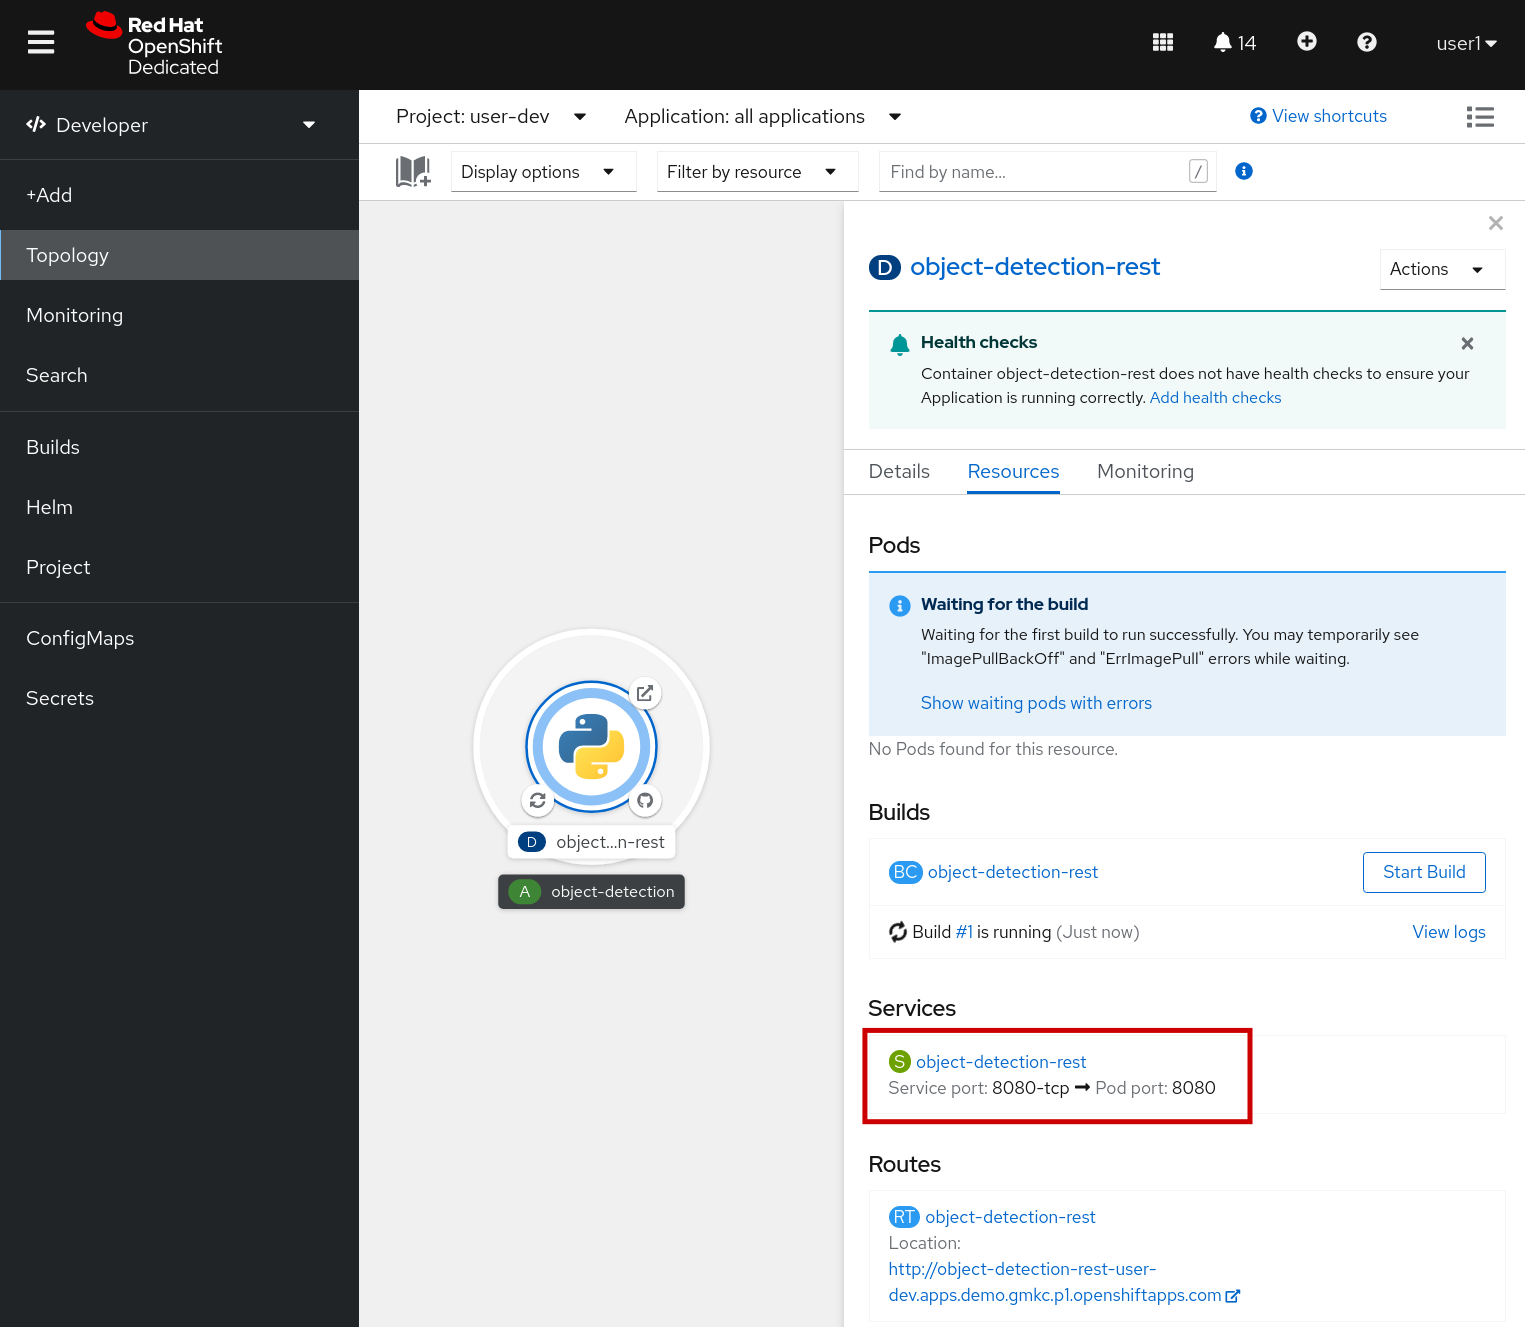
-
Then click on the service and view the name and port. Your internal URL will be
http://<service-name>:<service-port>;
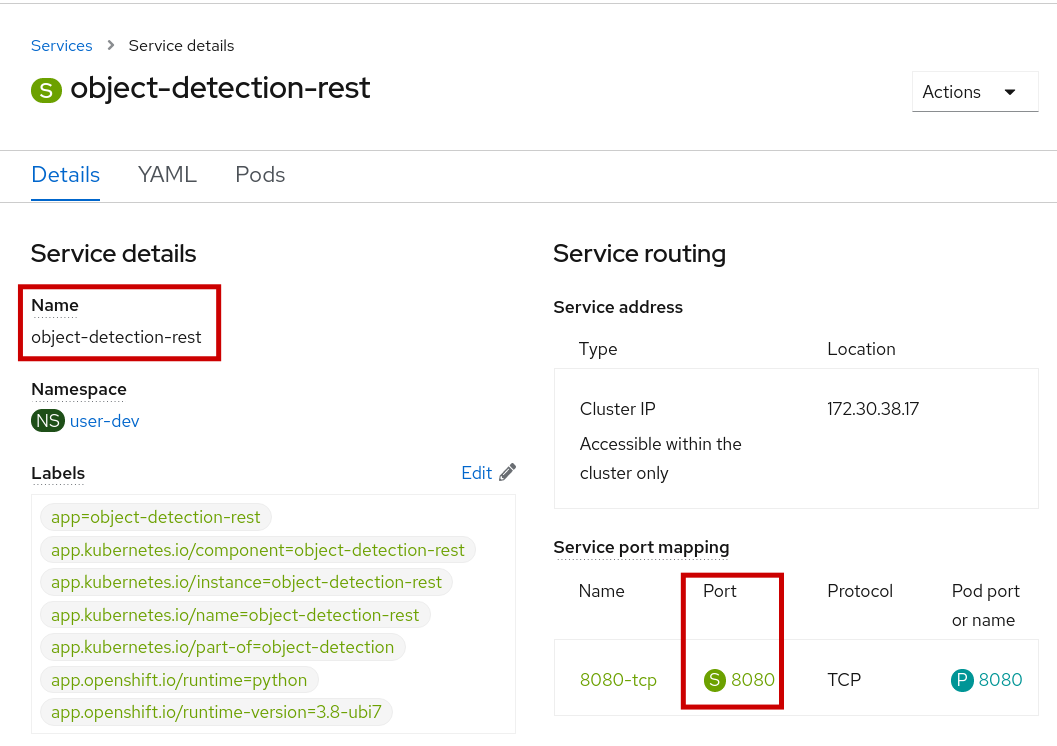
You can also call the service from elsewhere on your cluster, including your Jupyter notebook by using the fully addressed name, http://<service-name>.<namespace>.svc:<service-port>;, which in this case would be http://object-detection-rest.user-dev.svc:8080.
|
Create the Front End Application
We will create the test app the exact same way we created the REST service, but instead, we’ll be creating an object-detection-app
-
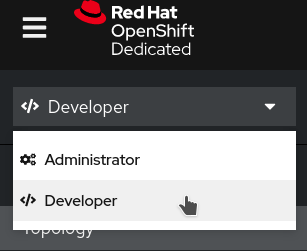
As with our previous deployment, use the Developer View and choose the same project.

-
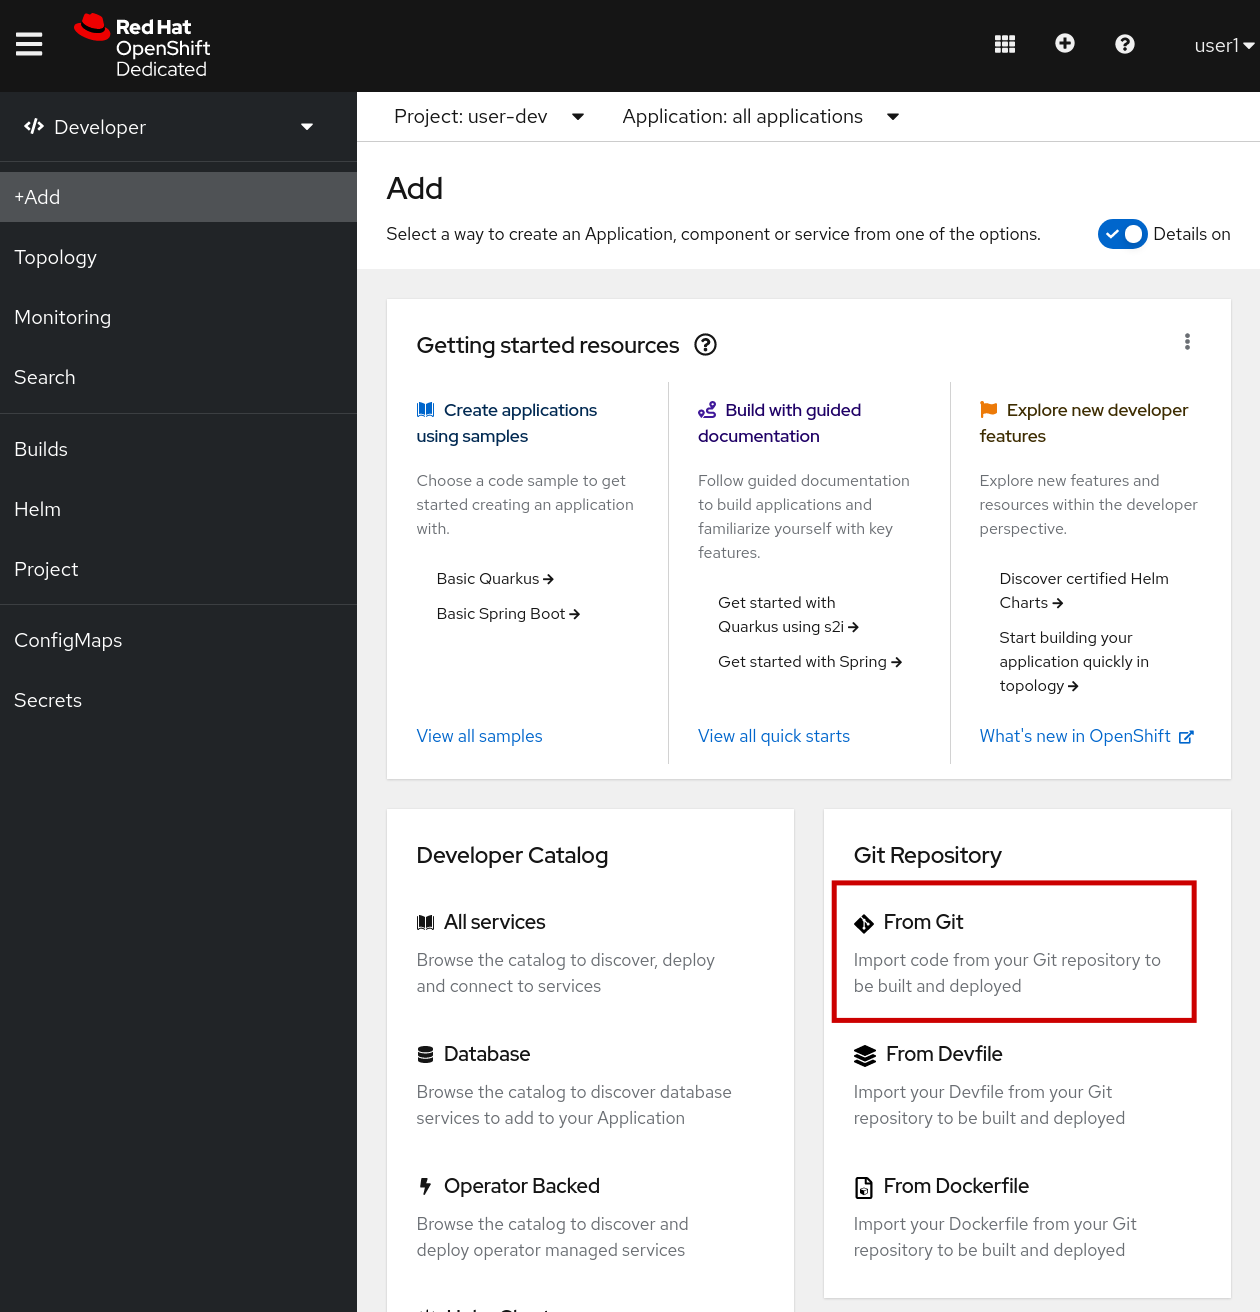
From the
+Addmenu, click on theFrom Gittile:
Configure the Application
Set the Git Repo
-
In the Git Repo URL field, enter:
https://github.com/rh-aiservices-bu/object-detection-app.gitMake sure you’re deploying the object-detection-app, not the "rest" repo. If you’ve entered the correct repository, the Node.js builder image will be selected since this front end application was written in Node.js.
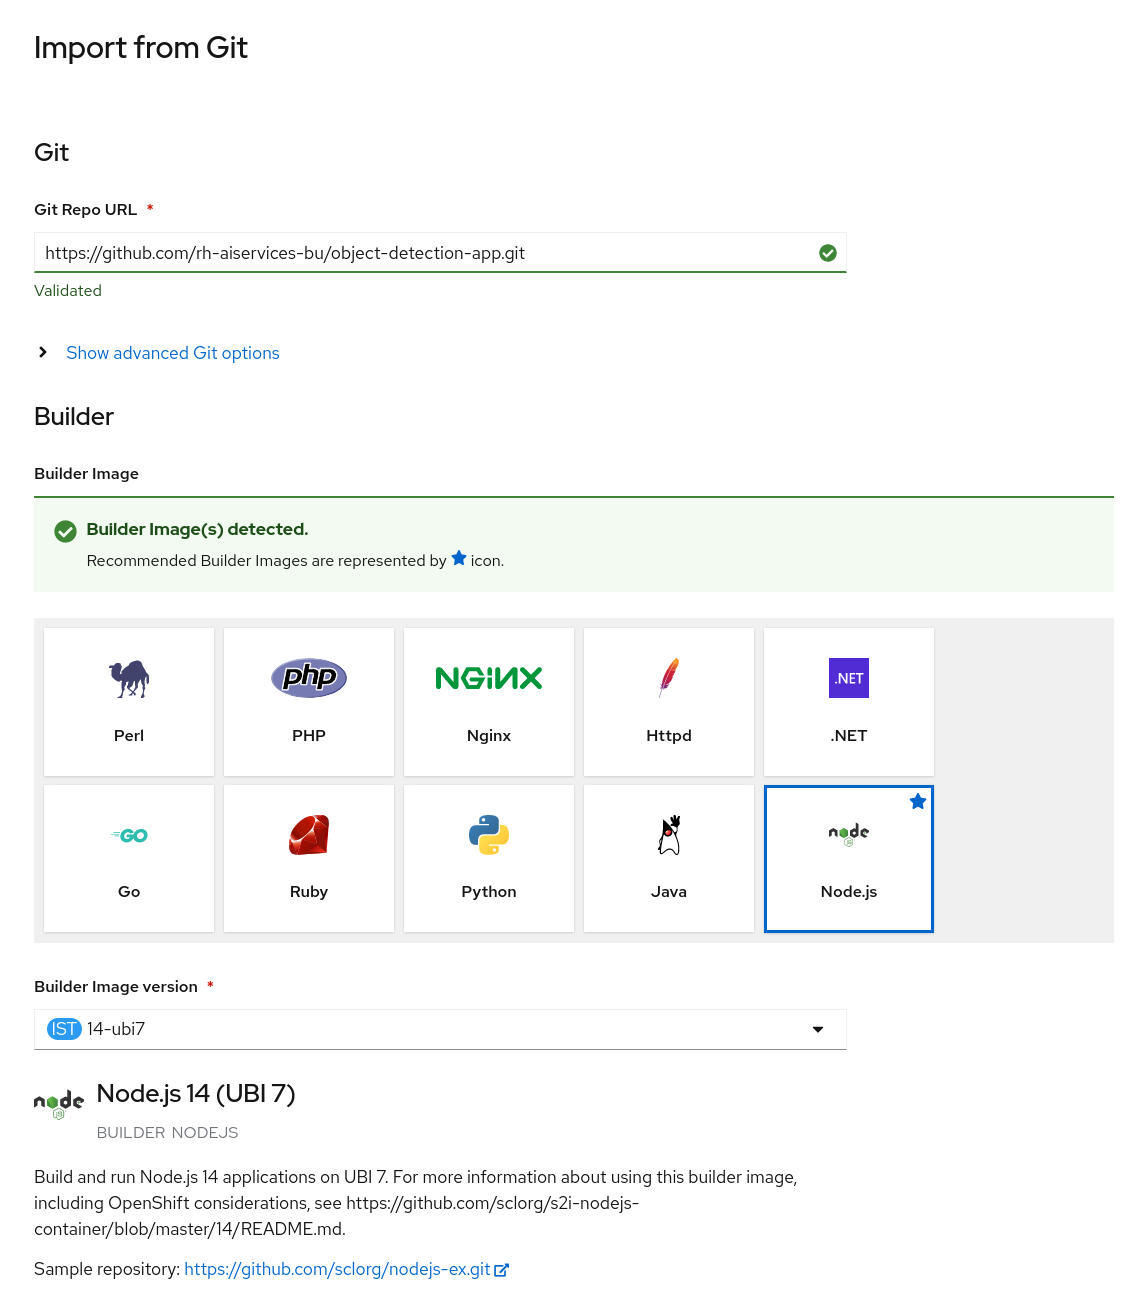
In addition, to ensure compatibility, ensure the builder image is 14-ubi7 or 14-ubi8.
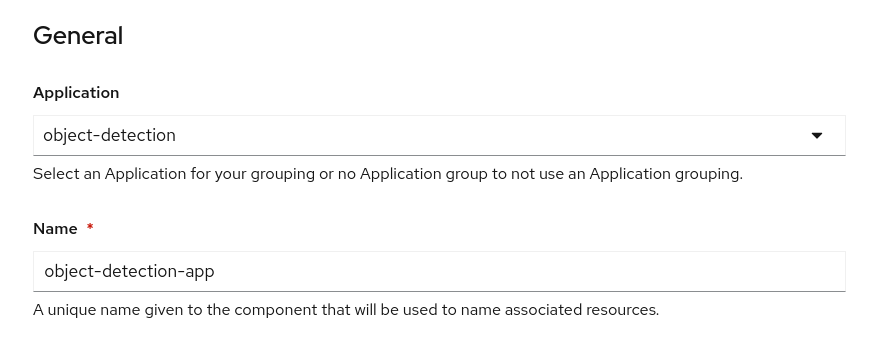
Set the App Name
-
By default, our new deployment will be added to the existing application
object-detectionwe created during our previous app. We can leave that as is. Instead ofobject-detection-app-git, we can change the Name toobject-detection-app, but it’s not required.
Configure the Deployment Environment Variables
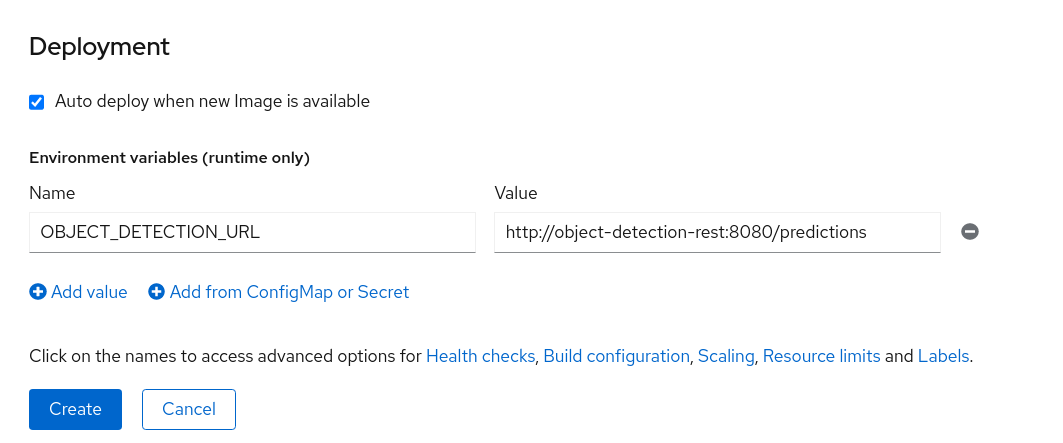
The application needs to know where to send its images for predictions. Earlier, we confirmed the service URL of the object-detection-rest deployment. We’ll use that value and add /predictions. This will tell our front end application where to send the images by setting the variable OBJECT_DETECTION_URL to http://<service-name>:<service-port/predictions.
-
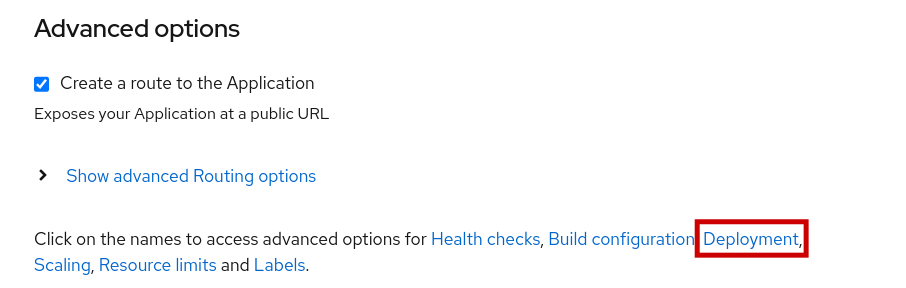
Under Advanced options, open the Deployment options.
-
Under Environment variables (runtime only), create a Name / Value pair.
-
Name =
OBJECT_DETECTION_URL
-
OBJECT_DETECTION_URLhttp://object-detection-rest:8080/predictions
If you named the rest services object-detection-rest, this value should be http://object-detection-rest:8080/predictions. If not, used the observed value.
|
Checking your Application
-
You can see a new application has been created and is currently building. Like before, wait for the build to complete and pods to deploy.
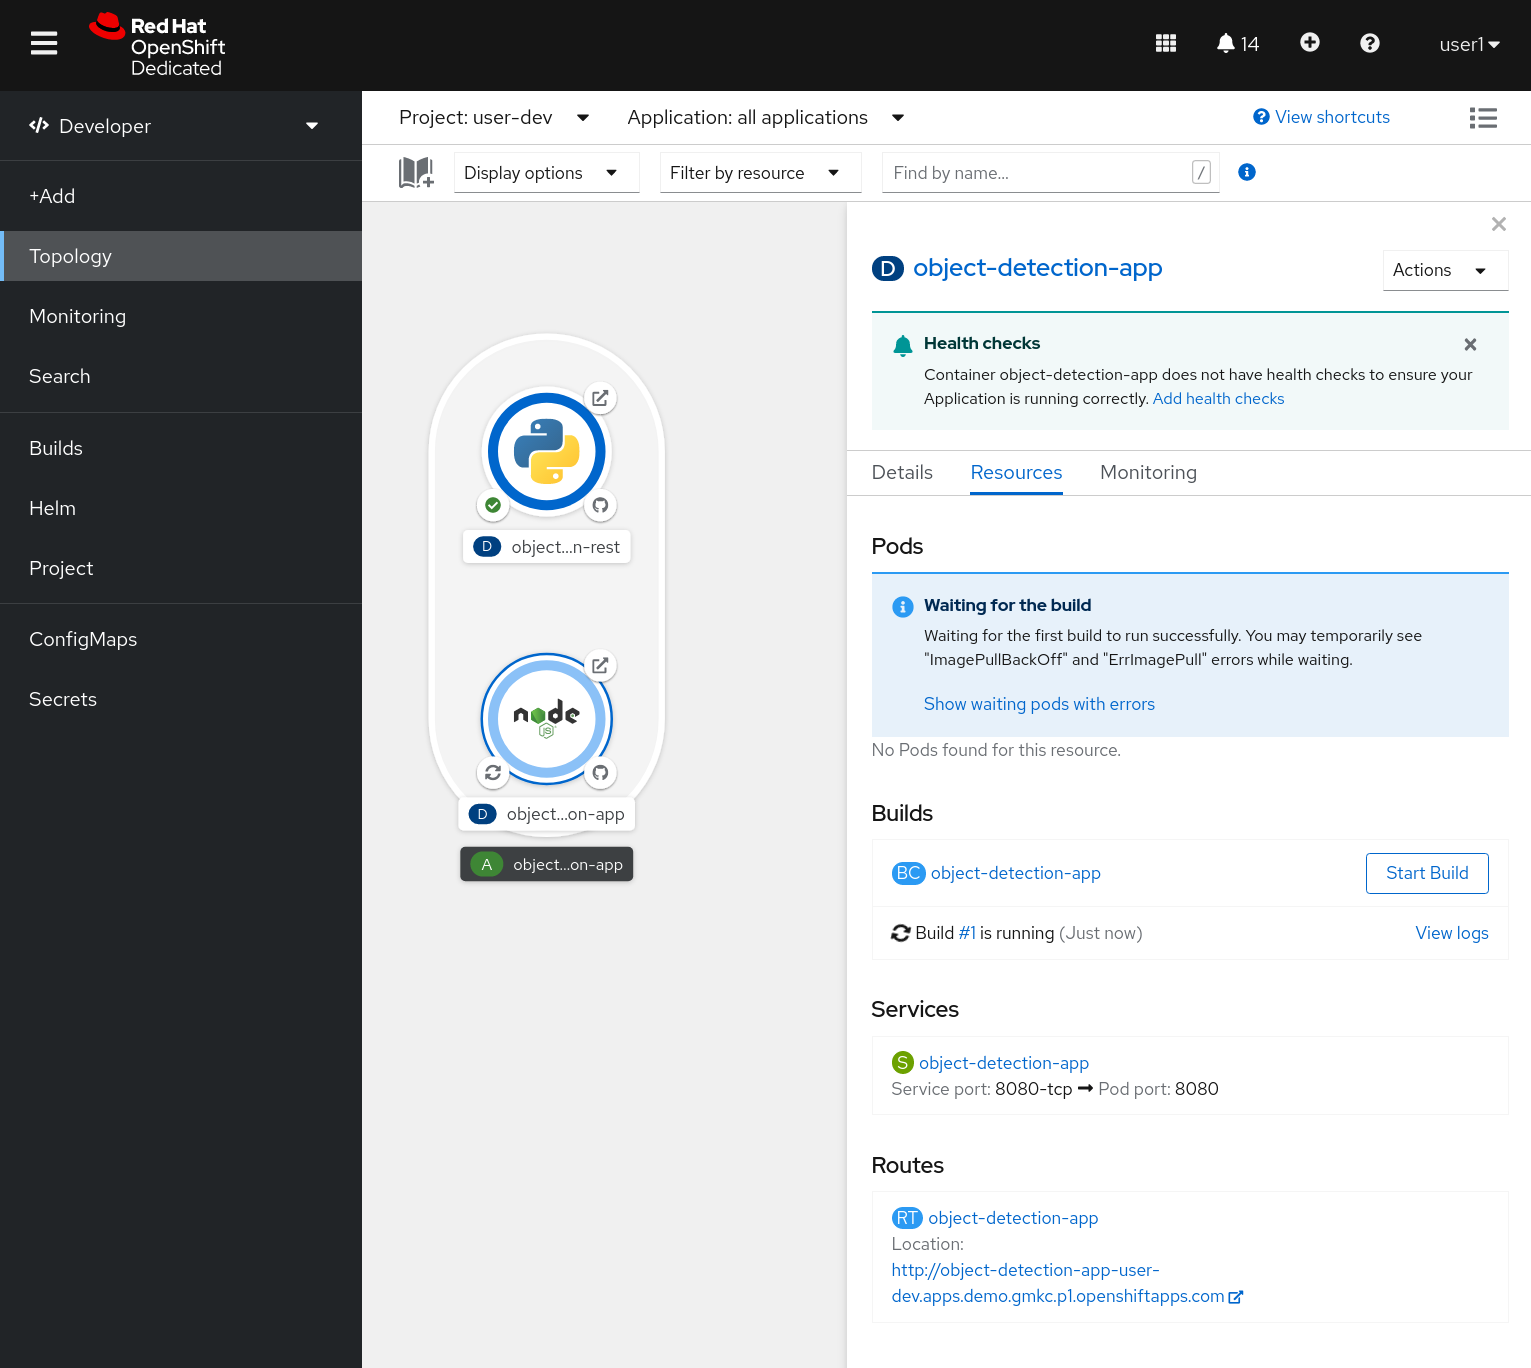
-
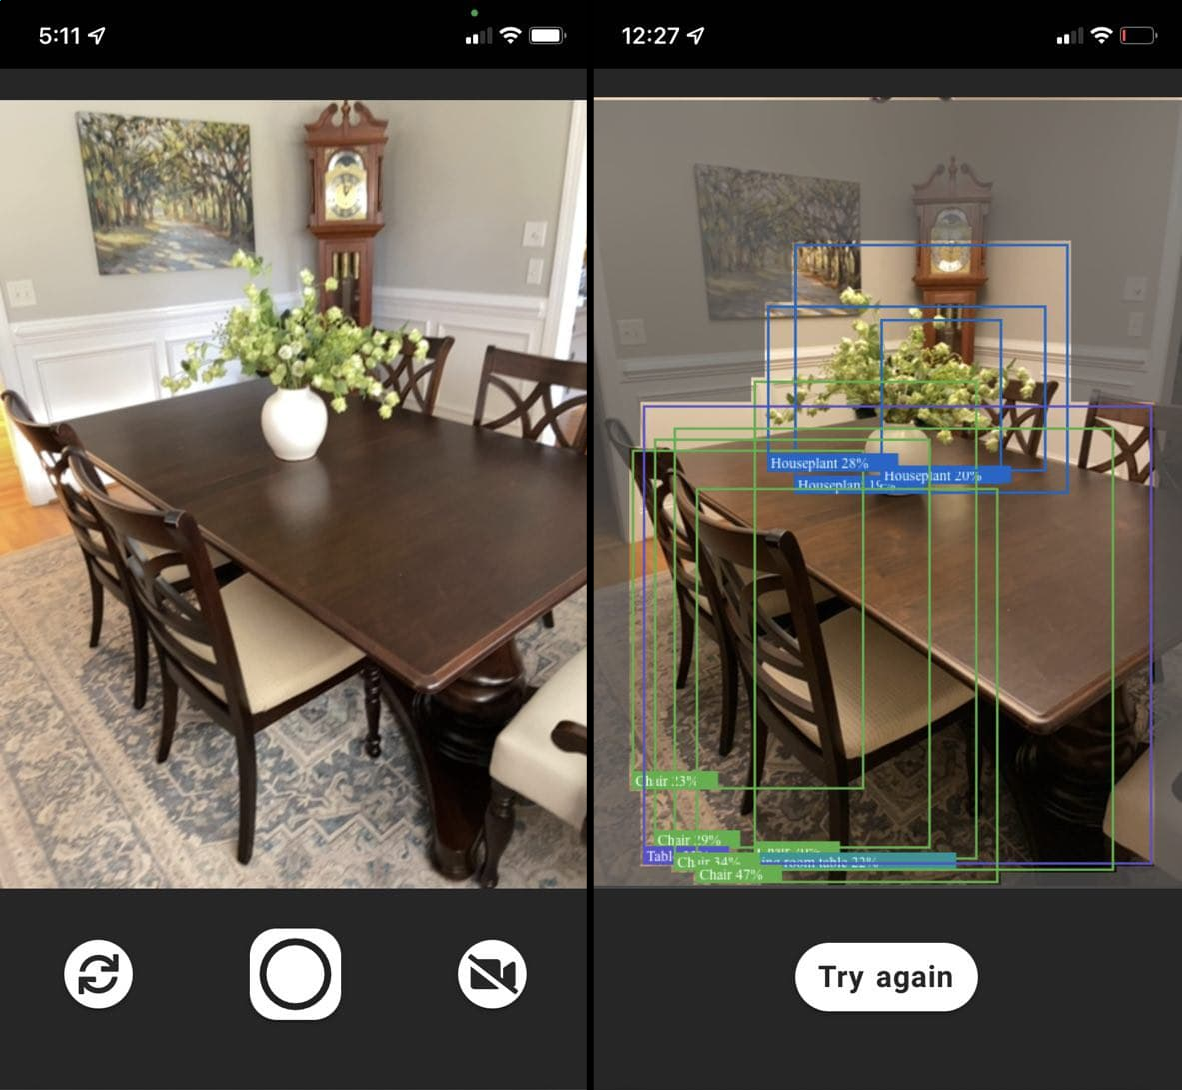
After the application is deployed click on the route to launch the application. Try it out from your laptop or phone with a camera.
Next, we can explore working with streaming data. Head to the next section.