1.5 Serving a model
In the previous section, we learned how to create the code that will use an existing object detection model to identify object in a static image. But of course we cannot use a notebook directly like this in a production environment.
So now we will learn how to service this model as an API that you can directly query from other applications.
Some explanations first:
-
The code that we wrote in the notebook has been repackaged as a single Python file,
prediction.py. Basically, it’s just the code that was in all the cells of the notebook that was put together inside a single file. -
To use this code as a function you can call, we just added a function called
predictthat takes a string as an input, the name of the picture, does the recognition, and sends back the result. Open the file directly in JupyterLab and see for yourself - you should recognize our previous code, with this new function added. -
There are other files in the folder that are used to provide functions to launch a web server that will be used to serve our API.
After these explanations, you are ready to open the file 2_predict.ipynb, to see how we extract the code needed for the prediction.py file. Then, launch notebooks 3_run_flask.ipynb and 4_test_flask.ipynb and follow the instructions directly in the notebooks!

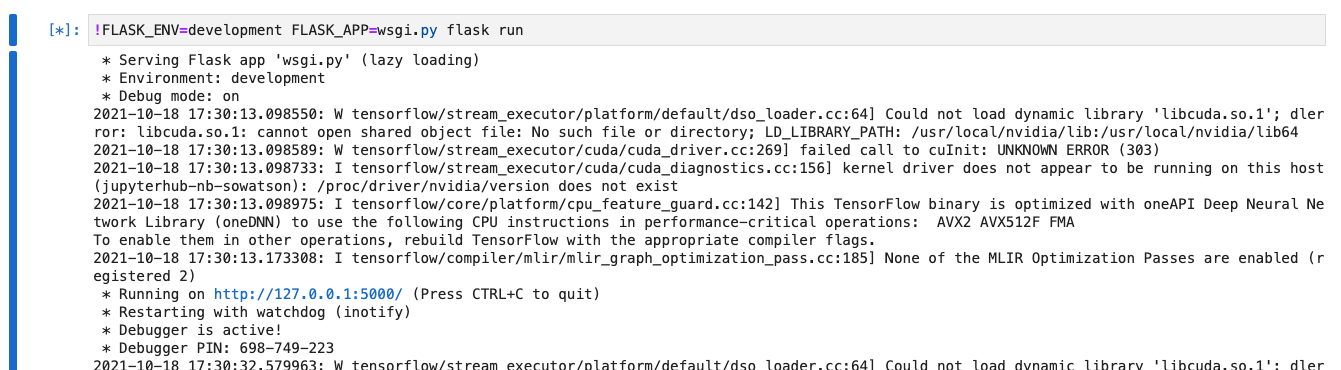
You’ll first launch the Server in notebook 3_run_flask.ipynb:
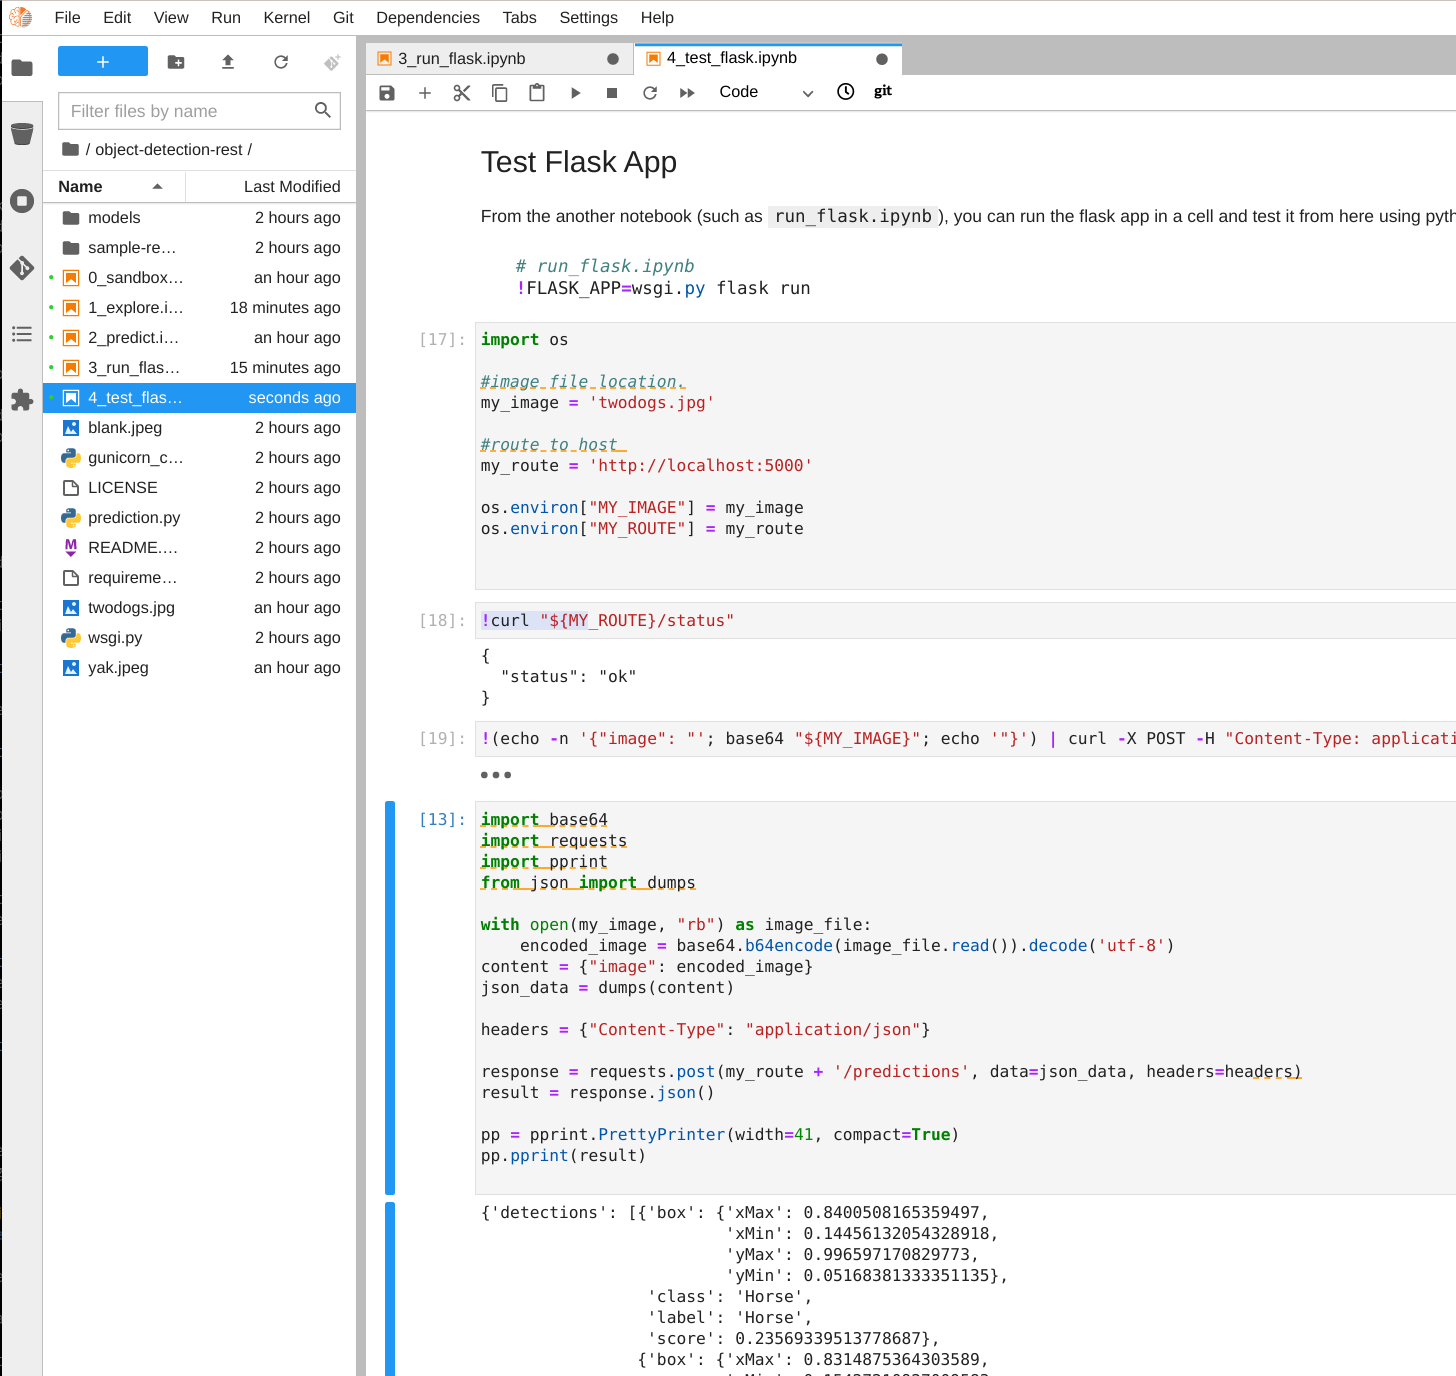
Then query the API from notebok 4_test_flask.ipynb:
Once you’re finished, you can come back here and head to the next section.