Get your Developer Workspace
10 MINUTE EXERCISE
In this lab you will learn about providing your Developer Workspace with a Kubernetes-native development platform and getting familiar with the OpenShift CLI and OpenShift Web Console.
Getting your Developer Workspace with a single click
OpenShift Dev Spaces will provide you an out-of-the-box Developer Workspace with all the tools and the dependencies we need to do the job. And with only one single click!
|
Devfile
OpenShift Dev Spaces uses Devfiles to automate the provisioning of a specific workspace by defining:
Providing a %WORKSHOP_GIT_REPO%/blob/%WORKSHOP_GIT_REF%/devfile.yaml[devfile.yaml^] file inside a Git source repository signals to OpenShift Dev Spaces to configure the project and runtime according to this file. |
Click on the 'Developer Workspace' button below

Then Click 'Log in with OpenShift'
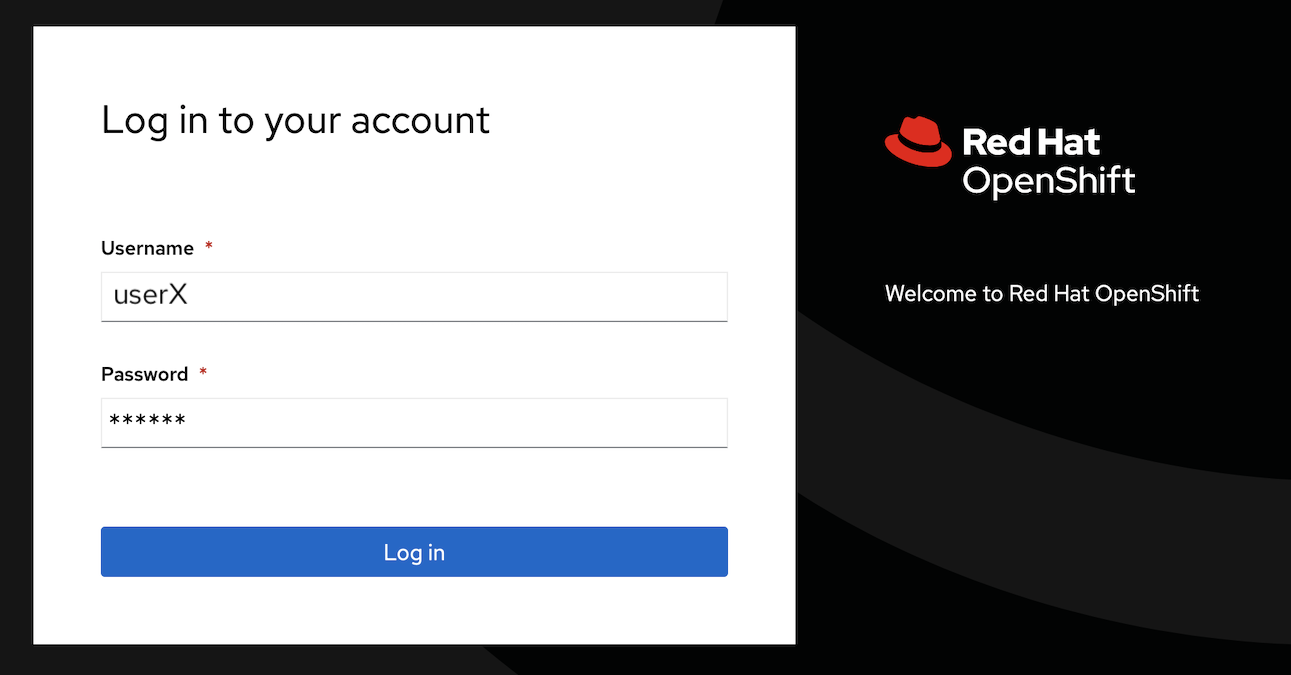
Then login as user%USER_ID%/%OPENSHIFT_PASSWORD%.
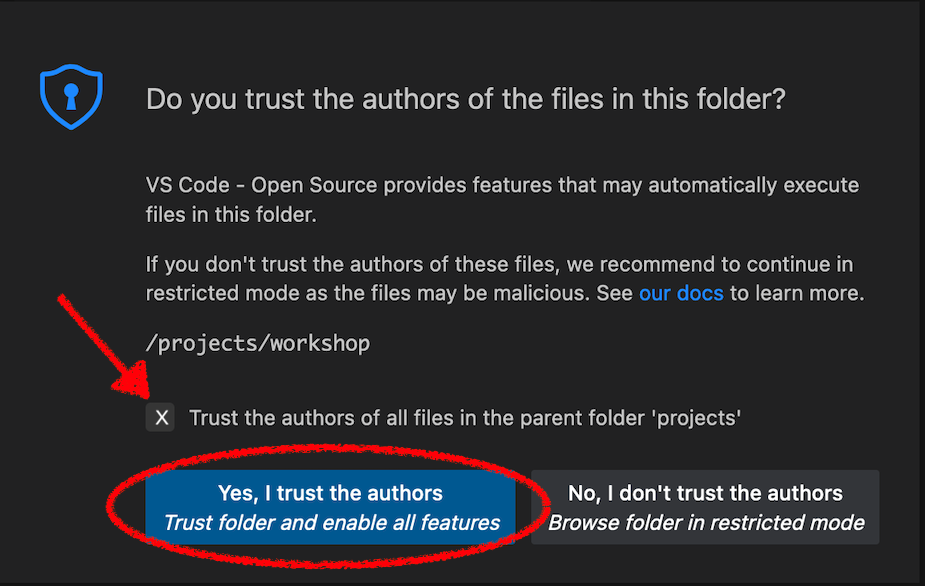
Now there are a couple of steps before we can get started. Firstly you need to Trust the Git source you need to import for this workshop
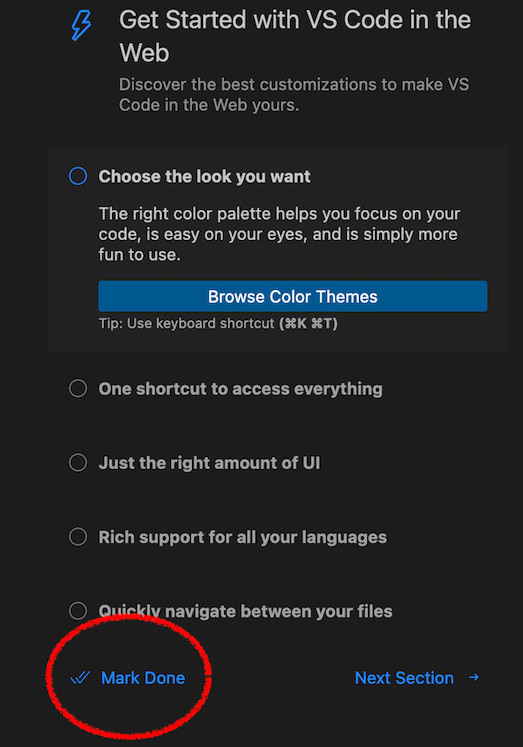
Then you need to accept or select the Visual Studio Code UI Settings. You can just click Mark Done to skip these.
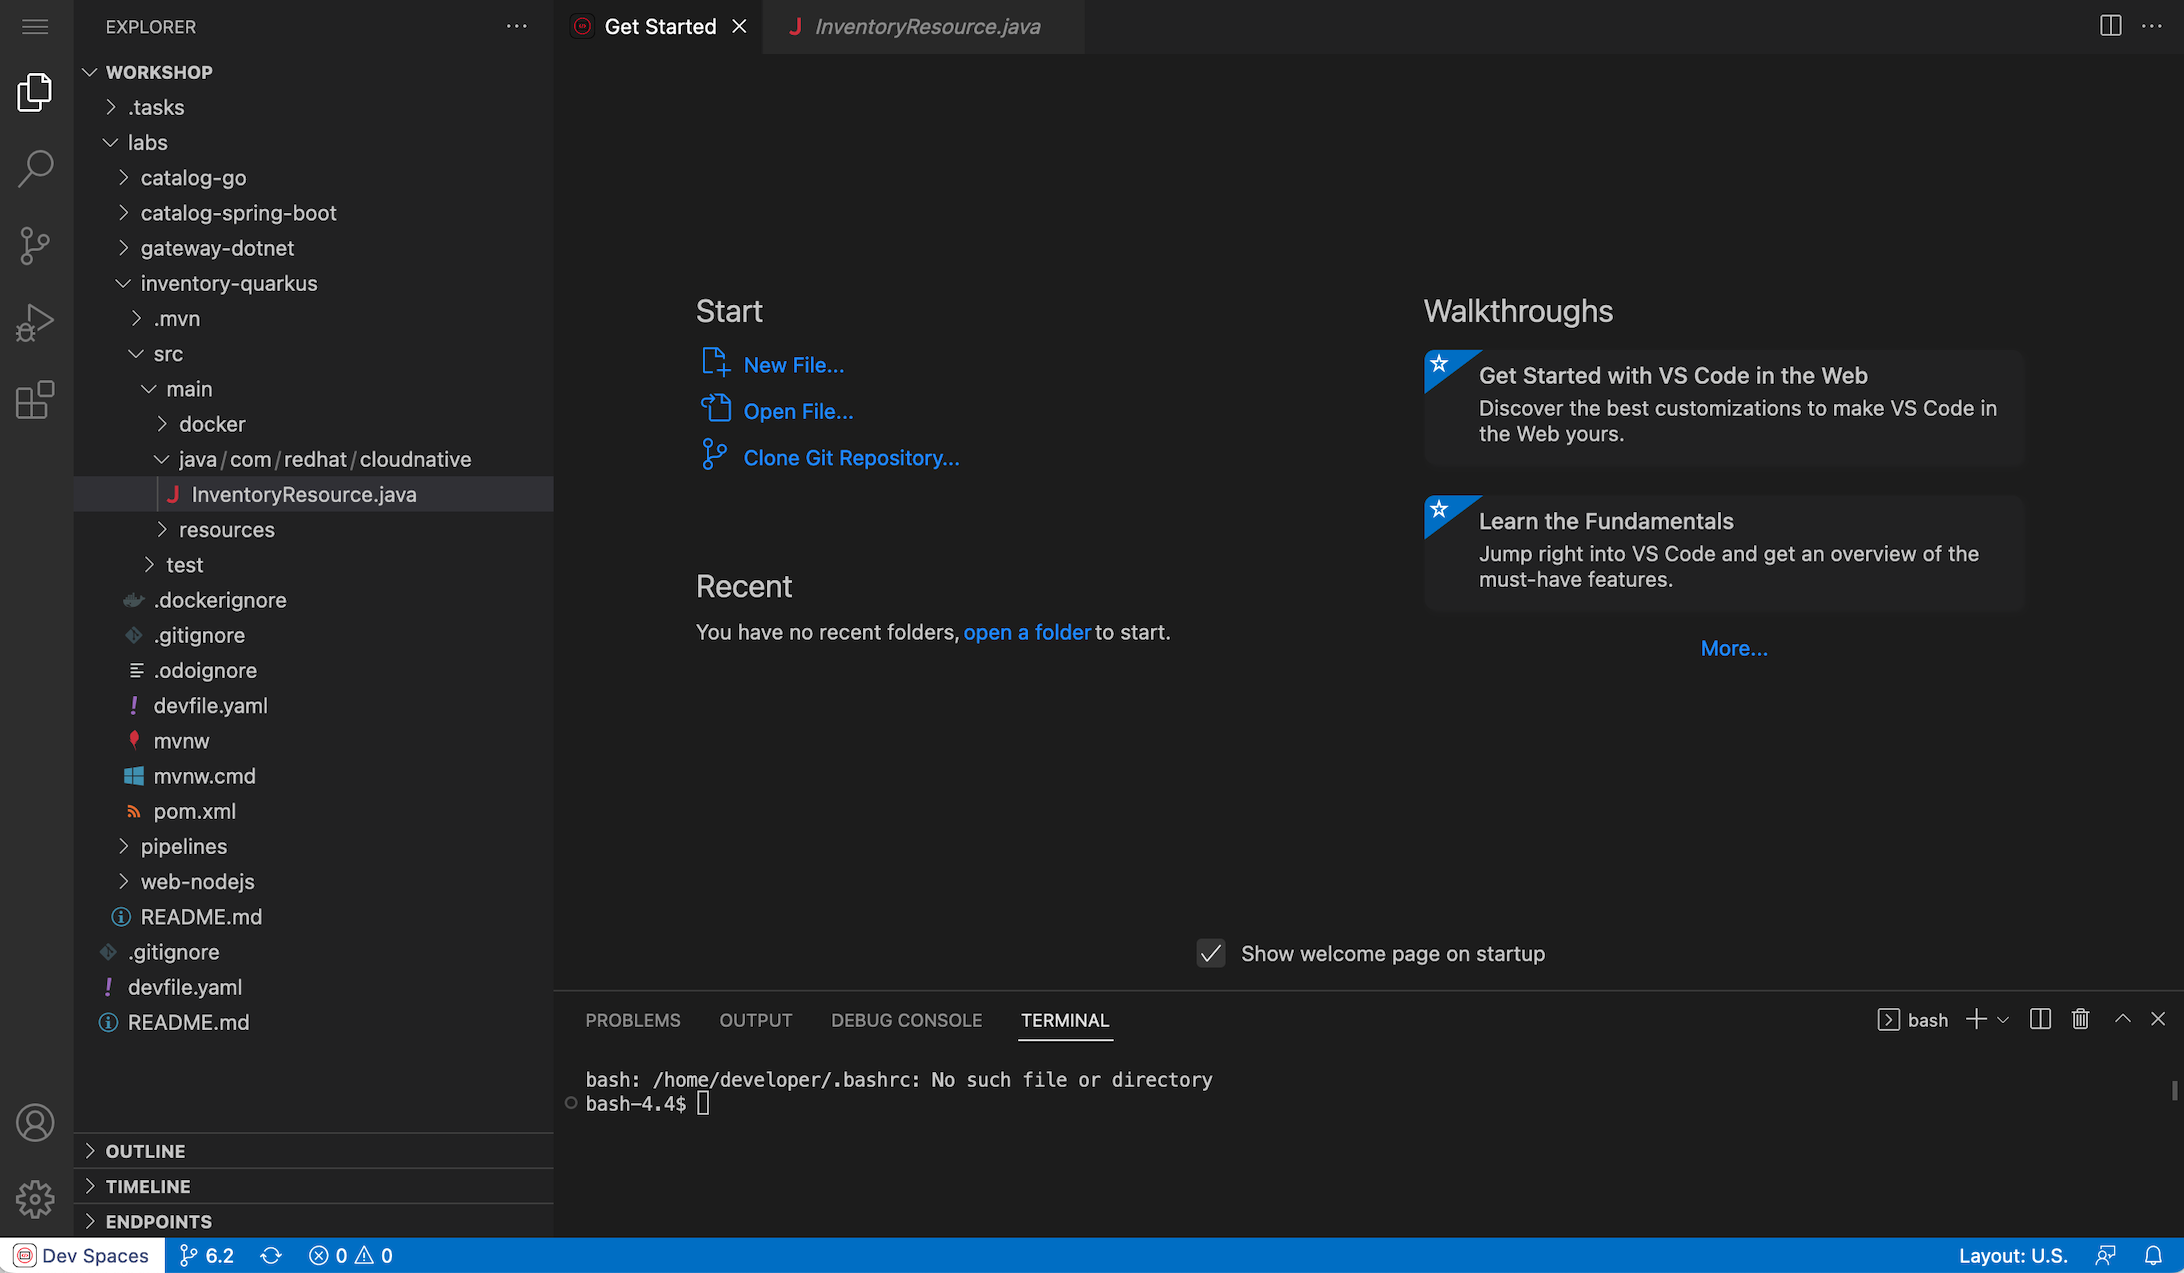
Once completed, you will have a fully functional Browser-based IDE within the source code already imported.
Connect Your Workspace to Your OpenShift User
First, in your Workspace,
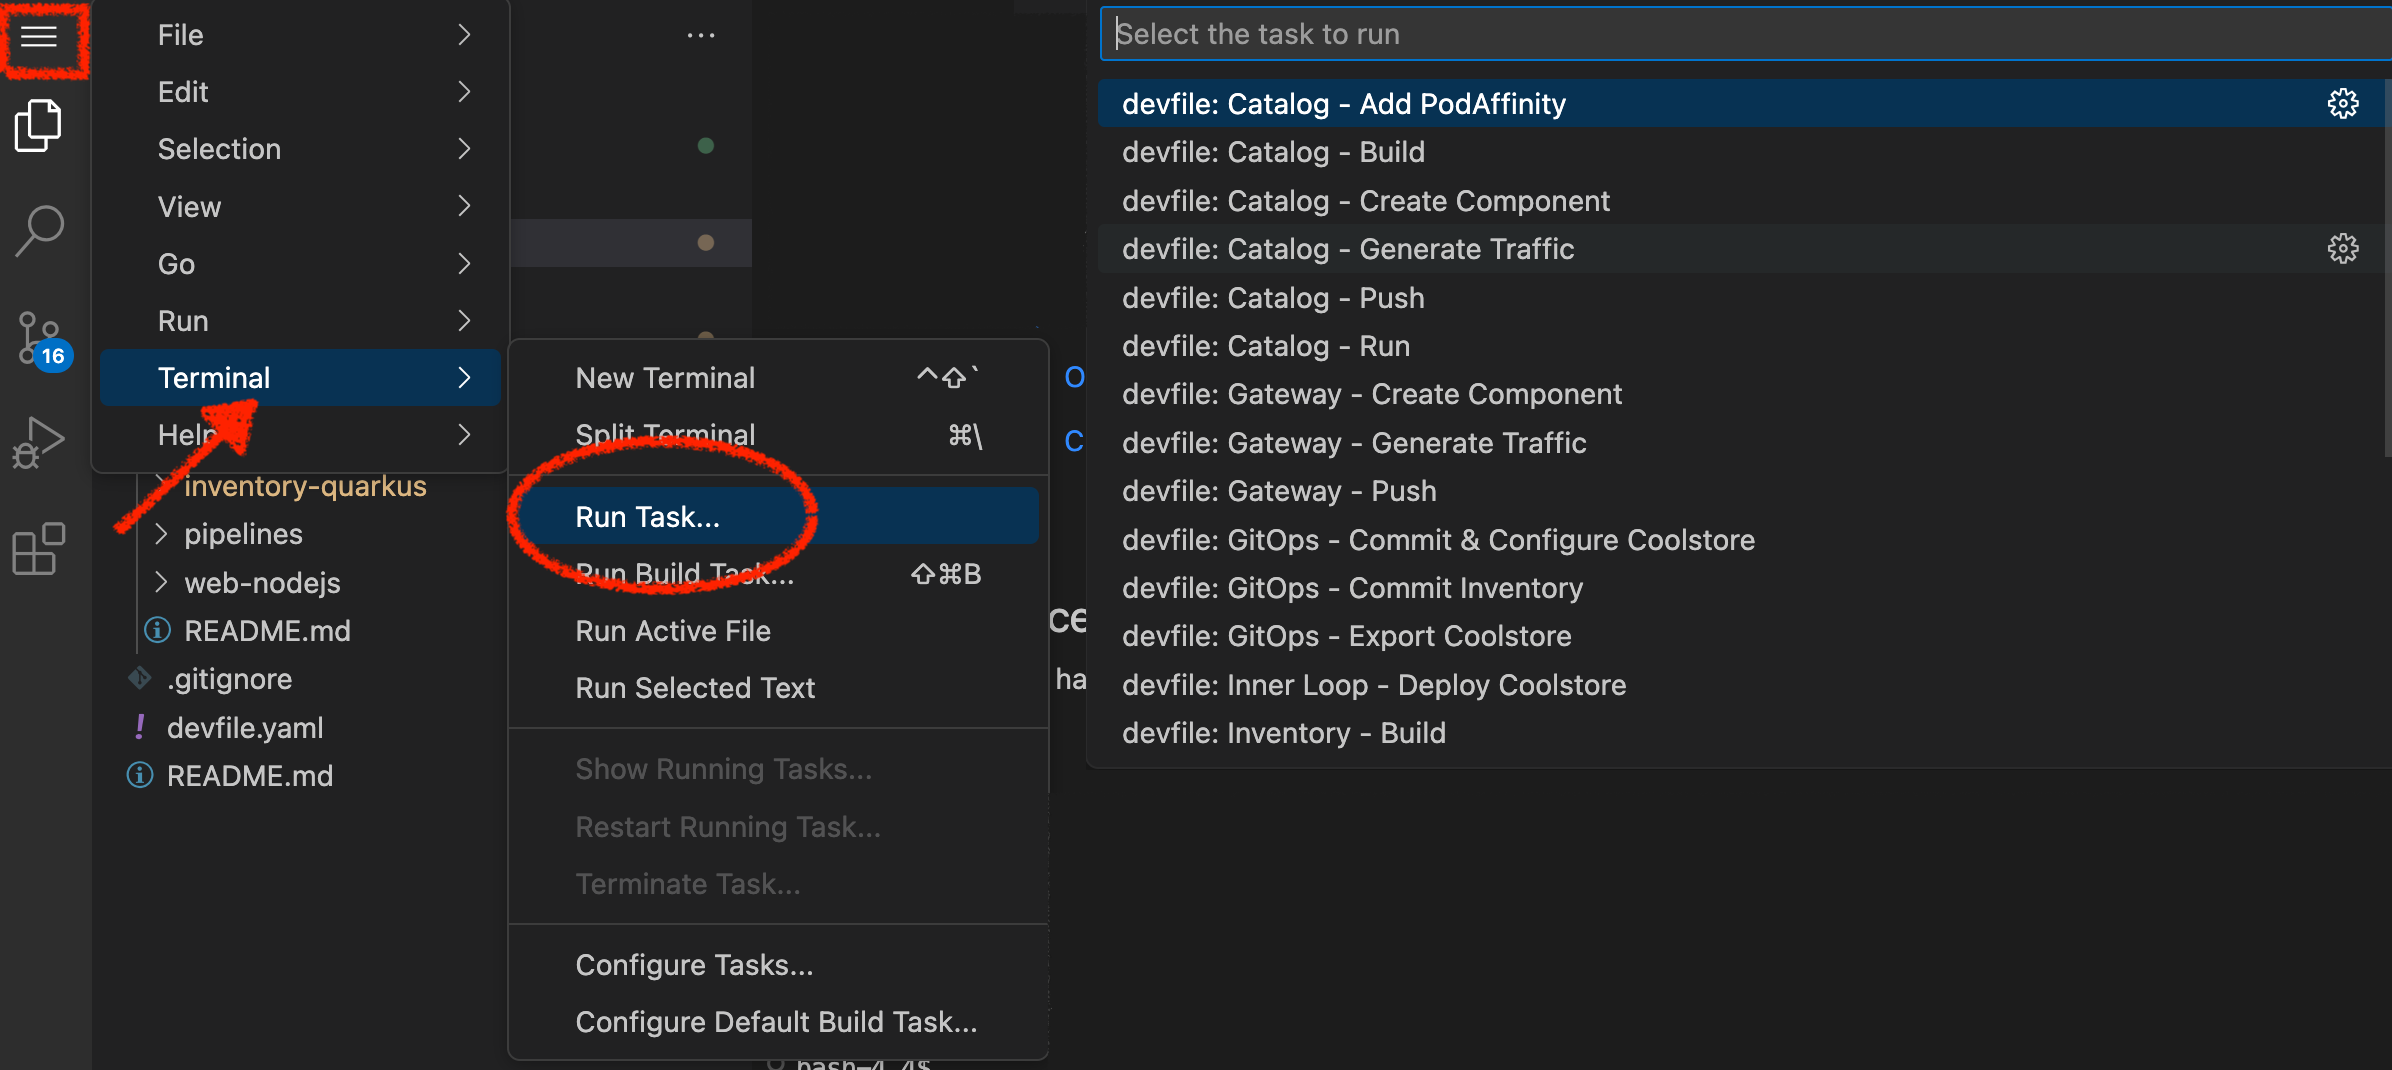
Click on 'Terminal' → 'Run Task…' → 'devfile: OpenShift - Login'
Execute the following commands in the terminal window
odo login $(oc whoami --show-server) --username=user%USER_ID% --password=%OPENSHIFT_PASSWORD% --insecure-skip-tls-verify
To open a terminal window, click on 'Terminal' → 'New Terminal'
|
The output should be as follows:
Connecting to the OpenShift cluster

Login successful.

You have access to the following projects and can switch between them with 'odo project set <project-name>':

  *cn-project%USER_ID%
  user%USER_ID% -devspaces

Using project "cn-project%USER_ID%".

Welcome! See 'odo help' to get started.
Then, create your Development Environment:
Click on 'Terminal' → 'Run Task…' → 'devfile: OpenShift - Create Development Project'
Execute the following commands in the terminal window
odo project create my-project%USER_ID%
To open a terminal window, click on 'Terminal' → 'New Terminal'
|
The output should be as follows:
 ✓  Project 'my-project%USER_ID%' is ready for use
 ✓  New project created and now using project: my-project%USER_ID%
Log in to the OpenShift Developer Console
OpenShift ships with a web-based console that will allow users to perform various tasks via a browser.
Click on the 'Developer Console' button below

Enter your username and password (user%USER_ID%/%OPENSHIFT_PASSWORD%) and
then log in. After you have authenticated to the web console, you will be presented with a
list of projects that your user has permission to work with.
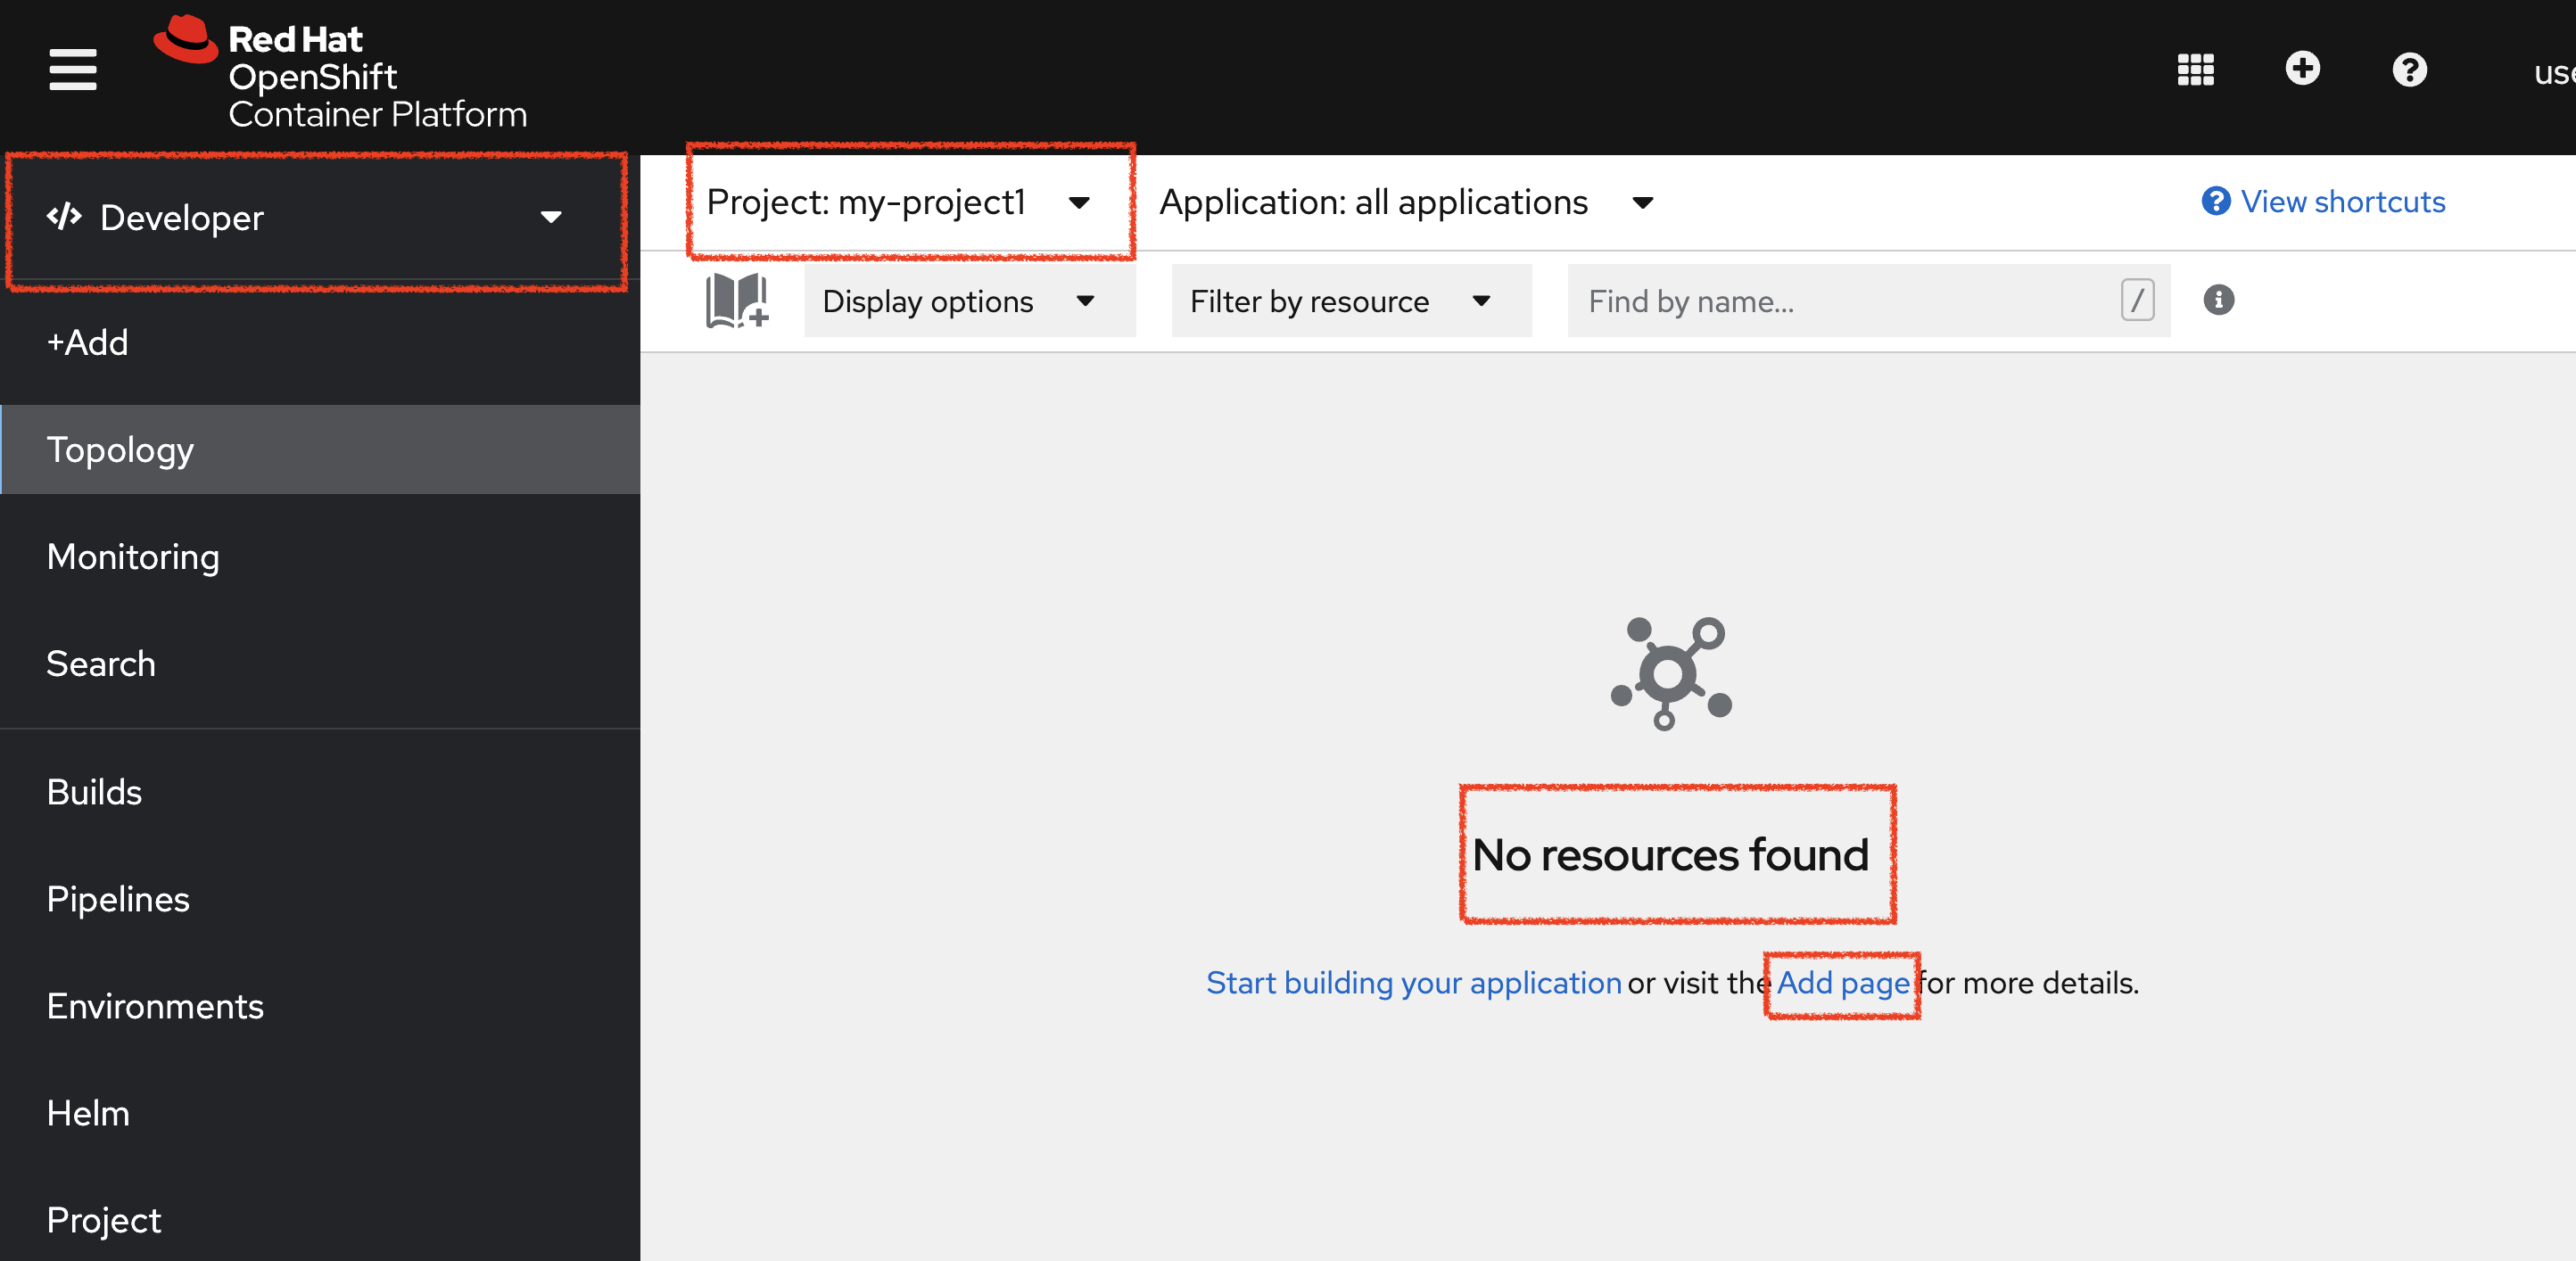
Select the 'Developer View' then your 'my-project%USER_ID%' to be taken to the project overview page
which will list all of the routes, services, deployments, and pods that you have
running as part of your project. There’s nothing there now, but that’s about to
change.
Now you are ready to get started with the labs!