Create Catalog Service with Spring Boot
30 MINUTE EXERCISE
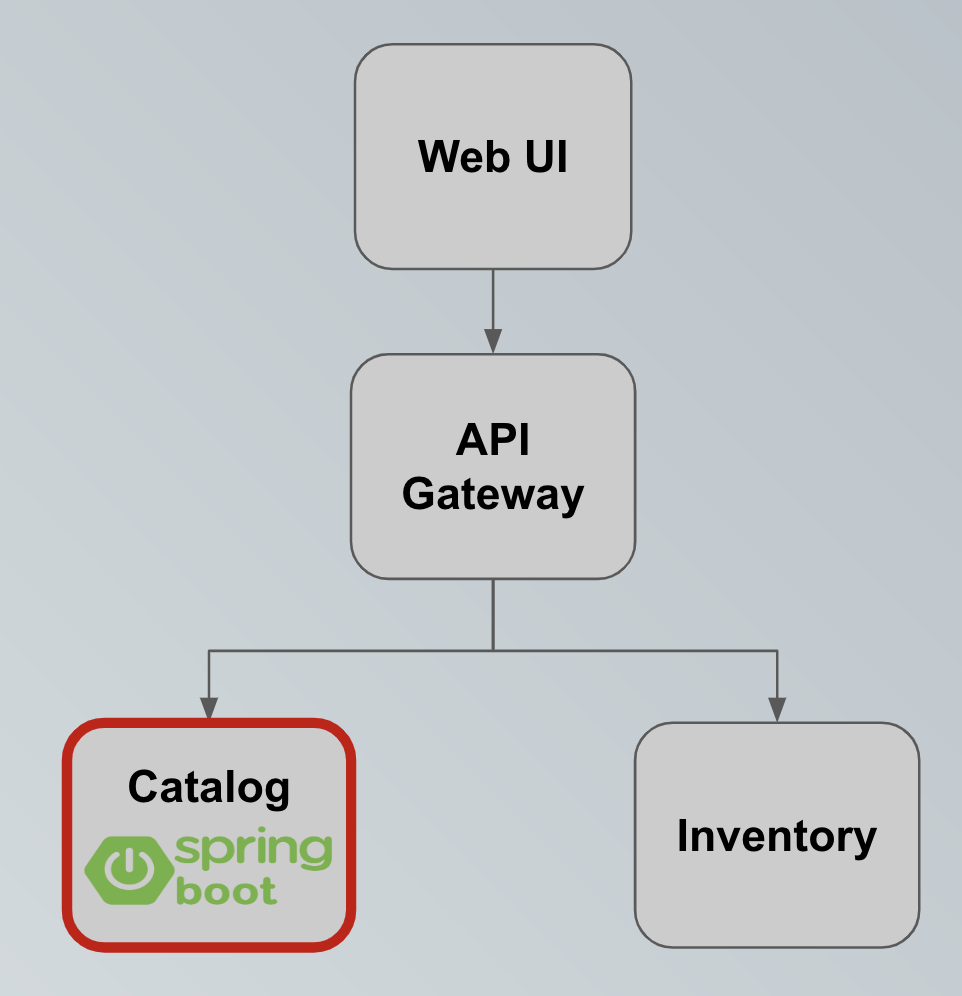
In this lab you will learn about Spring Boot and how you can build microservices using Spring Boot and JBoss technologies. During this lab, you will create a REST API for the Catalog service in order to provide a list of products for the CoolStore online shop.
What is Spring Boot?
Spring Boot is an opinionated framework that makes it easy to create stand-alone Spring based applications with embedded web containers such as Tomcat (or JBoss Web Server), Jetty and Undertow that you can run directly on the JVM using java -jar. Spring Boot also allows producing a war file that can be deployed on stand-alone web containers.
The opinionated approach means many choices about Spring platform and third-party libraries are already made by Spring Boot so that you can get started with minimum effort and configuration.
Spring Boot Maven Project
The catalog-spring-boot project has the following structure which shows the components of the Spring Boot project laid out in different subdirectories according to Maven best practices.
For the duration of this lab you will be working in the catalog-spring-boot directories shown below:
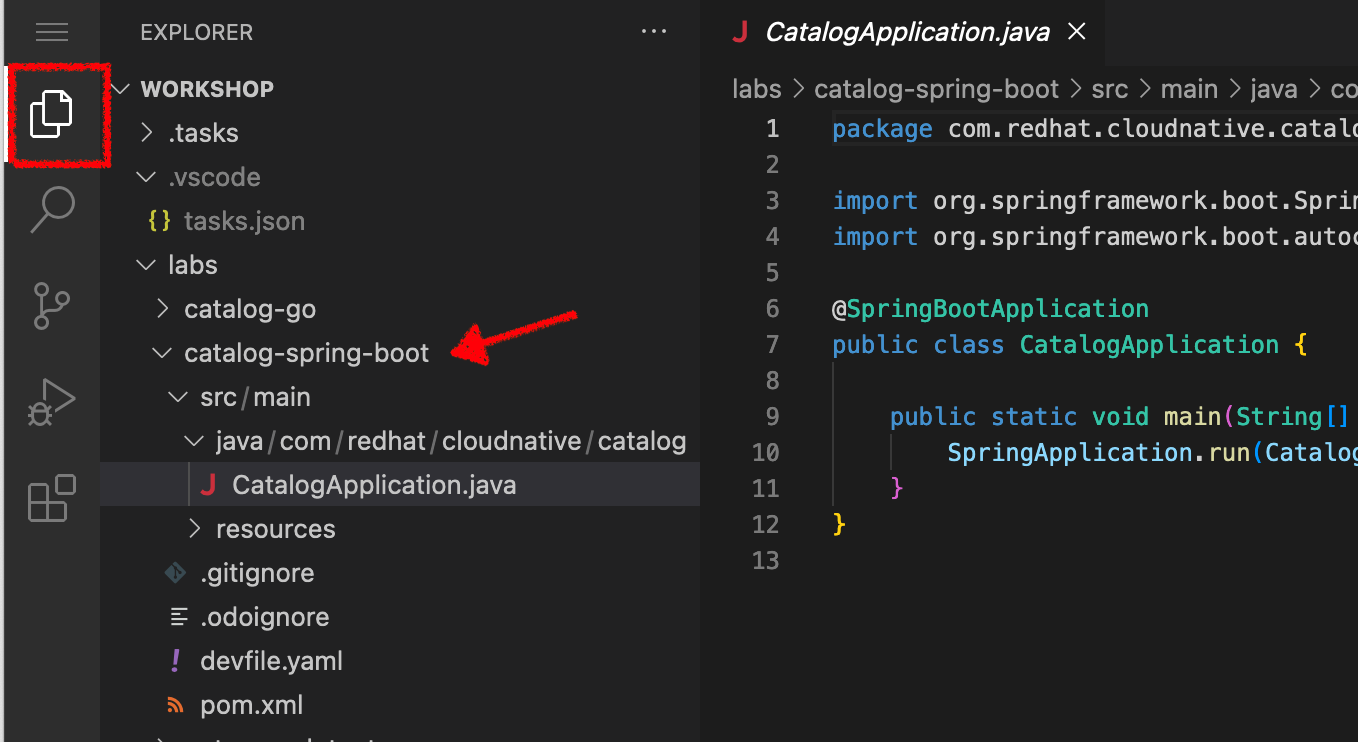
This is a minimal Spring Boot project with support for RESTful services and Spring Data with JPA for connecting to a database. This project currently contains no code other than the main class, CatalogApplication which is there to bootstrap the Spring Boot application.
Examine 'com.redhat.cloudnative.catalog.CatalogApplication' class in the labs/catalog-spring-boot/src/main directory:
package com.redhat.cloudnative.catalog;

import org.springframework.boot.SpringApplication;
import org.springframework.boot.autoconfigure.SpringBootApplication;

@SpringBootApplication
public class CatalogApplication {

    public static void main(String[] args) {
        SpringApplication.run(CatalogApplication.class, args);
    }
}
The database is configured using the Spring application configuration file which is located at src/main/resources/application.properties. Examine this file to see the database connection details and note that an in-memory H2 database is used in this lab for local development and will be replaced with a PostgreSQL database in the following labs. Be patient! More on that later.
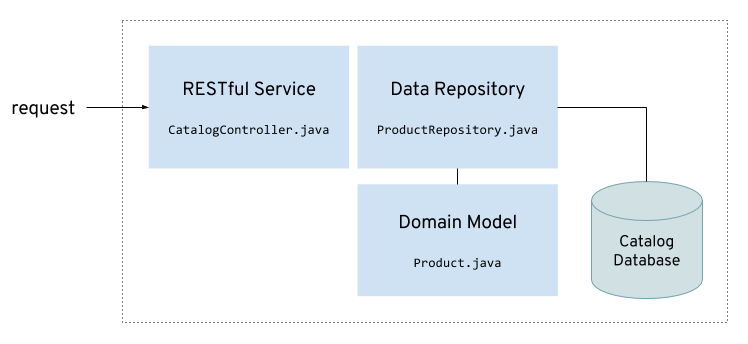
Let’s get coding and create a domain model, data repository, and a RESTful endpoint to create the Catalog service:
Create the Domain Model
In your Workspace, create the 'src/main/java/com/redhat/cloudnative/catalog/Product.java' file
package com.redhat.cloudnative.catalog;

import java.io.Serializable;

import javax.persistence.Entity;
import javax.persistence.Id;
import javax.persistence.Table;

@Entity (1)
@Table(name = "PRODUCT") (2)
public class Product implements Serializable {

  private static final long serialVersionUID = 1L;

  @Id (3)
  private String itemId;

  private String name;

  private String description;

  private double price;

  public Product() {
  }

  public String getItemId() {
    return itemId;
  }

  public void setItemId(String itemId) {
    this.itemId = itemId;
  }

  public String getName() {
    return name;
  }

  public void setName(String name) {
    this.name = name;
  }

  public String getDescription() {
    return description;
  }

  public void setDescription(String description) {
    this.description = description;
  }

  public double getPrice() {
    return price;
  }

  public void setPrice(double price) {
    this.price = price;
  }

  @Override
  public String toString() {
    return "Product [itemId=" + itemId + ", name=" + name + ", price=" + price + "]";
  }
}| 1 | @Entity marks the class as a JPA entity |
| 2 | @Table customizes the table creation process by defining a table name and database constraint |
| 3 | @Id marks the primary key for the table |
Create a Data Repository
Spring Data repository abstraction simplifies dealing with data models in Spring applications by reducing the amount of boilerplate code required to implement data access layers for various persistence stores. Repository and its sub-interfaces are the central concept in Spring Data which is a marker interface to provide data manipulation functionality for the entity class that is being managed. When the application starts, Spring finds all interfaces marked as repositories and for each interface found, the infrastructure configures the required persistent technologies and provides an implementation for the repository interface.
Create a new Java interface named ProductRepository in com.redhat.cloudnative.catalog package and extend CrudRepository interface in order to indicate to Spring that you want to expose a complete set of methods to manipulate the entity.
In your Workspace,
create the 'src/main/java/com/redhat/cloudnative/catalog/ProductRepository.java' file.
package com.redhat.cloudnative.catalog;

import org.springframework.data.repository.CrudRepository;

public interface ProductRepository extends CrudRepository<Product, String> { (1)
}| 1 | CrudRepository interface in order to indicate to Spring that you want to expose a complete set of methods to manipulate the entity |
That’s it! Now that you have a domain model and a repository to retrieve the domain model, let’s create a RESTful service that returns the list of products.
Create a RESTful Service
Spring Boot uses Spring Web MVC as the default RESTful stack in Spring applications. Create a new Java class named CatalogController in com.redhat.cloudnative.catalog package.
In your Workspace,
create the 'src/main/java/com/redhat/cloudnative/catalog/CatalogController.java' file.
package com.redhat.cloudnative.catalog;

import java.util.List;
import java.util.Spliterator;
import java.util.stream.Collectors;
import java.util.stream.StreamSupport;

import org.springframework.beans.factory.annotation.Autowired;
import org.springframework.http.MediaType;
import org.springframework.web.bind.annotation.GetMapping;
import org.springframework.web.bind.annotation.RequestMapping;
import org.springframework.web.bind.annotation.ResponseBody;
import org.springframework.web.bind.annotation.RestController;

@RestController
@RequestMapping(value = "/api/catalog") (1)
public class CatalogController {

    @Autowired (2)
    private ProductRepository repository; (3)

    @ResponseBody
    @GetMapping(produces = MediaType.APPLICATION_JSON_VALUE)
    public List<Product> getAll() {
        Spliterator<Product> products = repository.findAll().spliterator();
        return StreamSupport.stream(products, false).collect(Collectors.toList());
    }
}| 1 | @RequestMapping indicates the above REST service defines an endpoint that is accessible via HTTP GET at /api/catalog |
| 2 | Spring Boot automatically provides an implementation for ProductRepository at runtime and injects it into the controller using the @Autowired annotation. |
| 3 | the repository attribute on the controller class is used to retrieve the list of products from the databases. |
Now, let’s build and package the updated Catalog Service using Maven. In your Workspace,
Click on 'Terminal' → 'Run Task…' → 'devfile: Catalog - Build'
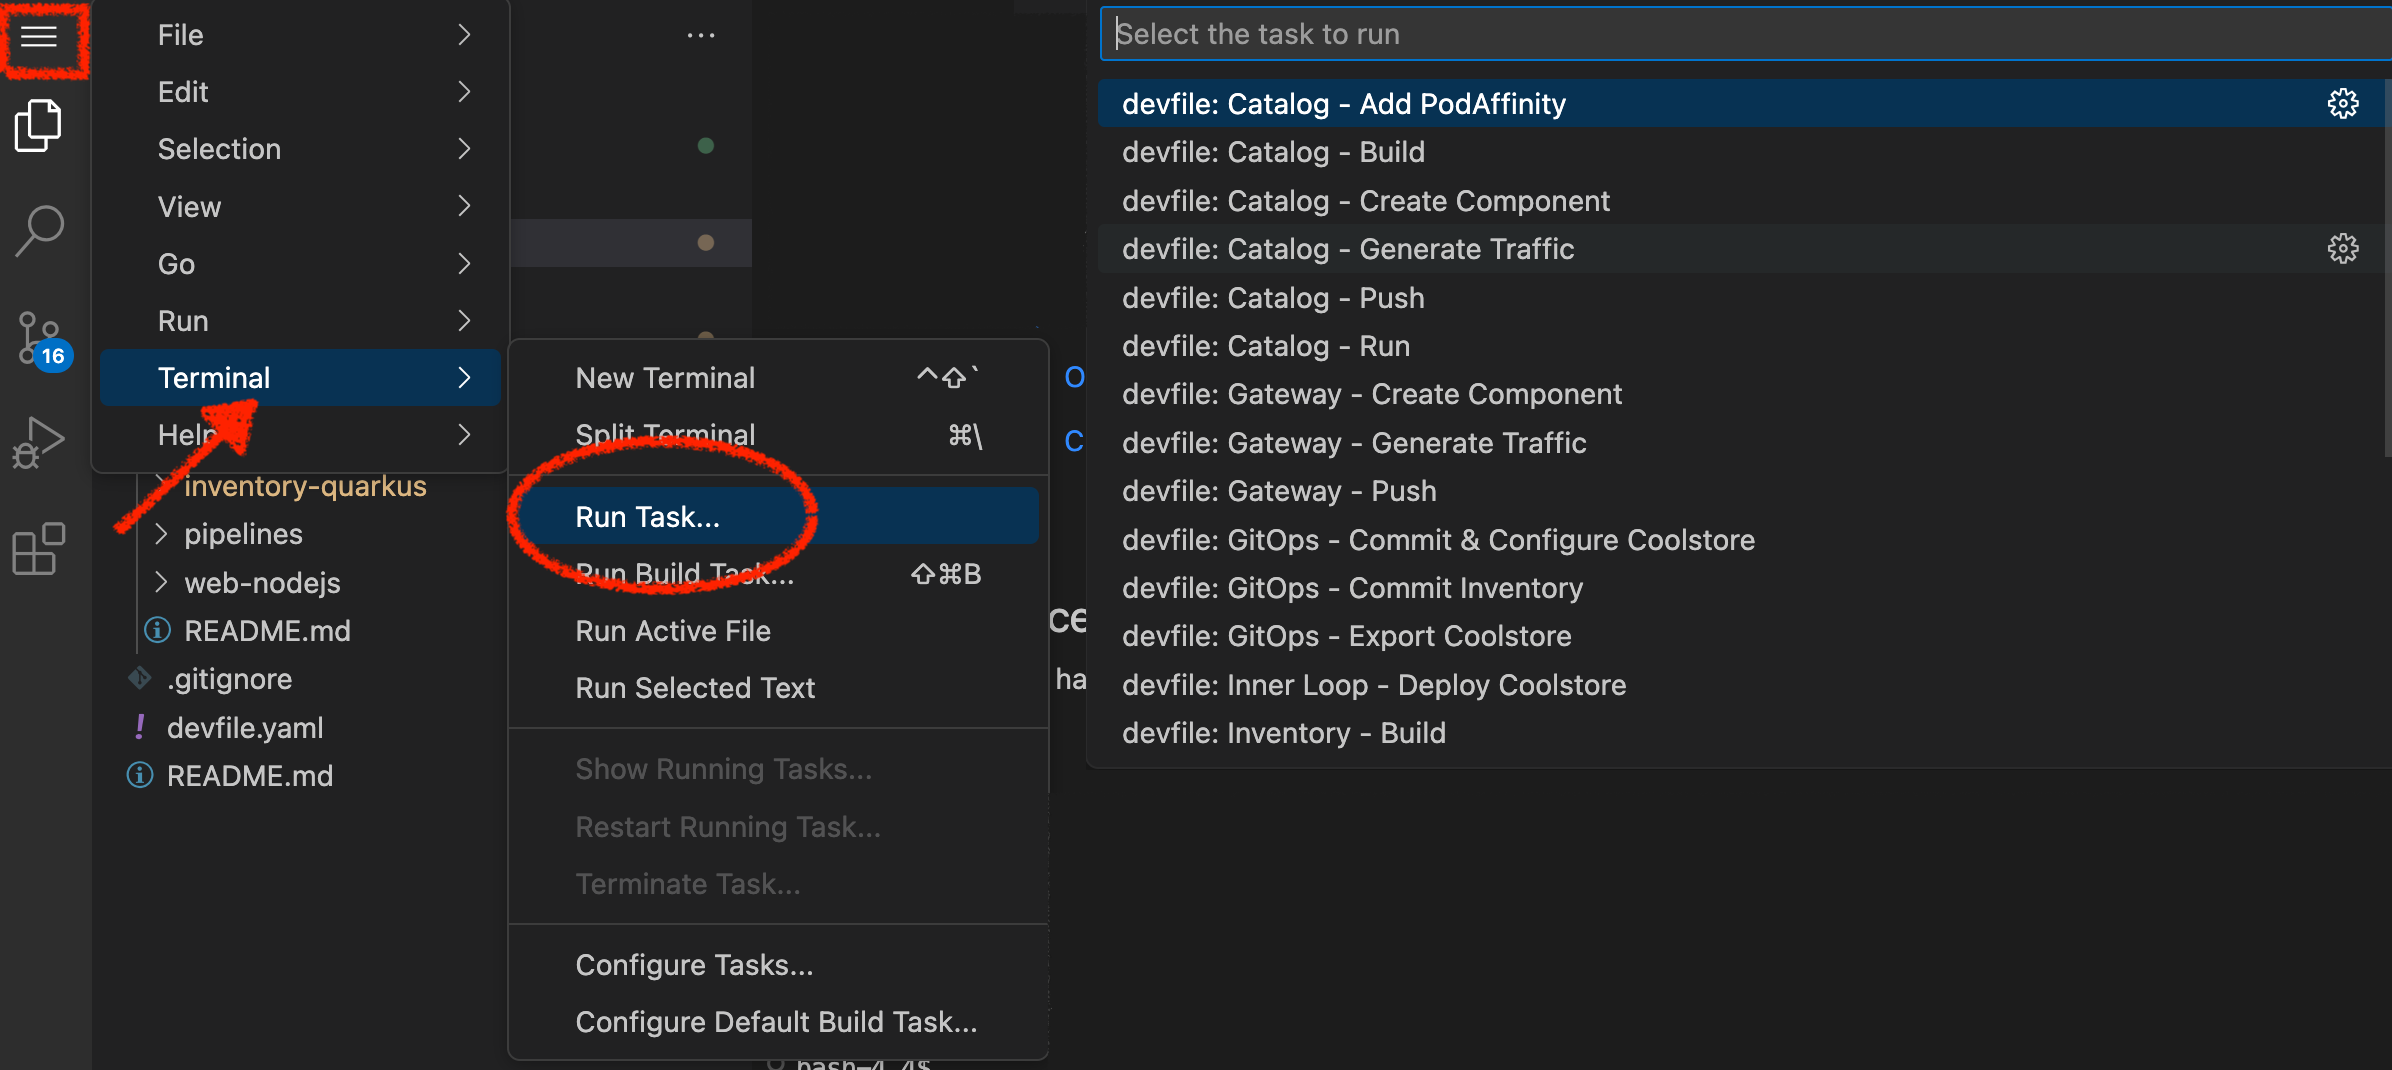
Execute the following commands in the terminal window
cd /projects/workshop/labs/catalog-spring-boot
mvn clean package -DskipTests
To open a terminal window, click on 'Terminal' → 'New Terminal'
|
Once done, you can conviently run your service using Spring Boot maven plugin and test the endpoint.
Click on 'Terminal' → 'Run Task…' → 'devfile: Catalog - Run'
Execute the following commands in the terminal window
cd /projects/workshop/labs/catalog-spring-boot
mvn spring-boot:run
To open a terminal window, click on 'Terminal' → 'New Terminal'
|
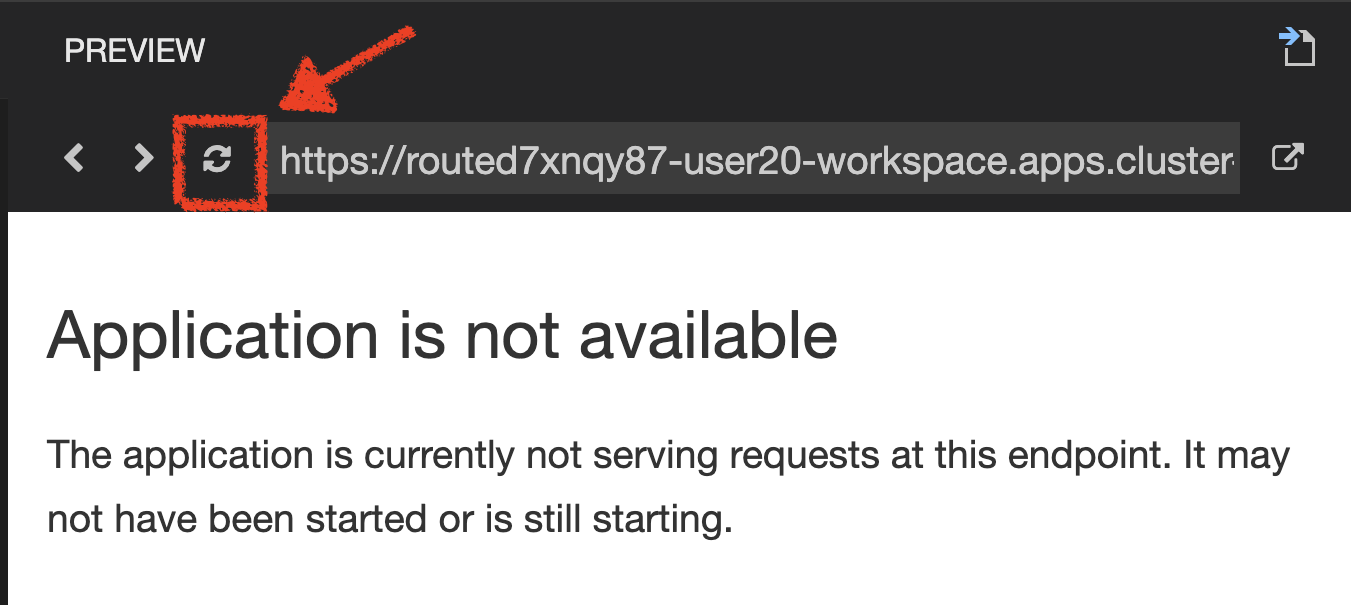
When pop-ups appear, confirm you want to expose the 8080 port by clicking on 'Open in New Tab'.

Your browser will be directed to your Catalog Service running inside your Workspace.
|
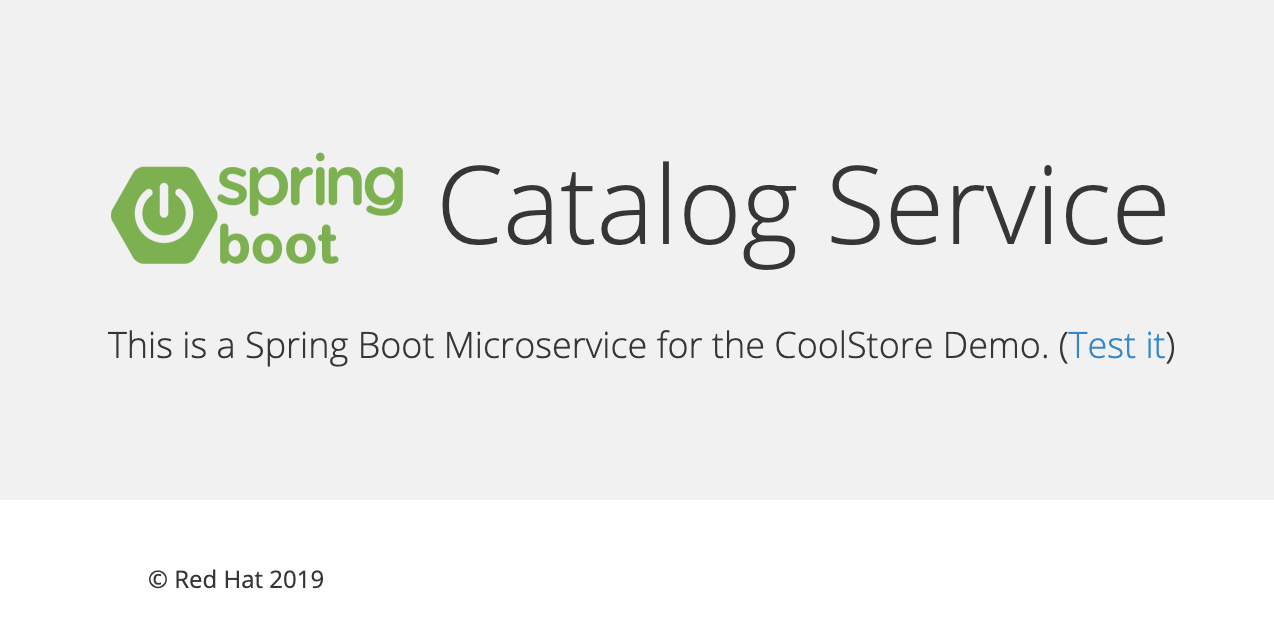
Then click on 'Test it'. You should have similar output to this array of json:
[{"itemId":"329299","name":"Red Fedora","desc":"Official Red Hat Fedora","price":34.99},...]The REST API returned a JSON object representing the product list. Congratulations!
Stop the Service
In your Workspace, stop the service as follows:
Deploy on OpenShift
It’s time to deploy your service on OpenShift.
As you did previously, create a new Component, a New URL then Push it in to the OpenShift cluster
by using the following inputs:
Click on 'Terminal' → 'Run Task…' → 'devfile: Catalog - Create Component'
Then, click on 'Terminal' → 'Run Task…' → 'devfile: Catalog - Push'
Execute the following commands in the terminal window
cd /projects/workshop/labs/catalog-spring-boot
odo create --app coolstore --project my-project%USER_ID%
Execute the following commands in the terminal window
odo push
To open a terminal window, click on 'Terminal' → 'New Terminal'
|
Once this completes, your application should be up and running. OpenShift runs the different components of the application in one or more pods which are the unit of runtime deployment and consists of the running containers for the project.
Test your Service
In the OpenShift Web Console, from the Developer view,
click on the 'Open URL' icon of the Catalog Service
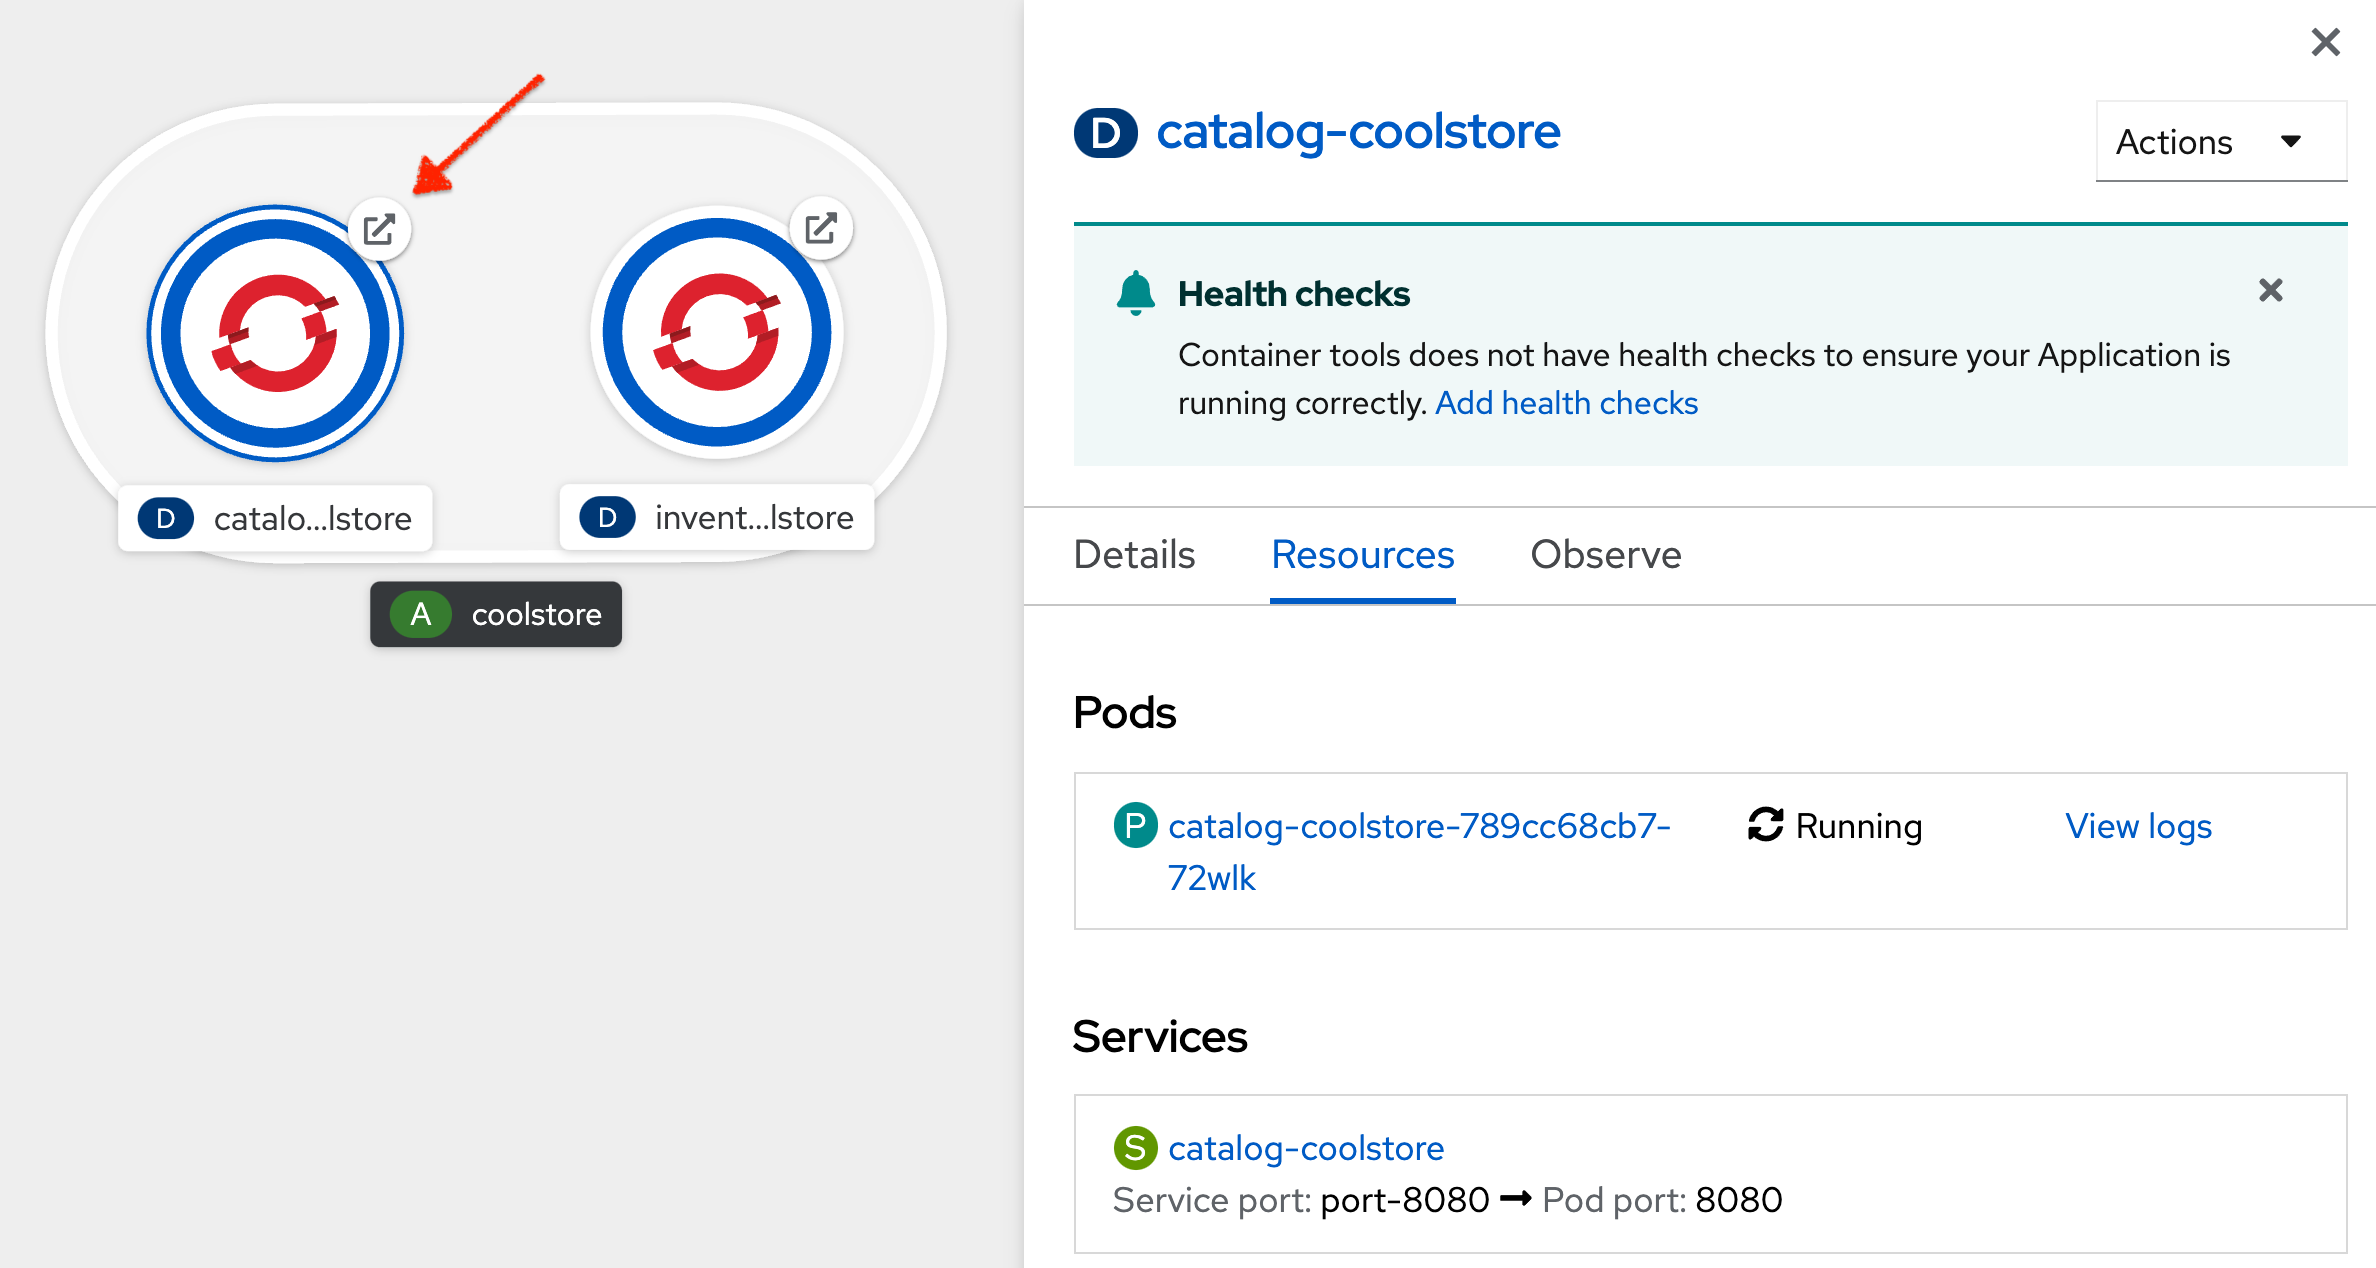
Your browser will be redirect on your Catalog Service running on OpenShift.
Then click on 'Test it'. You should have a similar array of json output:
[{"itemId":"329299","name":"Red Fedora","desc":"Official Red Hat Fedora","price":34.99},...]Well done! You are ready to move on to the next lab.