Vagrant
In this section, you’ll learn:
-
Installing Oracle VM VirtualBox and Vagrant
-
Boot up Virtual Machines using Vagrant
Host and Guest machines
When using Virtual Machines there are two important concepts you need to be aware of, that is the guest and the host machine.
- Host
-
It’s the physical machine where you install the operative system that managesthe computer. In thescope of this tutorial, it’s your machine.
- Guest
-
It’s the virtual machine that is installed, executed and hosted on the host physical machine.

Oracle VM Virtual Box
Oracle VM VirtualBox is a type-2 hypervisor for x86 virtualization used in order to run virtual machines, on the local computer.
With VirtualBox can load multiple guest OSes under a single host operating-system (host OS). Each guest can be started, paused and stopped independently within its own virtual machine.
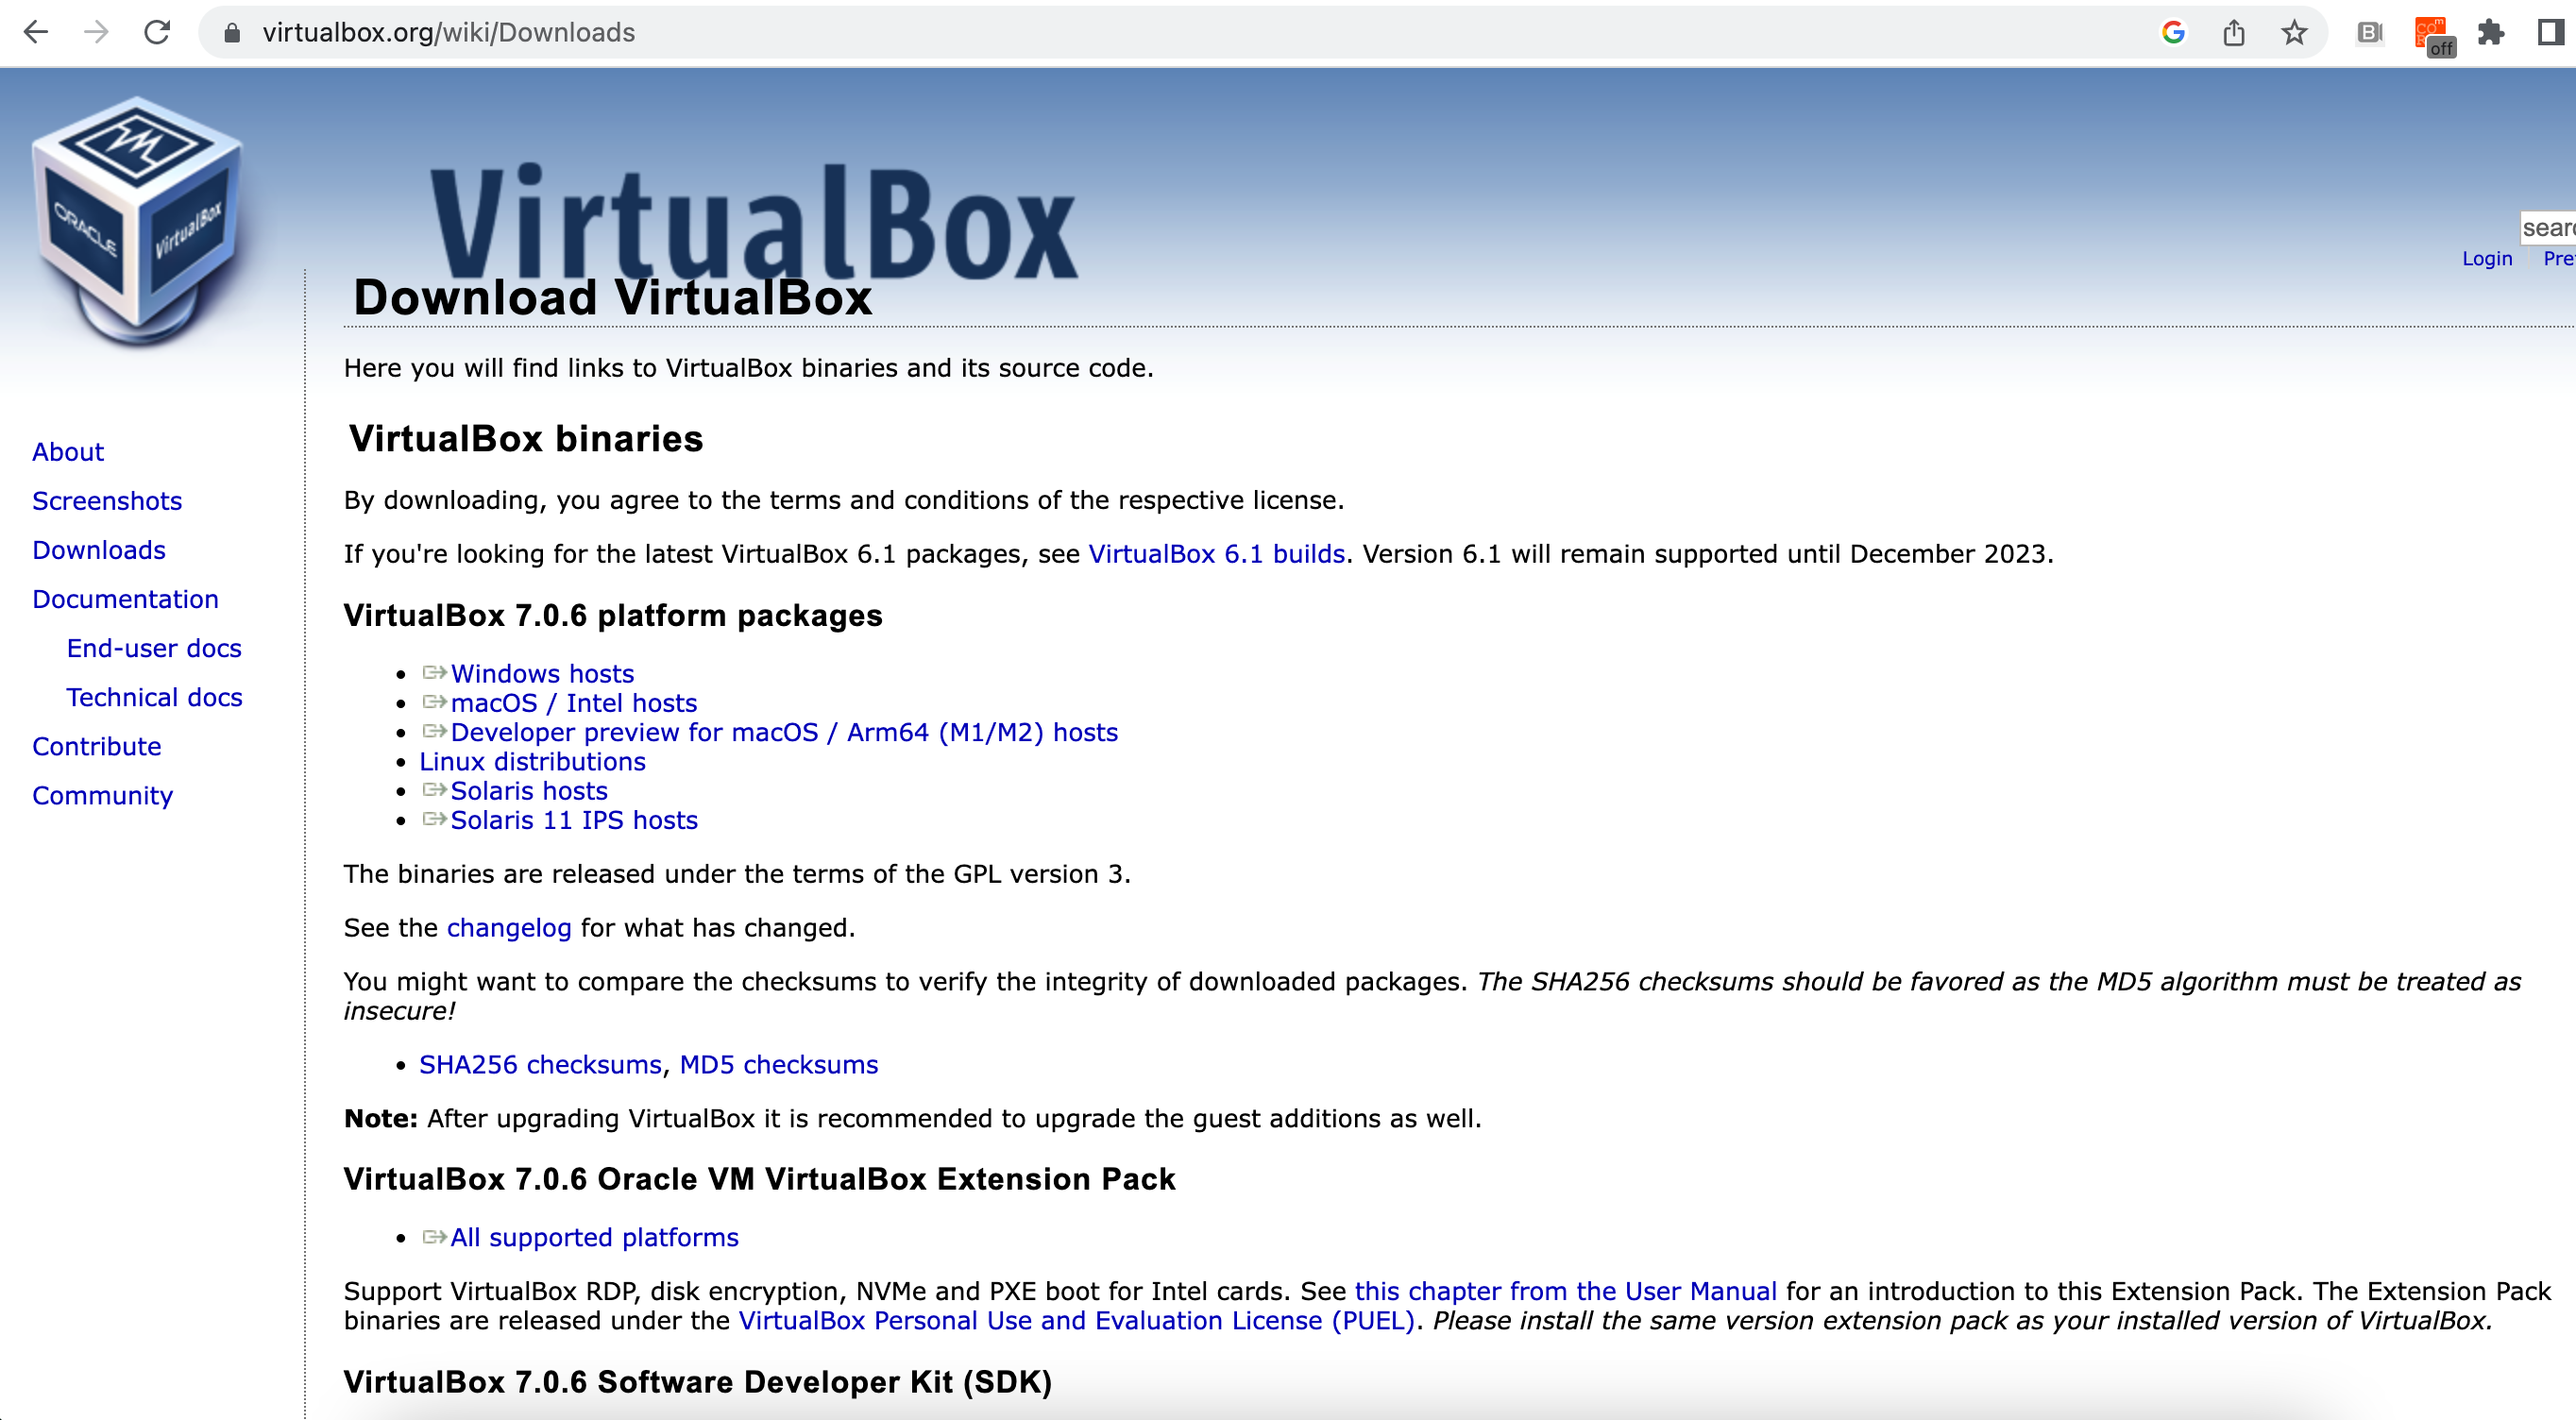
To install VirtualBox, go to Virtual Box Download Page, select your operative system package, and install it.

When installed, you don’t need to start it, Vagrant will do it for you.
Vagrant
Vagrant is an open-source software product for building and maintaining portable virtual software development environments.
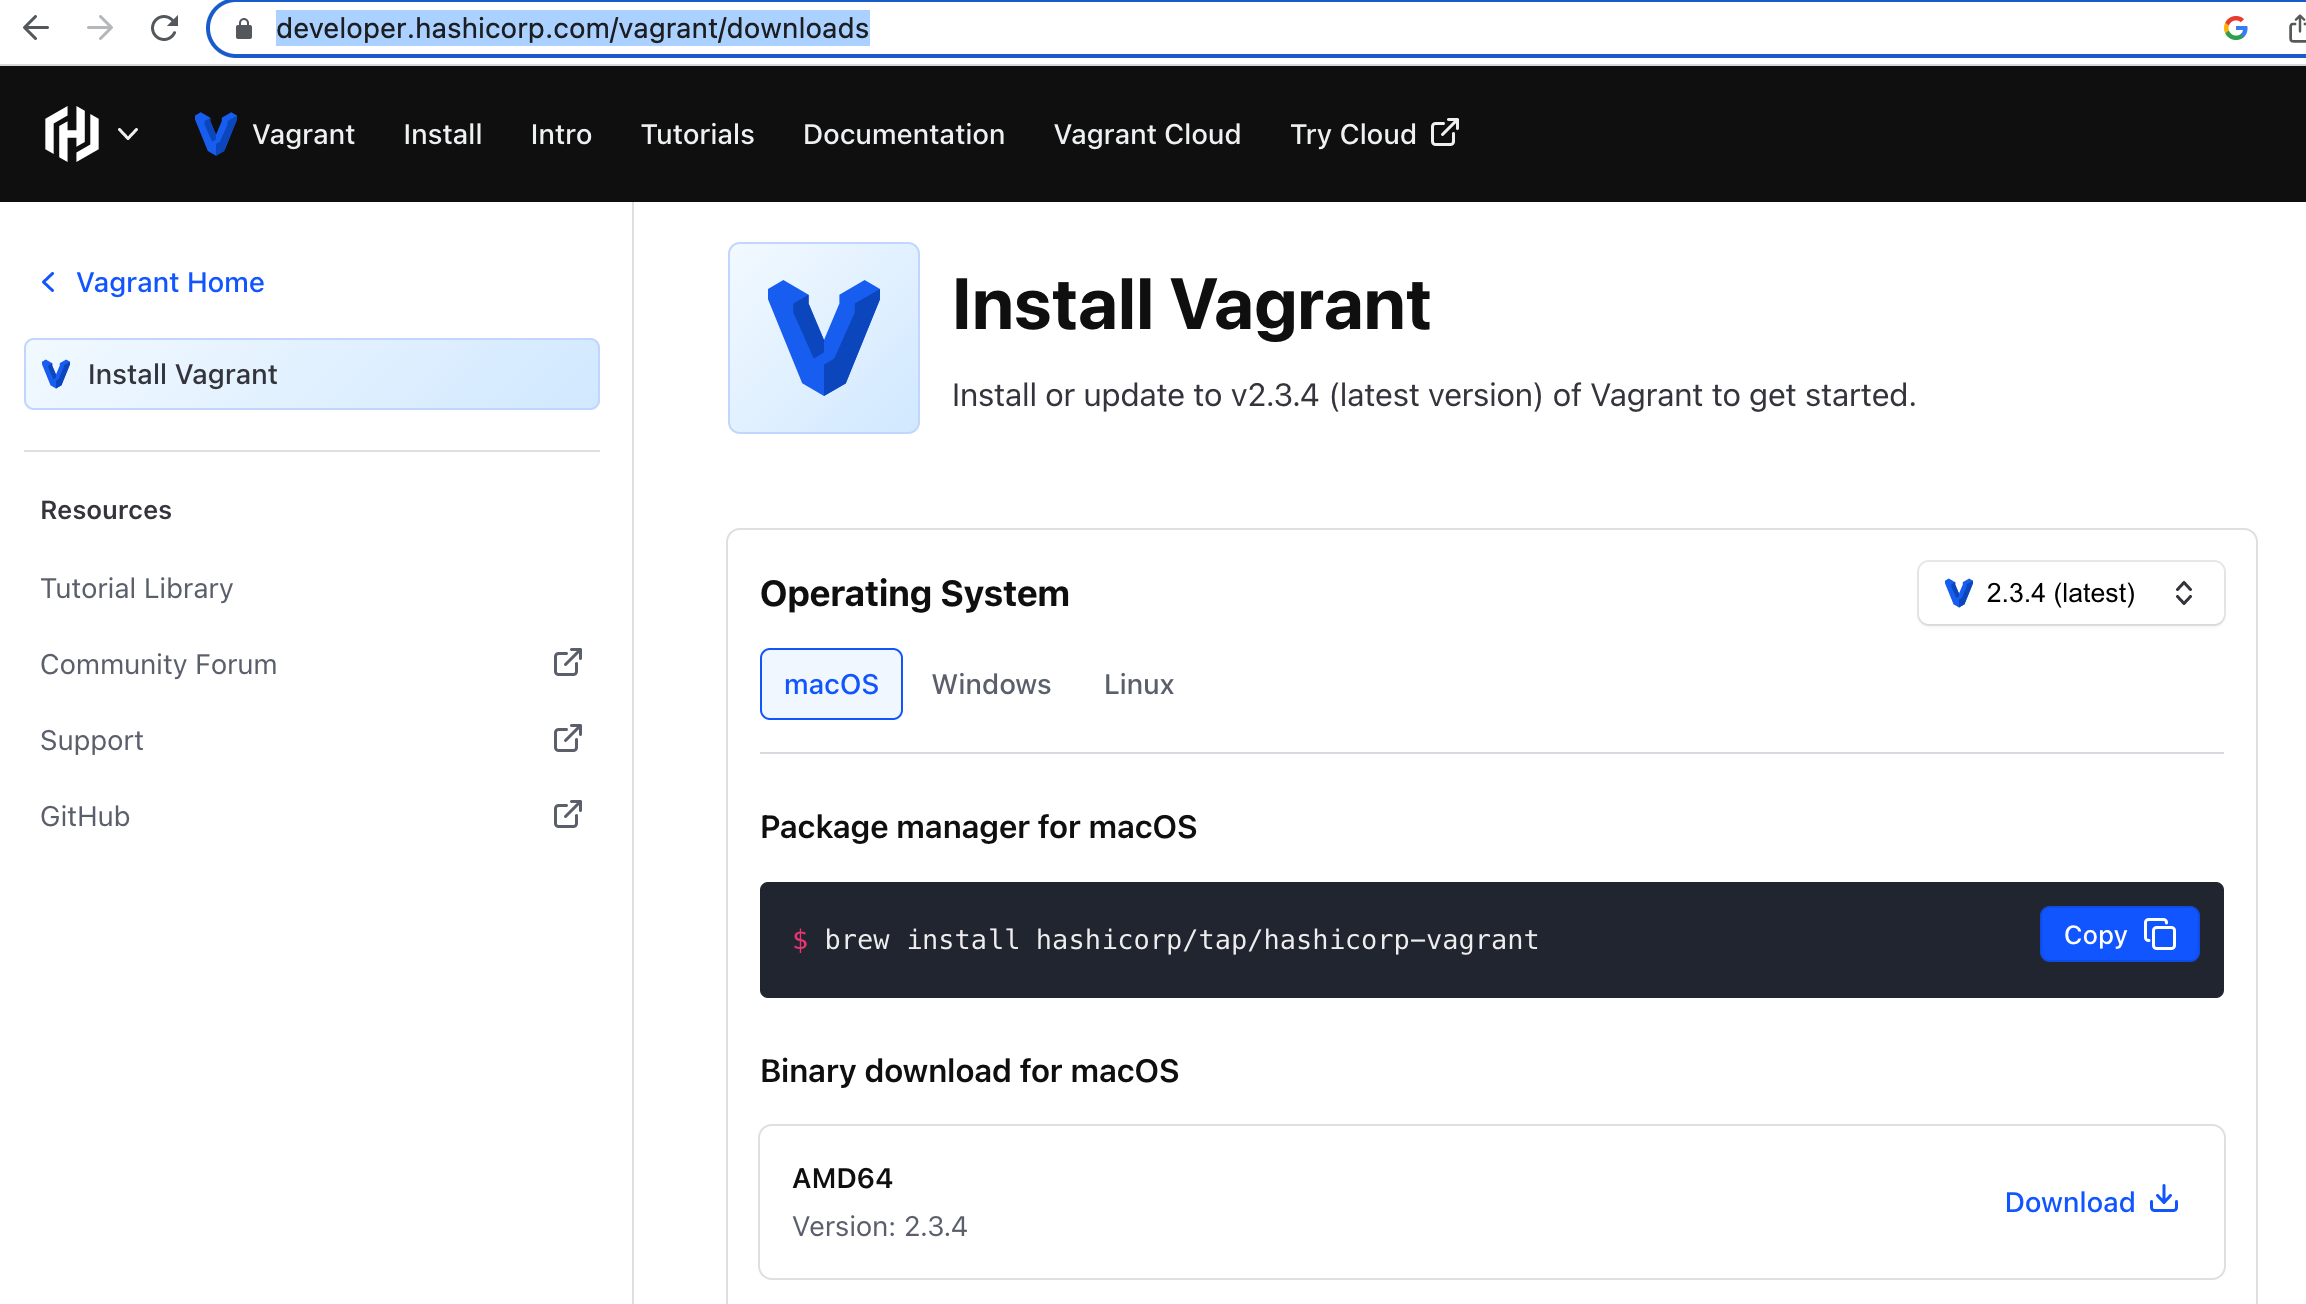
To install VirtualBox, go to Vagrant Download Page, select your operative system package, and install it.

Open a new terminal and run the following command to validate that has been installed correctly:
vagrant --versionVagrant 2.3.4Vagrantfile
To define the virtual machines, Vagrant defines a Vagrantfile to configure the virtual machines, its network configuration, or the required resources.
Let’s create a new file named Vagrantfile configuring two virtual machines (staging, prod) from a Fedora box, creating a public network to access the guest machine from the host machine:
# -*- mode: ruby -*-
# vi: set ft=ruby :
Vagrant.configure("2") do |config|

  (1)
  config.vm.define "staging" do |staging|
    (2)
    staging.vm.box = "fedora/37-cloud-base"
    staging.vm.box_version = "37.20221105.0"
    (3)
    staging.ssh.password="vagrant"
    (4)
    staging.vm.network "public_network", use_dhcp_assigned_default_route: true
    staging.ssh.forward_agent = true
    (5)
    staging.vm.provision "shell", inline: "ip -4 -o a"
  end

  config.vm.define "prod" do |prod|
    prod.vm.box = "fedora/37-cloud-base"
    prod.vm.box_version = "37.20221105.0"
    prod.ssh.password="vagrant"
    prod.vm.network "public_network", use_dhcp_assigned_default_route: true
    prod.ssh.forward_agent = true
    prod.vm.provision "shell", inline: "ip -4 -o a"
  end

  (6)
  config.vm.provider "virtualbox" do |vb|
    vb.memory = "1024"
  end
end| 1 | Defines the staging machine |
| 2 | Sets Fedora box |
| 3 | Sets password for SSH connection (username is vagrant by default) |
| 4 | Configures a public network between guest and host (same IP space) |
| 5 | Executes this shell script to get IP address |
| 6 | Sets memory value for each machine |
To start these machines, run the following command at the same directory as the Vagrantfile:
vagrant upAnd the output should be similar as the follows. It’s important to note that if you have more than one network adapter in your machine (i.e LAN and Wi-Fi), you’ll need to choose in which network adapter IP space should be the machine assigned with. Selectthe one with the Internet connection.
Bringing machine 'staging' up with 'virtualbox' provider...
Bringing machine 'prod' up with 'virtualbox' provider...
==> staging: Importing base box 'fedora/37-cloud-base'...
==> staging: Matching MAC address for NAT networking...
==> staging: Checking if box 'fedora/37-cloud-base' version '37.20221105.0' is up to date...
==> staging: Setting the name of the VM: vagrant_staging_1677076653292_56104
==> staging: Clearing any previously set network interfaces...
==> staging: Available bridged network interfaces: (1)
1) en0: Wi-Fi (AirPort)
2) en2: Thunderbolt 2
3) en1: Thunderbolt 1
4) bridge0
5) p2p0
6) awdl0
7) llw0
==> staging: When choosing an interface, it is usually the one that is
==> staging: being used to connect to the internet.
==> staging:
    staging: Which interface should the network bridge to? 1
==> staging: Preparing network interfaces based on configuration...
    staging: Adapter 1: nat
    staging: Adapter 2: bridged
==> staging: Forwarding ports...
    staging: 22 (guest) => 2222 (host) (adapter 1)
==> staging: Running 'pre-boot' VM customizations...
==> staging: Booting VM...
==> staging: Waiting for machine to boot. This may take a few minutes...
    staging: SSH address: 127.0.0.1:2222
    staging: SSH username: vagrant
    staging: SSH auth method: password
    staging:
    staging: Inserting generated public key within guest...
    staging: Removing insecure key from the guest if it's present...
    staging: Key inserted! Disconnecting and reconnecting using new SSH key...
==> staging: Machine booted and ready!
==> staging: Checking for guest additions in VM...
    staging: The guest additions on this VM do not match the installed version of
    staging: VirtualBox! In most cases this is fine, but in rare cases it can
    staging: prevent things such as shared folders from working properly. If you see
    staging: shared folder errors, please make sure the guest additions within the
    staging: virtual machine match the version of VirtualBox you have installed on
    staging: your host and reload your VM.
    staging:
    staging: Guest Additions Version: 6.0.0 r127566
    staging: VirtualBox Version: 6.1
==> staging: Configuring and enabling network interfaces...
==> staging: Rsyncing folder: /Users/asotobu/git/ansible-tutorial/apps/vagrant/ => /vagrant
==> staging: Running provisioner: shell...
    staging: Running: inline script (2)
    staging: 1: lo    inet 127.0.0.1/8 scope host lo\       valid_lft forever preferred_lft forever
    staging: 2: eth0    inet 10.0.2.15/24 brd 10.0.2.255 scope global dynamic noprefixroute eth0\       valid_lft 86398sec preferred_lft 86398sec
    staging: 3: eth1    inet 192.168.1.92/24 brd 192.168.1.255 scope global dynamic noprefixroute eth1\       valid_lft 43198sec preferred_lft 43198sec
==> prod: Importing base box 'fedora/37-cloud-base'...
==> prod: Matching MAC address for NAT networking...
==> prod: Checking if box 'fedora/37-cloud-base' version '37.20221105.0' is up to date...
==> prod: Setting the name of the VM: vagrant_prod_1677076756188_18776
==> prod: Fixed port collision for 22 => 2222. Now on port 2200.
==> prod: Clearing any previously set network interfaces...
==> prod: Available bridged network interfaces:
1) en0: Wi-Fi (AirPort)
2) en2: Thunderbolt 2
3) en1: Thunderbolt 1
4) bridge0
5) p2p0
6) awdl0
7) llw0
==> prod: When choosing an interface, it is usually the one that is
==> prod: being used to connect to the internet.
==> prod:
    prod: Which interface should the network bridge to? 1
==> prod: Preparing network interfaces based on configuration...
    prod: Adapter 1: nat
    prod: Adapter 2: bridged
==> prod: Forwarding ports...
    prod: 22 (guest) => 2200 (host) (adapter 1)
==> prod: Running 'pre-boot' VM customizations...
==> prod: Booting VM...
==> prod: Waiting for machine to boot. This may take a few minutes...
    prod: SSH address: 127.0.0.1:2200
    prod: SSH username: vagrant
    prod: SSH auth method: password
    prod:
    prod: Inserting generated public key within guest...
    prod: Removing insecure key from the guest if it's present...
    prod: Key inserted! Disconnecting and reconnecting using new SSH key...
==> prod: Machine booted and ready!
==> prod: Checking for guest additions in VM...
    prod: The guest additions on this VM do not match the installed version of
    prod: VirtualBox! In most cases this is fine, but in rare cases it can
    prod: prevent things such as shared folders from working properly. If you see
    prod: shared folder errors, please make sure the guest additions within the
    prod: virtual machine match the version of VirtualBox you have installed on
    prod: your host and reload your VM.
    prod:
    prod: Guest Additions Version: 6.0.0 r127566
    prod: VirtualBox Version: 6.1
==> prod: Configuring and enabling network interfaces...
==> prod: Rsyncing folder: /Users/asotobu/git/ansible-tutorial/apps/vagrant/ => /vagrant
==> prod: Running provisioner: shell...
    prod: Running: inline script
    prod: 1: lo    inet 127.0.0.1/8 scope host lo\       valid_lft forever preferred_lft forever
    prod: 2: eth0    inet 10.0.2.15/24 brd 10.0.2.255 scope global dynamic noprefixroute eth0\       valid_lft 86397sec preferred_lft 86397sec
prod: 3: eth1 inet 192.168.1.93/24 brd 192.168.1.255 scope global dynamic noprefixroute eth1\ valid_lft 43198sec preferred_lft 43198sec| 1 | Requests for the network interface |
| 2 | Prints the list of assigned IPs for the machine |
From the list of available IPs printed in the console, you need to choose the one in the same range as yor local machine.
If you are unsure which one is the valid, you only need to ping them (exclude lo interface of course) and the one returning succesfully is the public IP to access to the machine.
For example in my case and assuming the terminal output shown before:
ping 10.0.2.15PING 10.0.2.15 (10.0.2.15): 56 data bytes
Request timeout for icmp_seq 0
Request timeout for icmp_seq 1
Request timeout for icmp_seq 2It’s not this one. Let’s try the following one:
ping 192.168.1.93PING 192.168.1.93 (192.168.1.93): 56 data bytes
64 bytes from 192.168.1.93: icmp_seq=0 ttl=64 time=0.909 ms
64 bytes from 192.168.1.93: icmp_seq=1 ttl=64 time=0.301 ms
64 bytes from 192.168.1.93: icmp_seq=2 ttl=64 time=0.279 ms
64 bytes from 192.168.1.93: icmp_seq=3 ttl=64 time=0.311 msThere it is.
| Change the IPs of the commands with the IPs printed in your terminal. |
Testing the Connection
Last step before concluding that Ansible can interact with both virtual machines, is validating the SSH connection.
Let’s connect using the previous IPs, with username vagrant and password vagrant to validate that we can login to both virtual machines.
| Remember to put your IP when using SSH command. |
ssh vagrant@192.168.1.92The authenticity of host '192.168.1.92 (192.168.1.92)' can't be established.
ED25519 key fingerprint is SHA256:CW3D3uc0+i77Fmcwk5Iskdrr98d70ZCrq2HUBLLwmvM.
This key is not known by any other names
Are you sure you want to continue connecting (yes/no/[fingerprint])? yes
Warning: Permanently added '192.168.1.92' (ED25519) to the list of known hosts.
[vagrant@localhost ~]$And exit from the guest terminal.
exitlogout
Connection to 192.168.1.92 closed.And repeat the operation with the other virtual machine.
Clean Up
When you finish the tutorial, you can stop the virtual machines using the following command:
vagrant halt==> prod: Attempting graceful shutdown of VM...
==> staging: Attempting graceful shutdown of VM...In case you plan to not use them anymore, run the destroy command.ç
vagrant halt==> prod: Attempting graceful shutdown of VM...
==> staging: Attempting graceful shutdown of VM...
❯ vagrant destroy
prod: Are you sure you want to destroy the 'prod' VM? [y/N] y
==> prod: Destroying VM and associated drives...
staging: Are you sure you want to destroy the 'staging' VM? [y/N] y
==> staging: Destroying VM and associated drives...