Taking a Look at the Workshop Environment
Again, welcome to the Podman Desktop workshop! You’ll learn how to use Podman Desktop to build, run, and manage containers on your local machine. Podman Desktop provides a user-friendly graphical interface for working with Podman, a powerful container engine that is compatible with Docker. The workshop environment is a virtual machine that has been pre-configured with Podman Desktop and all the tools you need to complete the exercises.
Accessing the Workshop Environment
Now, to access the workshop environment, you’ll need to connect to the virtual machine using a web-based desktop environment. The virtual machine is running in the cloud and is accessible via a web browser. To connect to the virtual machine, first access the noVNC link from the workshop landing page:
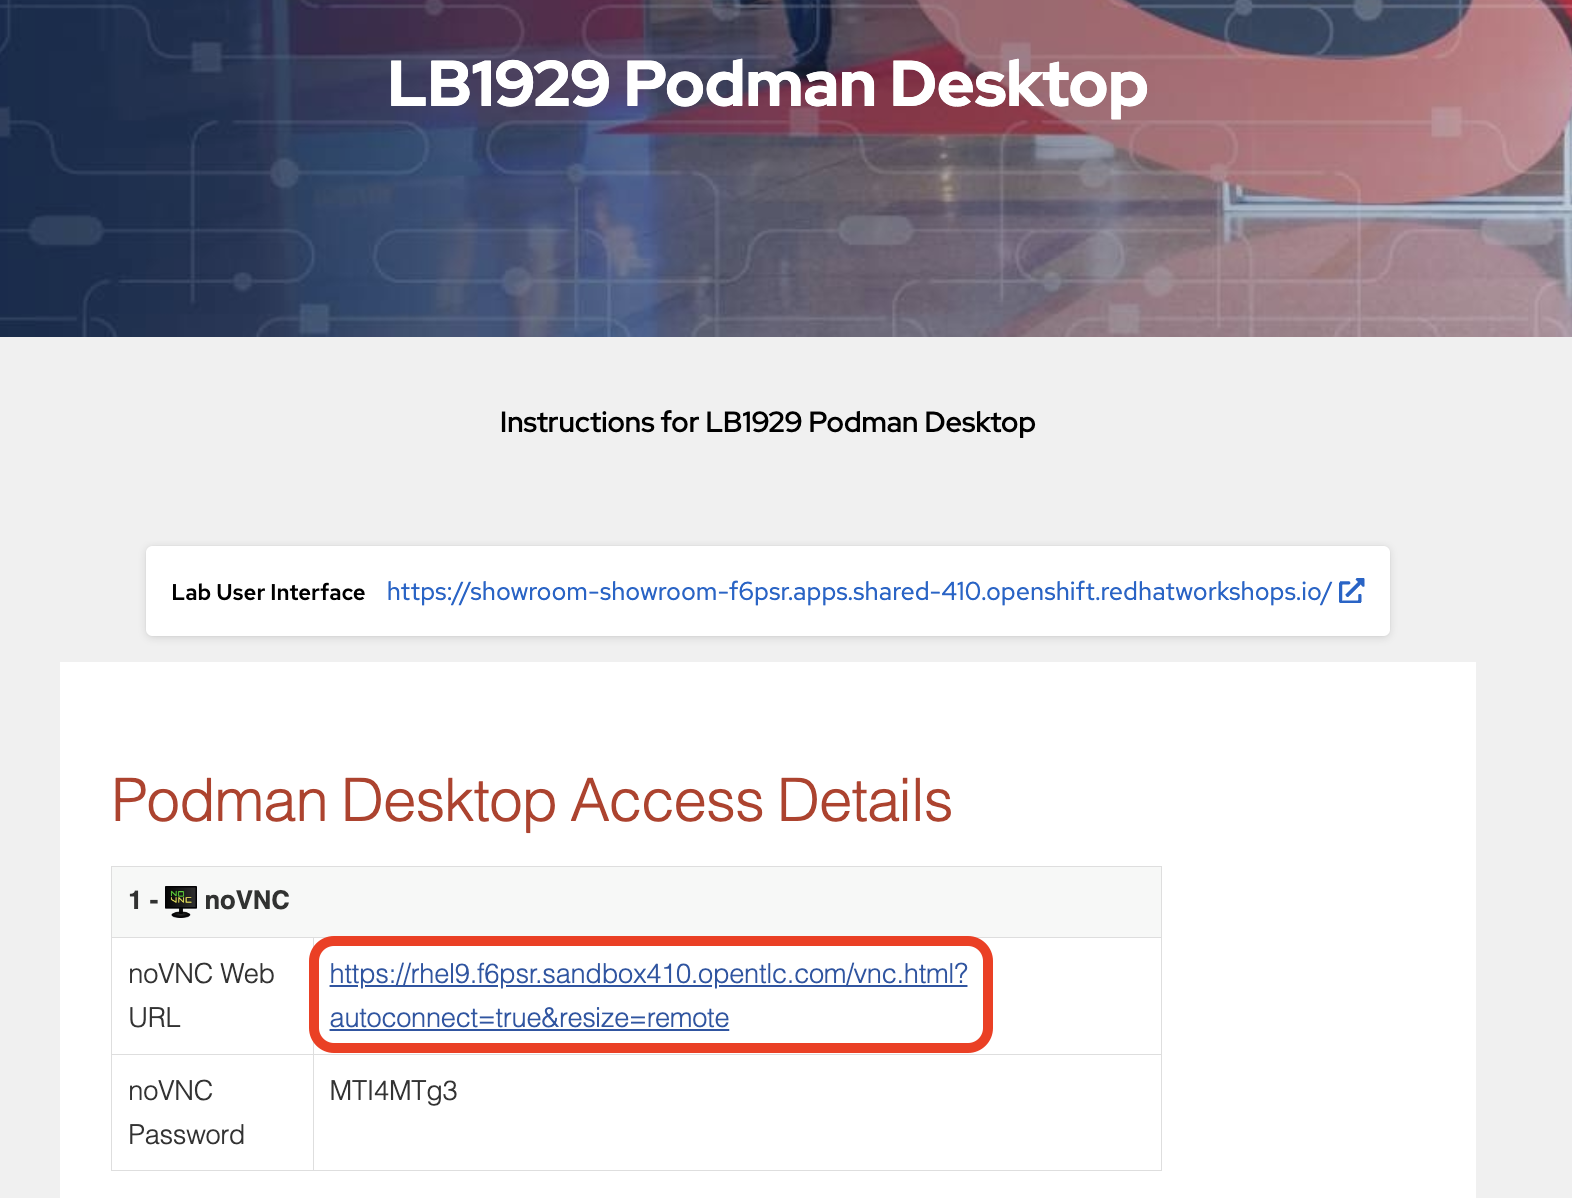
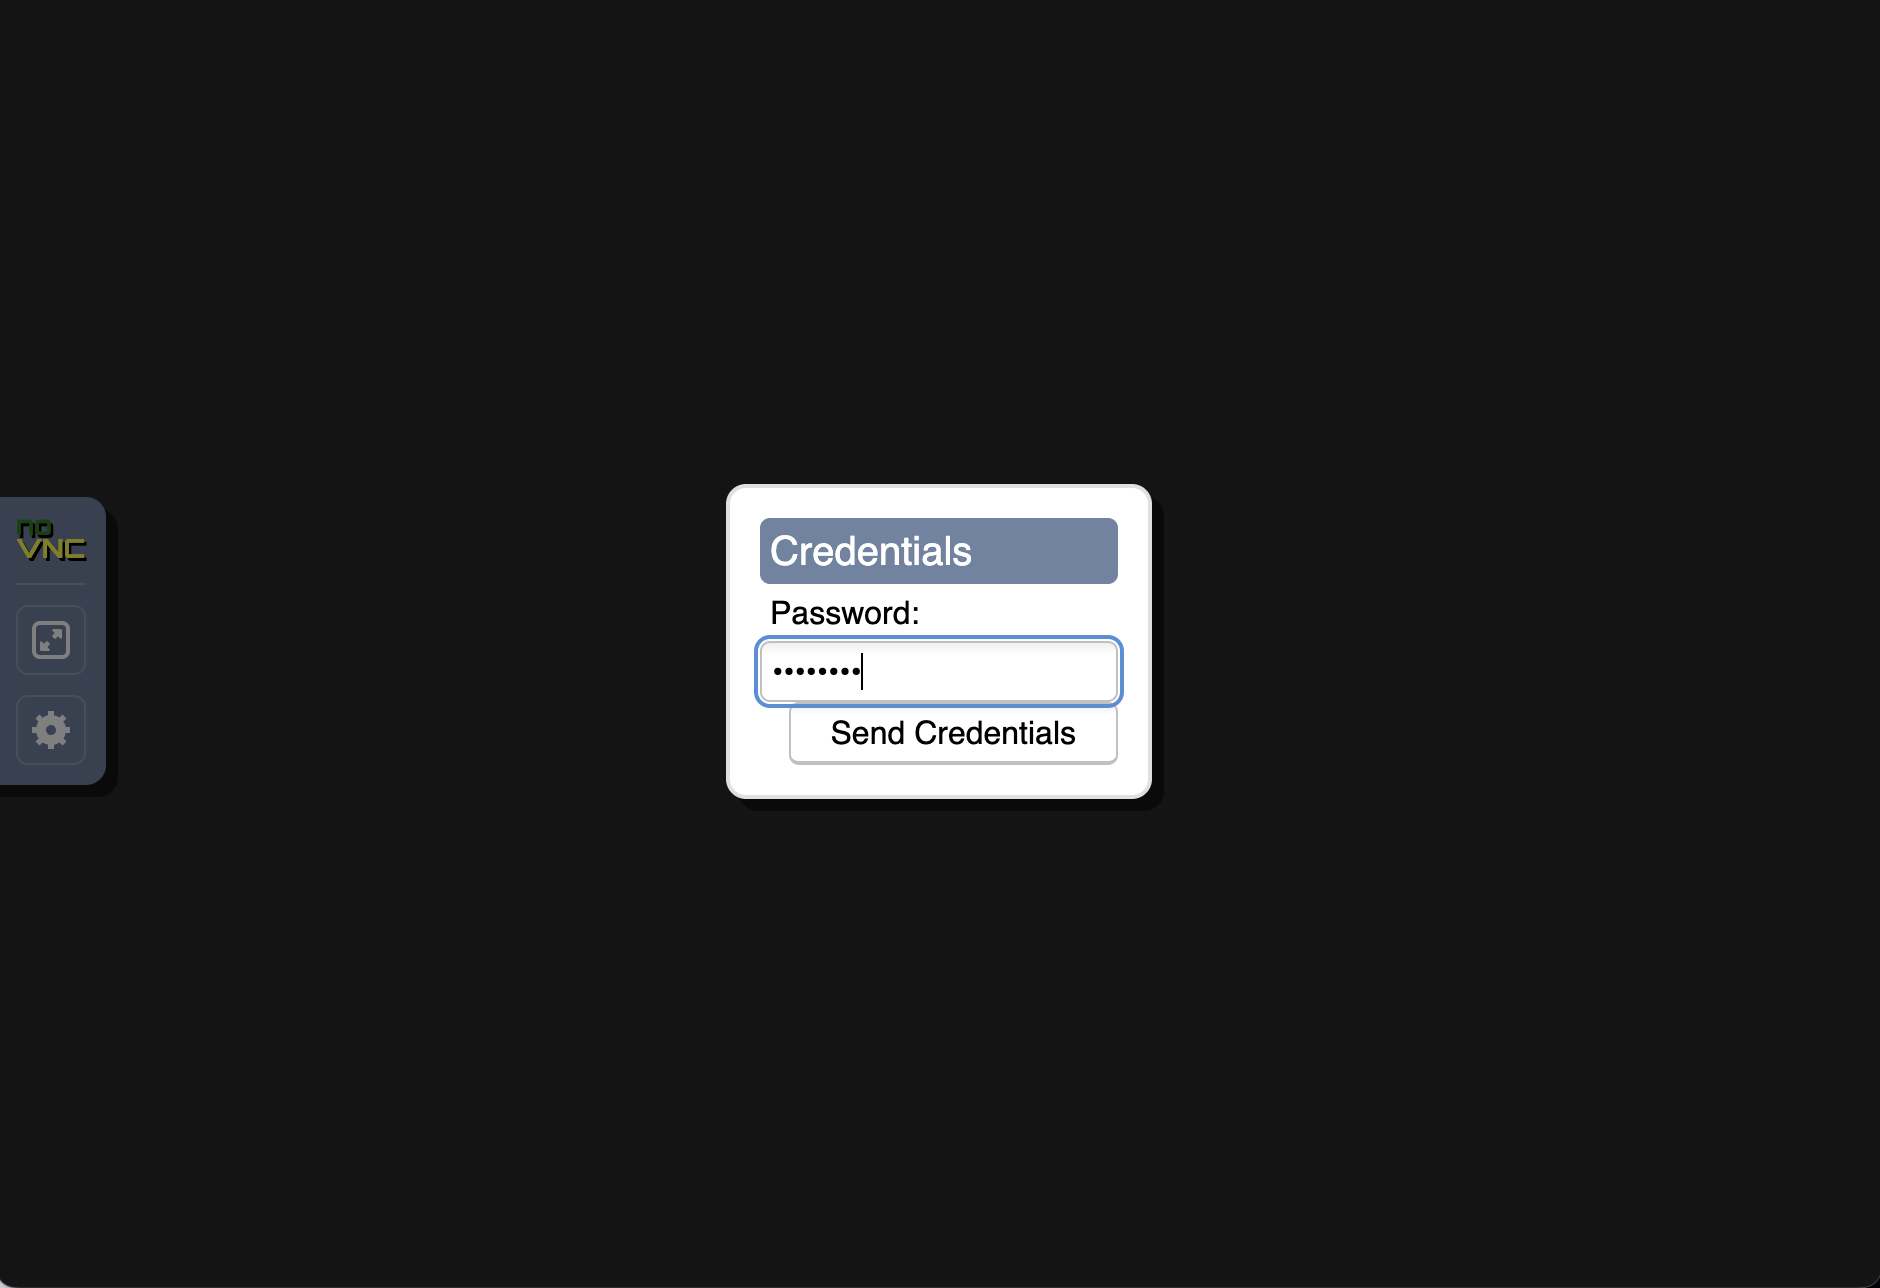
Click the noVNC link to open the web-based desktop environment in a new browser tab. You’ll see a login screen where you can enter the username and password provided by the landing page. After logging in, you’ll see the desktop environment, which includes a GNOME desktop environment on RHEL 9, including Podman Desktop, Firefox, and VSCode. Virtually everything a developer needs!
Using the Desktop
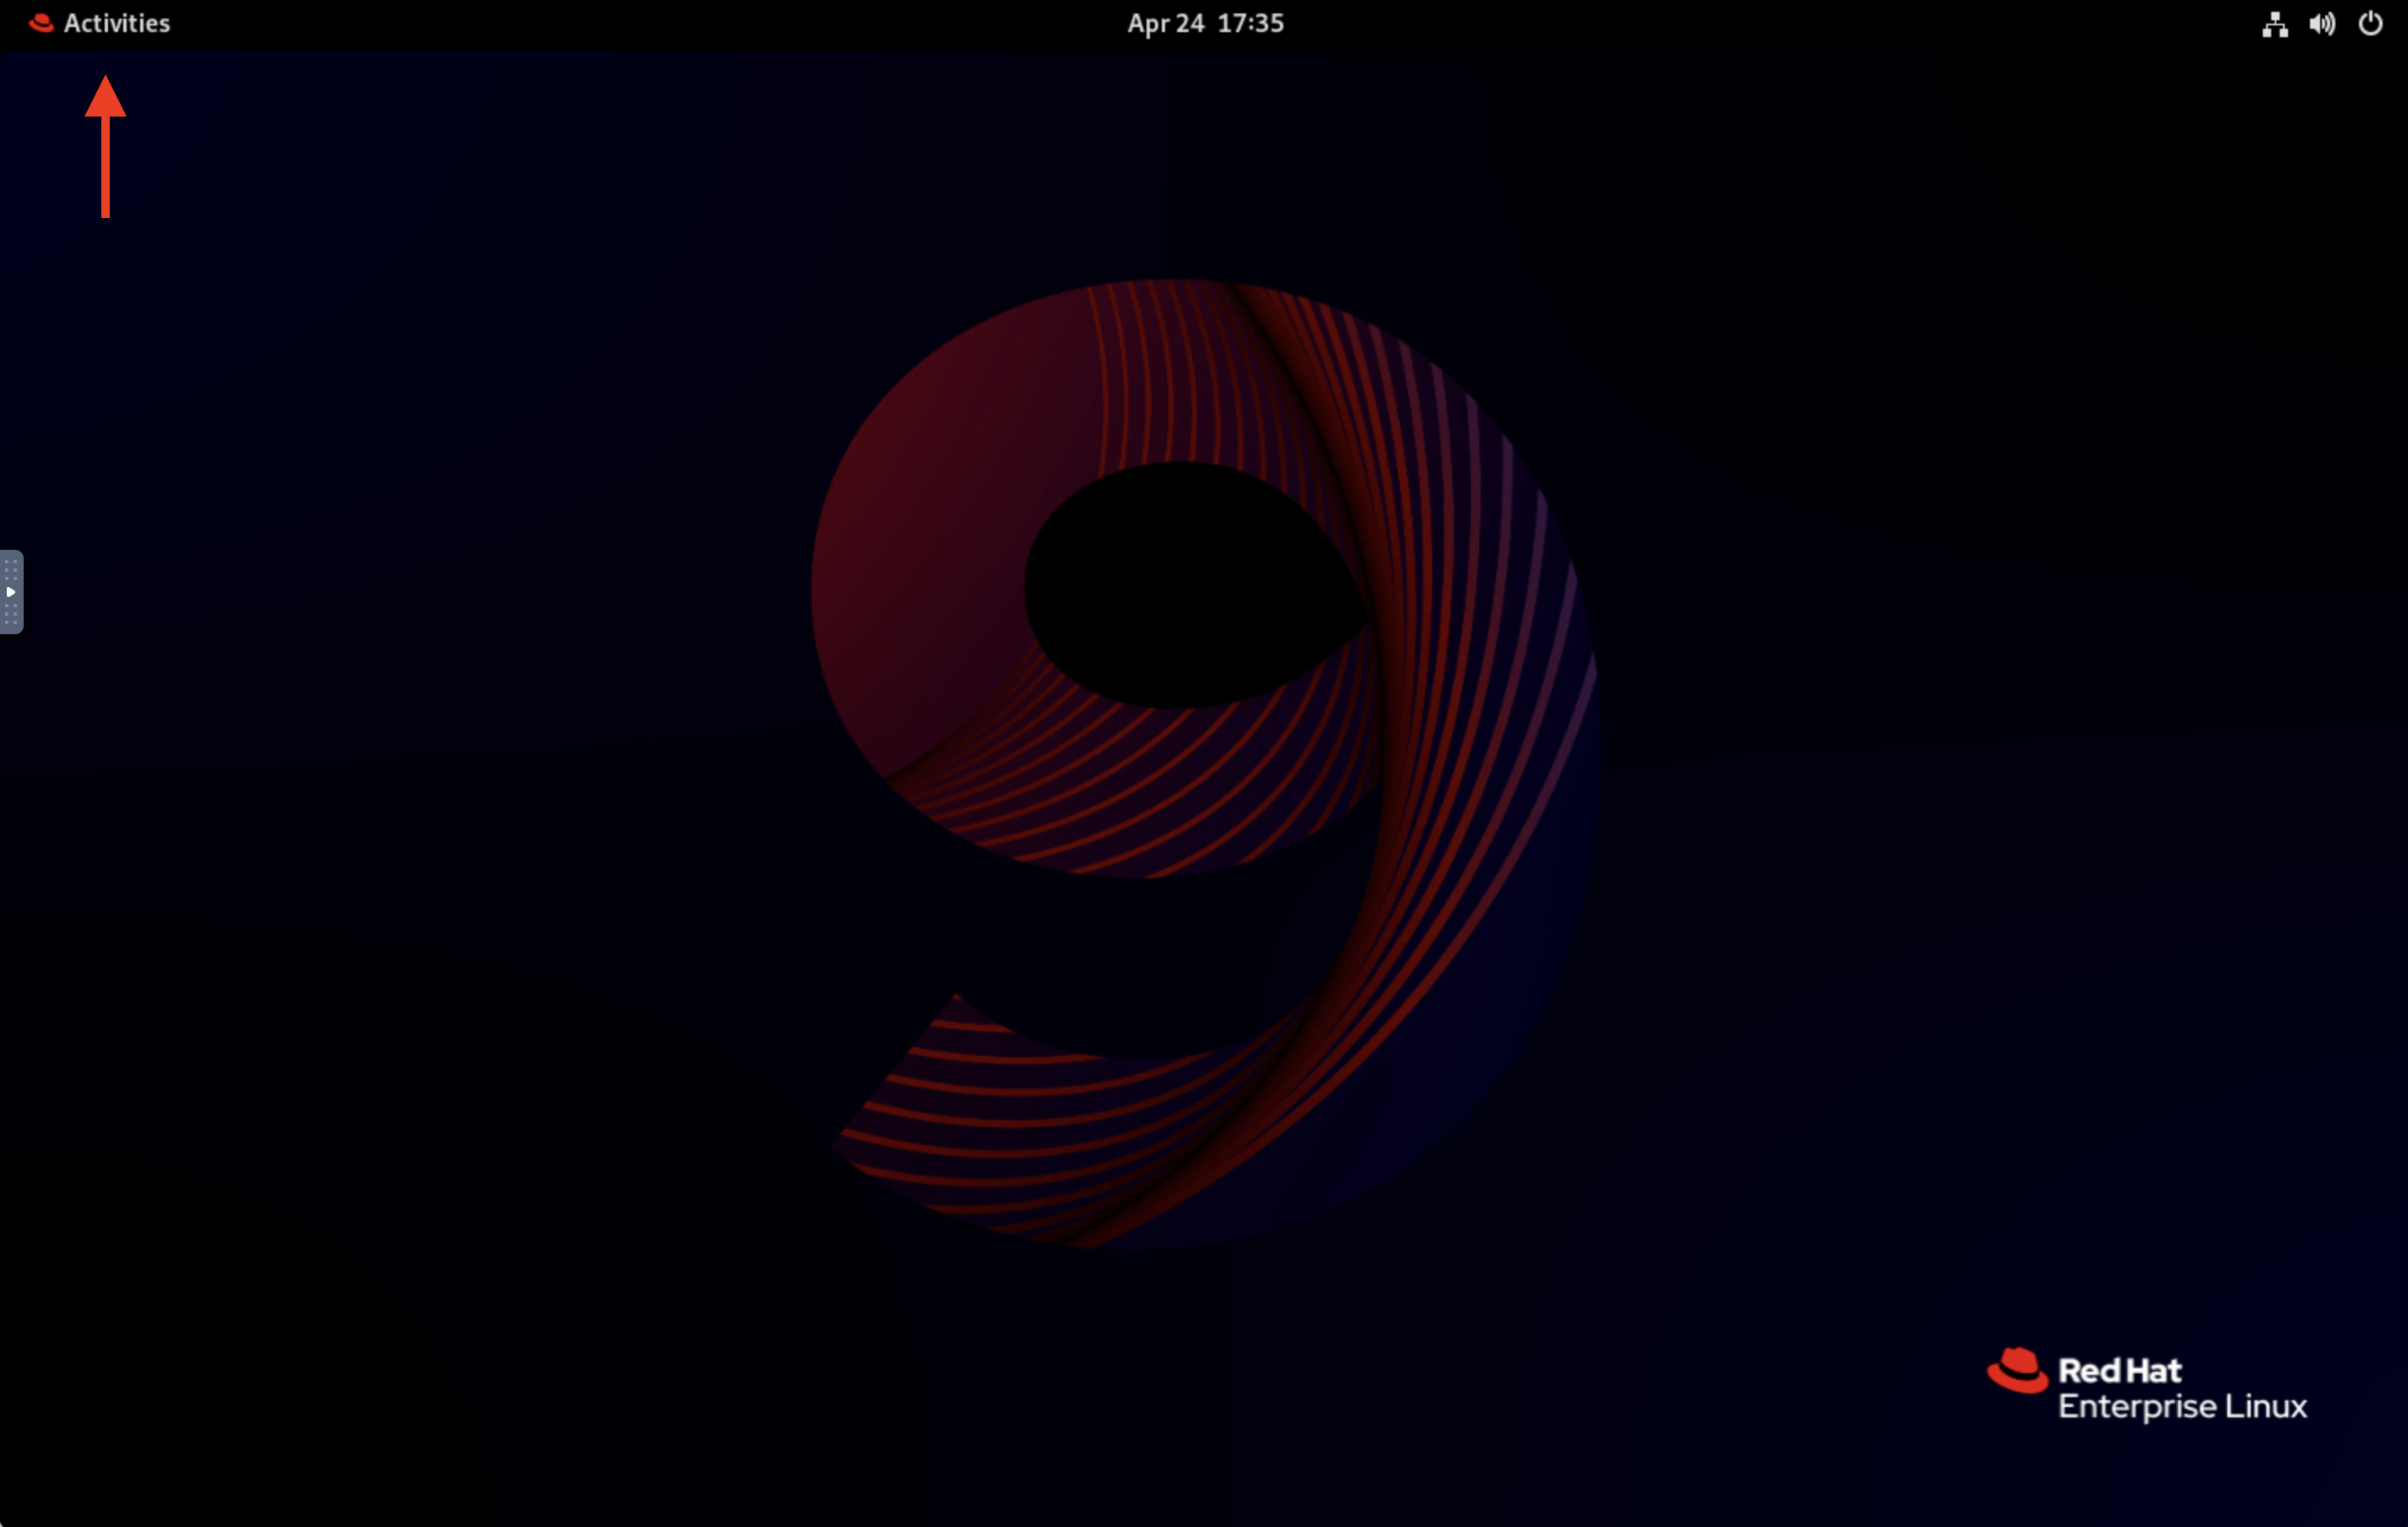
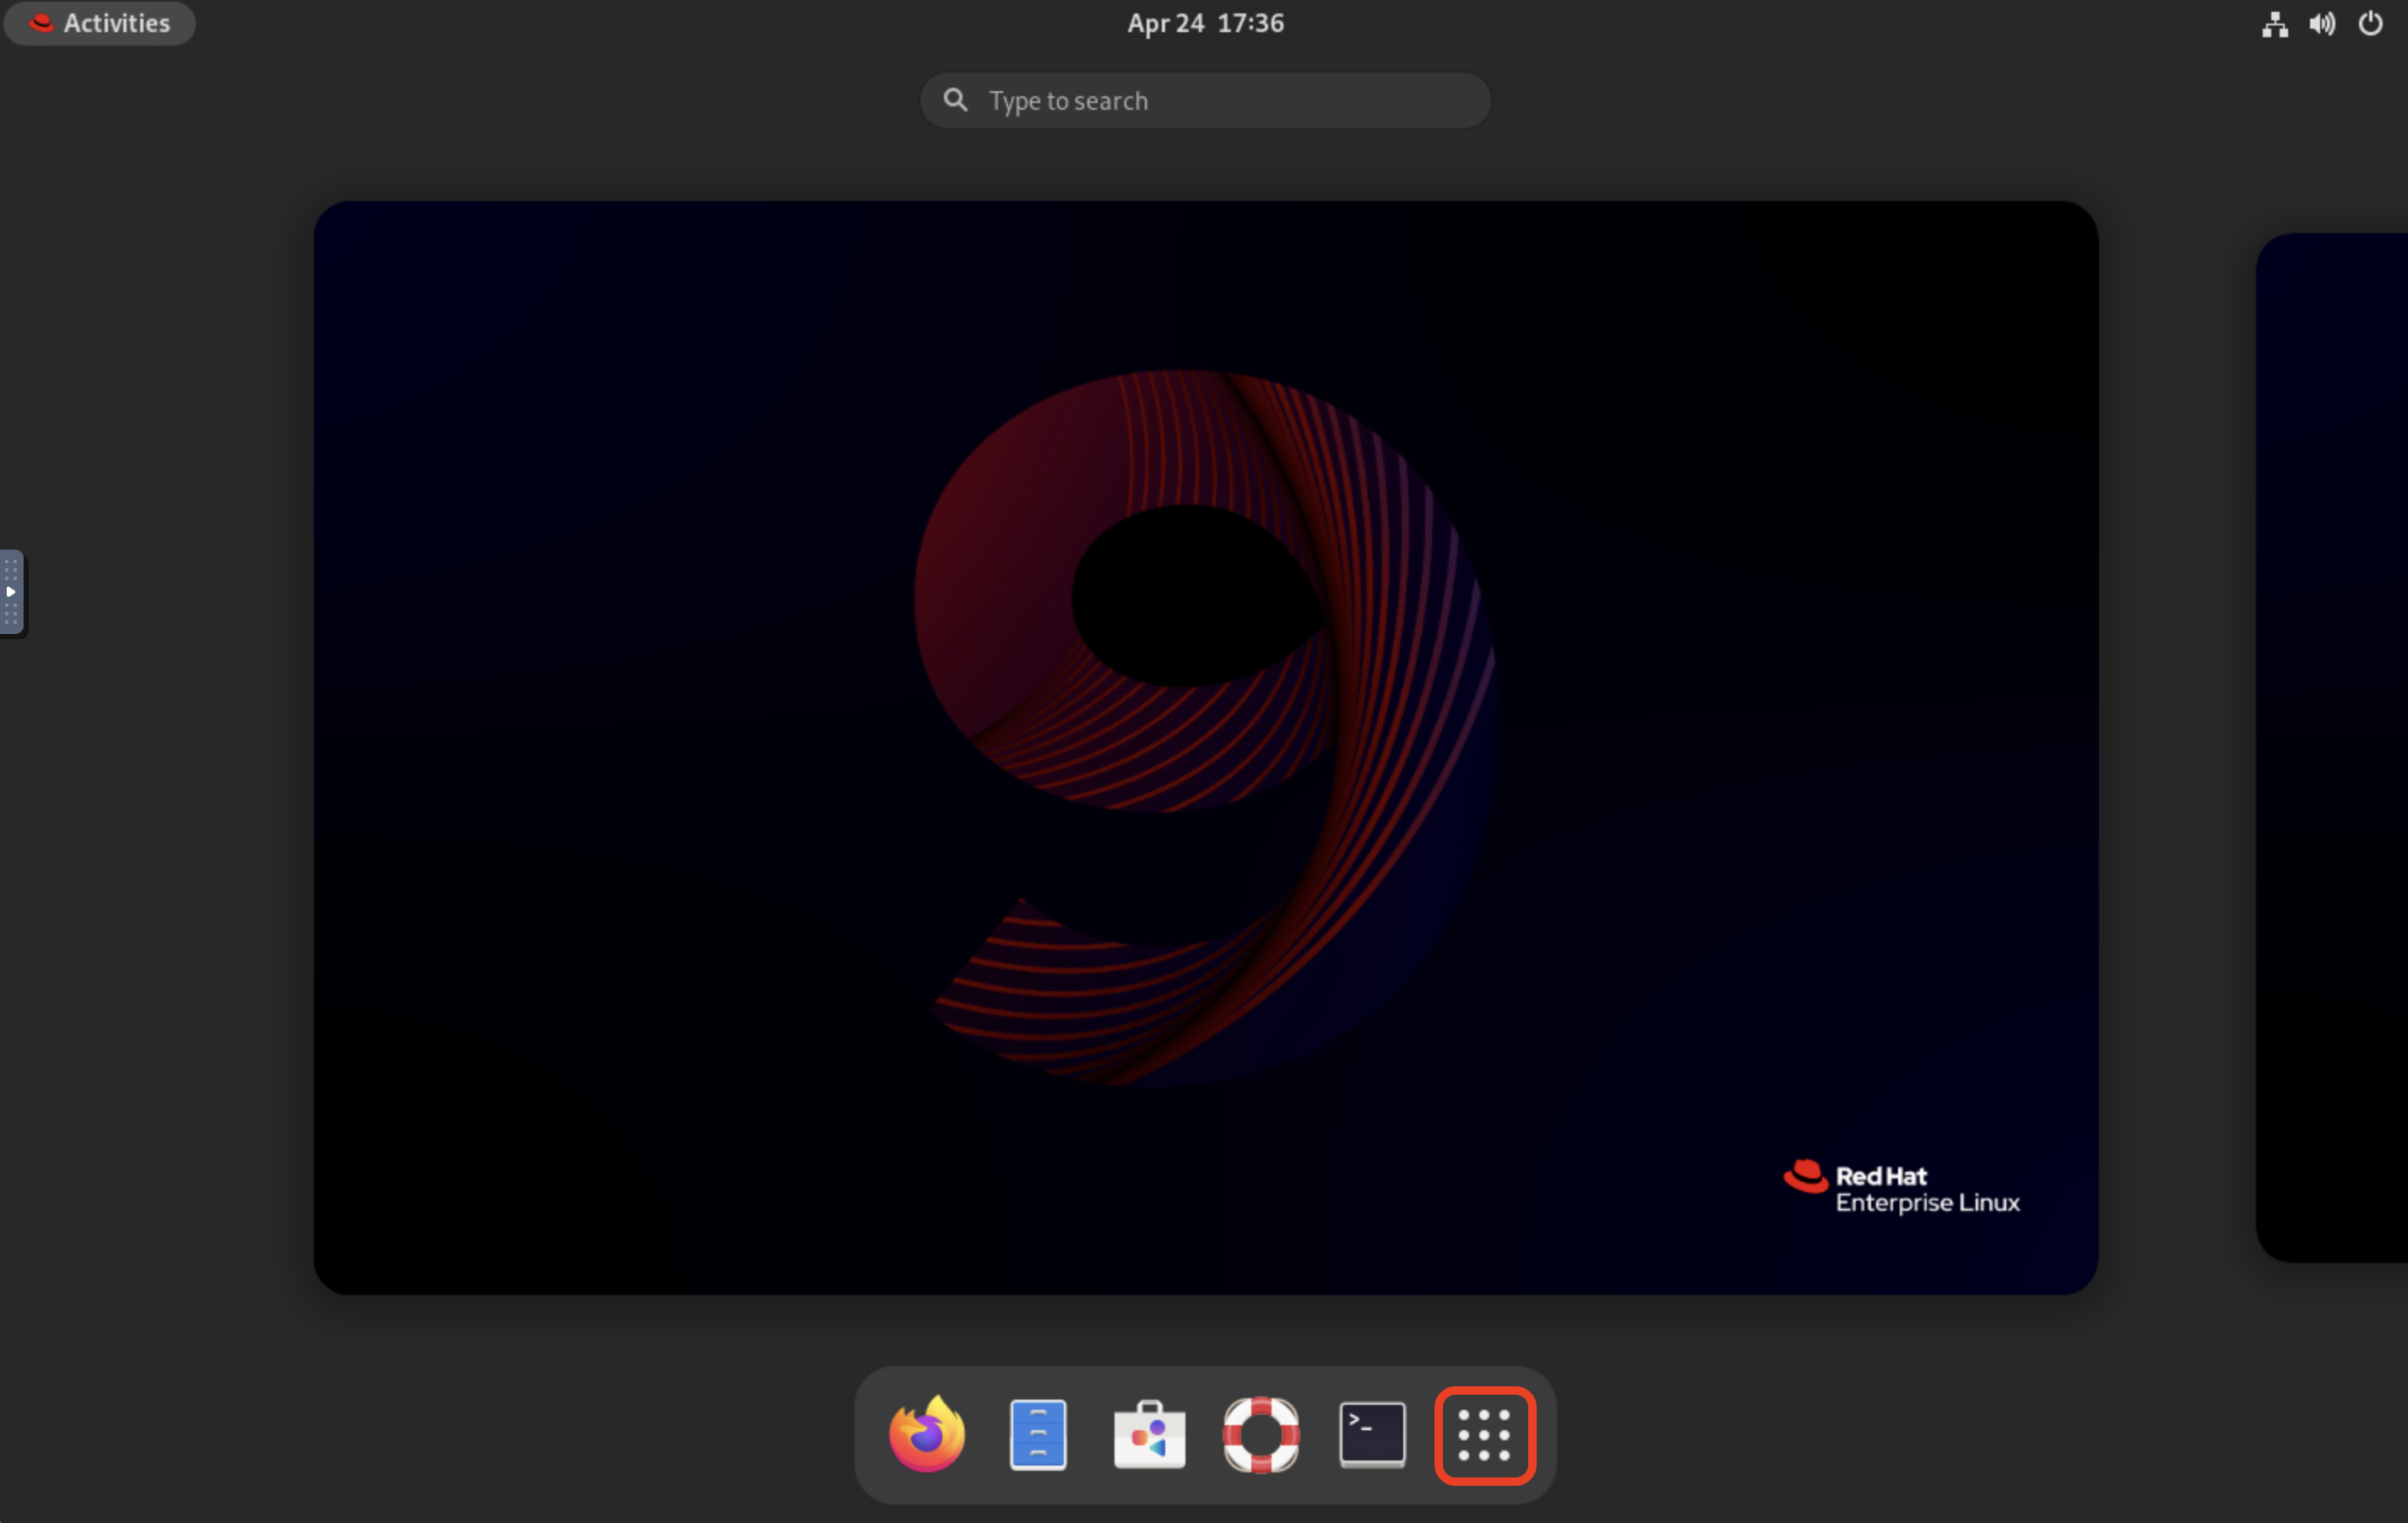
The desktop environment is similar to what you might find on a typical Linux desktop. You can use the mouse and keyboard to interact with the desktop, open applications, and access the terminal. First, select Activities from the top-left corner of the screen to view the applications menu:
From the applications menu, you can select the last icon to open Podman Desktop, launch Firefox, or access VSCode.
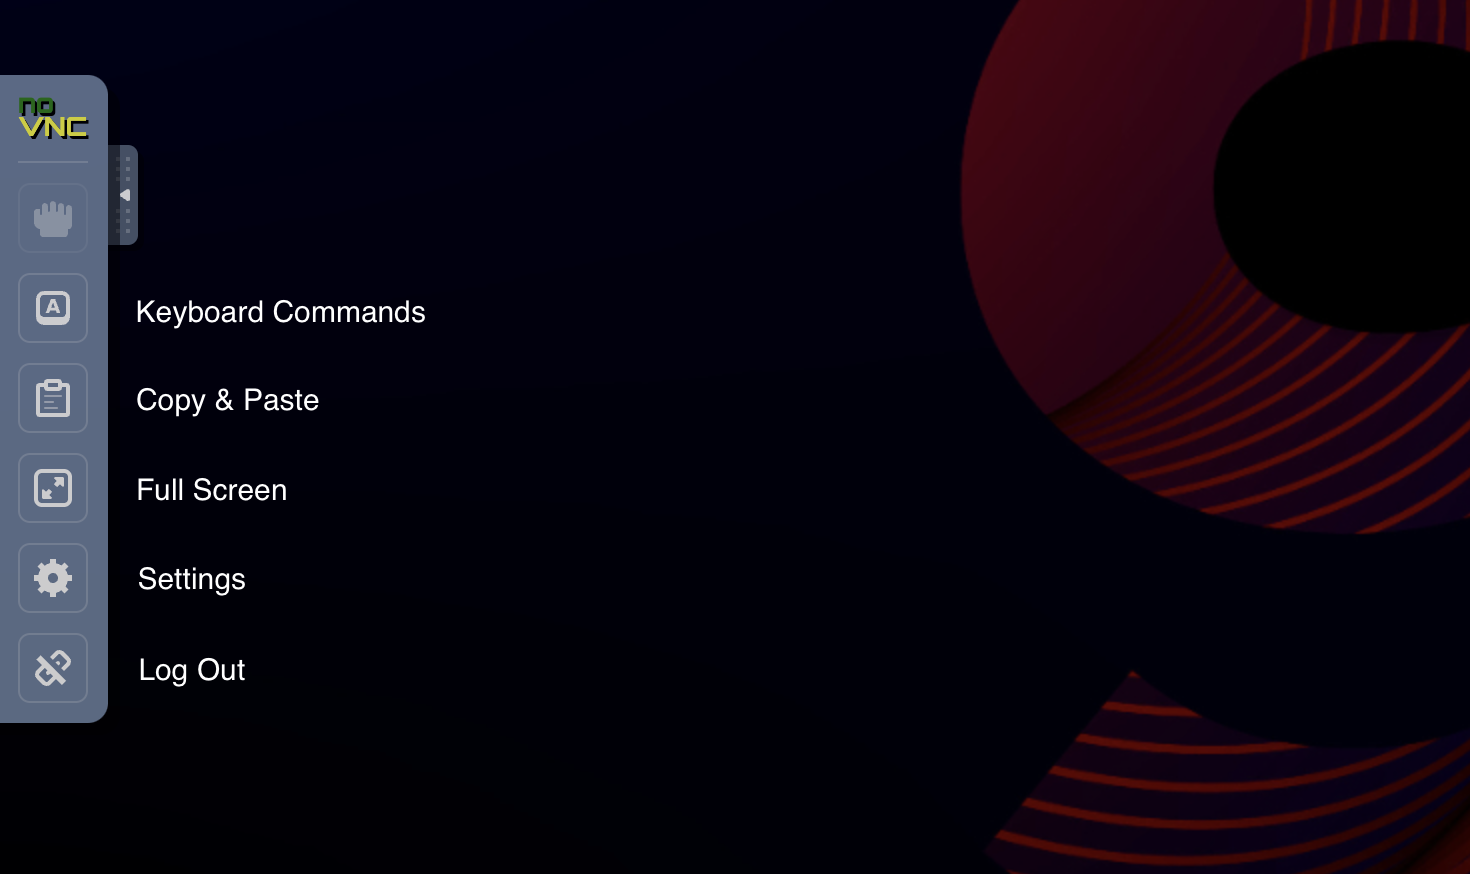
On the left-hand menu, you’ll be able to pull out the noVNC menu, which provides access to the following options:
-
Extra Keys: Provides access to additional keys that may not be available on your keyboard.
-
Clipboard: Allows you to copy and paste text between the virtual machine and your local machine.
-
Full Screen: Expands the noVNC session to full screen.
-
Settings: Provides access to additional settings for the virtual machine.
-
Disconnect: Disconnects the noVNC session.
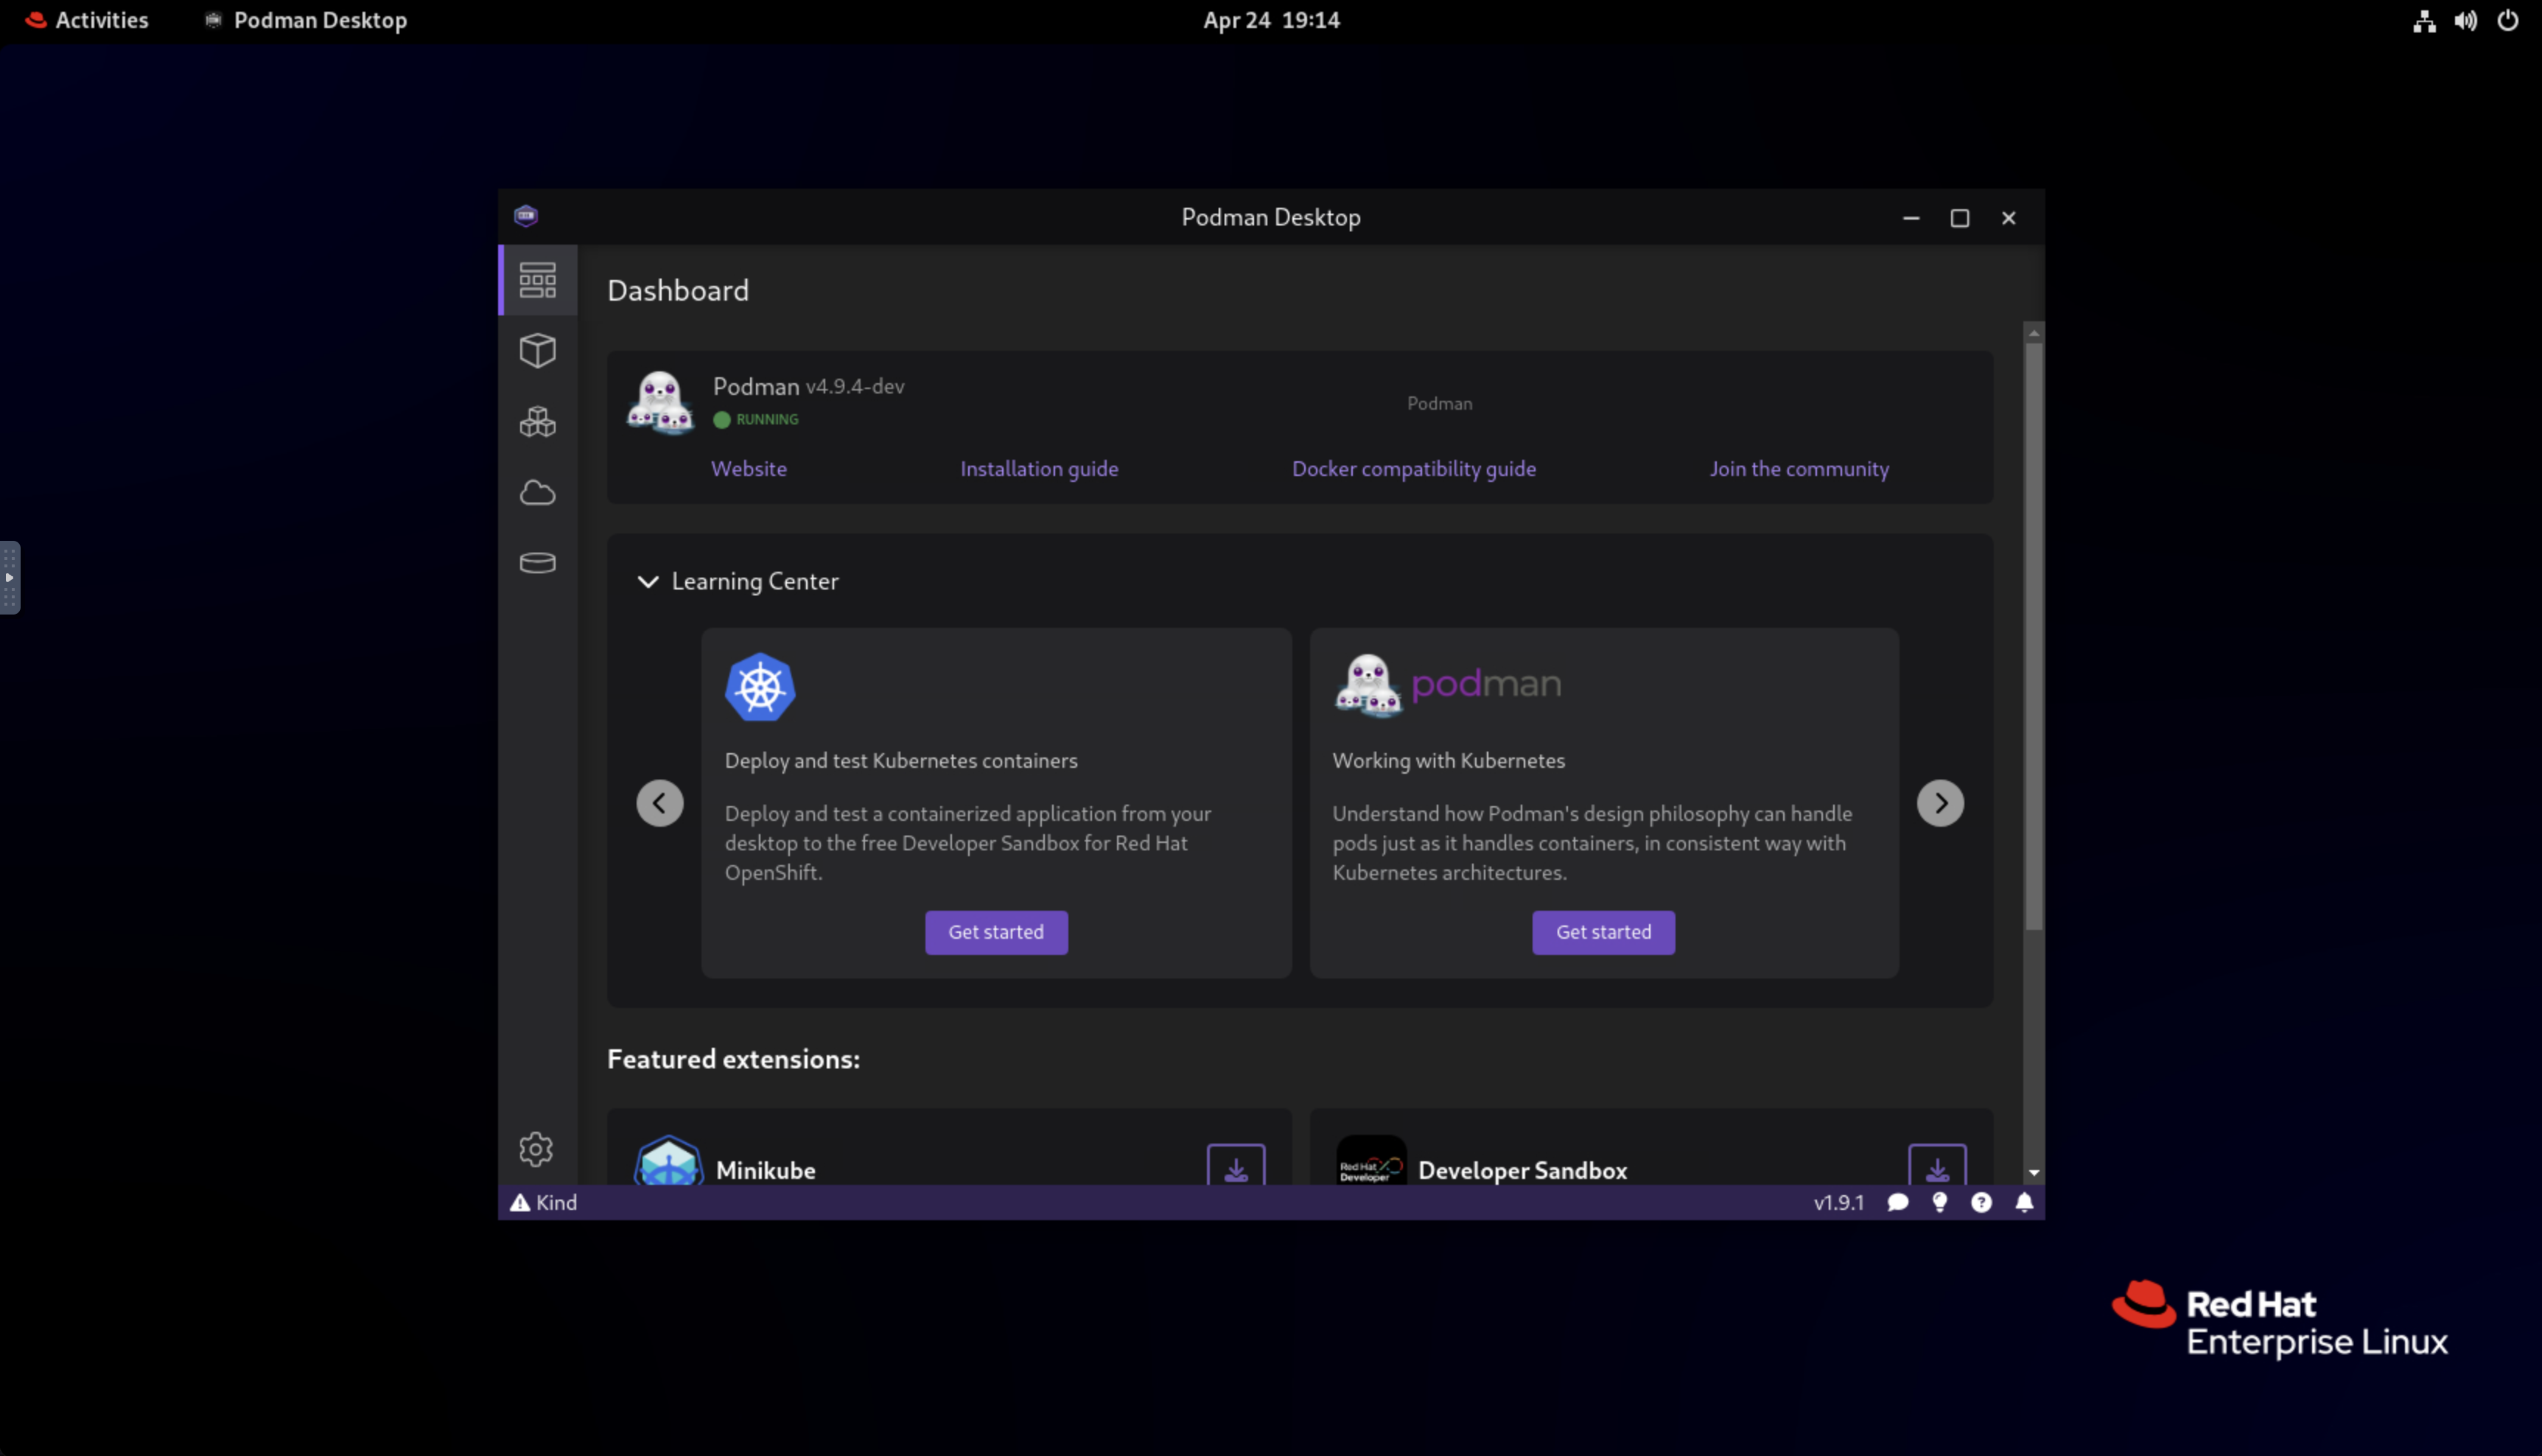
Onboarding with Podman Desktop
For now, let’s open up Podman Desktop and take a look at the interface, where you should be greeted with a welcome screen, were you can select Start onboarding to get started.
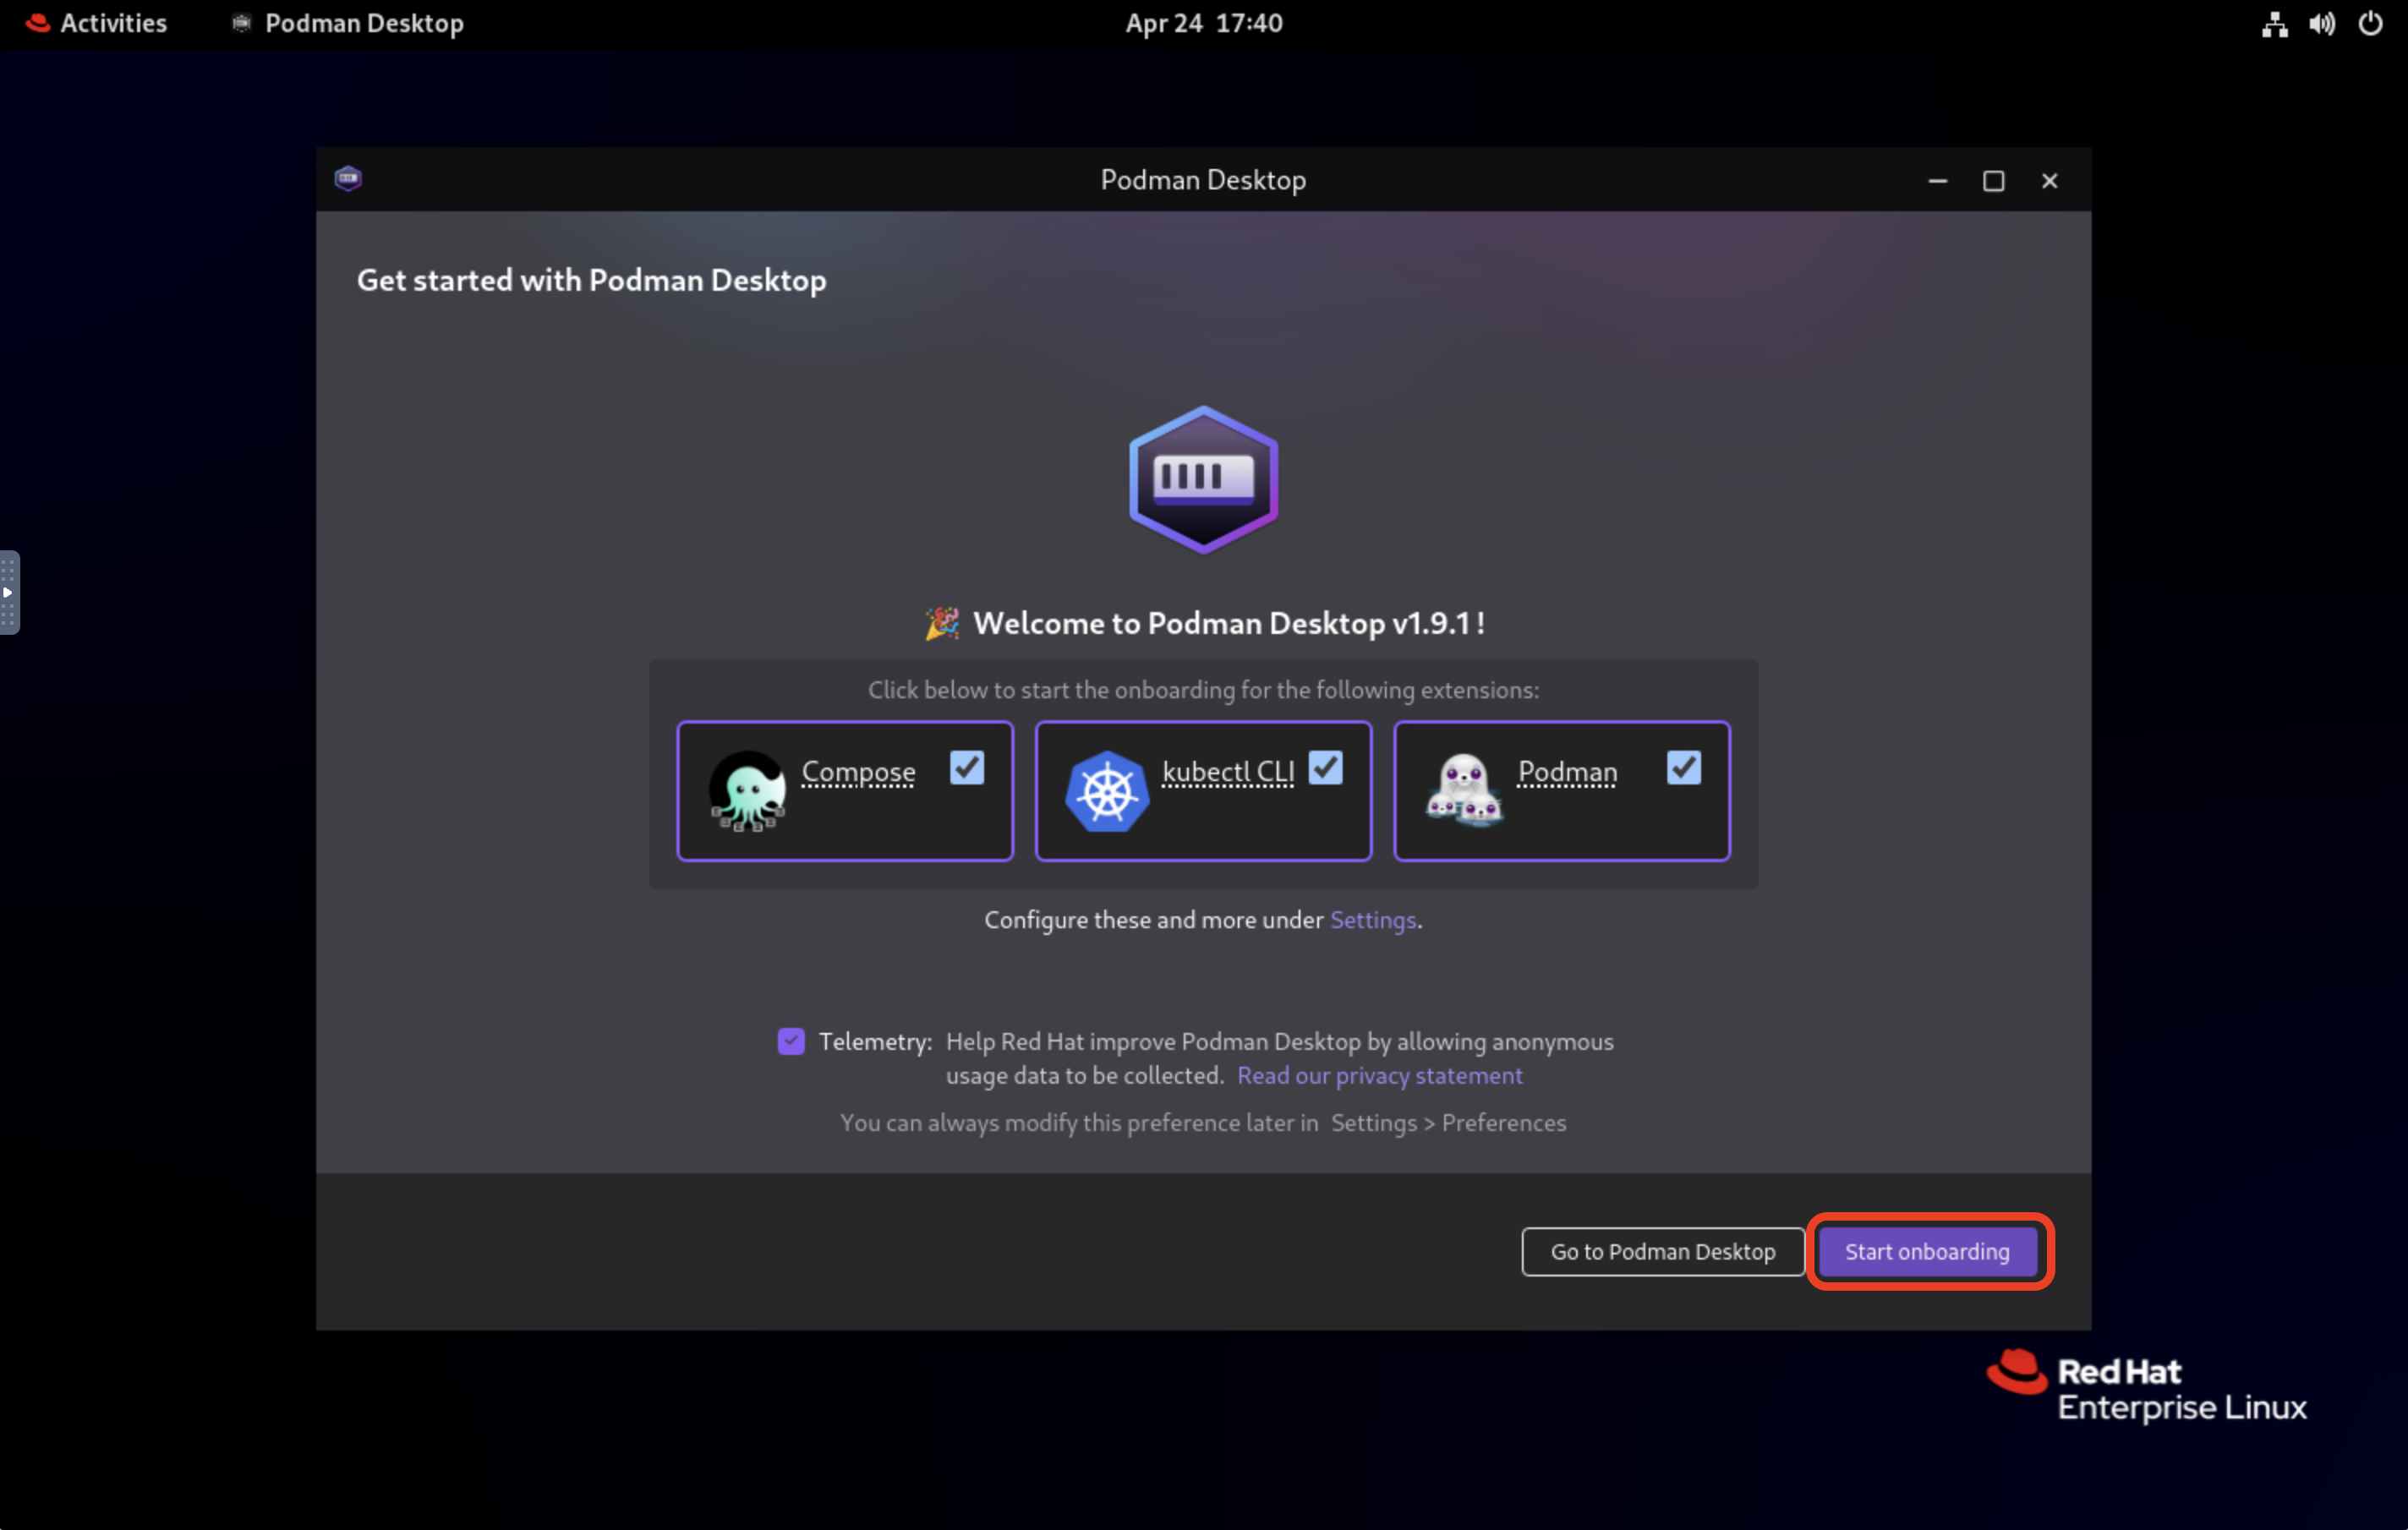
The onboarding process will guide you through the steps to get started with Podman Desktop, including:
-
Compose: Create and manage multi-container applications using Compose specification.
-
kubectl: Connect to a Kubernetes cluster and manage resources using the Kubernetes CLI. -
Podman: Setup and keep the Podman engine up-to-date.
Go ahead and install each one of these tools by clicking 'next' until you get to the Podman Desktop home screen.
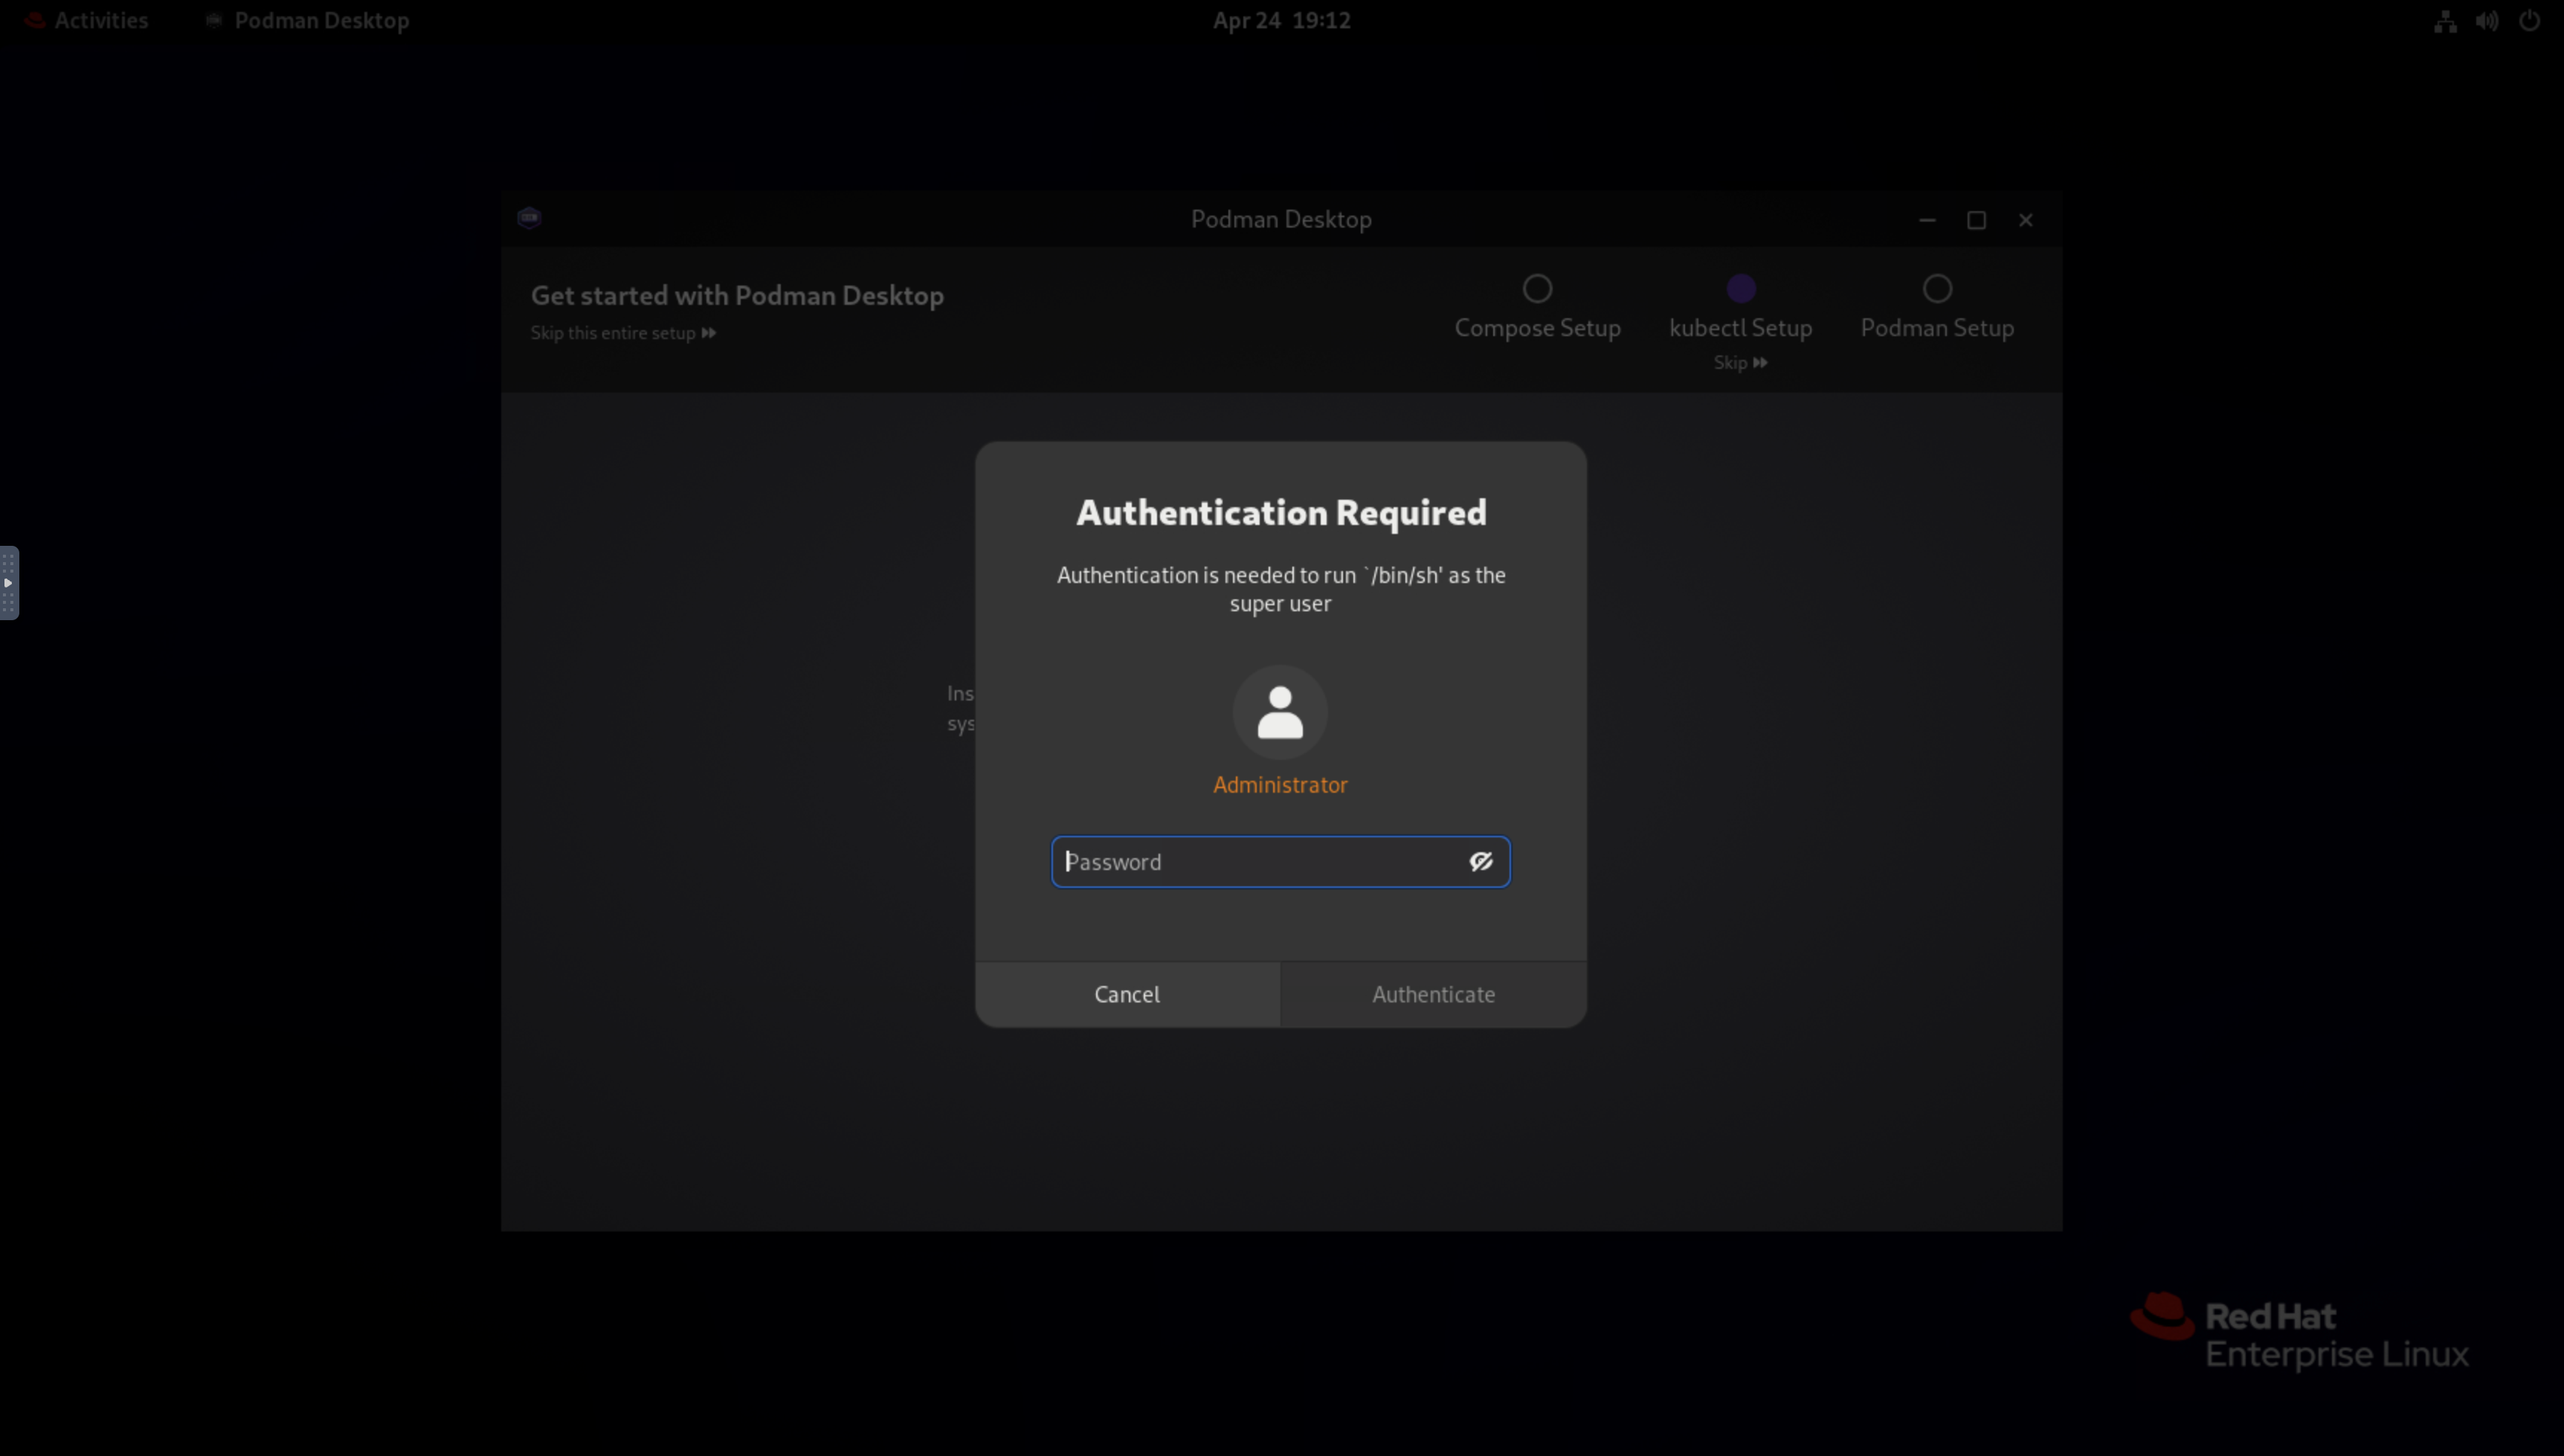
You will be requested to enter the Administrator password for some parts of the onboarding, which is the same as your login for the virtual machine. Simply pull out the noVNC menu, select Clipboard, and copy the password ({ssh_password}) to paste it into the pop up.
|
After completing the onboarding process, you’ll be ready to start working with Podman Desktop.