Projects
Projects are a top level concept to help you organize your deployments. An OpenShift project allows a community of users (or a user) to organize and manage their content in isolation from other communities. Each project has its own resources, policies (who can or cannot perform actions), and constraints (quotas and limits on resources, etc). Projects act as a "wrapper" around all the application services and endpoints you (or your teams) are using for your work.
During this lab, we are going to use a few different commands to make sure that things in the environment are working as expected. Don’t worry if you don’t understand all of the terminology as we will cover it in detail in later labs.
Create your first Project
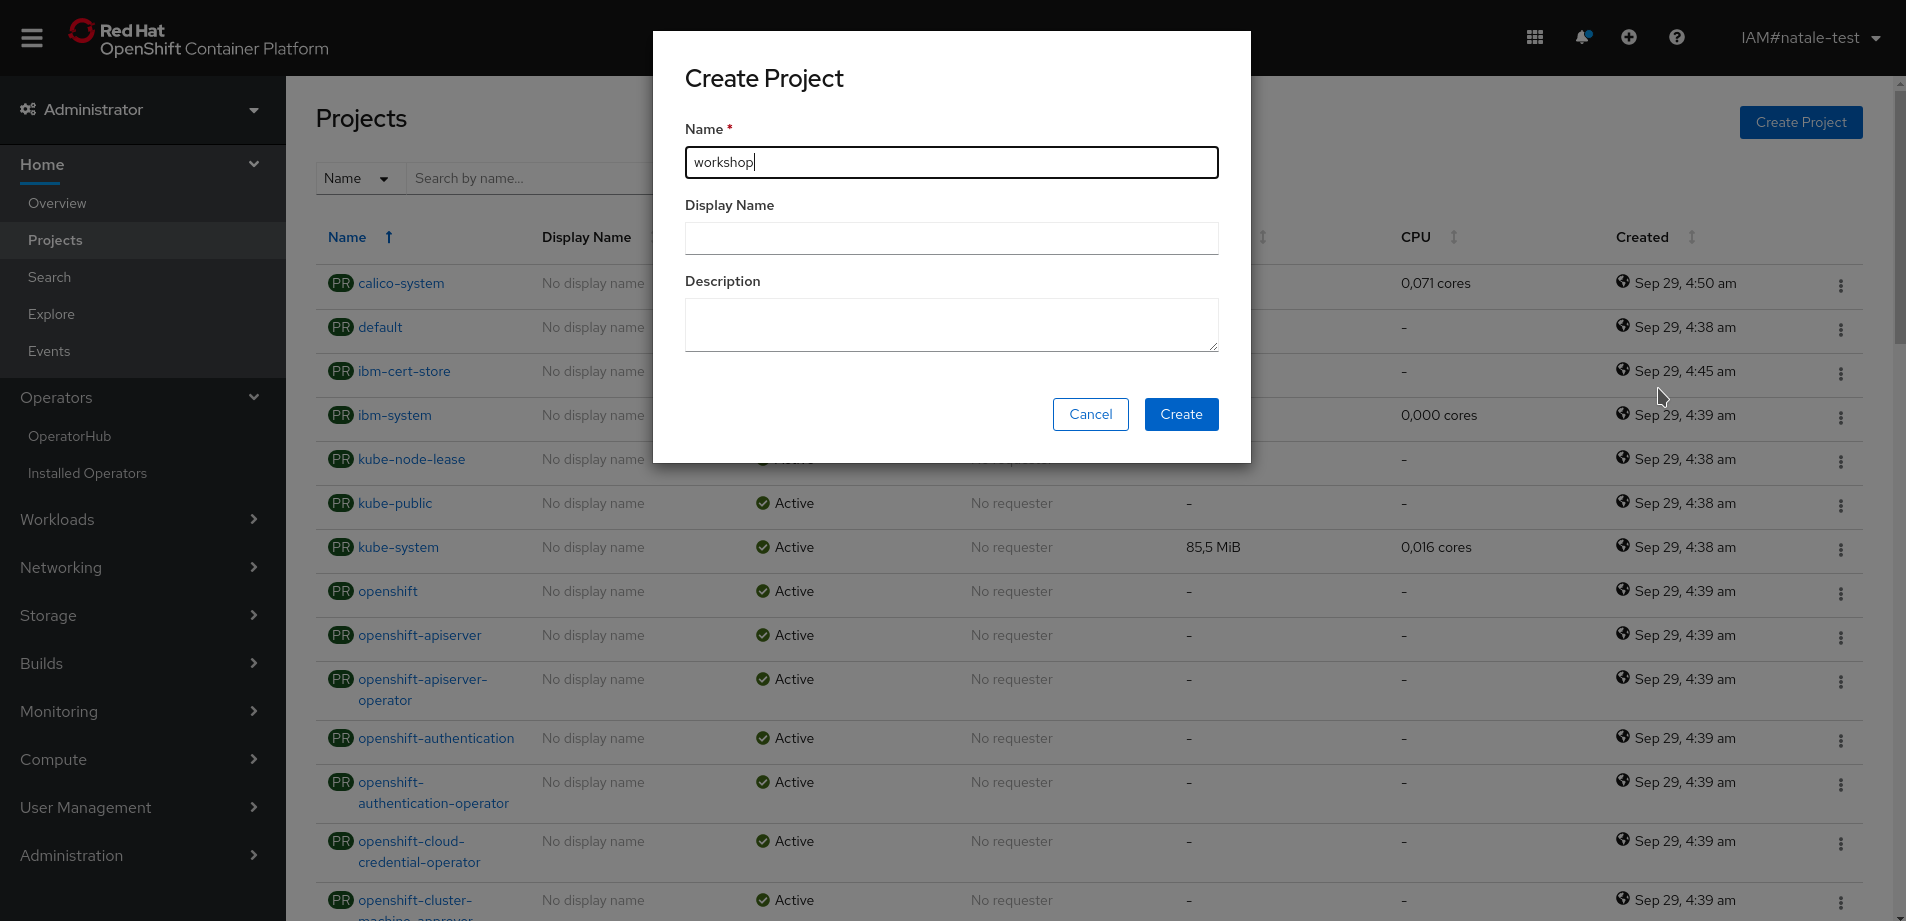
Create a project named workshop. From left-side menu, click to Projects, then from top-right click to Create Project.
From the form, insert the name of your project workshop and click to Create.

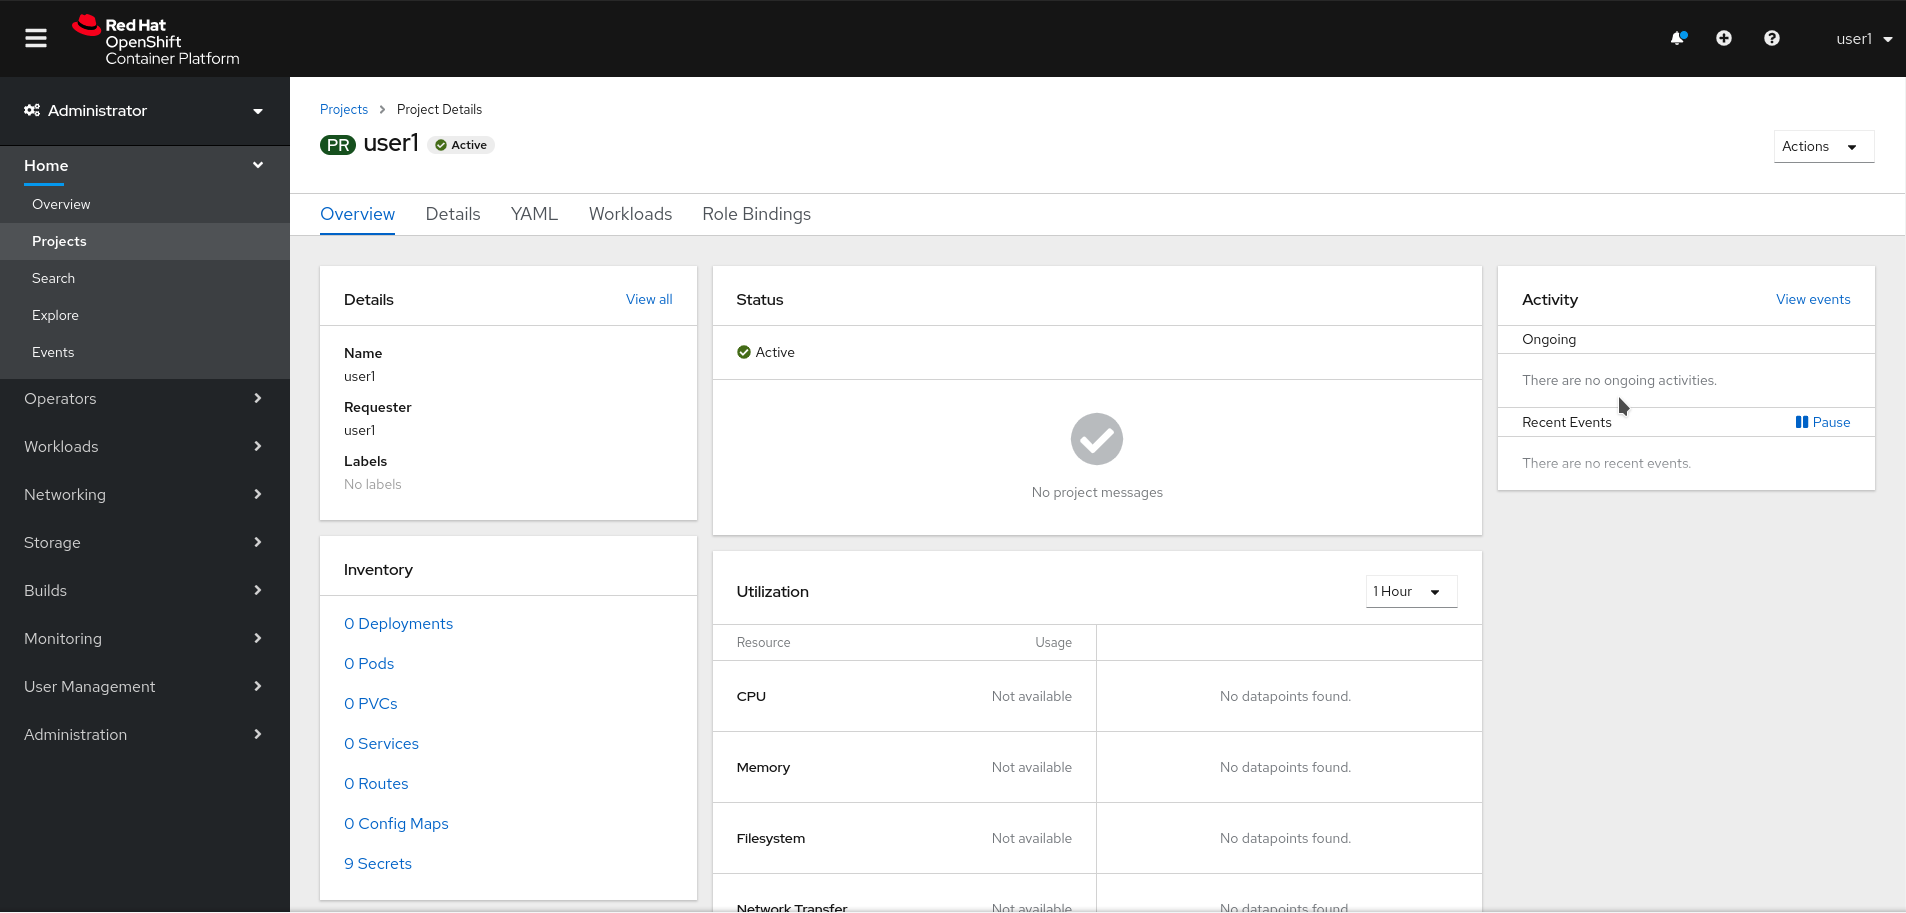
If you had multiple projects, the first thing you would want to do is to switch to the workshop project to make sure you’re on the correct project from now on.

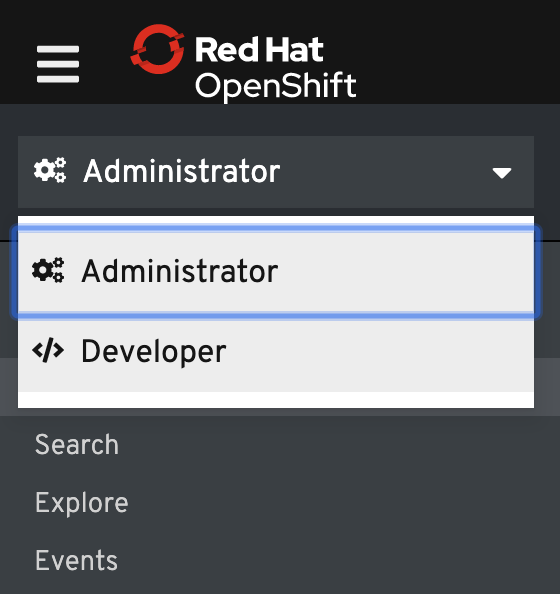
At the top of the left navigation menu, you can toggle between the Administrator perspective and the Developer perspective.

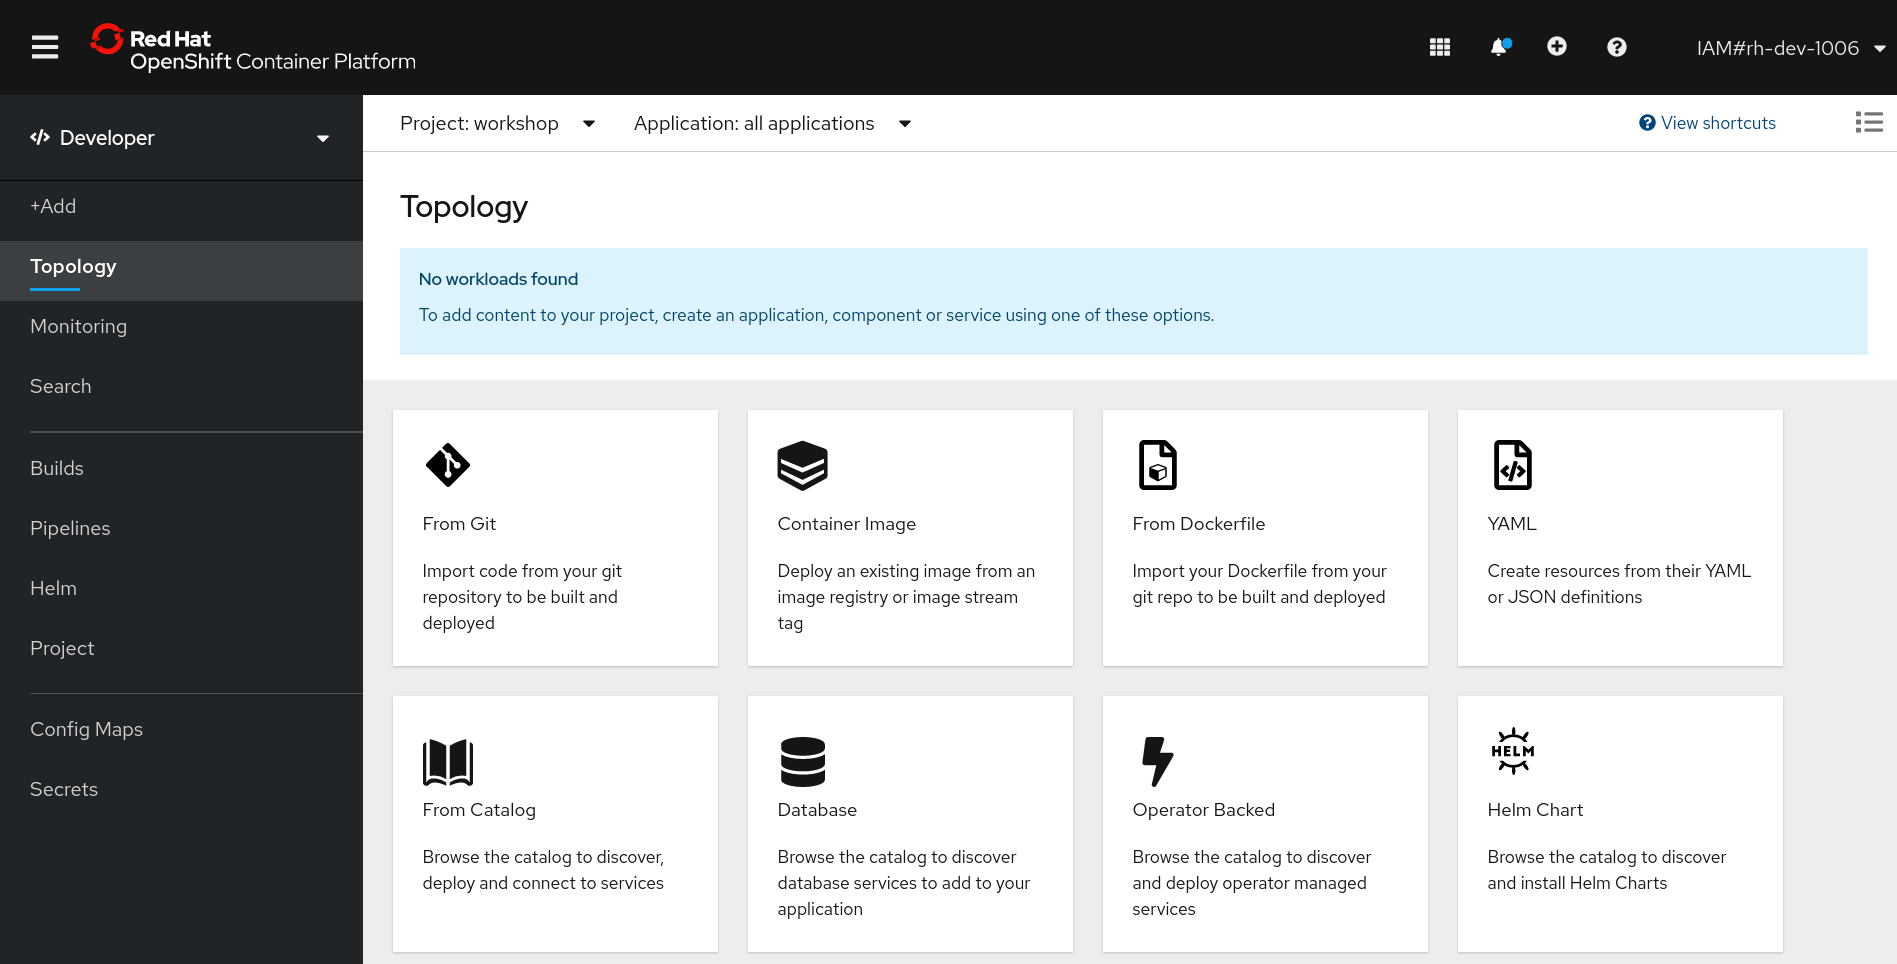
Select Developer to switch to the Developer perspective. Once the Developer perspective loads, you should be in the Topology view. Right now, there are no applications or components to view, but once you begin working on the lab, you’ll be able to visualize and interact with the components in your application here.

You can also create and manage project from the CLI as well. Let’s use our newly created project workshop as our default one:
oc project workshopYou should an output similar to the following:
Now using project "workshop" on server "https://api.%CLUSTER_SUBDOMAIN%:6443"We will be using a mix of command line tooling and the web console for the labs. Get ready!