Data Science Pipeline
Creating pipelines using version-controlled, shareable code is often a preferred approach. The Kubeflow Pipelines (kfp) SDK offers a Python API for building pipelines, which is available as a Python package that can be installed via the pip install kfp command. Using this package, you can write Python code to define a pipeline, compile it into YAML format, and then import it into OpenShift AI.
This deep dive does not focus on the specifics of using the SDK. Instead, it supplies the necessary files for you to review and upload.
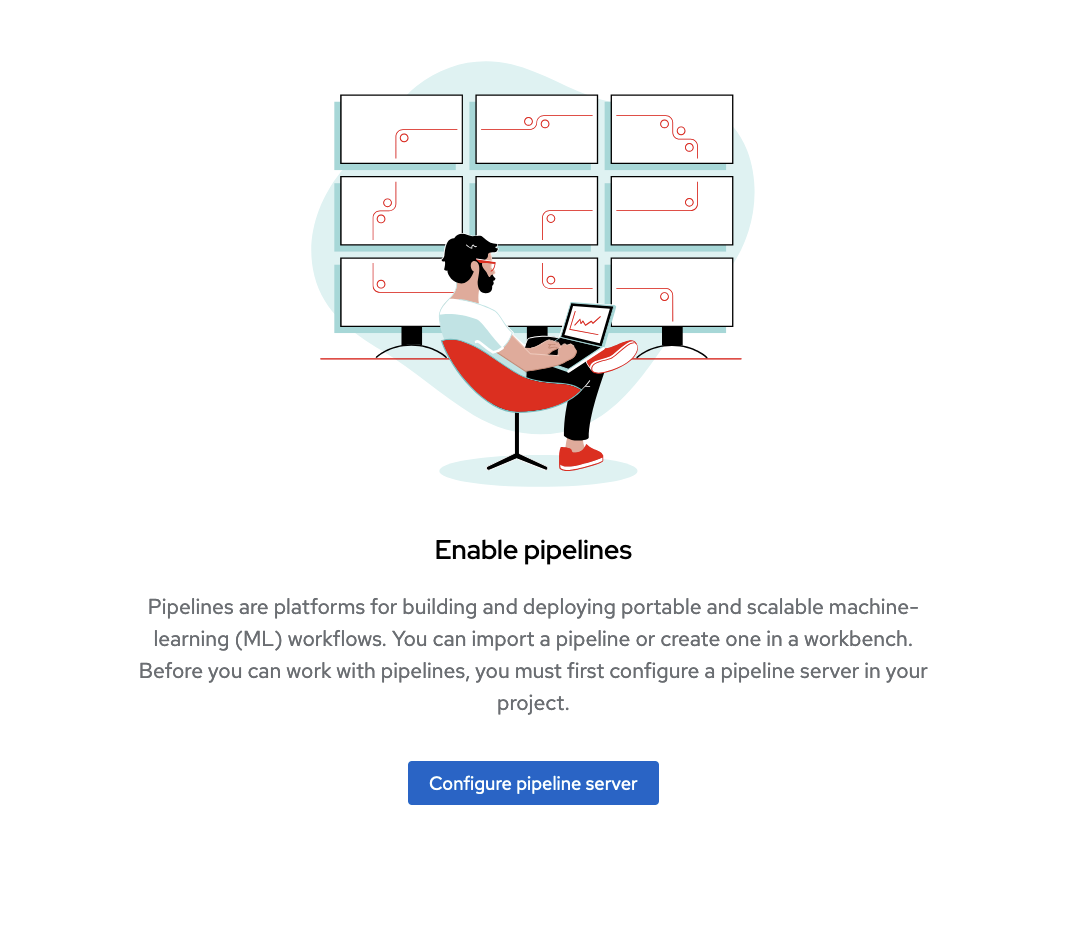
Enabling Data Science Pipelines
In this section, you prepare your environment to train a model automatically using data science pipelines.
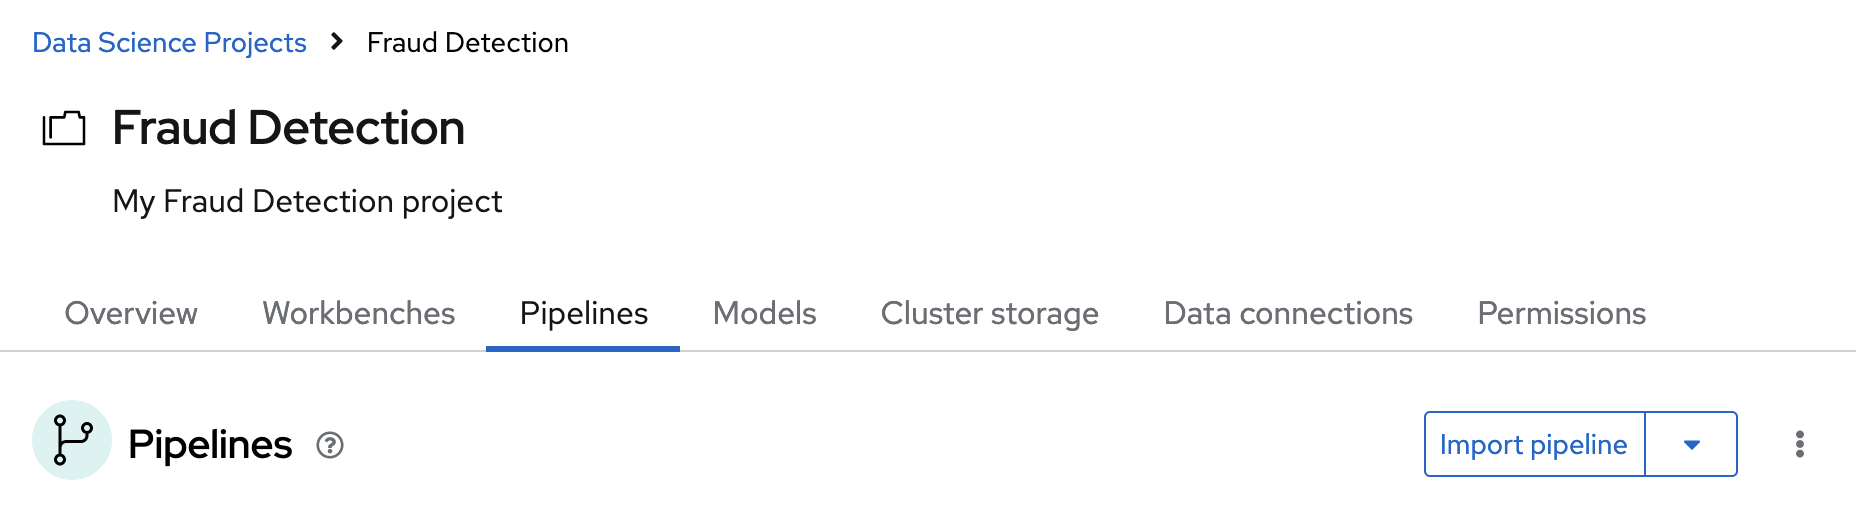
In the OpenShift AI dashboard, on the Fraud Detection page, click the Pipelines tab.
Click Configure pipeline server button.
In the Configure Pipeline Server form, locate the Access Key field marked by the key icon. Open the dropdown menu and select Pipeline Artifacts to automatically fill the form with the necessary credentials for the connection.
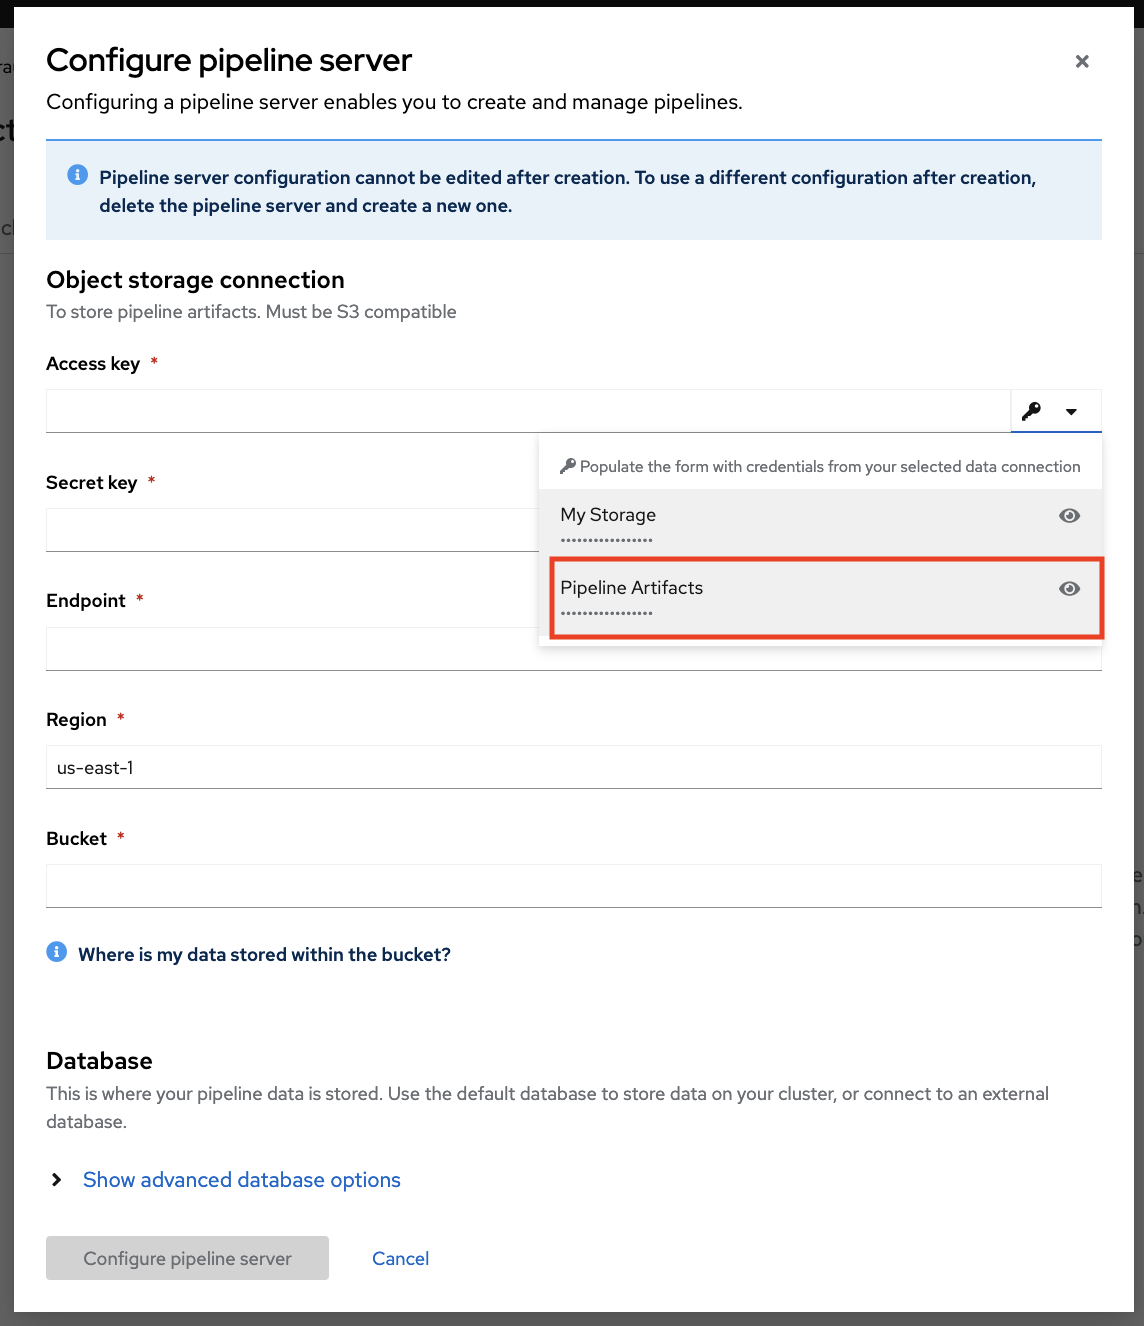
Click Configure pipeline server, and wait until the loading spinner disappears and Start by importing a pipeline is displayed. It is not necessary to click to push the Start by importing a pipeline button, but when enabled, it indicates that the pipeline server is ready.
This process might take 5 minutes.
Running a Data Science Pipeline
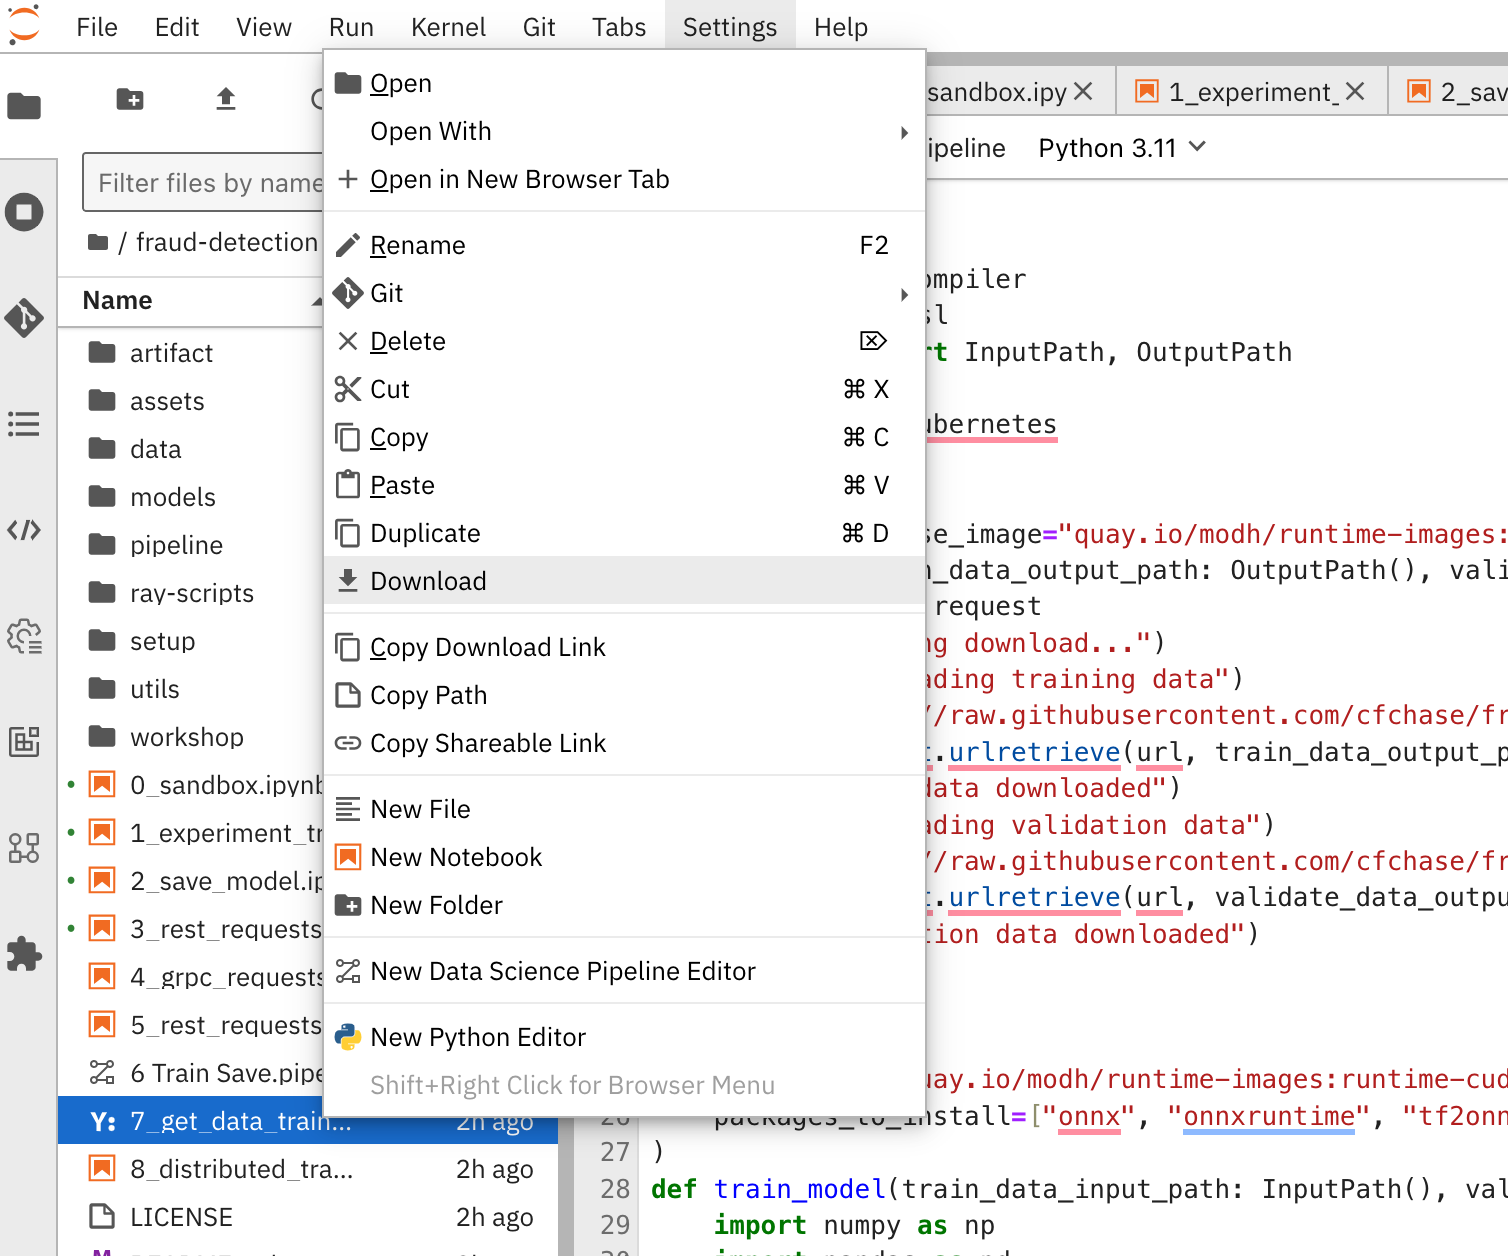
From your Jupyter environment, download the 7_get_data_train_upload.py file to your local disk by selecting the file, right-clicking your mouse, and selecting Download.
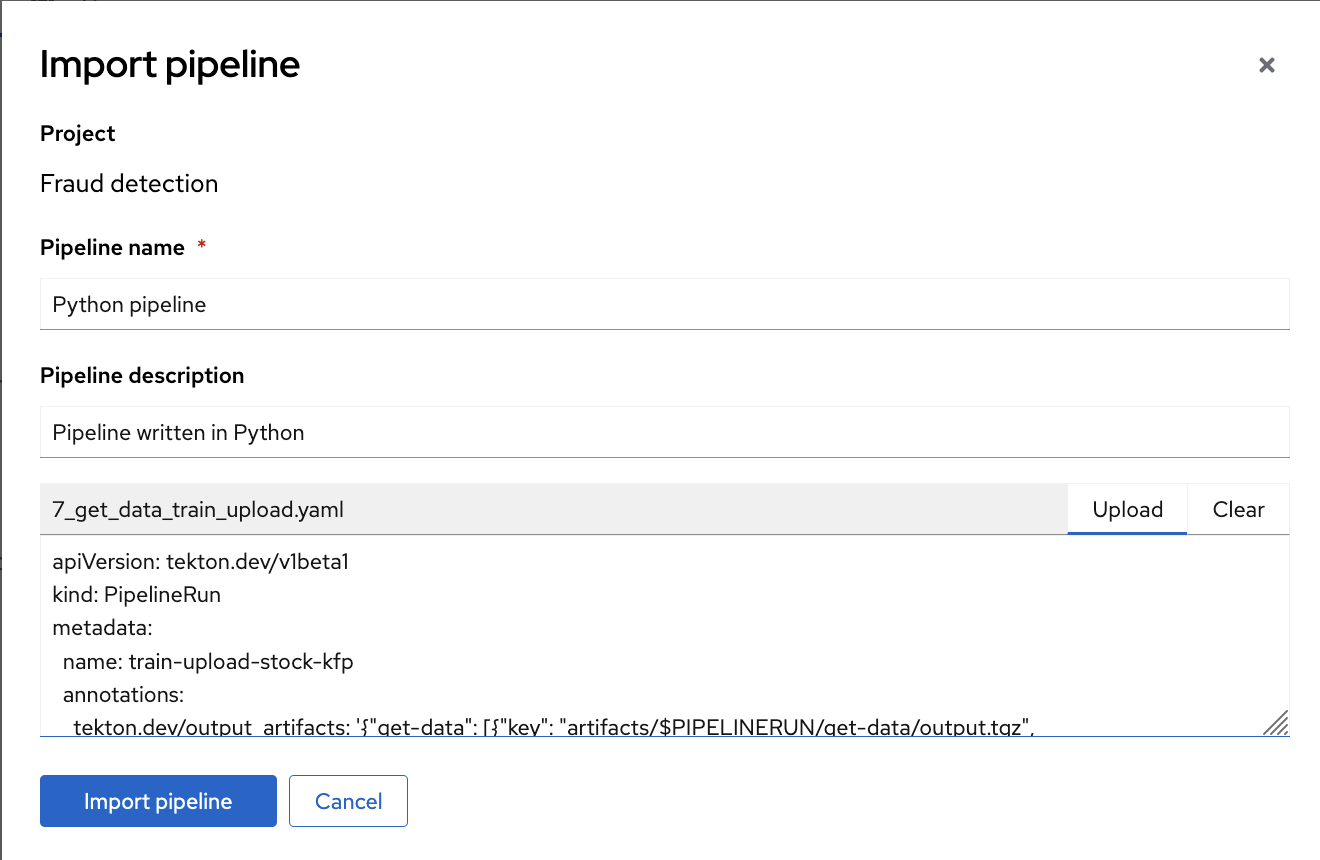
Then, import this file into the created Pipeline, go again to the Pipelines tab, and push the Import Pipeline button.
Then fill the form with a Pipeline name and Pipeline description.
Click Upload and select 7_get_data_train_upload.yaml from your local files to upload the pipeline.
Finally, click the Import pipeline button to import and save the pipeline.
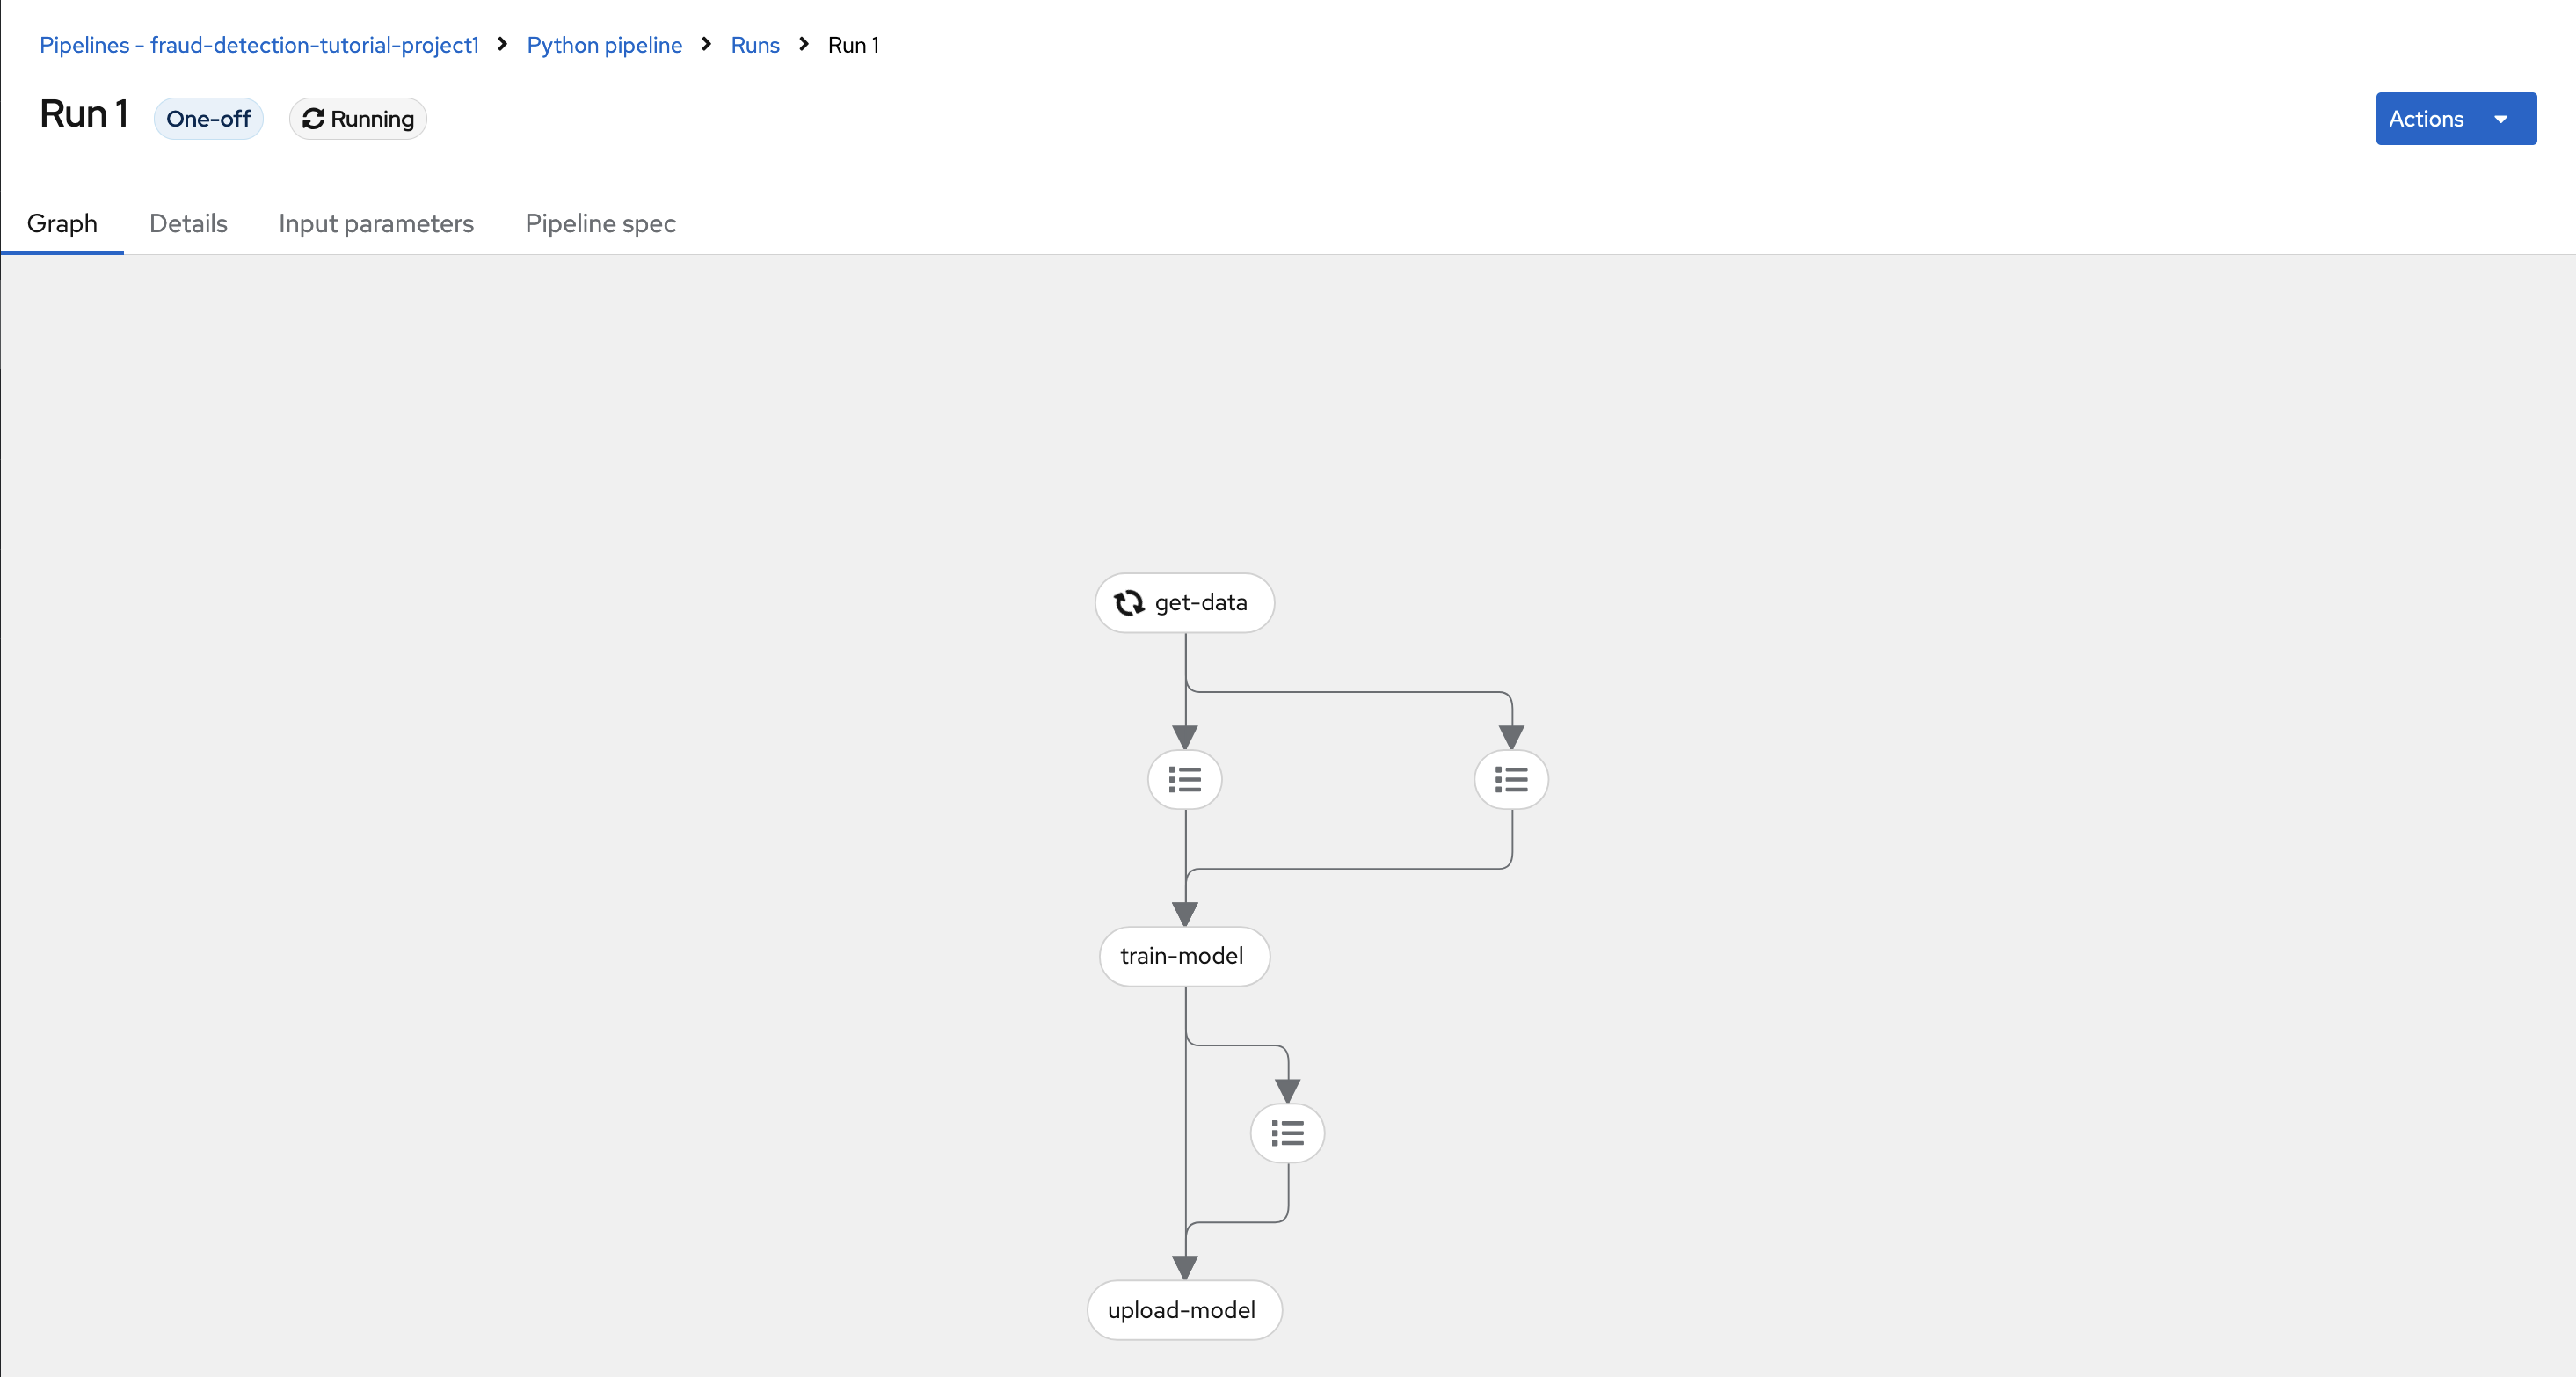
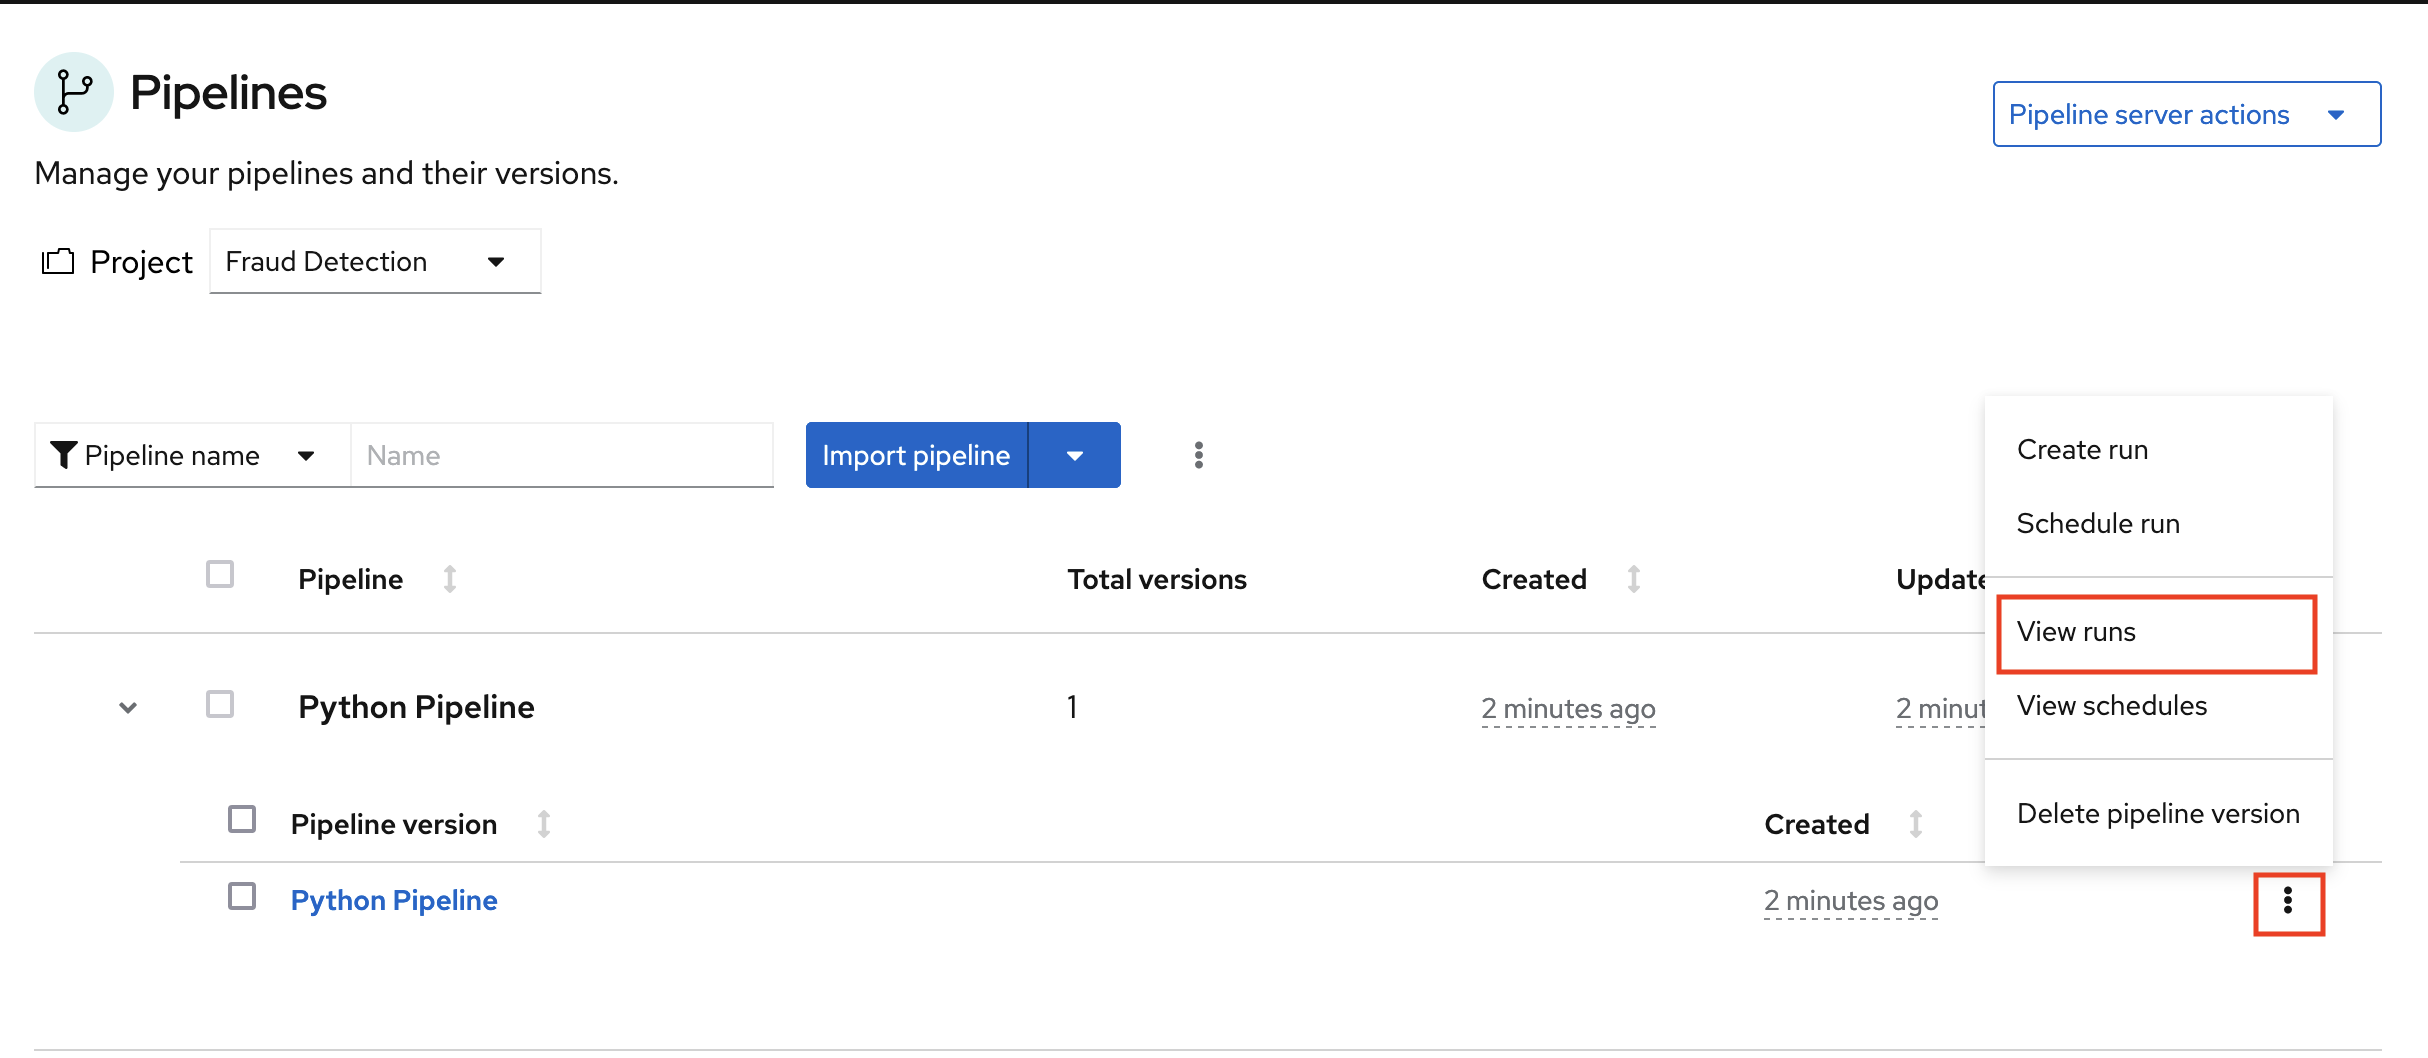
The pipeline is registered but not executed till you create a run.
Expand the pipeline item, click the action menu (⋮), and then select View runs.
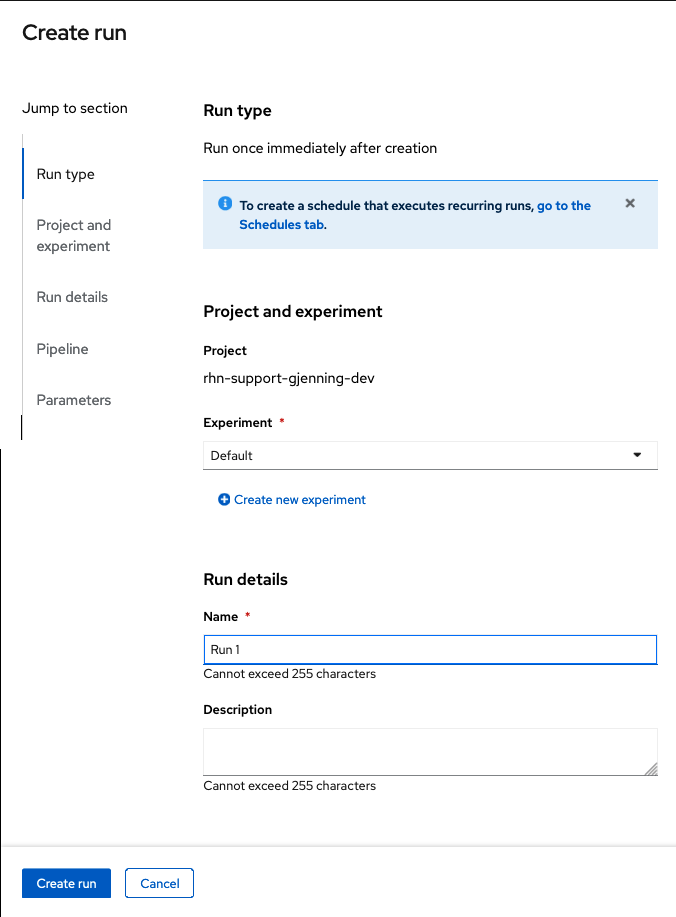
Click Create run and fill the form with the following values:
Experiment: leave the default Default value Name: Run 1 Pipeline: Select the pipeline that you uploaded
You can leave the other fields with their default values.
After creating the run, the pipeline is executed automatically. It gets training data, retrains the model with the new data, and publishes it.