Setup
Prerequisites
To run this deep dive you need an OpenShift cluster with OpenShift AI installed. There is one free public cloud cluster named Red Hat Sandbox with OpenShift AI installed.
Developer Sandbox for Red Hat OpenShift is a free Kubernetes cloud environment in a shared, multi-tenant OpenShift cluster that is pre-configured with a set of developer tools. The Developer Sandbox is active for 30 days and renewable once it expires.
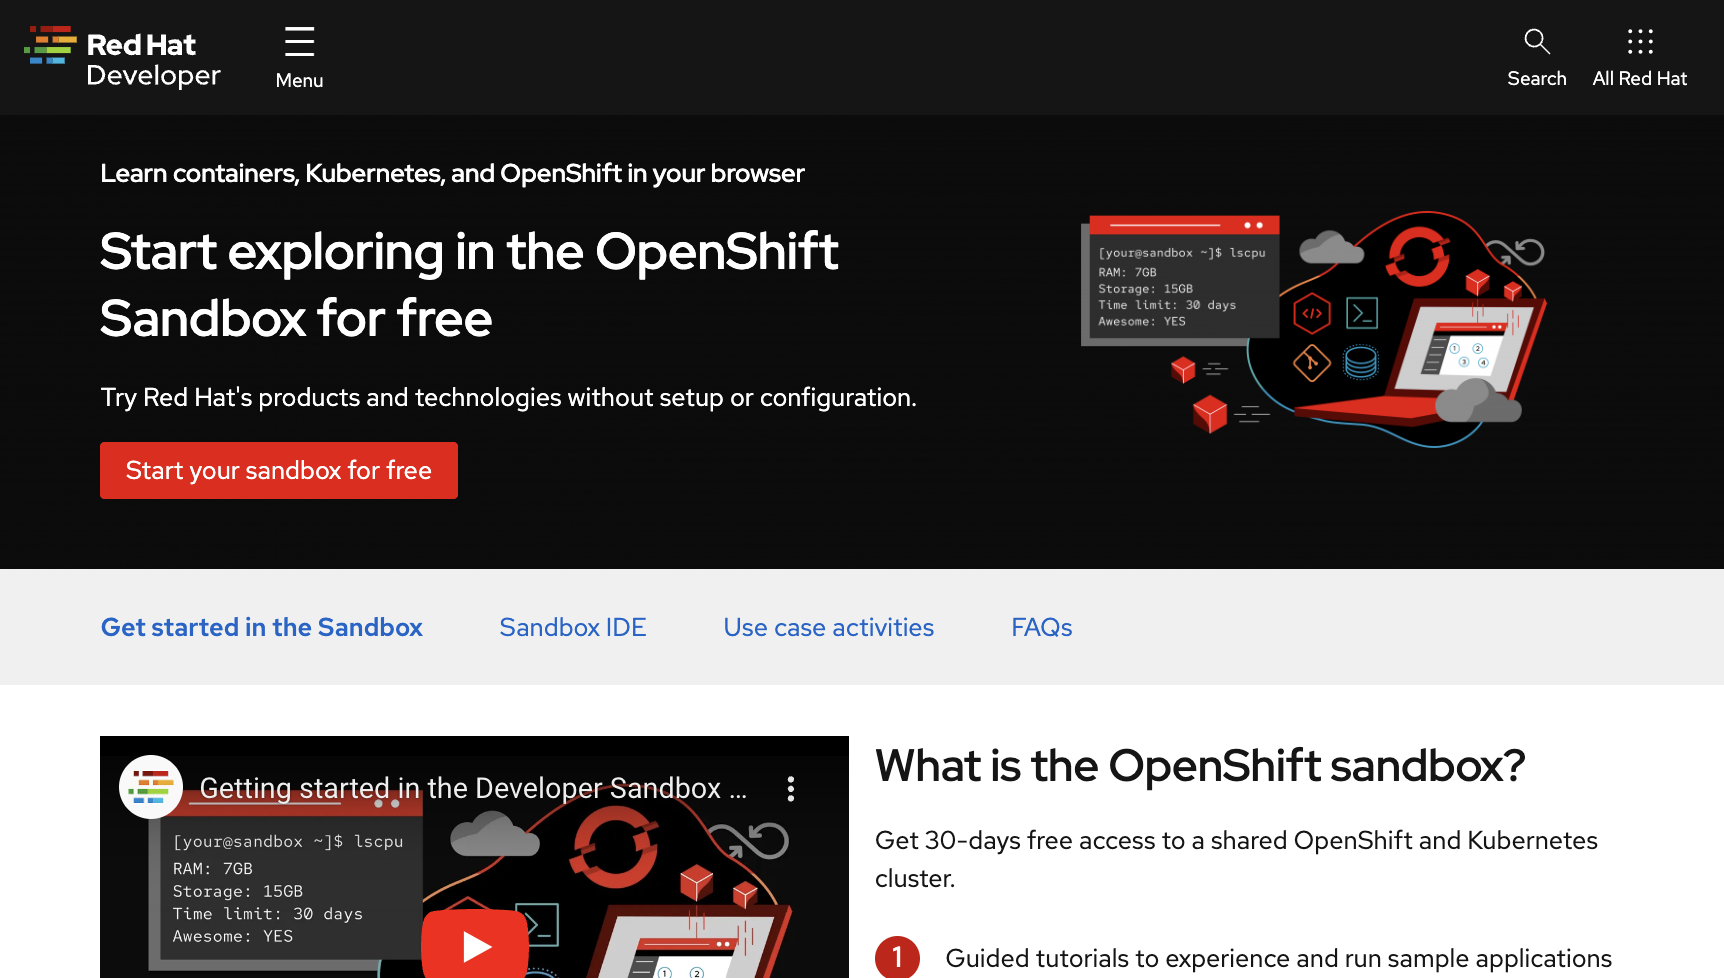
To create your account, register to Developer Sandbox for Red Hat OpenShift. From there, click on the red button that says Start your sandbox for free as shown in the following image.
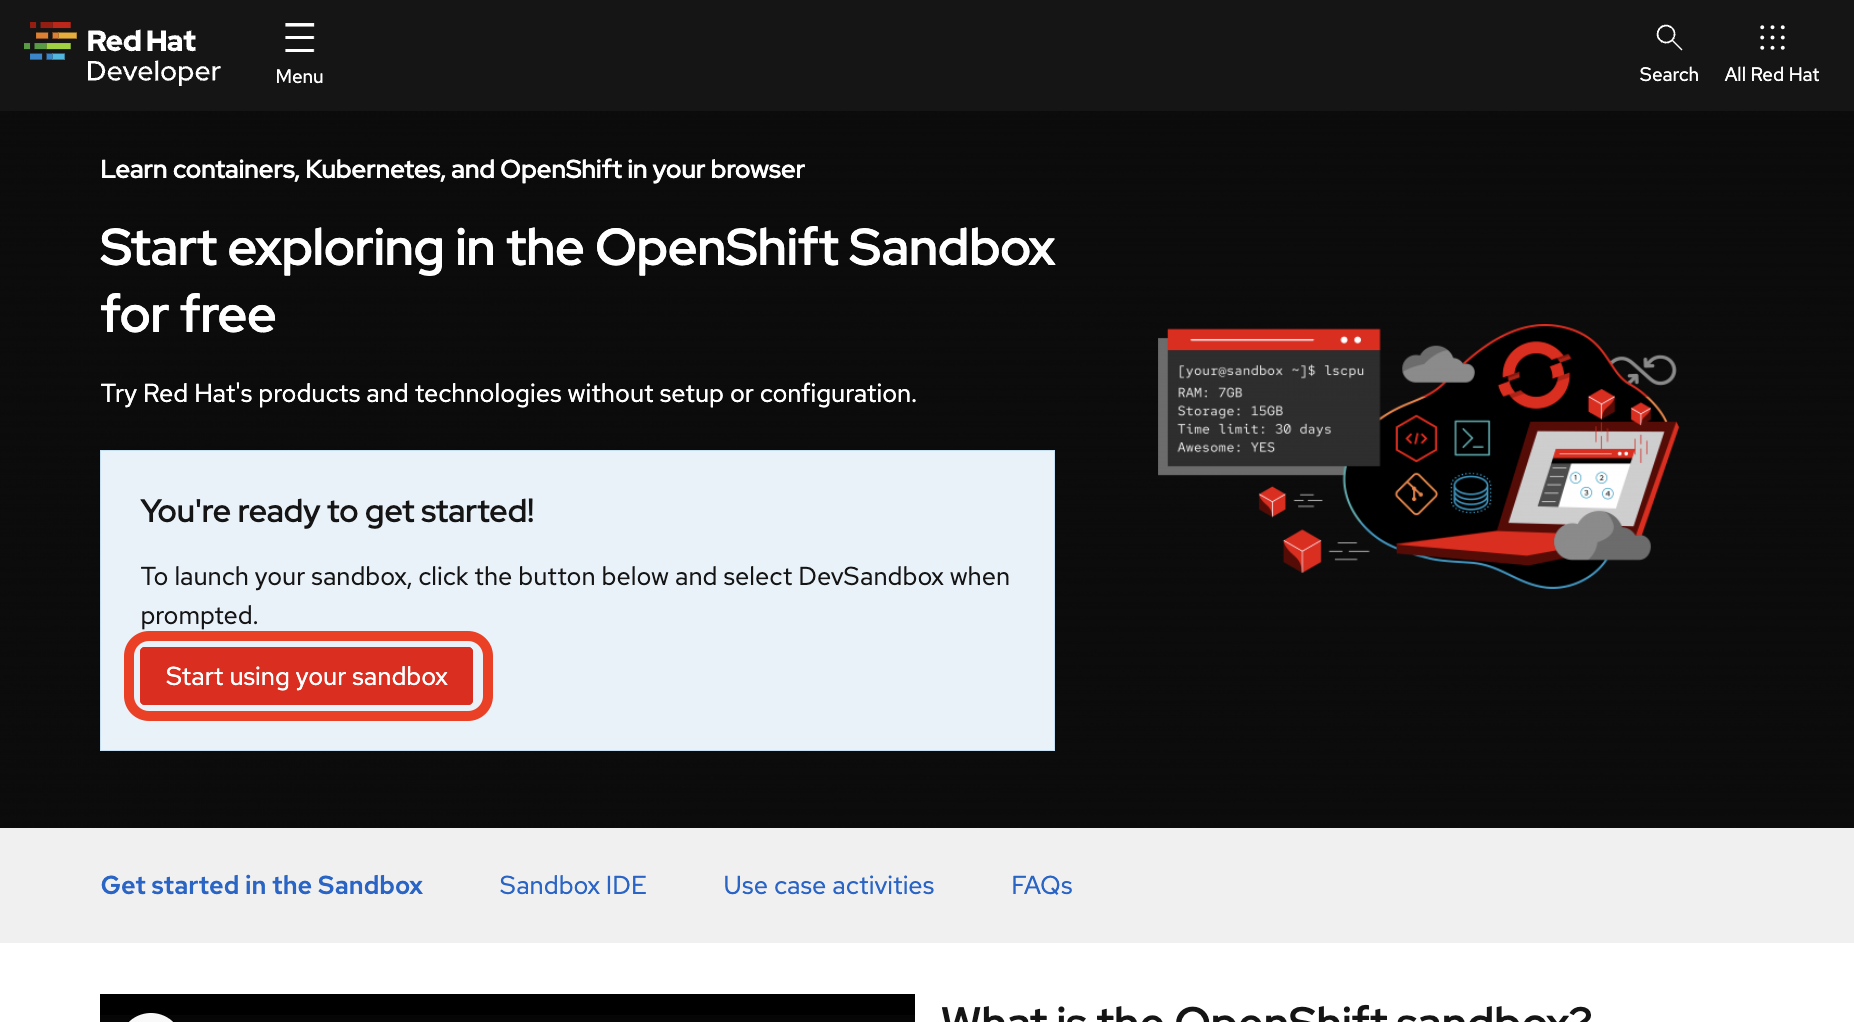
Use your existing Red Hat account or create a new one, then follow the instructions on the screen. You should then be redirected to the Developer Sandbox page again, but this time, you should see a button labelled Start using your sandbox.
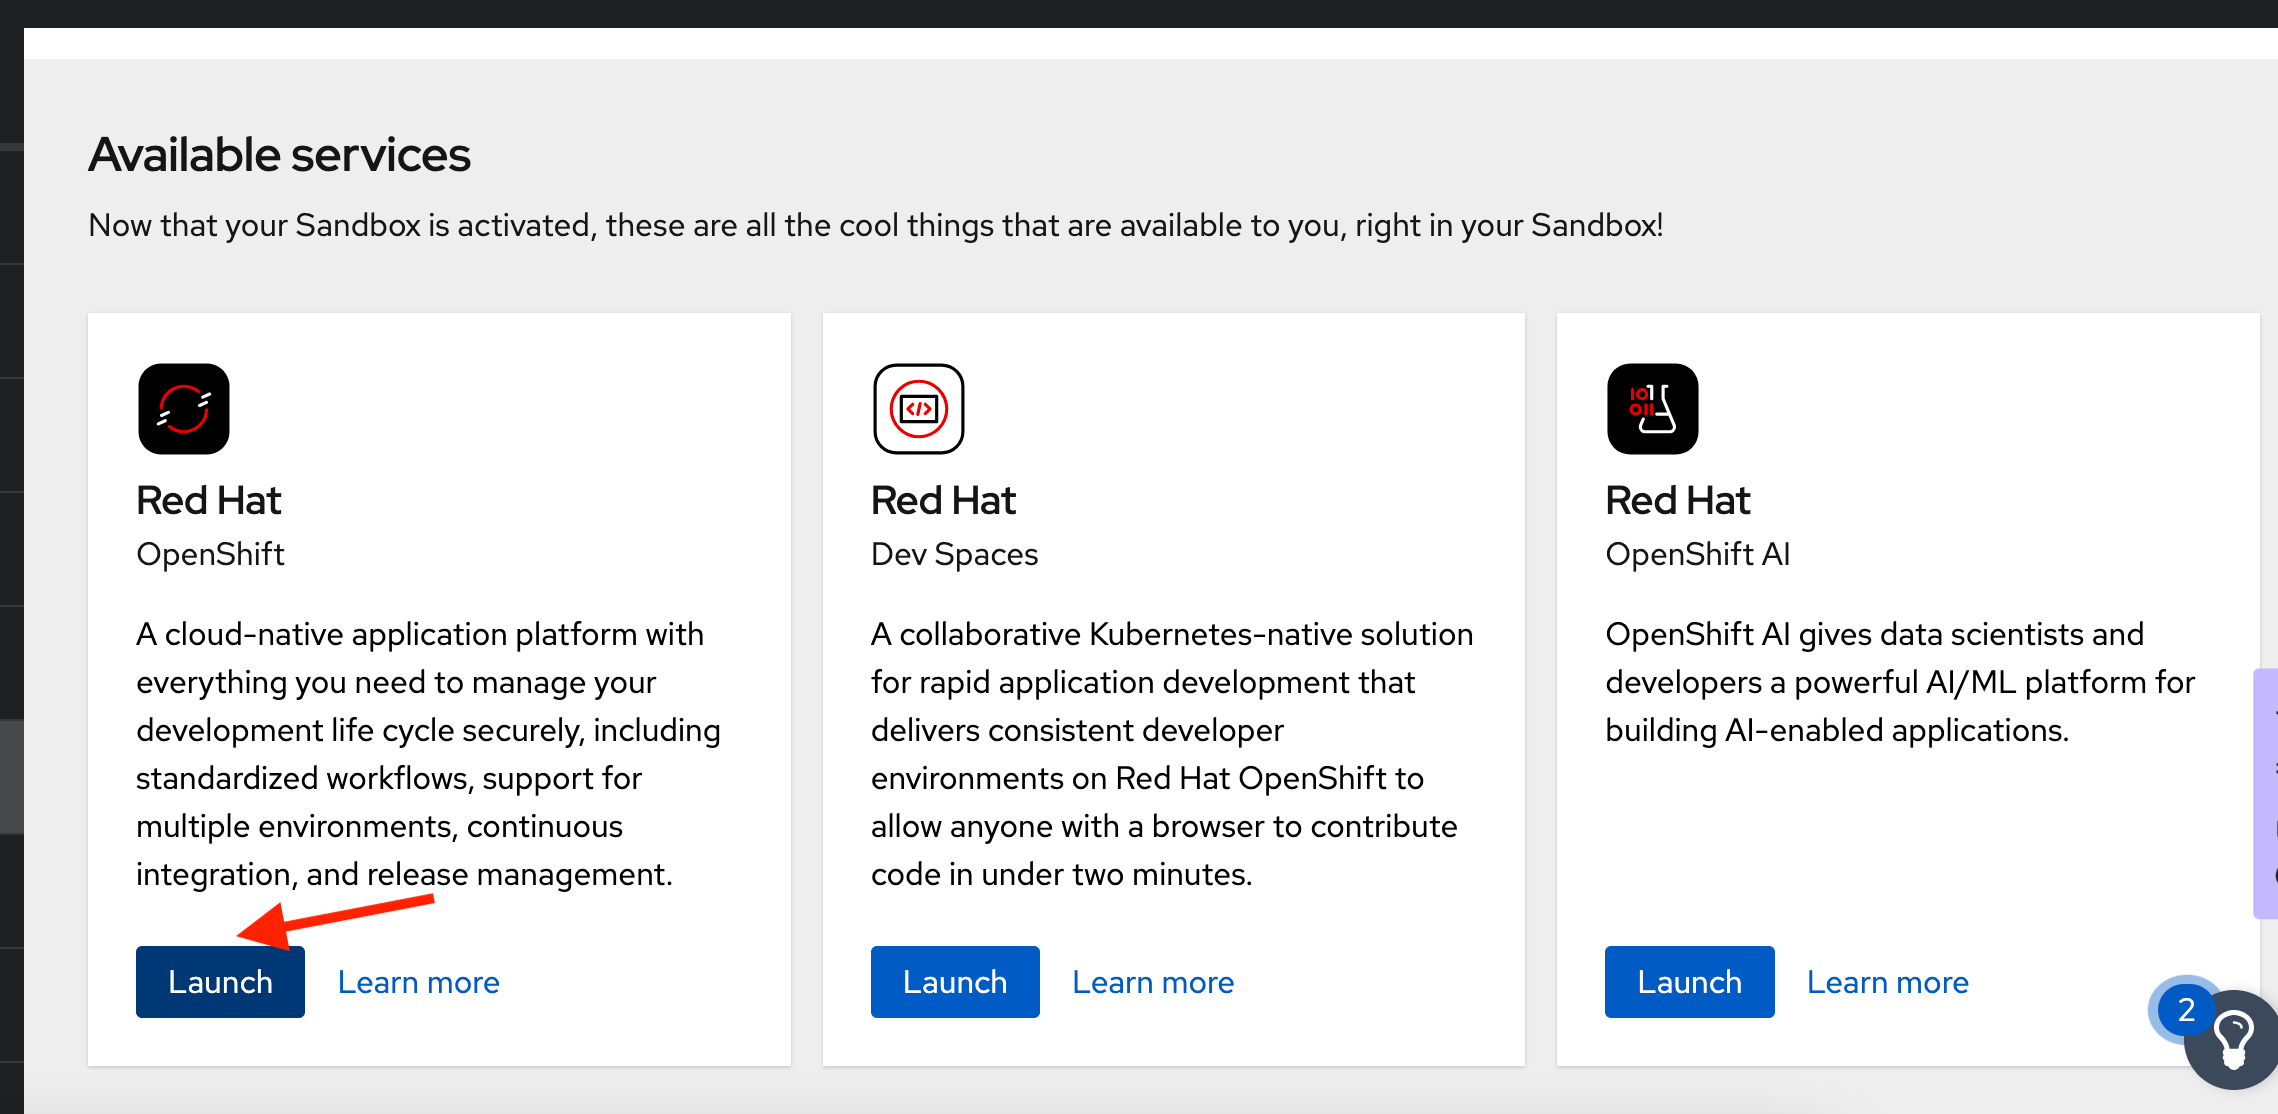
If the following screen is shown select the Red Hat OpenShift option:
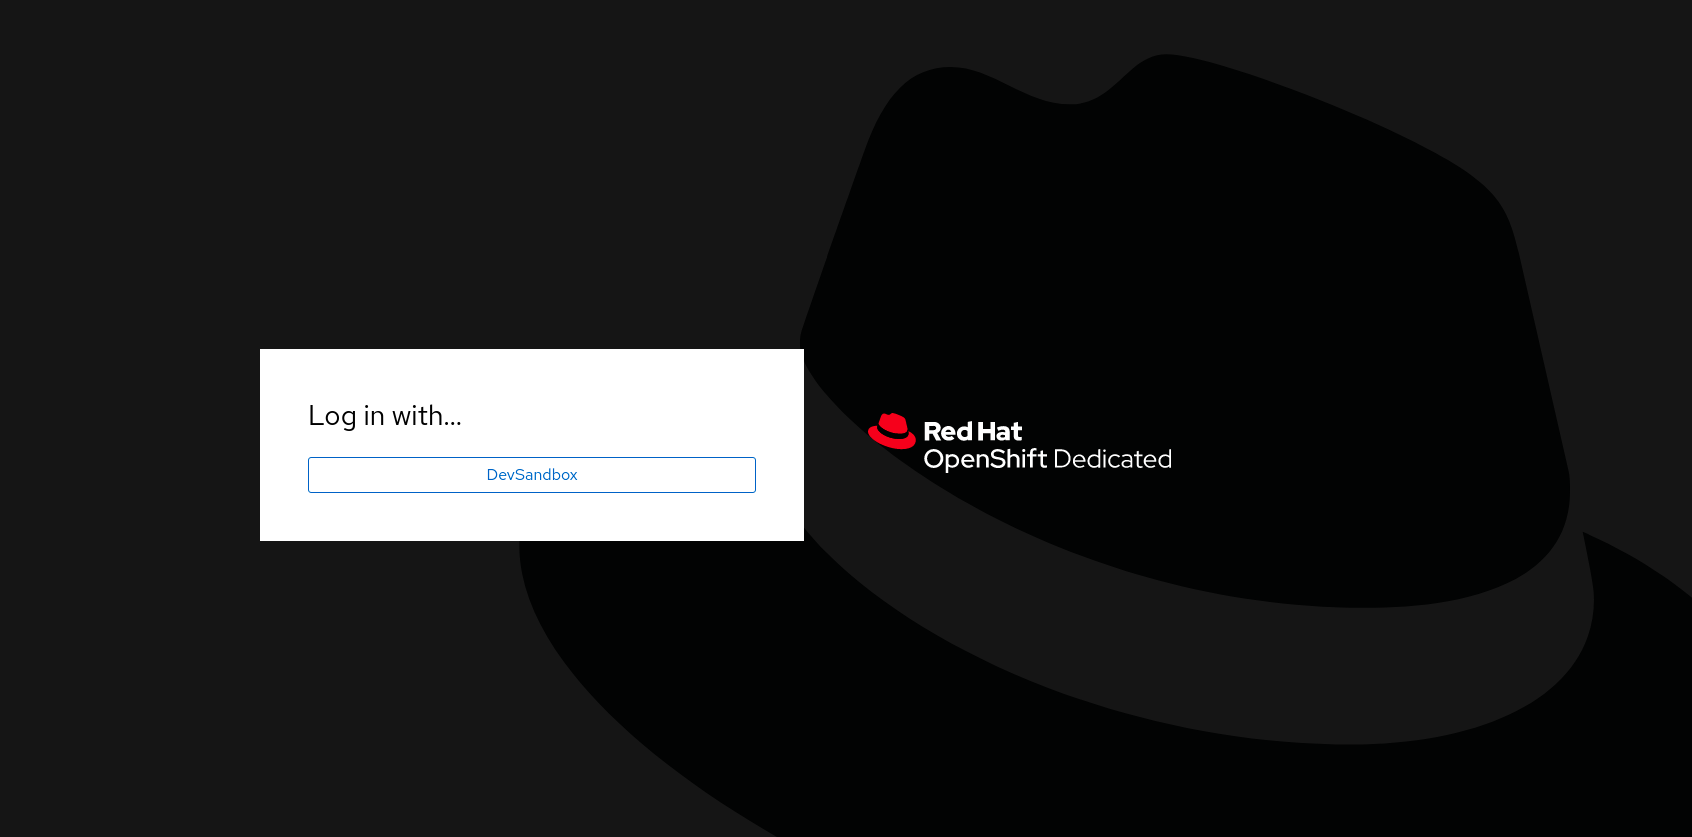
Clicking on it opens up the OpenShift login screen where you can log in using the DevSandbox button, as seen below.
Clicking this button opens up your new OpenShift cluster console.

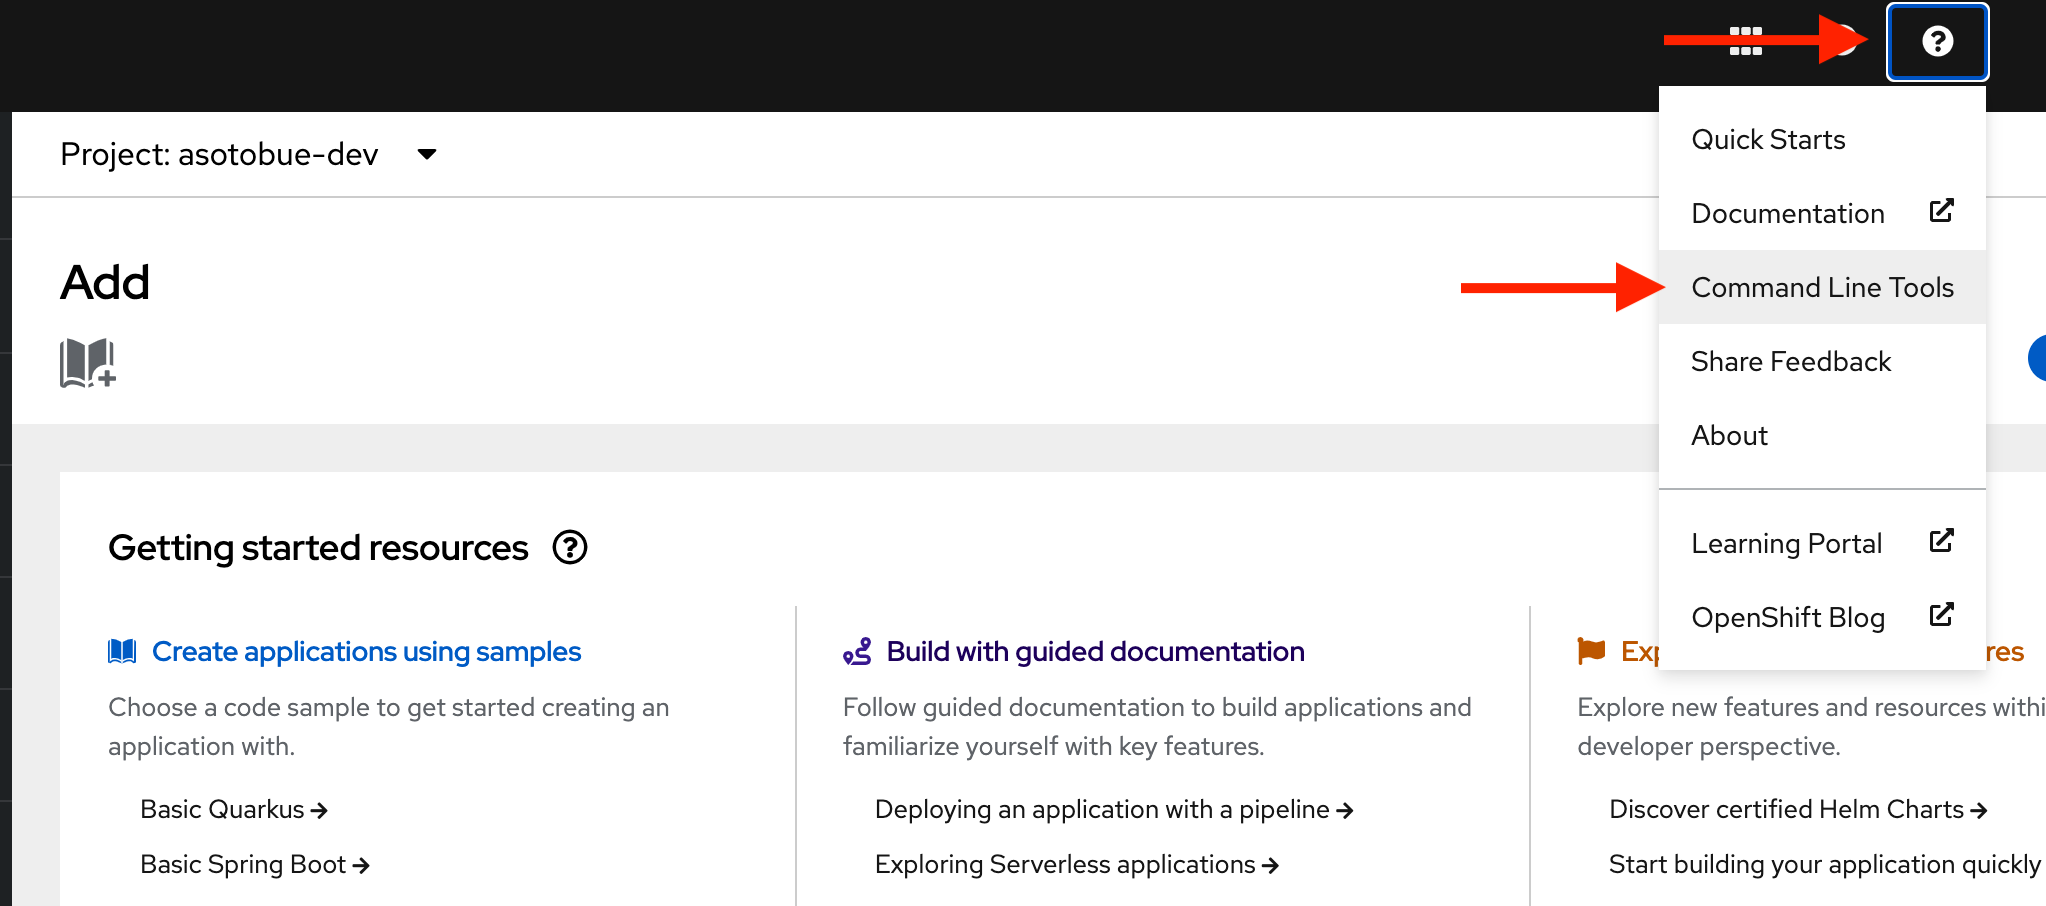
Also, you need to download oc CLI which is a kubectl wrapper for OpenShift.
Click on the question mark ? button, select Command Line Tools:
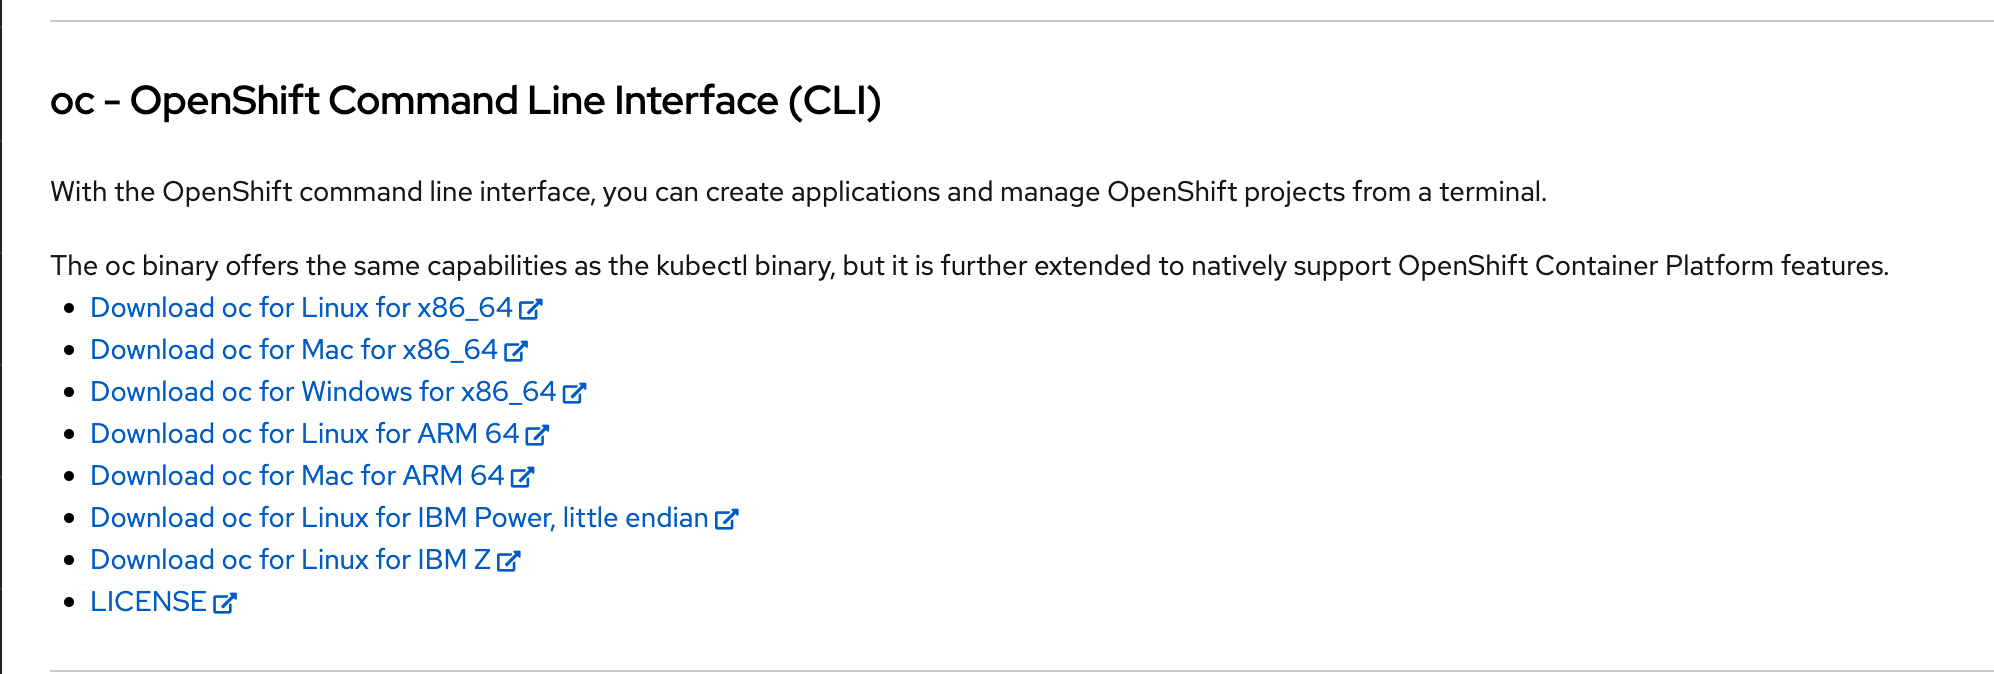
And finally download the oc CLI for your platform:
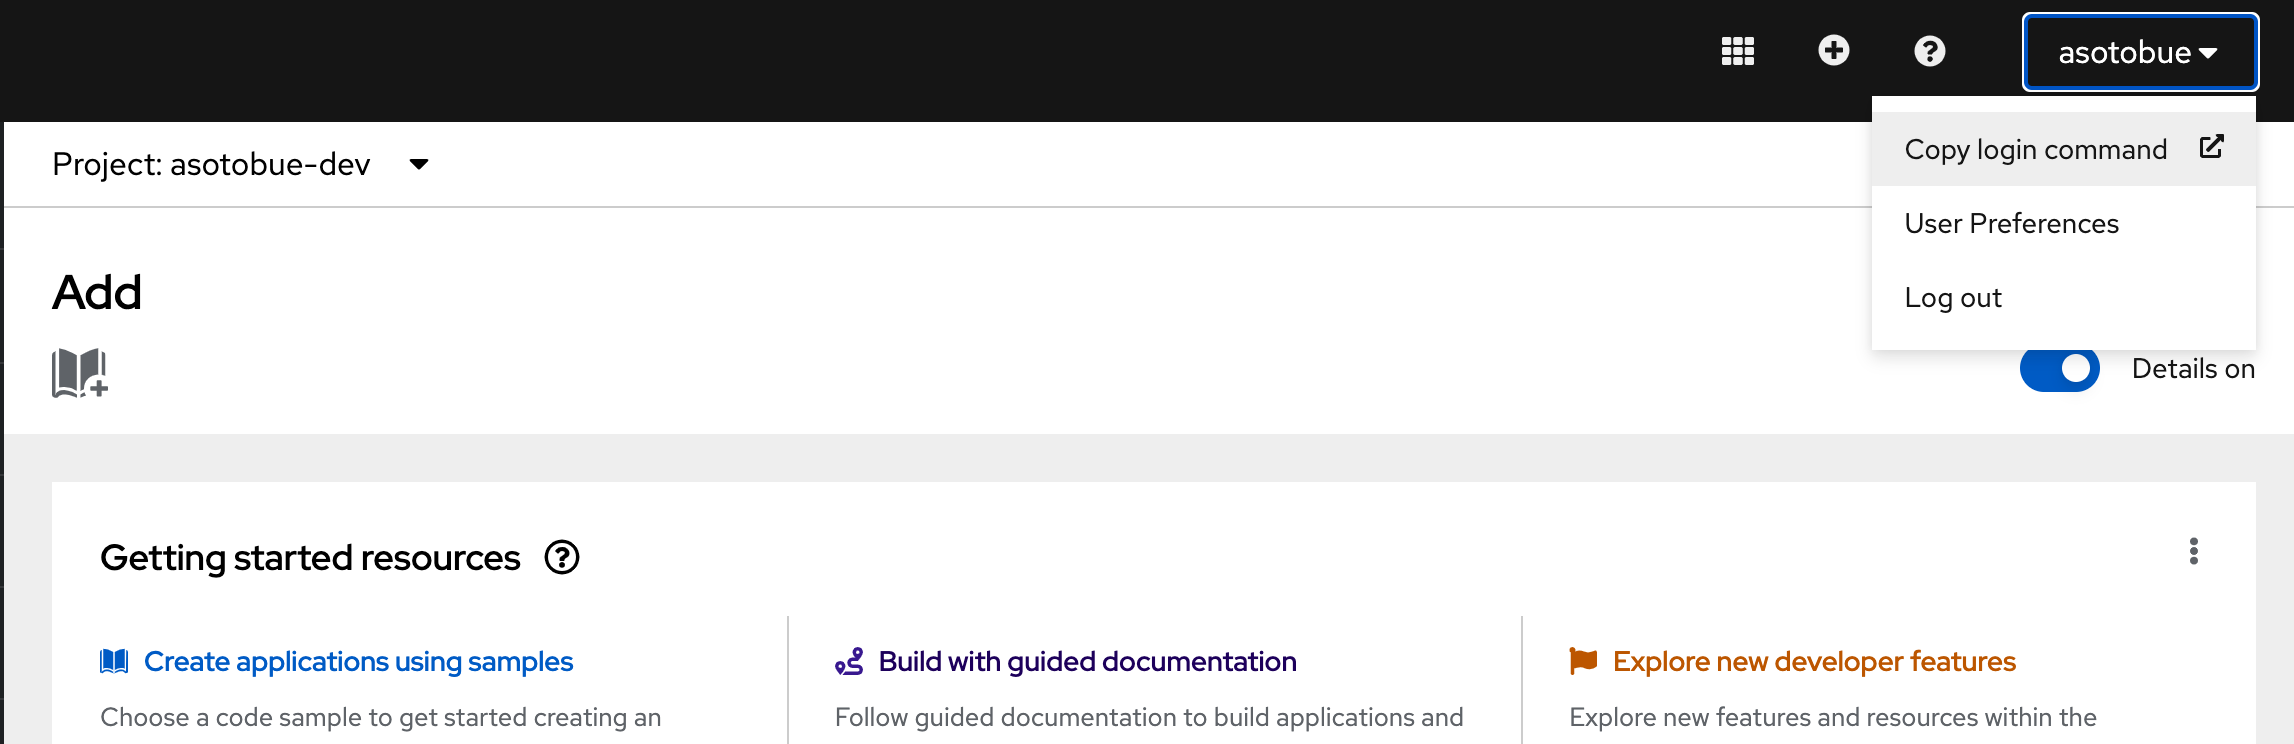
With oc downloaded and installed, it’s time to login to the cluster, click on your username select Copy Login command, and paste it to a terminal window:
After that, you can start using the cluster either with oc or kubectl CLI.
Get tutorial sources
Before we start setting up the environment, let’s clone the tutorial sources and set the TUTORIAL_HOME environment variable to point to the root directory of the tutorial:
git clone https://github.com/redhat-scholars/openshift-ai-1.git deep_diveexport TUTORIAL_HOME="$(pwd)/deep_dive"cd $TUTORIAL_HOME