Introduction
In this deep dive you’ll learn how to leverage OpenShift AI to train a sample model in JupyterLab, deploy it, and enhance it through automated pipelines.
The model will be a fraud detection model trained to determine whether a transaction is fraudulent.
The fraud detection model example monitors credit card transactions to identify potential fraudulent activity. It evaluates the following transaction details stored in a CSV file:
-
The geographic distance between the current transaction and the previous one.
-
How does the current transaction amount compare to the median value of all the users' transactions?
-
The payment method used, such as the credit card’s hardware chip, PIN entry, or an online purchase.
Using this data, the model calculates the probability of fraudulent transactions.
OpenShift AI
In xref:01-setup.adoc#prerequisite, you registered for a Red Hat Sandbox account; after you log in to the Sandbox, under Available services, in the Red Hat OpenShift AI card, click Launch:
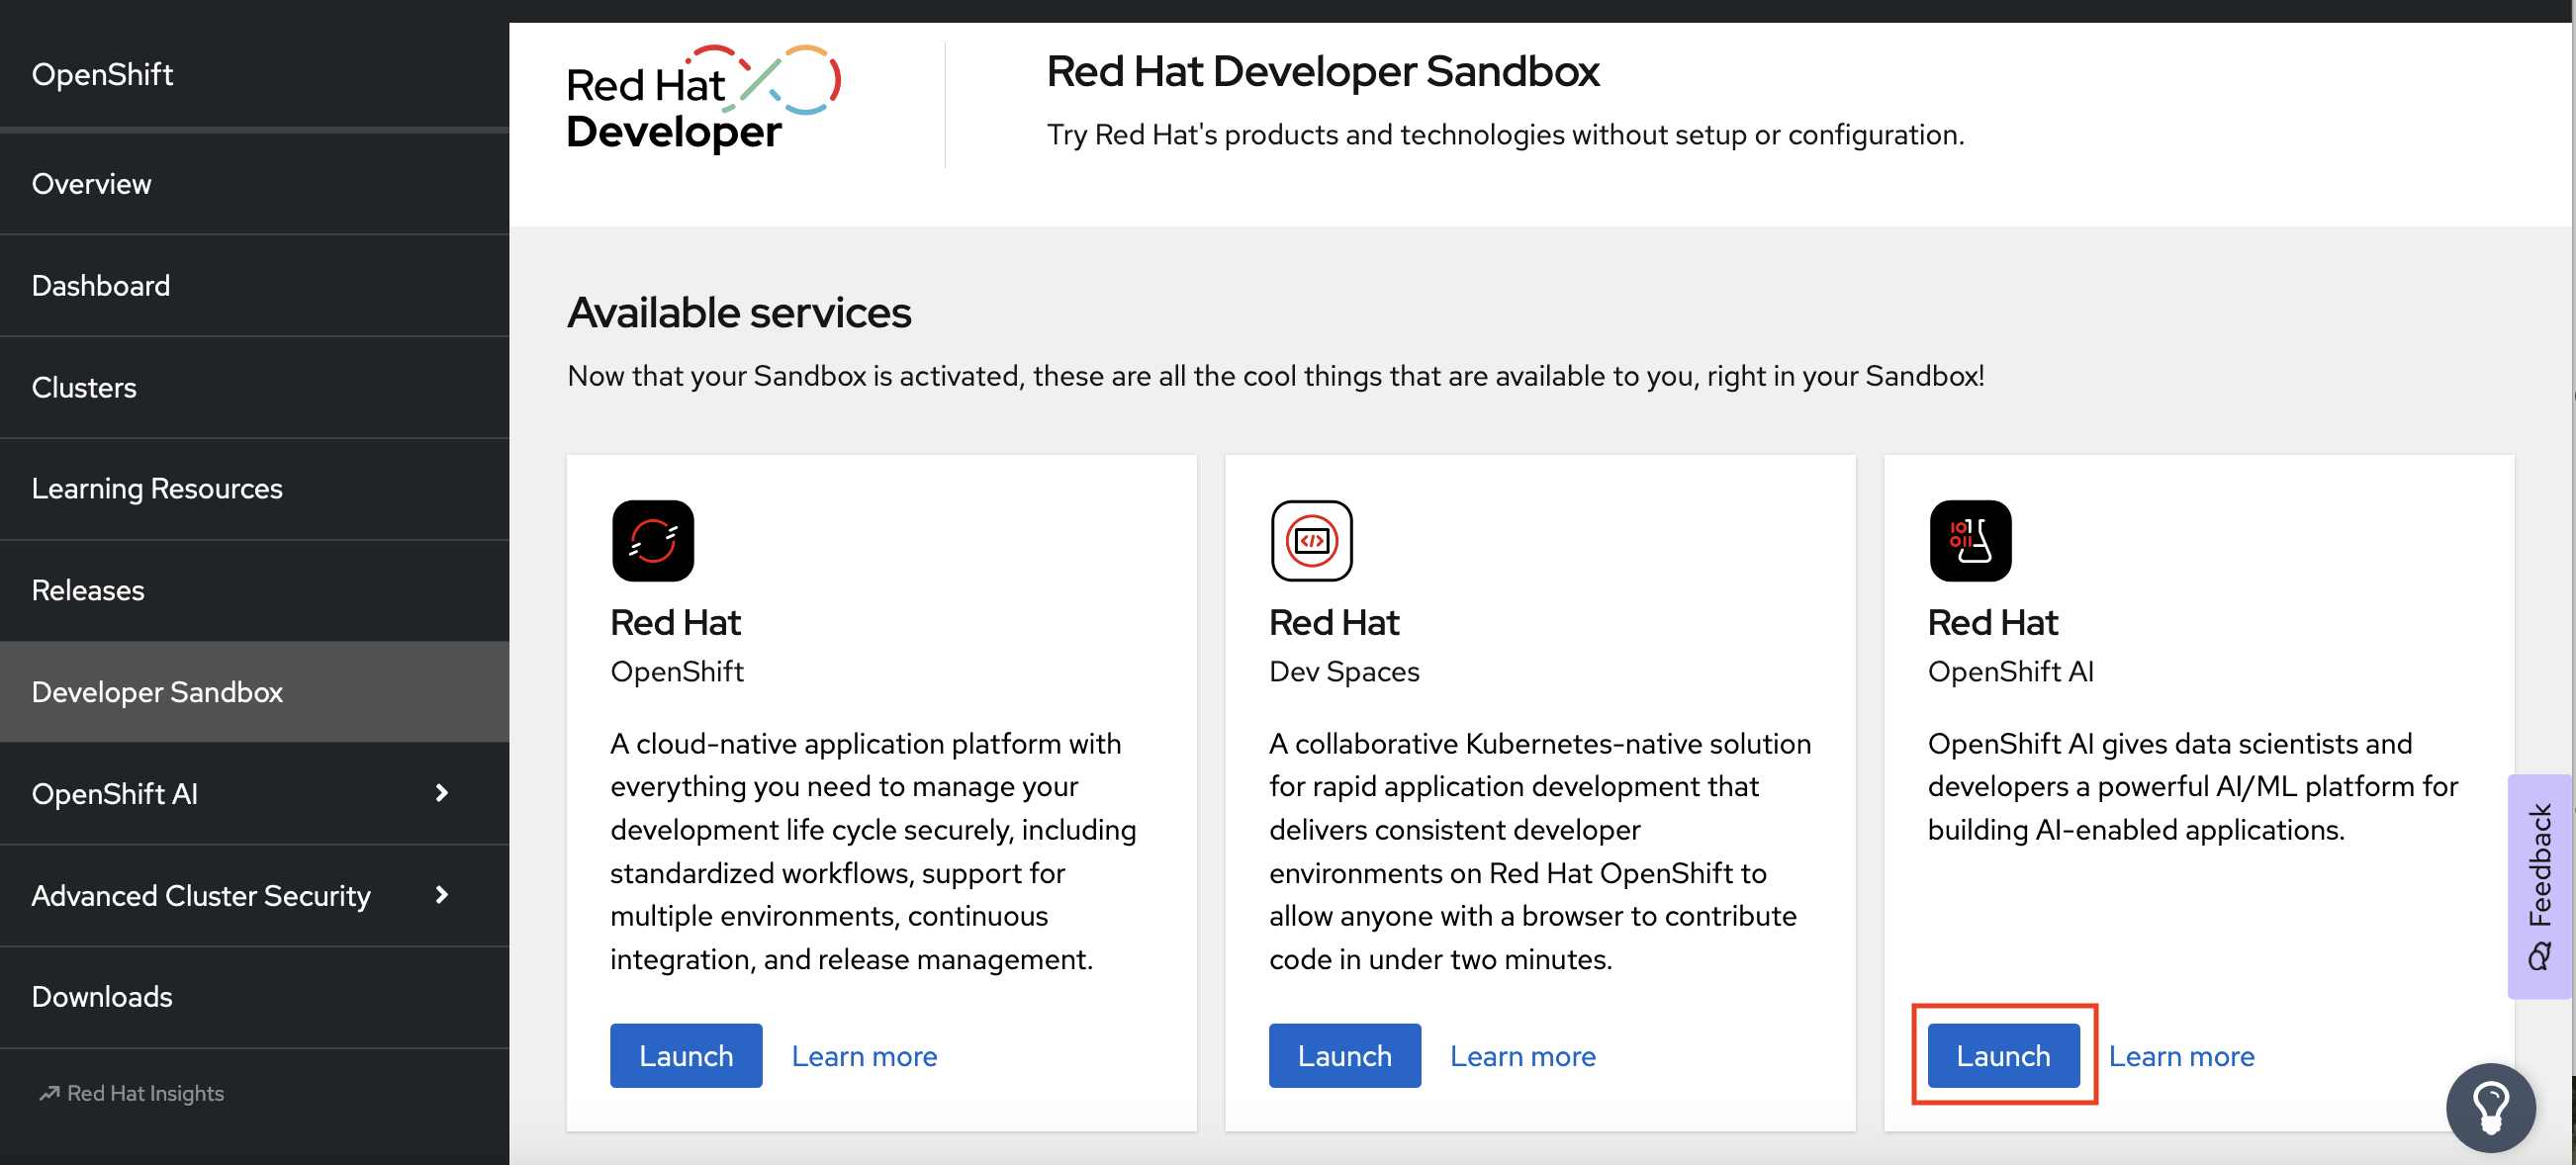
| During this deep dive, you’ll need to access Red Hat OpenShift, too (not only OpenShift AI), so if you haven’t done so already during the setup section, click the Launch button under the Red Hat OpenShift card. |
At the OpenShift AI dashboard, you should see something similar to the following figure, but with your username-dev as the project name:
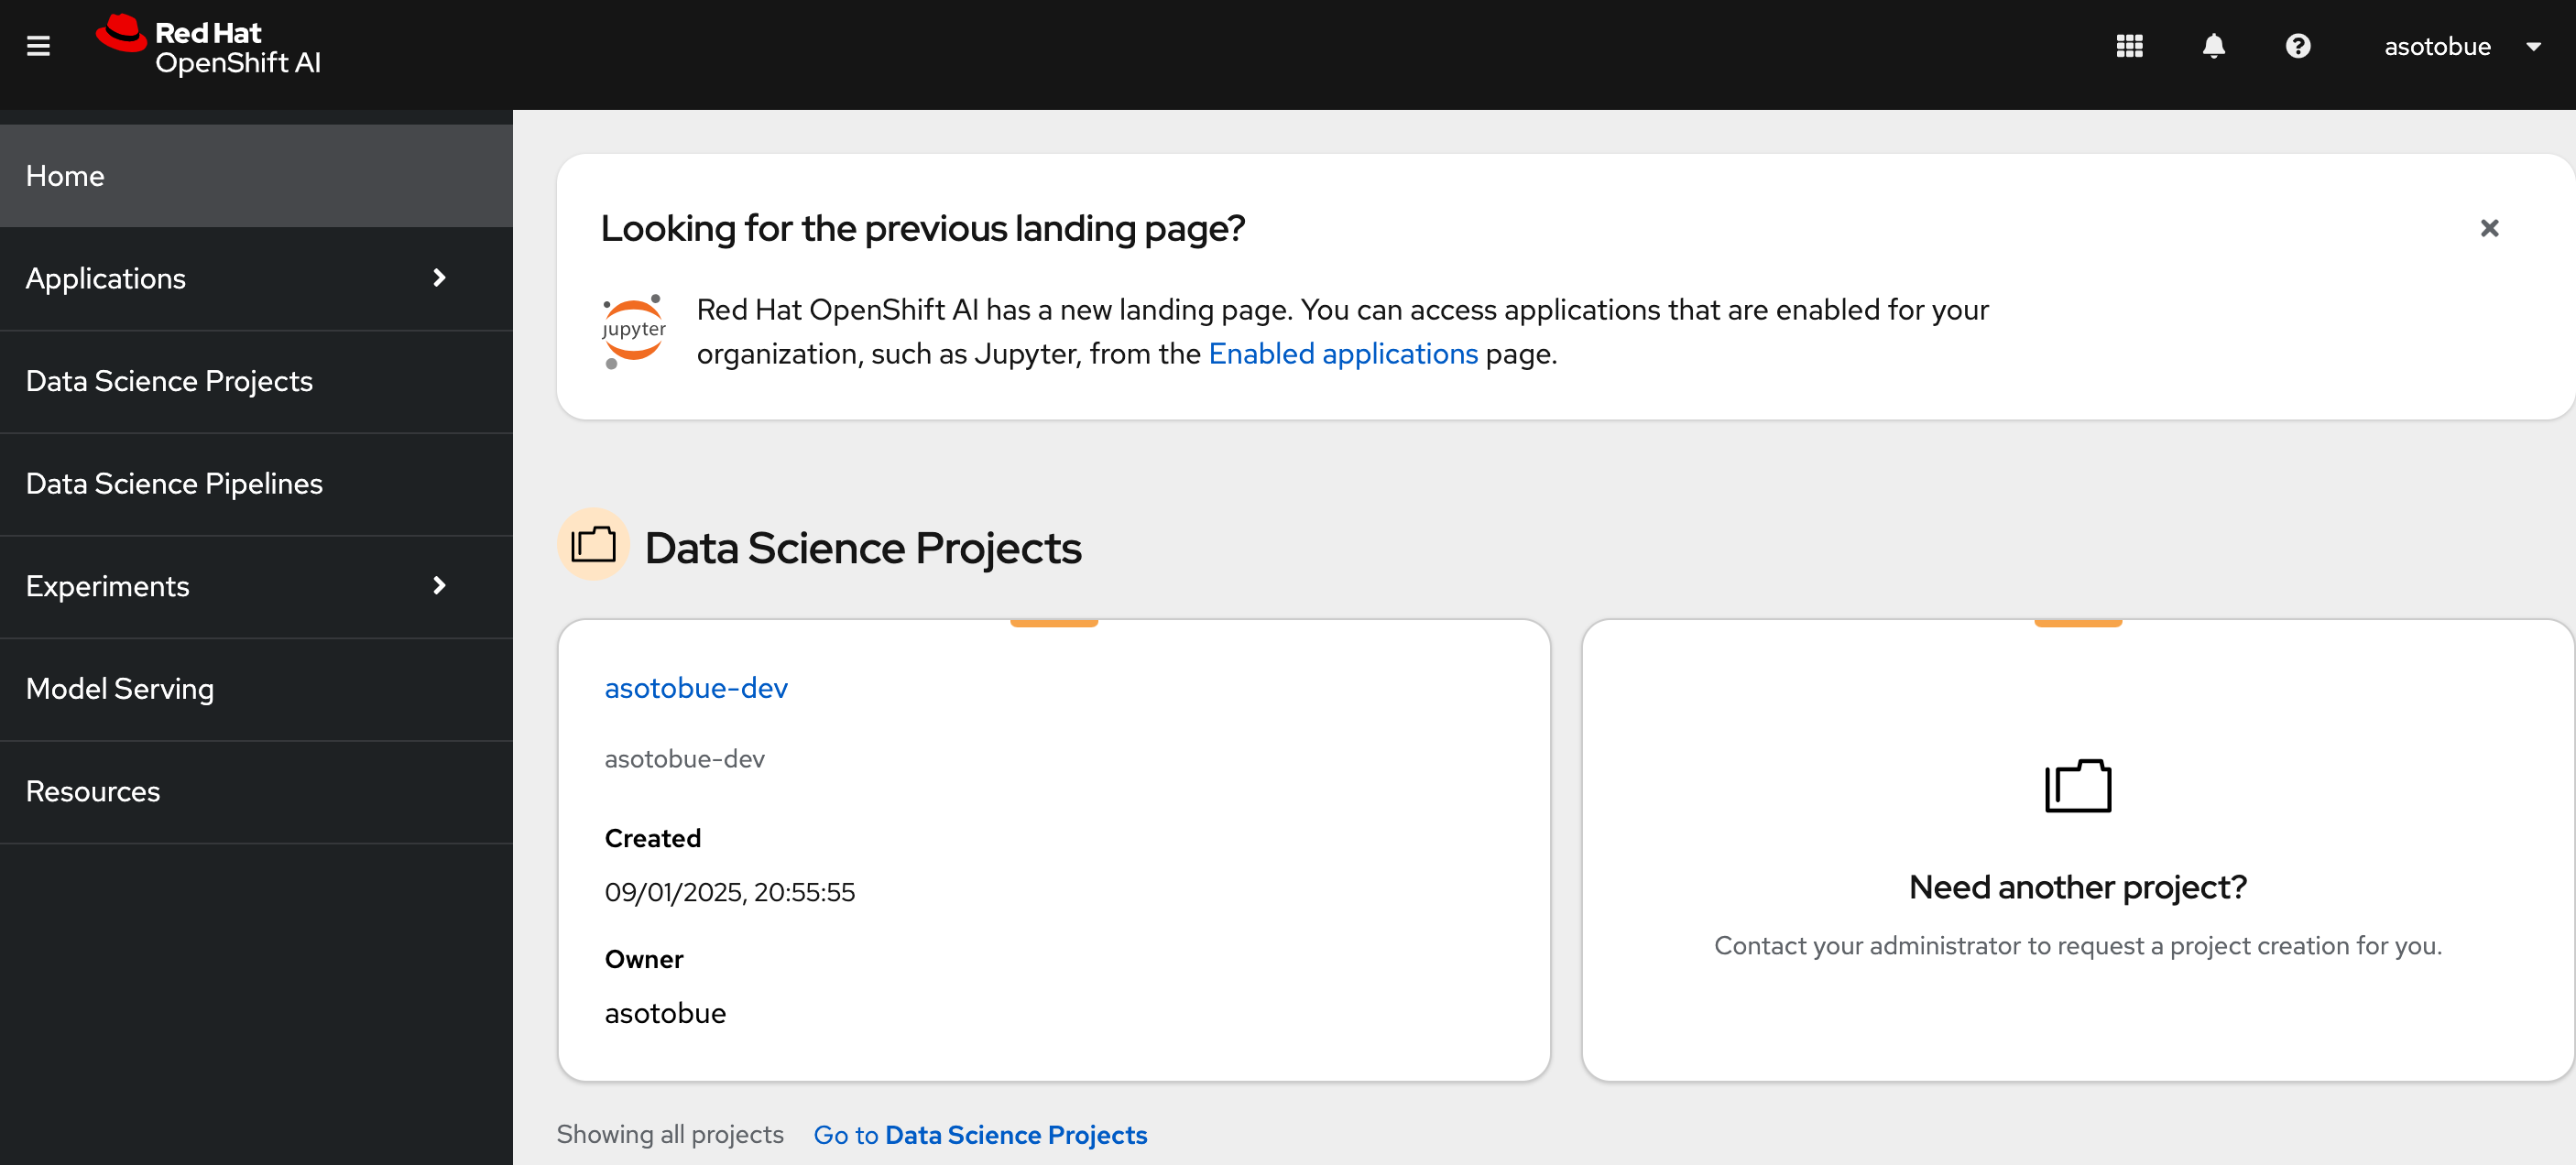
| If you are not using Red Hat Sandbox, create the project manually. |
Then click on the project name to see the details of the project.

There are multiple tabs that we’ll explore during the deep dive, but they can be summarized as follows:
-
Workbenches are your development and experimentation environment, often equipped with integrated development environments (IDEs) like JupyterLab, RStudio, and Visual Studio Code.
-
Pipelines encompass the data science workflows that are executed within the project.
-
Models enable you to deploy trained models for real-time inference efficiently. A single data science project can support multiple model servers, each capable of hosting several models.
-
Cluster storage provides a persistent volume that retains the files and data you work on within a workbench. Each workbench can access one or more cluster storage instances.
-
Connections store the configuration parameters to link to data sources, such as an S3 object bucket.
-
Permissions determine which users and groups can access the project and its resources.
Before starting to use the AI part per se, you need to create a repository for storing the trained model and the pipeline artifacts. This repository can be an AWS S3 object storage bucket.
For this deep dive, you’ll deploy a Minio instance, which offers a compatible AWS S3 API, but you deploy it locally.
Minio
To install Minio, go to the OpenShift console (you opened at the beginning of the deep dive), go to Developers View, and then open Web Console by pushing the icon located at the top-right of the menu:
When you click the icon, a bottom window is opened where you can type oc commands.
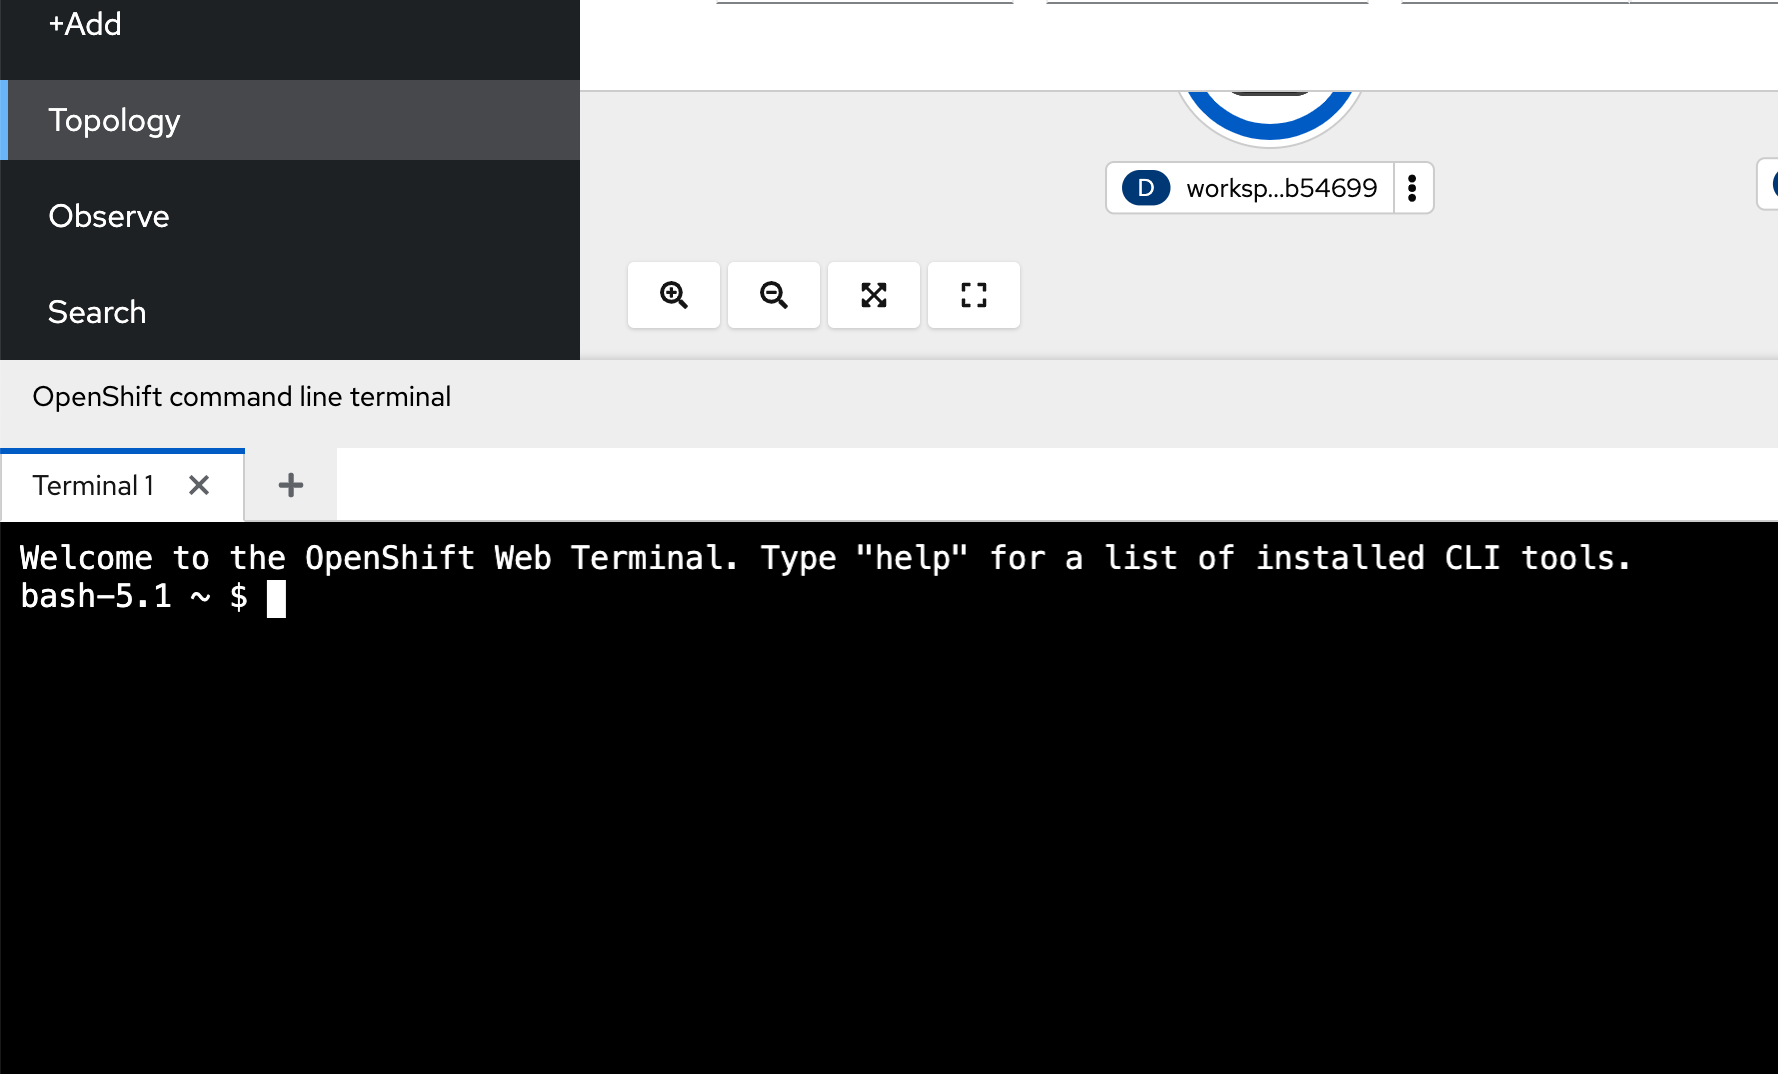
Inside the terminal, run the following command:
This manifest installs and configures Minio and creates Kubernetes Secrets to access this instance.
After some seconds, the Minio instance is up and running, and you can go back to the OpenShift AI tab.