OpenShift AI
Let’s prepare the environment to train a model for detecting fraud. First of all, let’s enable data science pipelines.
Creating a Workbench
A workbench is an instance of your development and experimentation environment. Within a workbench, you can select a notebook image where the code will run for your data science work. It also contains the popular Jupyter Notebook, which is used for coding and running experiments. You’ll use Tensorflow 2024.2 for this exercise, but several others are supported, too.
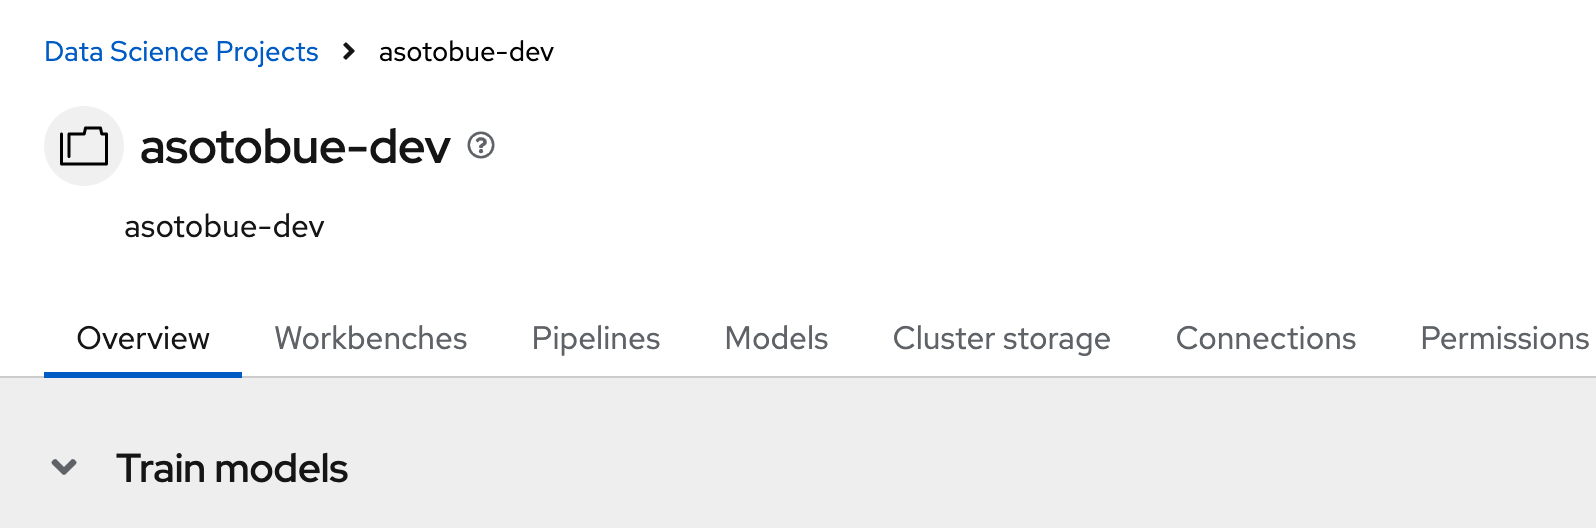
Go to project view again in OpenShift AI, click the Workbenches tab, and then click the Create workbench button.
Then, fill the form with the following parameters:
Name: Fraud Detection
In the Notebook section:
Image selection: TensorFlow
Version selection: 2024.2
Container size: Small
An important part is the Cluster Storage part. There, you define the volume to keep all workbench data after you log out. For this case, you’ll create a new persistence storage.
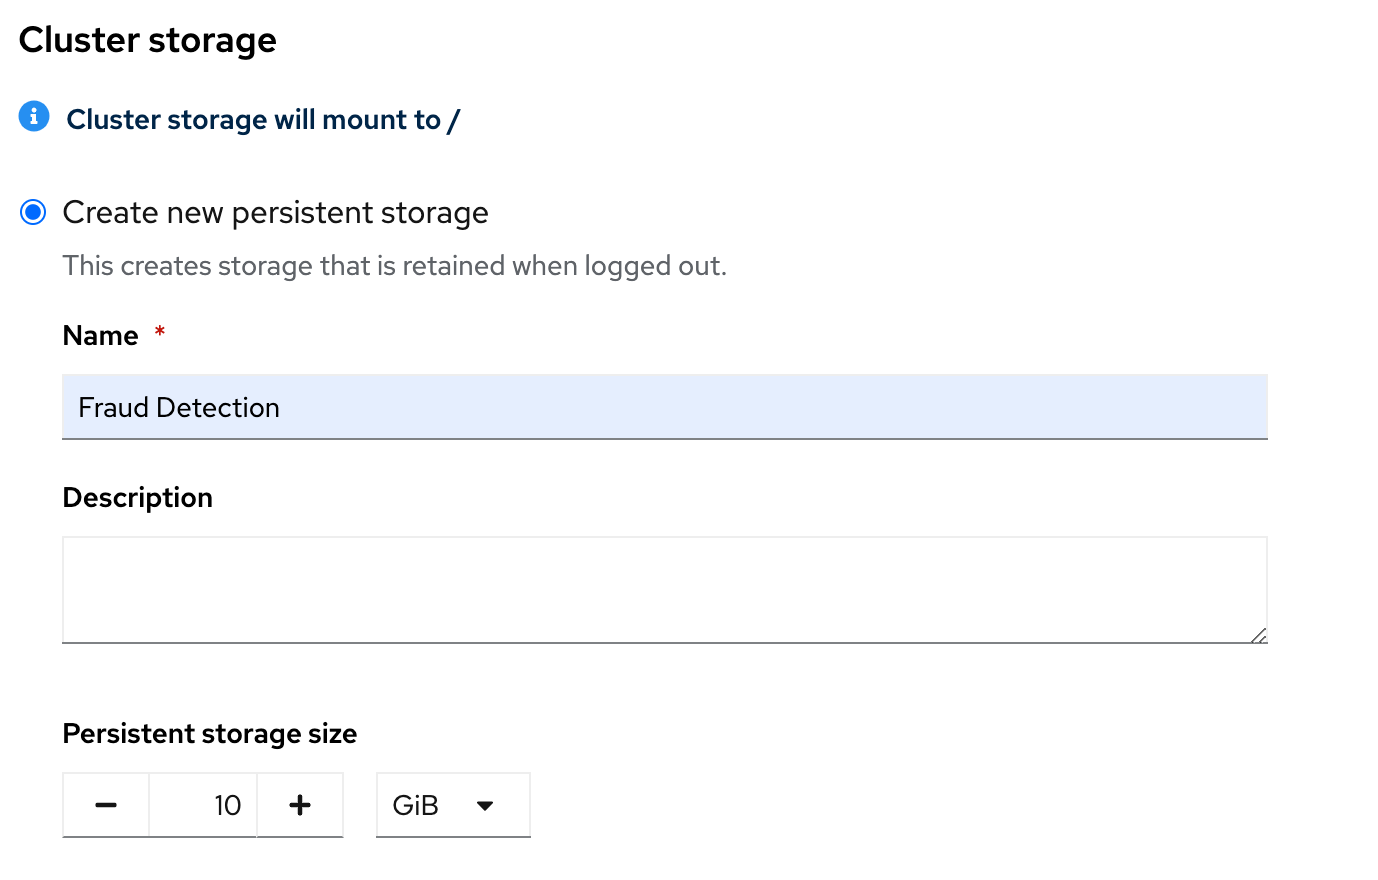
Name: Fraud Detection
Persistence Storage Size: 10 Gb
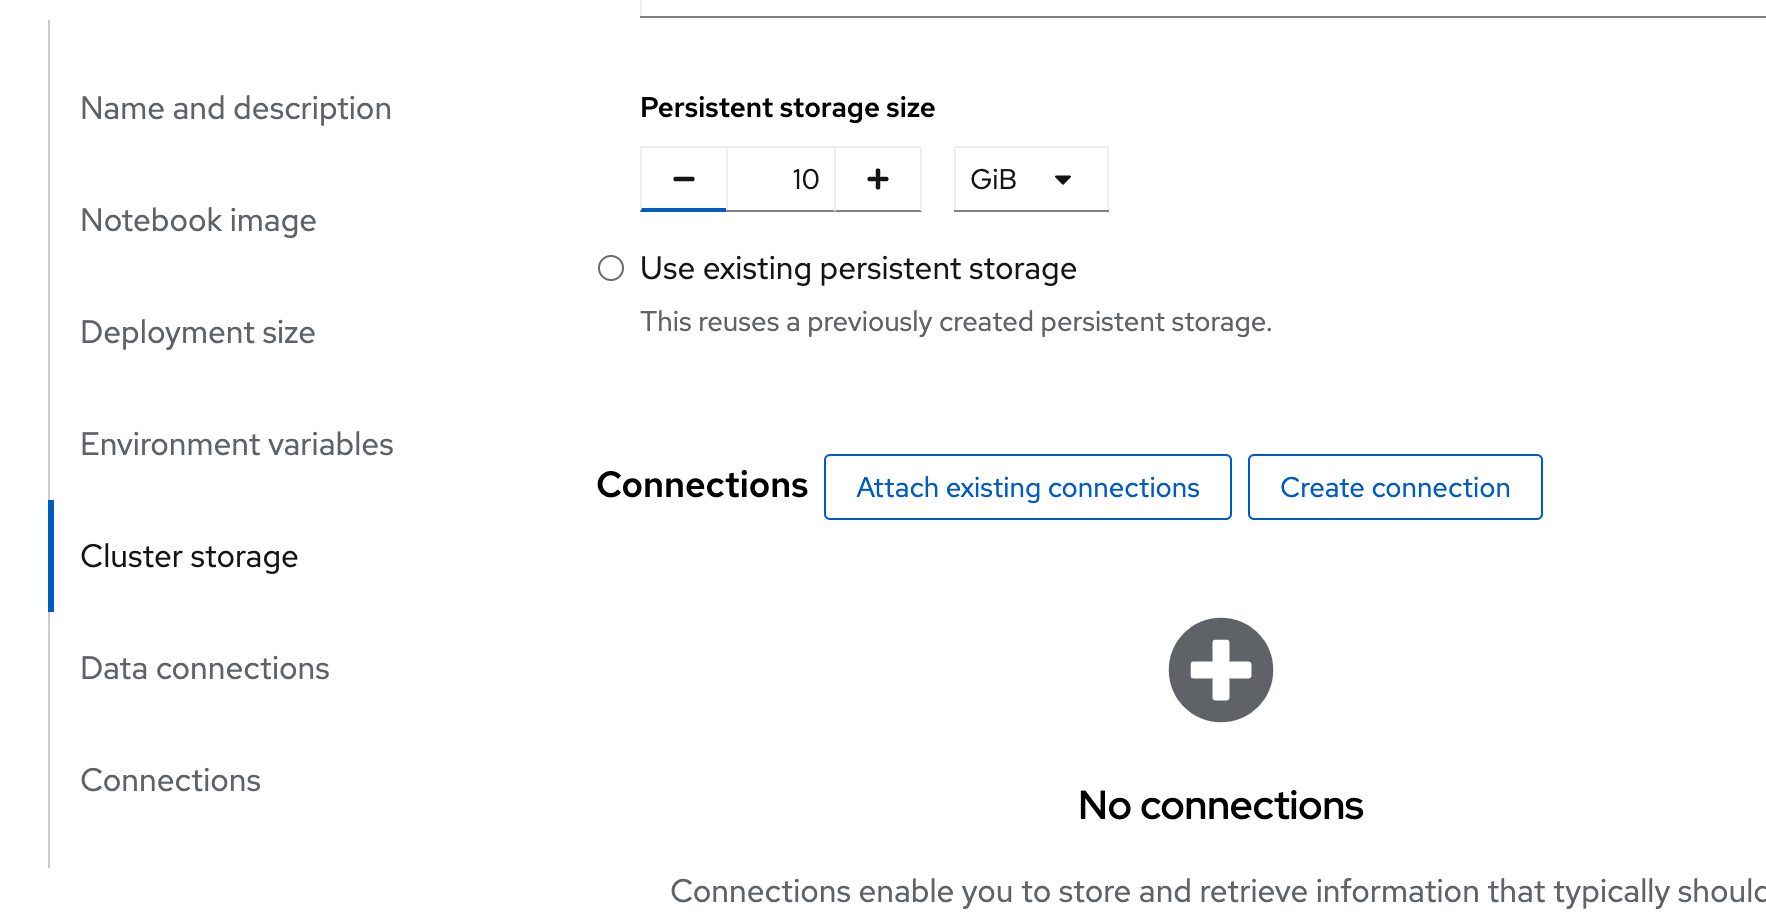
Finally, Under Connections, select Attach Existing connections and select My Storage.
This storage was created when Minio was deployed in the previous section.
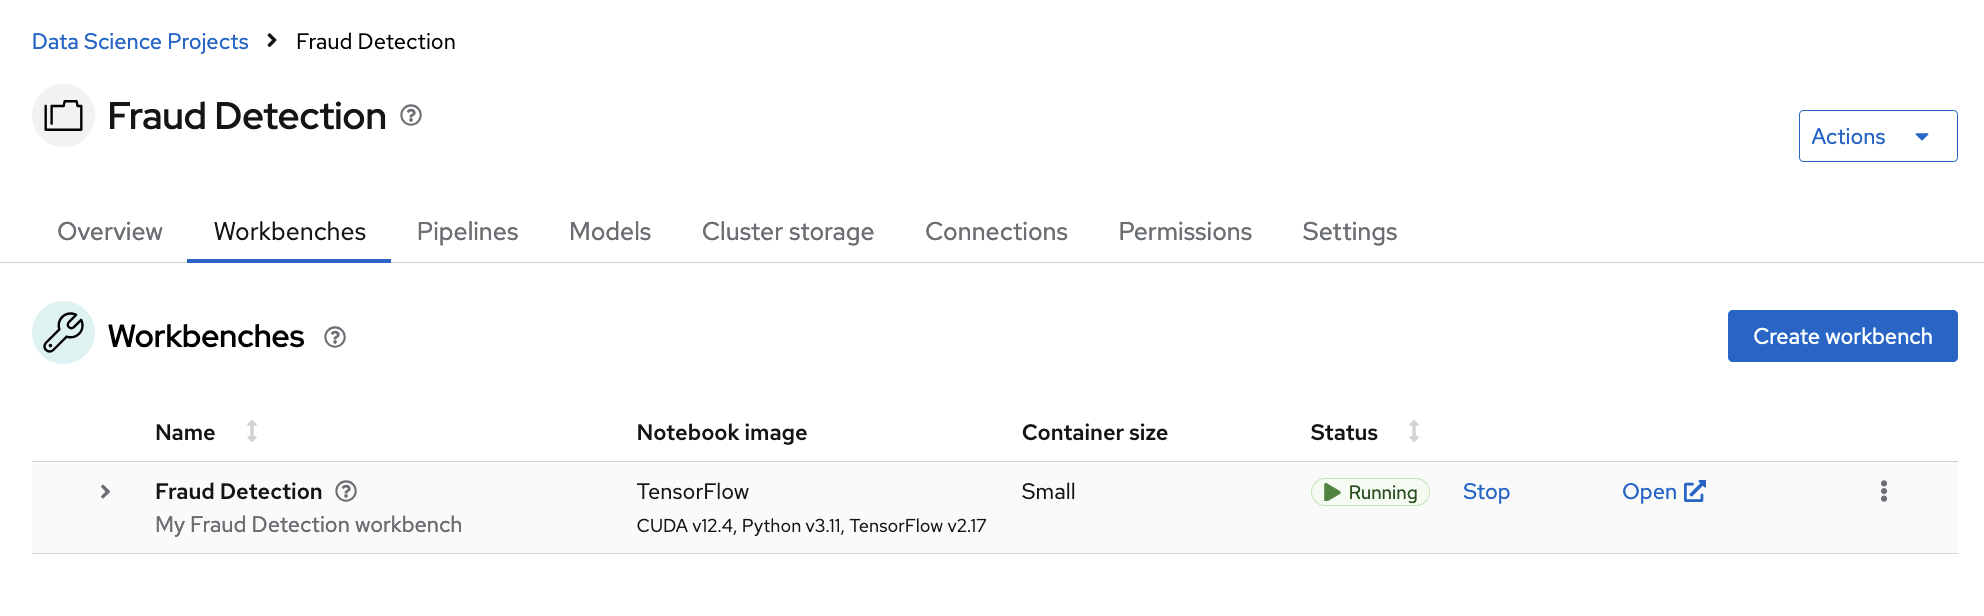
Click the Create workbench button, and wait till it is Running:
Jupyter Notebook
With the workbench created, you can start the Jupyter Notebook and import the Python code to train the model.
Click the Open link next to your workbench, and the Jupyter environment window opens.
Let’s import the project from the Git repository to the Jupyter Notebook. Click the Git Clone icon, set the following URL https://github.com/rh-aiservices-bu/fraud-detection.git, with include submodules option enabled and click Clone button:
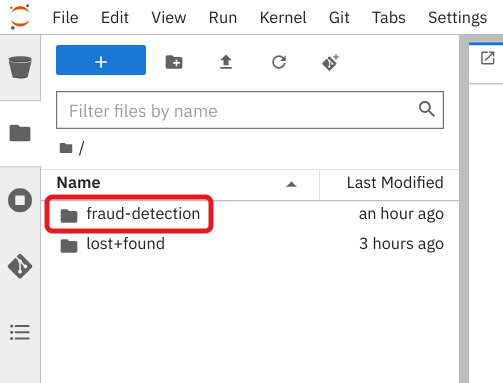
After a few seconds, you’ll see the project in the file explorer:
Before you start running code, move to the v2.16 branch, which contains the code for this deep dive. Click on the Git icon in the left menu, select the origin/v2.16 branch, and set it as current.

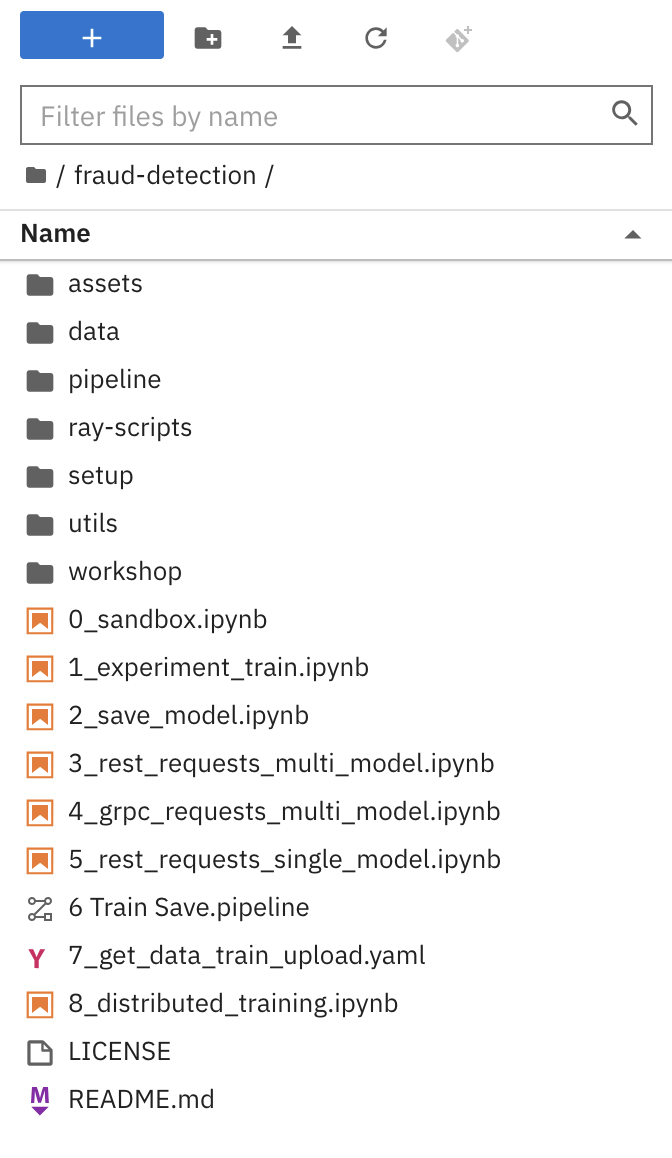
Enter the fraud-detection, and you should see something similar to the following screenshot:
Now that you’re familiar with the functions of the Jupyter notebook environment, it’s time to dive into the real work.
In your notebook environment, open the 1_experiment_train.ipynb file, which downloads a CSV file with data to train the model.
Open the file by clicking on it:

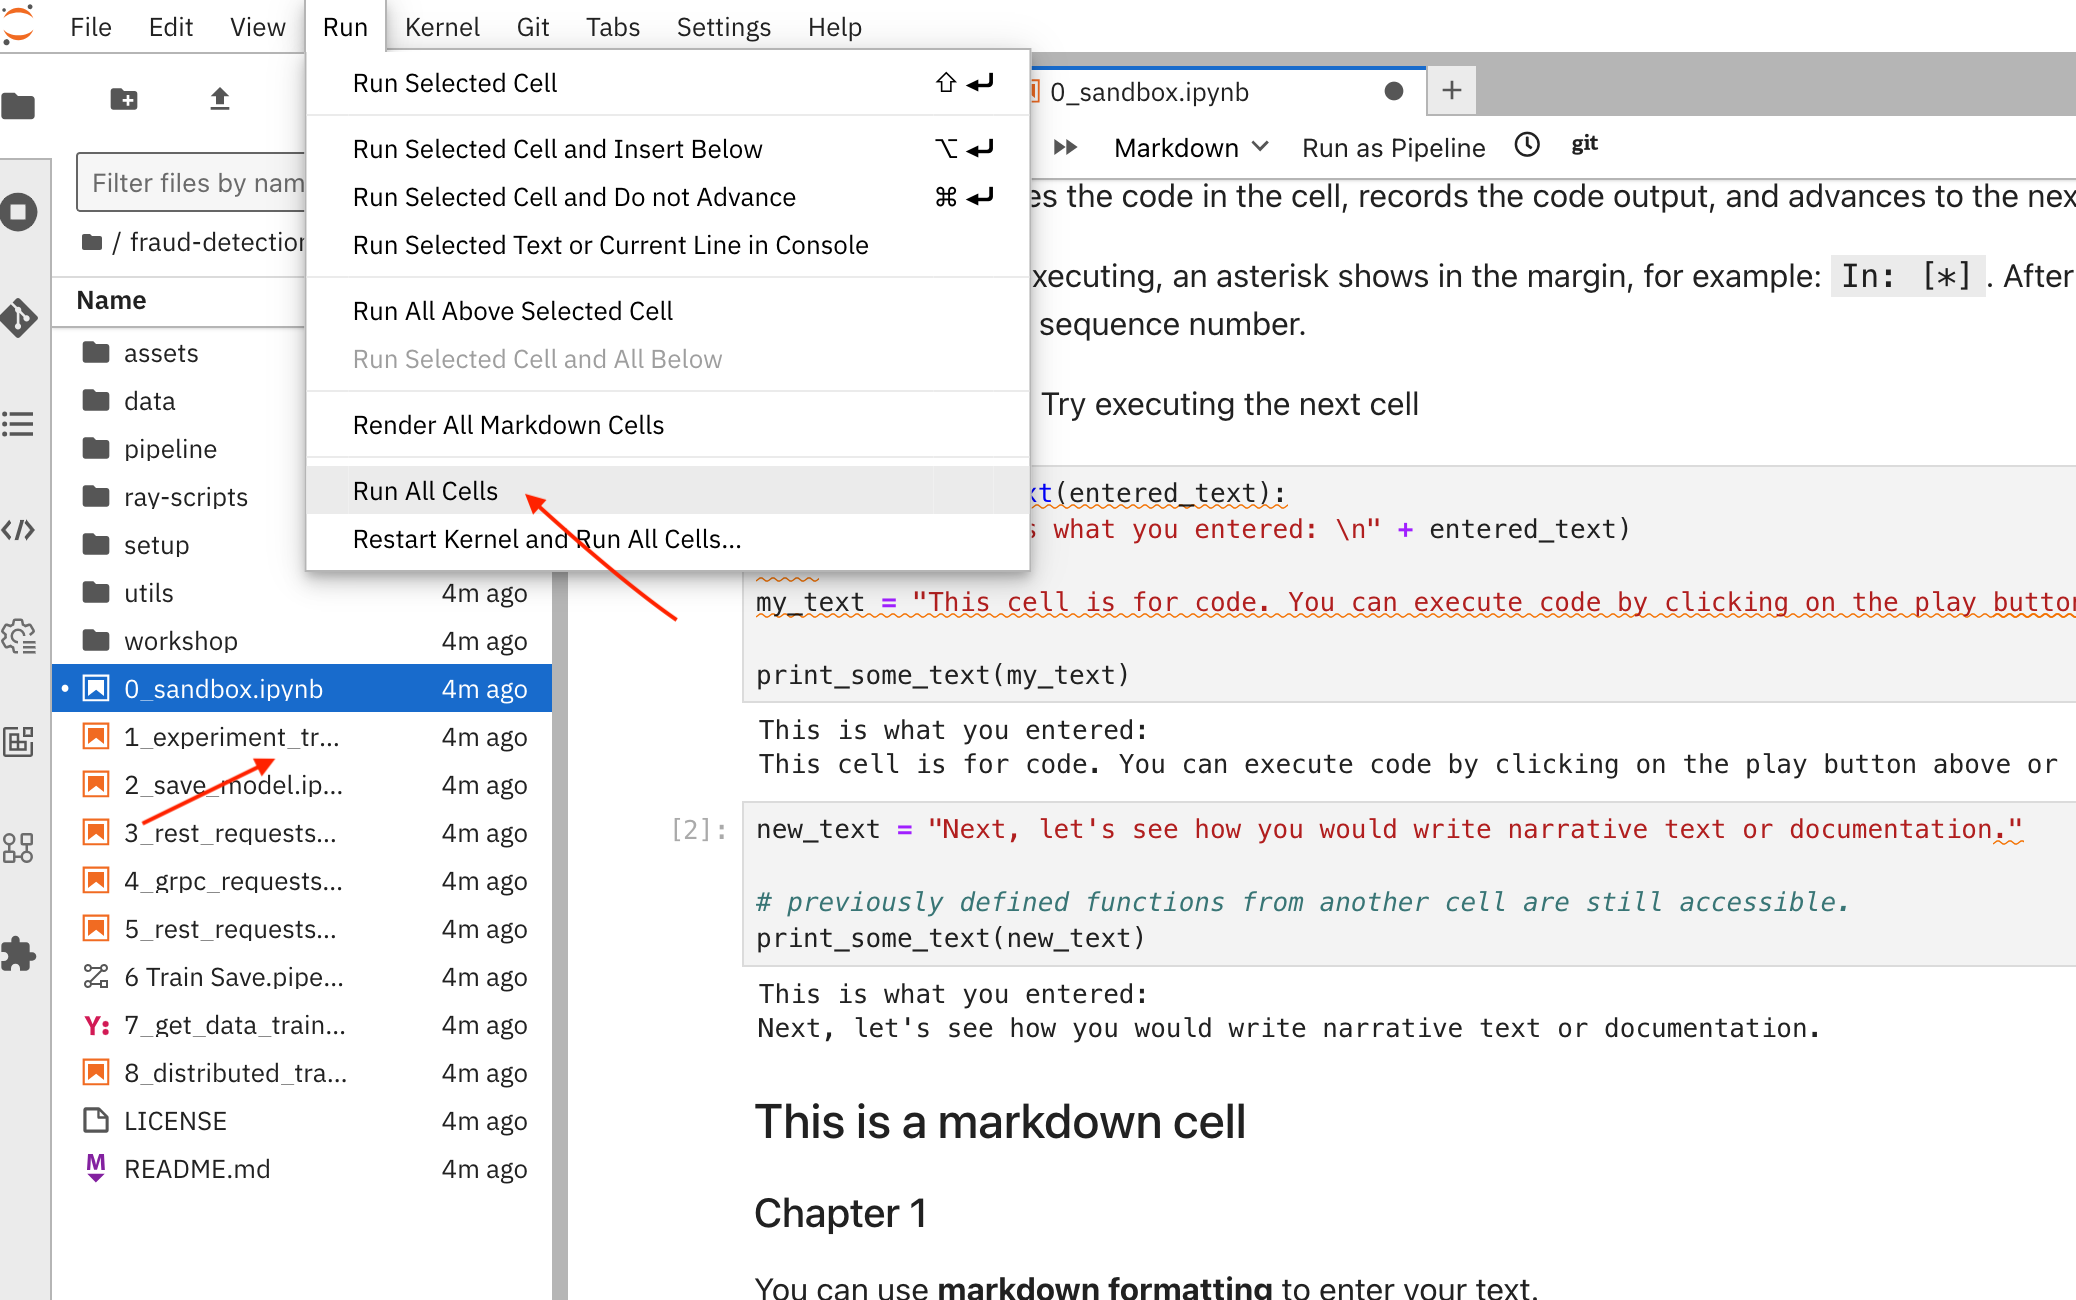
You can explore the file, but it is not the focus of this deep dive, so let’s execute the 1_experiment_train.ipynb file and go to the toolbar Run > Run All Cells.
This process might take around 3 or 4 minutes. You can scroll the file to see the progress of the run.
Now that the model is trained and placed at models/fraud/1/model.onnx.
Notice that you generated a model in ONNX format to make it runnable in Red Hat Sandbox OpenShift AI.
Other formats are also supported, like GUFF, but ONNX is one of the most popular.
Let’s infer it.
Deploying a model
After you train a model, you can deploy it using the OpenShift AI model serving capabilities.
To deploy the model, you need to store the output model in the Minio instance created in the previous section 02-intro.adoc#minio.
Since you have already attached the workbench to My Storage, open 2_save_model.ipynb and run it to upload the model to Minio.
Go to the toolbar Run > *Run All Cells*again.
After this run, the model is placed in Minio and can be consumed by any process.
Now that the model is stored and saved in the portable ONNX format, you can deploy it as an API using an OpenShift AI model server.
OpenShift AI provides two model serving options:
-
Single-model serving: Each model in the project is deployed on its dedicated model server. This approach is ideal for large models or those requiring dedicated resources.
-
Multi-model serving: All project models are deployed on a shared model server. This option is well-suited for sharing resources among multiple models and is the only serving option available in the Red Hat Developer Sandbox environment.
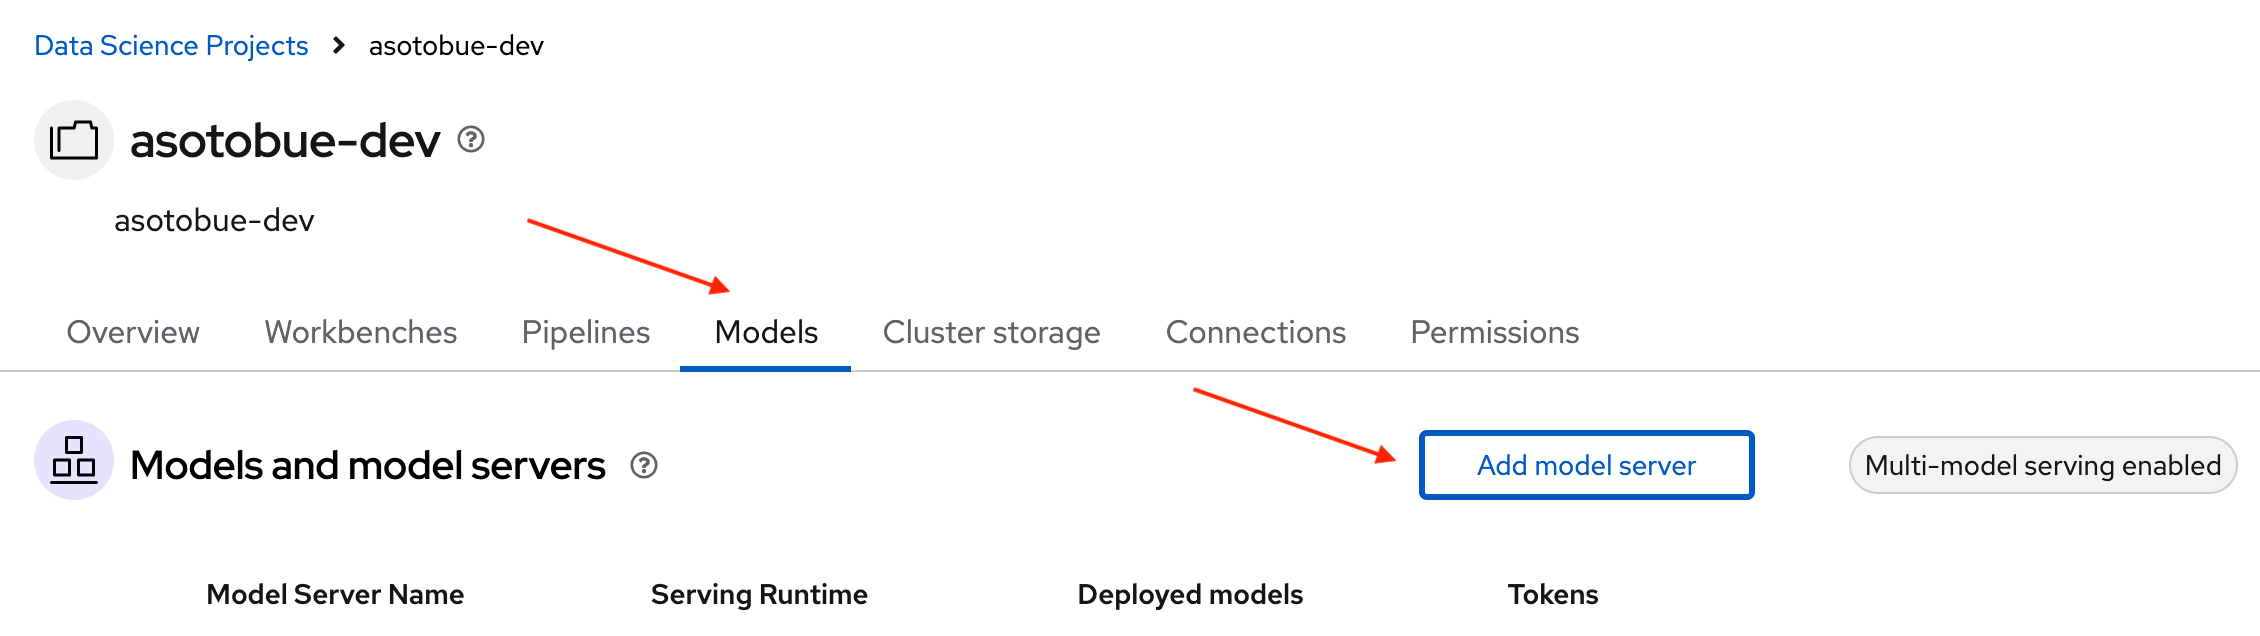
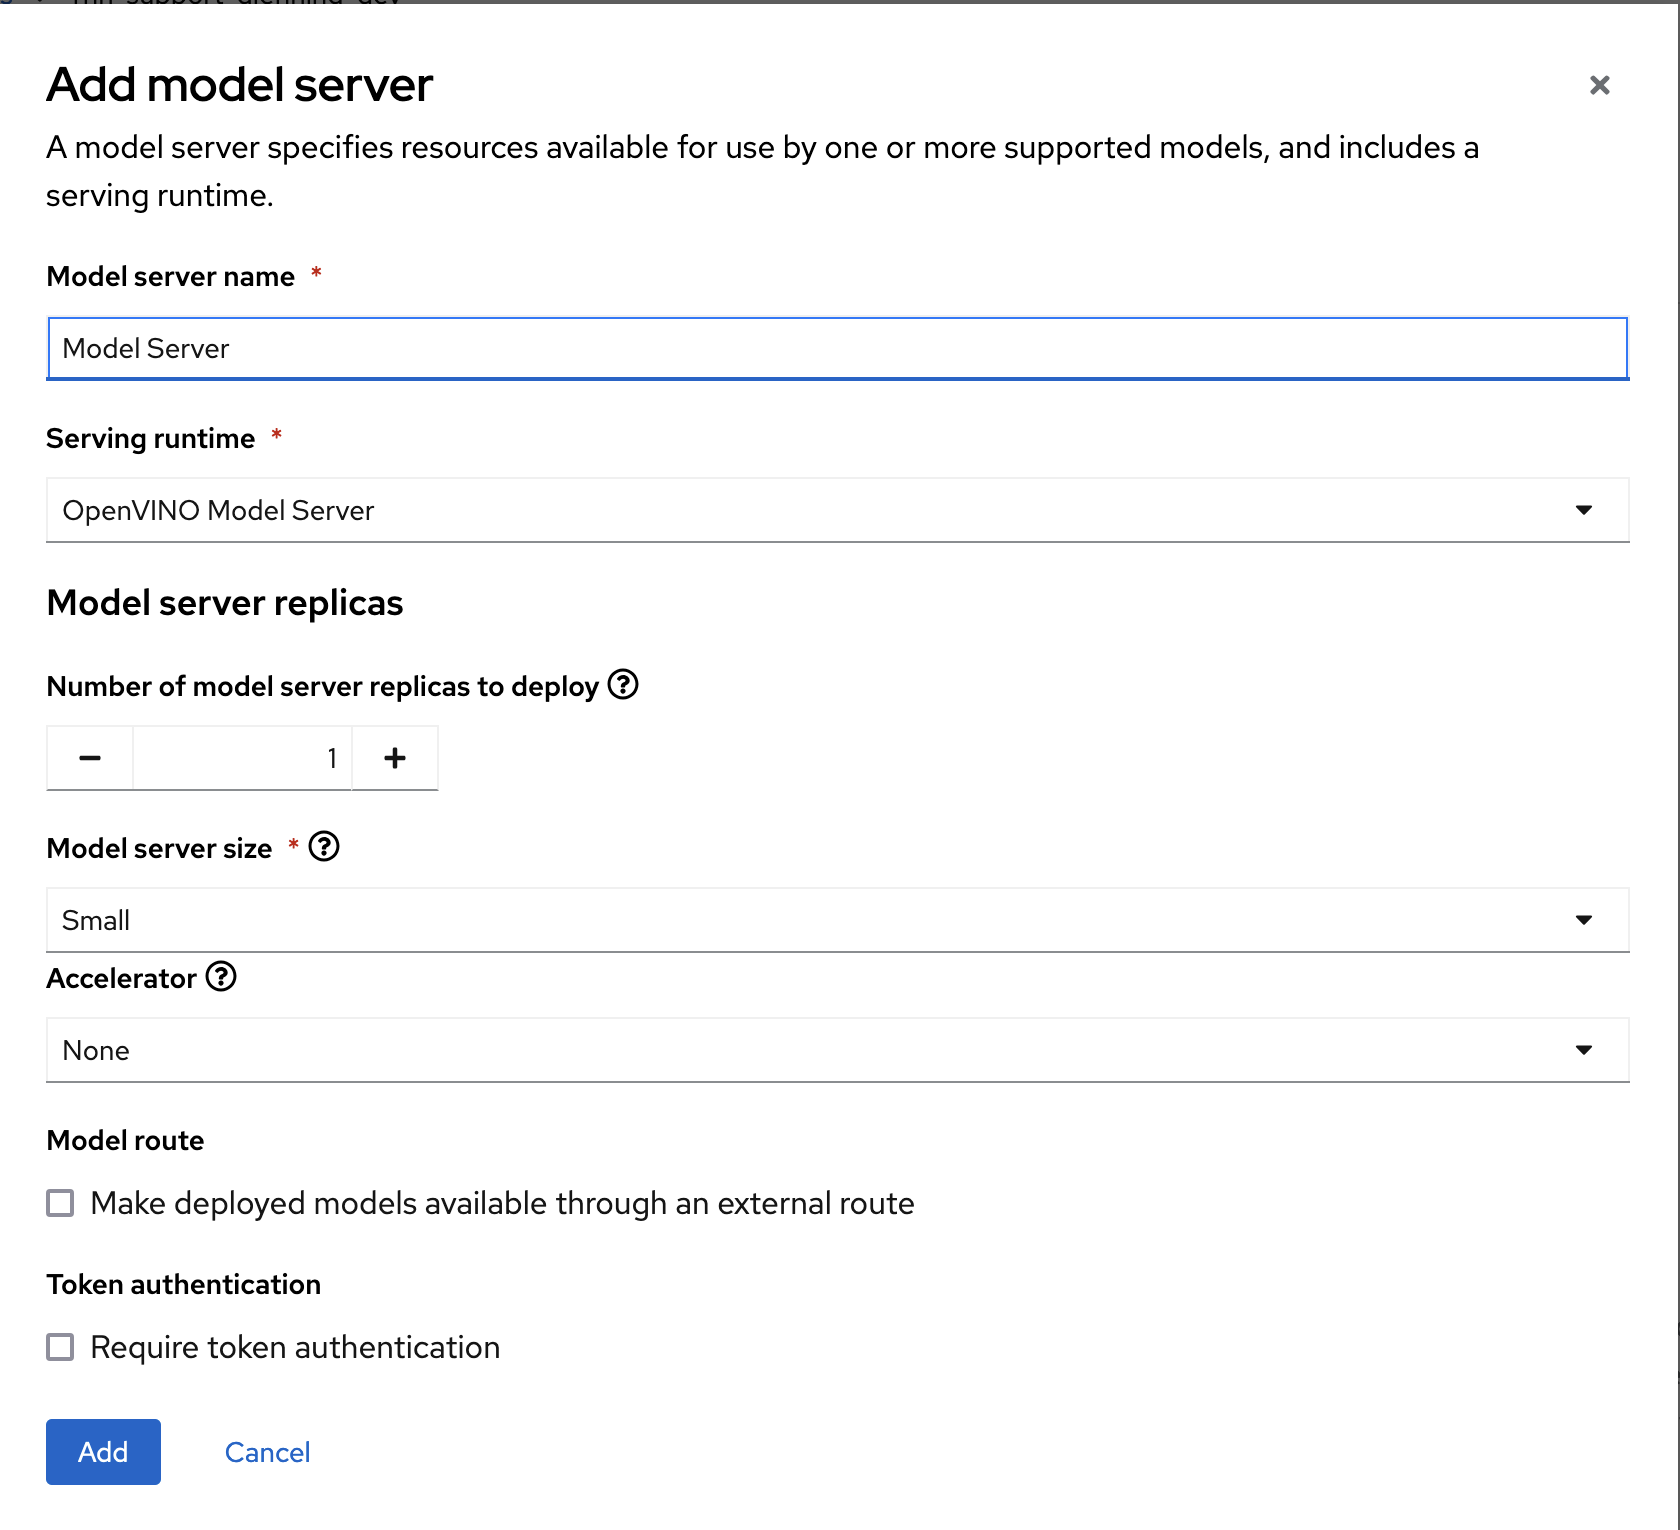
In the OpenShift AI dashboard, navigate to the project details page, click the Models tab, and click the Add model server button.
In the new form, add the following values:
Model server name: Model Server Serving runtime: OpenVINO Model Server
Leave the other fields with the default settings, and click Add to add this server.
Next to the new model server, click Deploy model:

In the following screen, you configure where the model is stored and the runtime to use, and you also set a name to the deployed instance.
Model deployment name: fraud
Model framework (name - version): onnx-1
At Source model location, select Existing connection, and then select My Storage (the one we created previously and where we uploaded the model).
Path: models/fraud
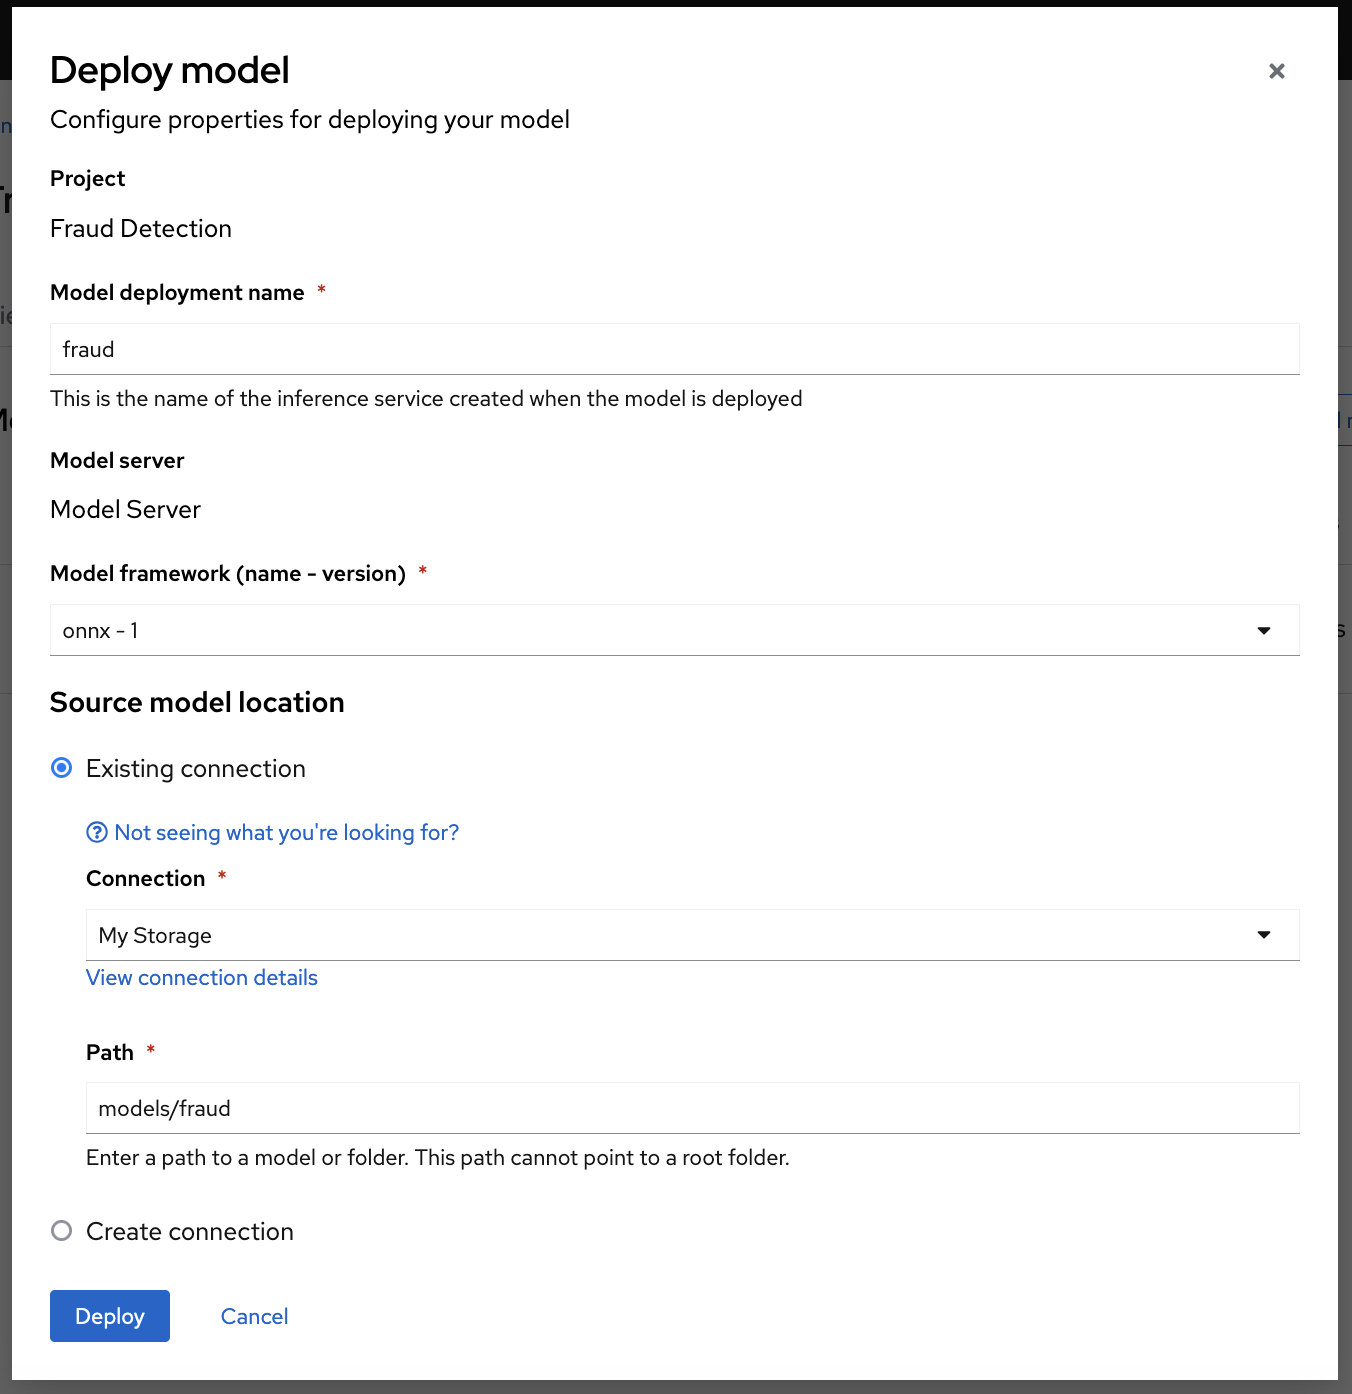
Click the Deploy button to start the inference process of the model.
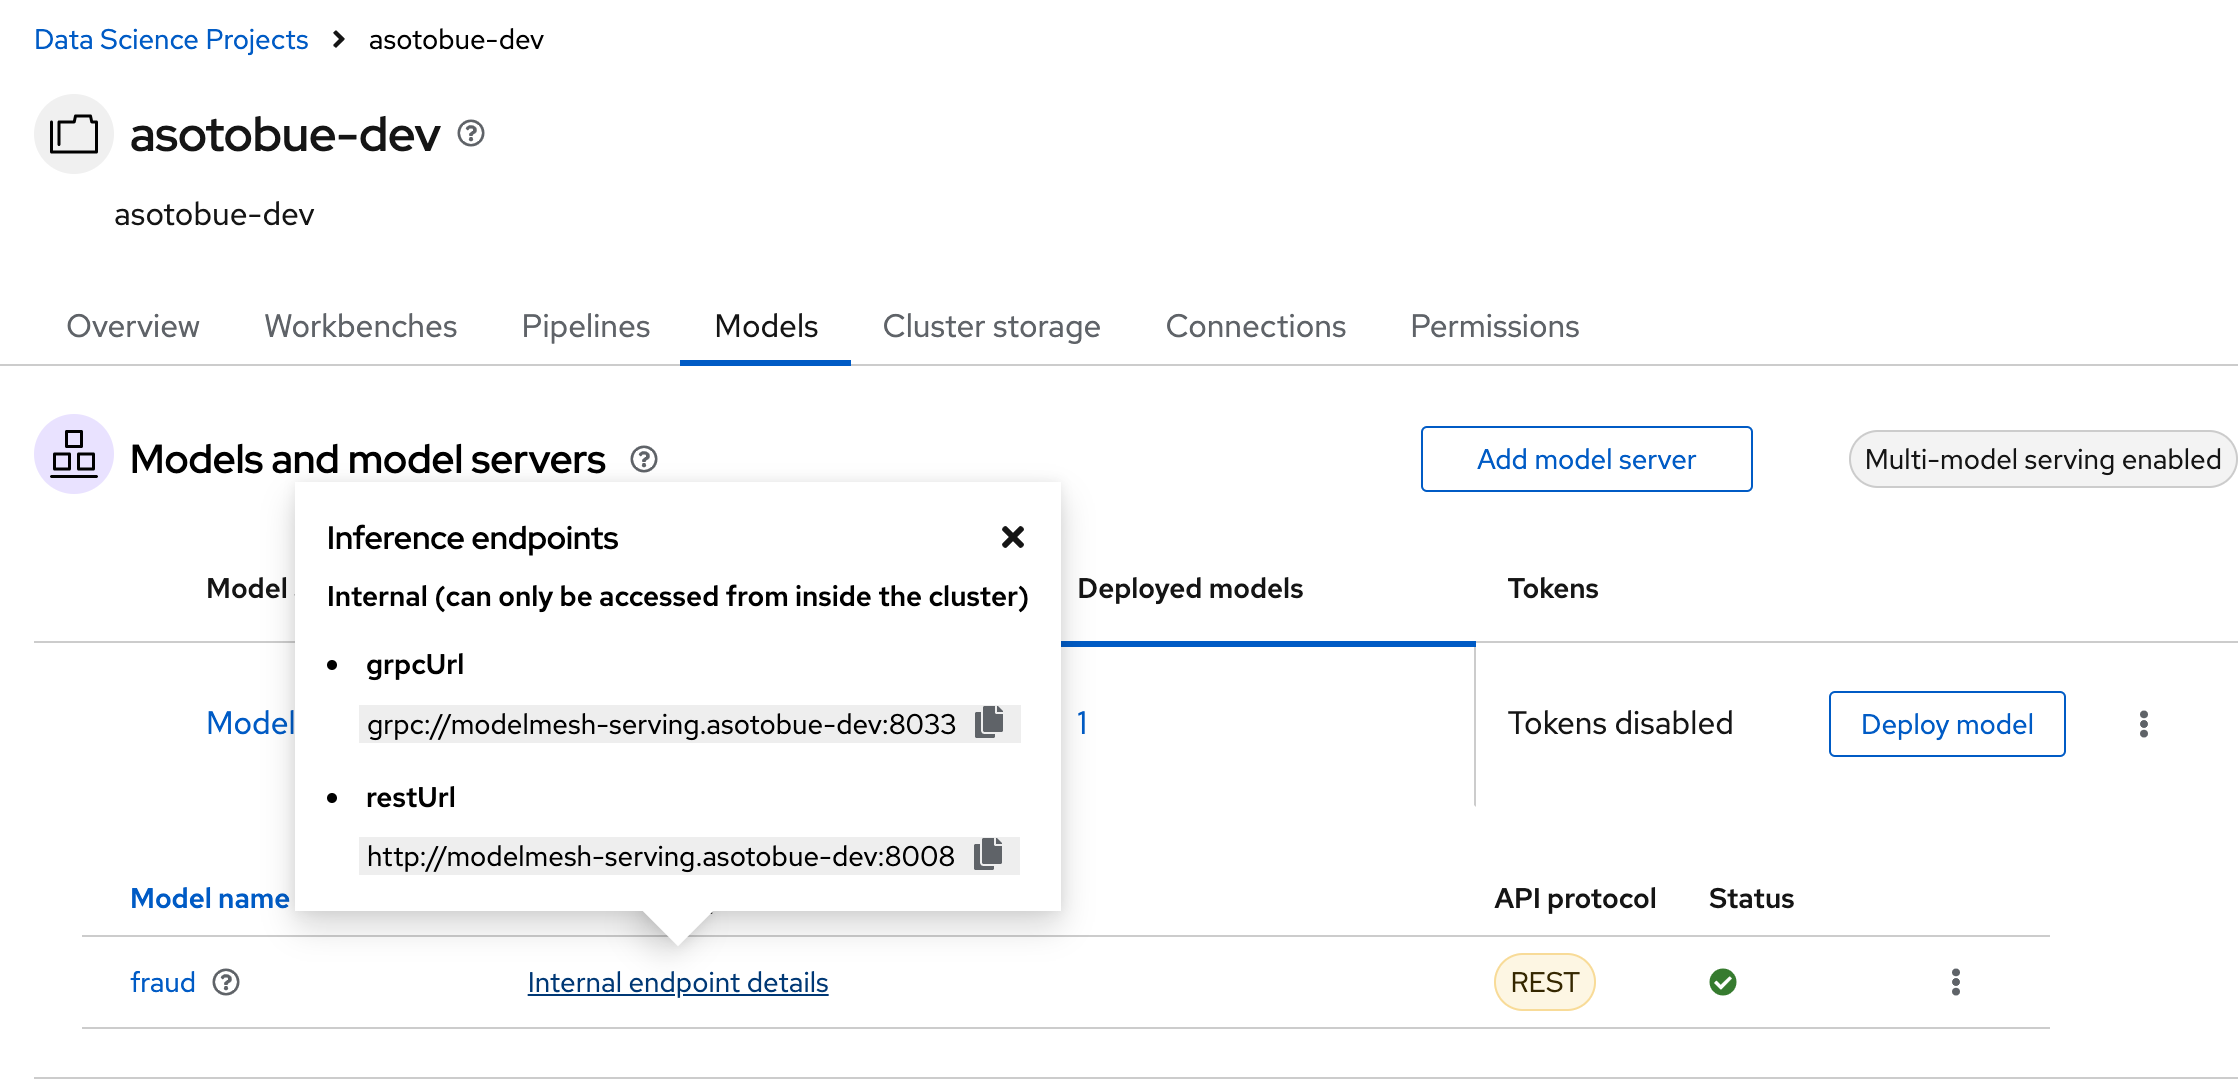
Notice the loading symbol under the Status section. The symbol changes to a green checkmark when the deployment completes successfully.
Also, if you push the Internal endpoint details link, you’ll see the internal endpoint URLs to access the model.
Testing the Model
At this point, you can access the model by deploying an application inside the cluster and pointing to the REST or gRPC URL, depending on the client technology used by the client.
We’ve created a notebook requesting the deployed model for this deep dive.
It is in the 3_rest_requests_multi_model.ipynb file.
Open it, and run it (Run > Run All Cells) to validate the possible communication.
If you inspect the output result, you’ll see some transactions considered fraud.
So far, everything has been executed manually from the Jupyter Notebook, but OpenShift AI supports Kubeflow pipelines (kfp) to automate the training model in a CI/CD fashion.