Step 1: Starting a Jupyter environment
You should be logged into Red Hat OpenShift Data Science, and be able to see the dashboard, that looks like this:
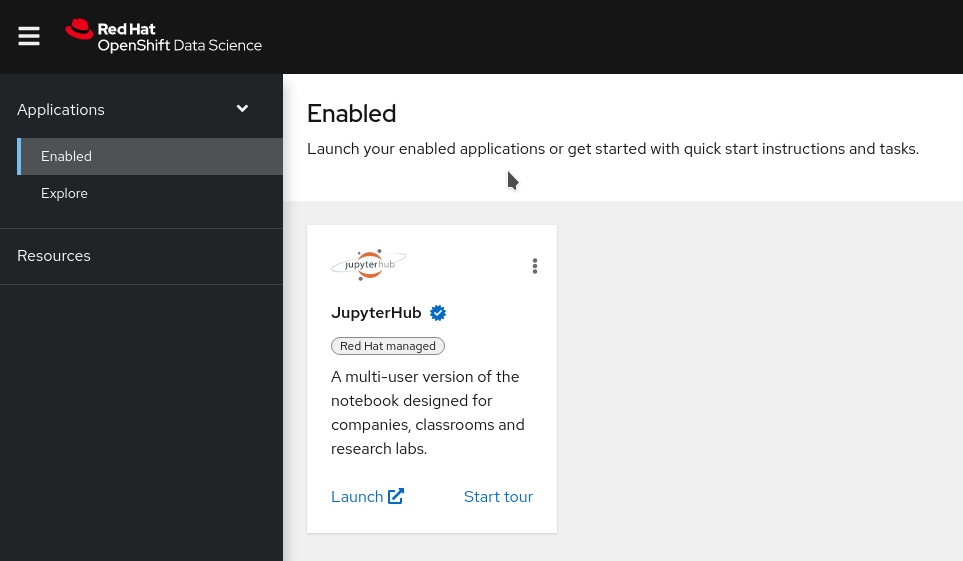
Red Hat OpenShift Data Science brings you on-demand Jupyter Notebooks environments. Don’t worry if you’ve never used notebooks before as this workshop will start with a small tutorial on what they are and how to use them.
-
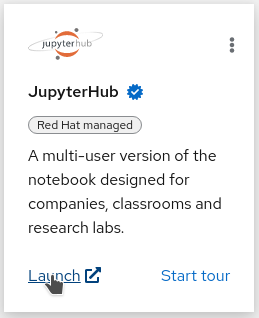
Now that you are logged into to Red Hat OpenShift Data Science, click on the "Launch" link on the JupyterHub card:
If it’s the first time you’re launching Jupyter, you will be sent to a page that will require you to login and ask for your authorization to use your user account to authenticate to Jupyter. You should of course allow this if you want to do the workshop…
Once you have authorized access, you will be taken to the JupyterHub "Spawner Options" page.
-
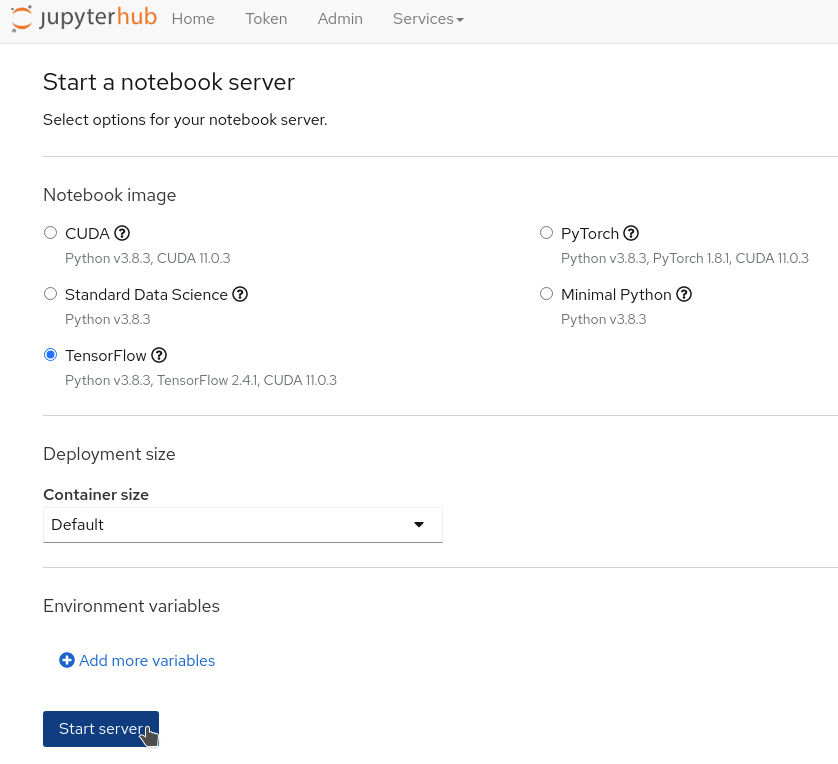
From the "Start a notebook server" page, there are multiple options you can choose from to launch your environment.
-
For the Notebook Image , select TensorFlow, as this is the flavor of notebook we want to use. It includes the TensorFlow library, which is used to do image recognition.
-
From the Container size dropdown, select
Default. -
At the bottom of the page you can now click on the Start Server button:
-
While your environment is starting, let’s go to the next section.