Step 6: Packaging our application
Now that the application code is working, we’re ready to package it as a container image, and have it running directly into OpenShift as a service you will be able to call from any other application.
Building the application inside OpenShift
-
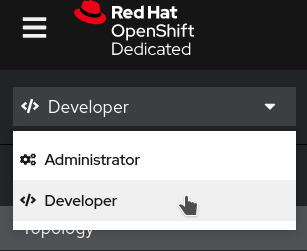
Open your OpenShift UI and switch to the developer view from the menu on the top left:
-
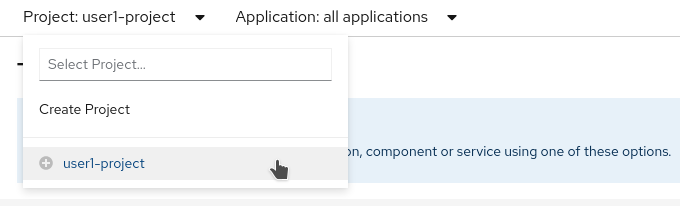
Make sure you are in the right project that was assigned to you:
-
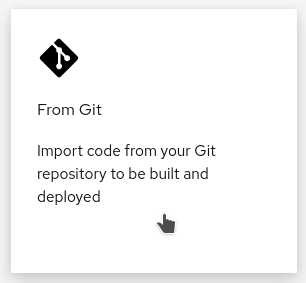
From the
+Addmenu, click on theFrom Gittile:
-
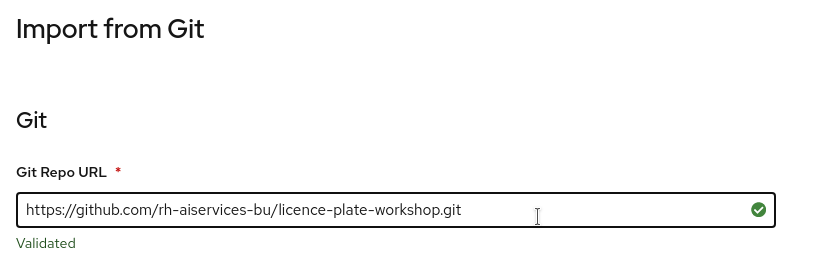
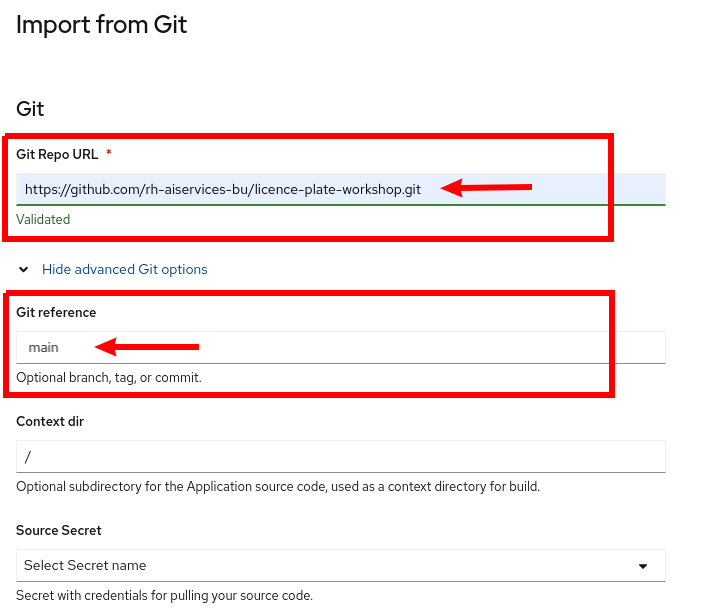
In the
Git Repo URLfield, enter:https://github.com/rh-aiservices-bu/licence-plate-workshop.git
-
Don’t miss this step! Click on
Show advanced Git options, and in theGit referencefield, entermain(this is the branch to use in our github project):
-
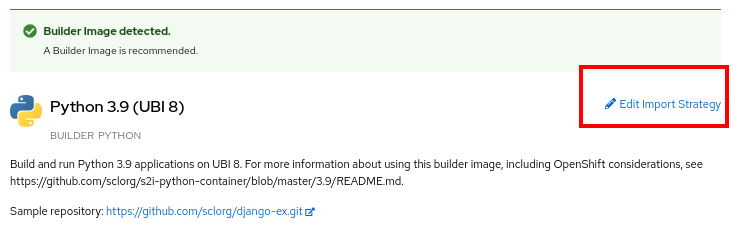
By default, OpenShift will want to use the builder image called Python 3.9 (UBI8). You will want to edit the Import Strategy:
-
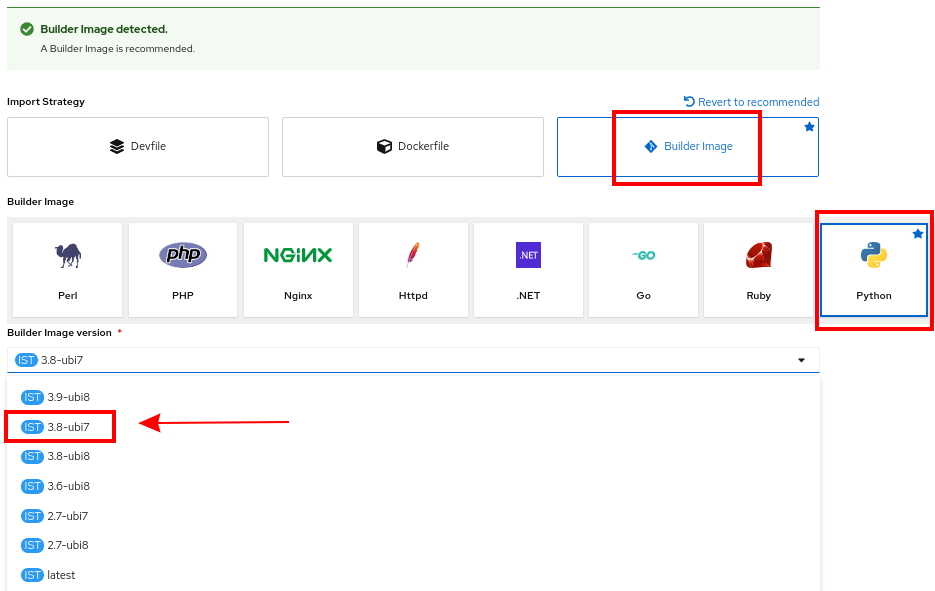
The image to choose in the dropdown list is 3.8-ubi7
-
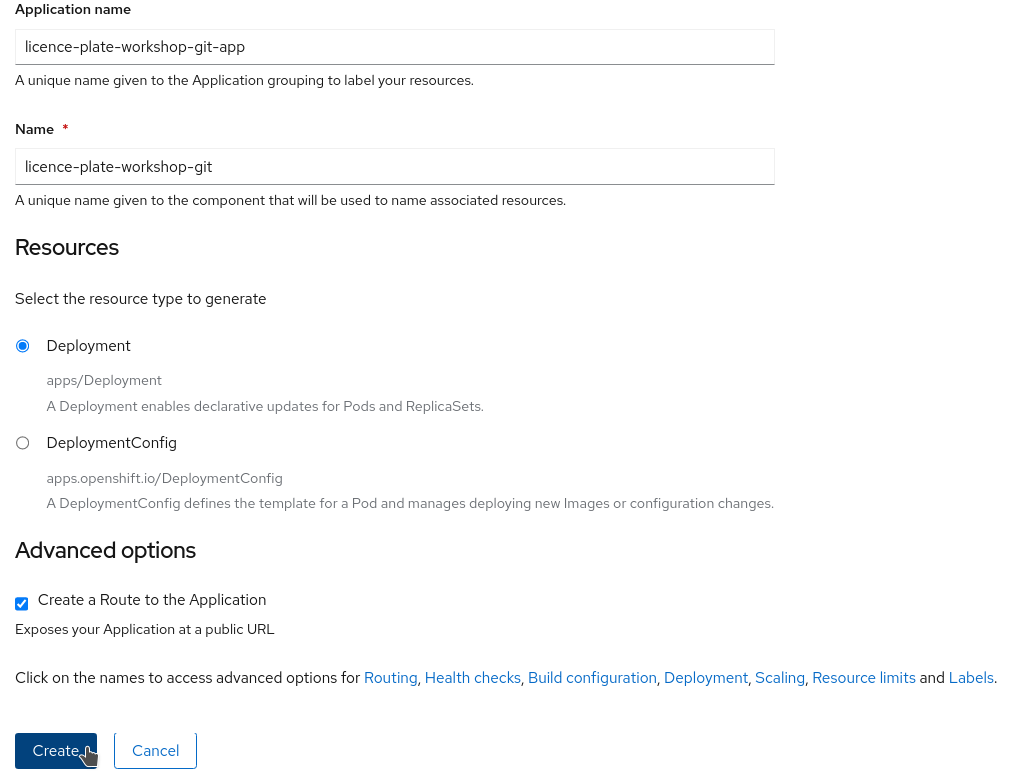
If you continue to scroll down, you will see that everything is automatically selected to create a deployment of your application, and to create a Route through which you will be able to access it. Everything is ready, so you can click on
Create:
-
You will see that a build is going on:
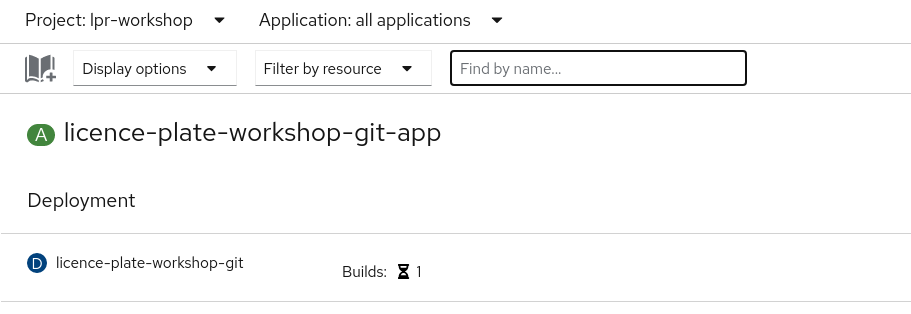
-
The automated building process will take a few minutes. Some Alerts may appear if OpenShift tries to deploy while the build is still running, but that’s OK. Then OpenShift will deploy the application (rollout), and in the topolody view you should obtain something like this:

-
Just click on the application line to open a detail panel on the right:
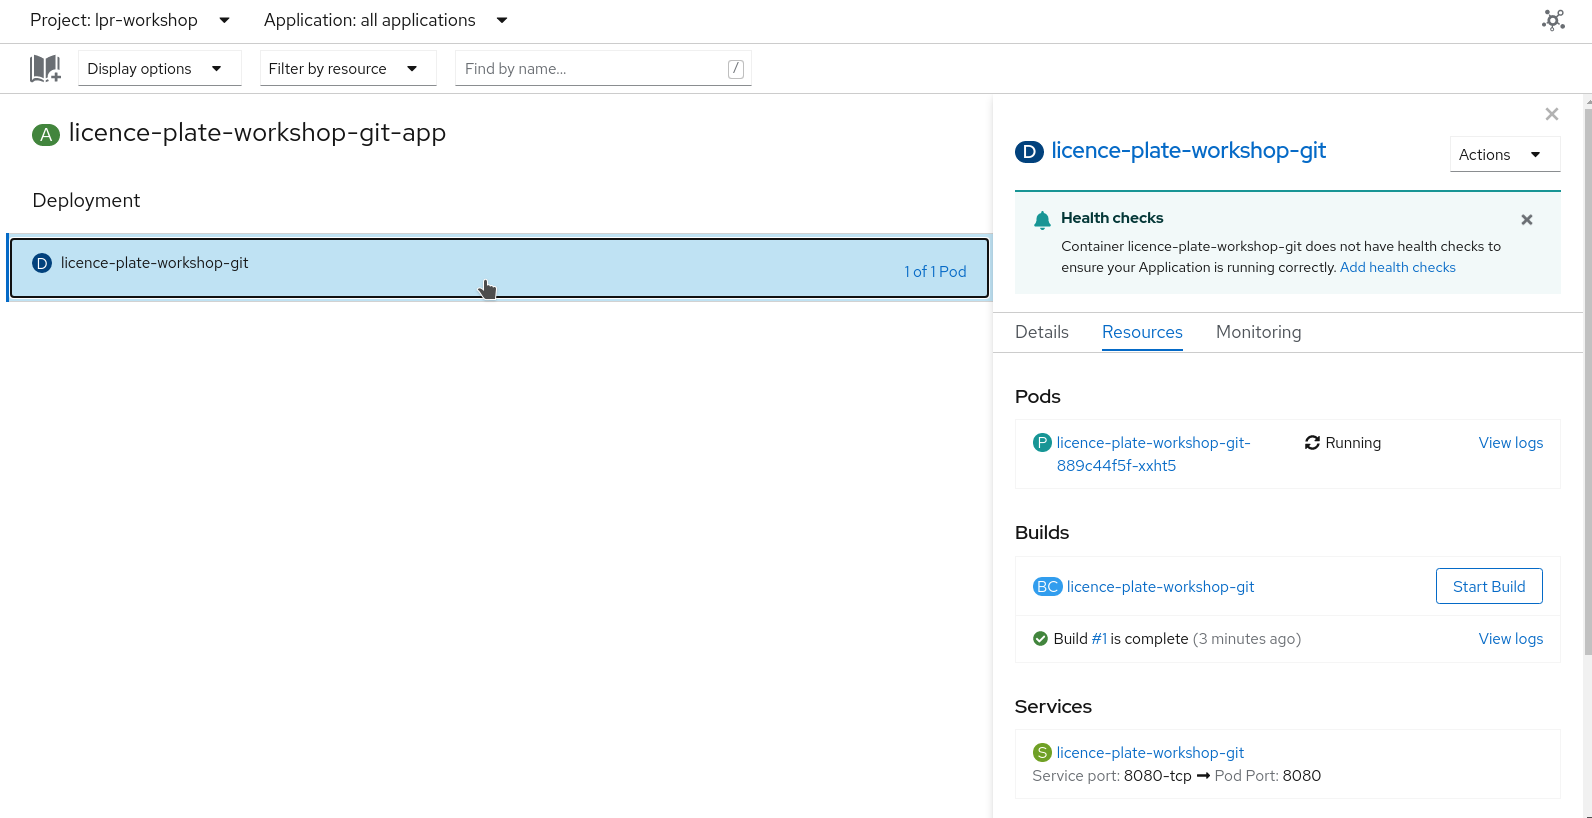
-
If you scroll down on the detail panel, you will see the route that was created for your application. This is the URL you will use to send images:
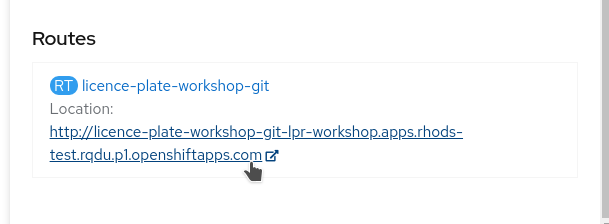
|
By default, a single replica of your deployed model is running. Can you find how to change the configuration so that 2 replicas are running simultaneously? Click on the Application to open the Detail panel Click on the Actions drop-down. Click on Edit Pod count Change the number from 1 to 2 Click Save |
Once you’re finished, you can come back here and head to the next section.