Setup VM
In order to work begin using Red Hat Enterprise Linux in this lab, you may also want to run a RHEL virtual machine on your computer to keep your work and progress. This section will teach you how to download the operating system, install it on VirtualBox, and configure your RHEL machine once started.
| If you’re using a M1 based Mac machine, please use this tutorial for installing RHEL. |
Downloading RHEL
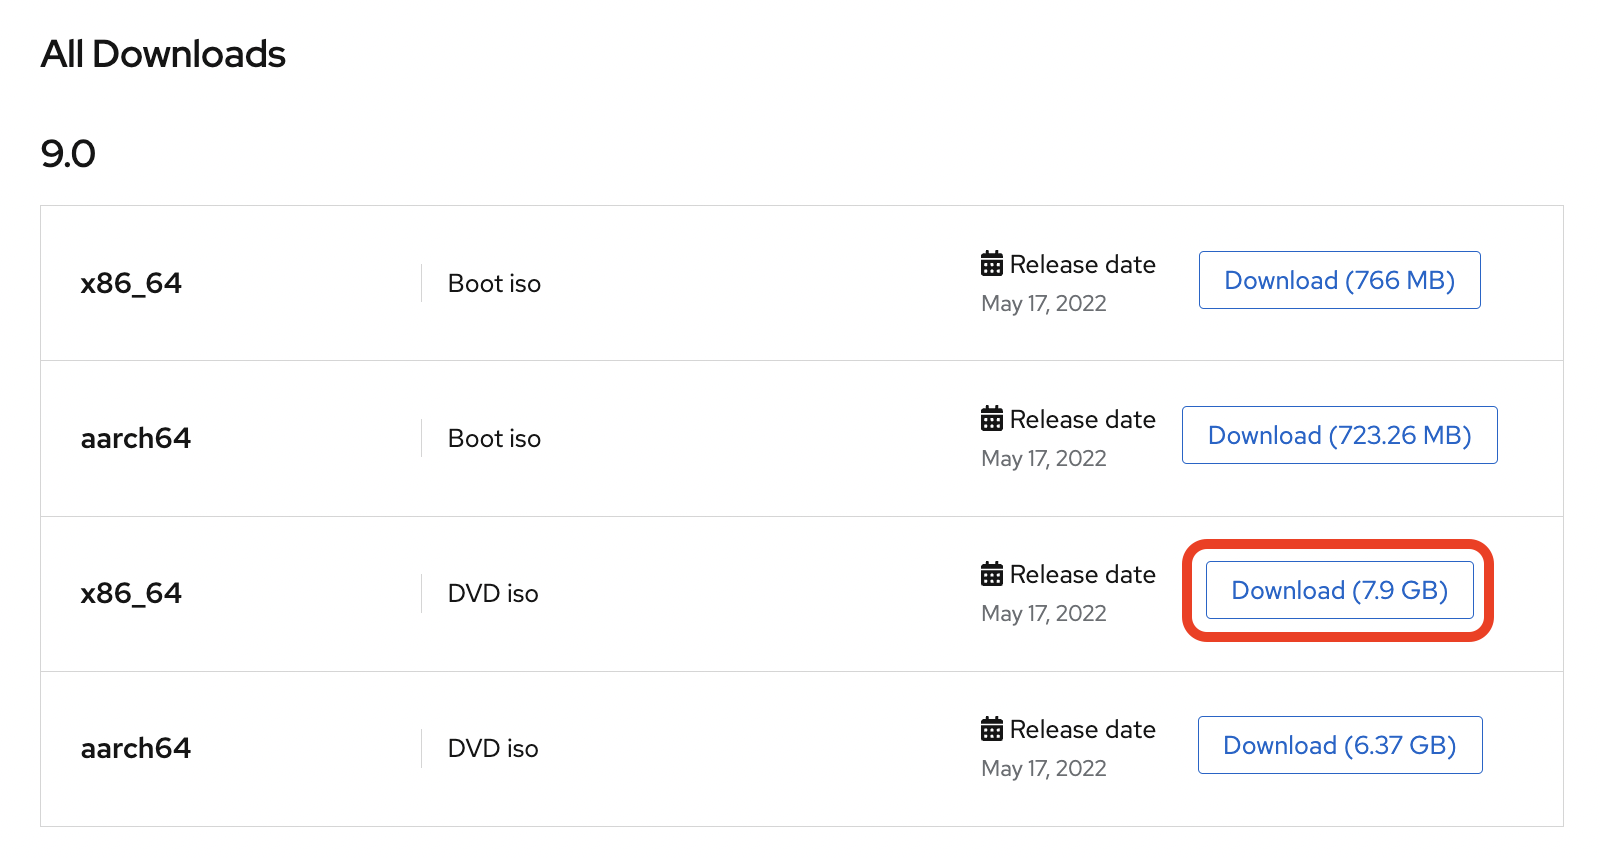
The first step to working with Red Hat Enterprise Linux is downloading via the Red Hat Developer program. On the Red Hat Developer page, scroll down to see the list of available RHEL image downloads, and download the x86_64 Boot iso.
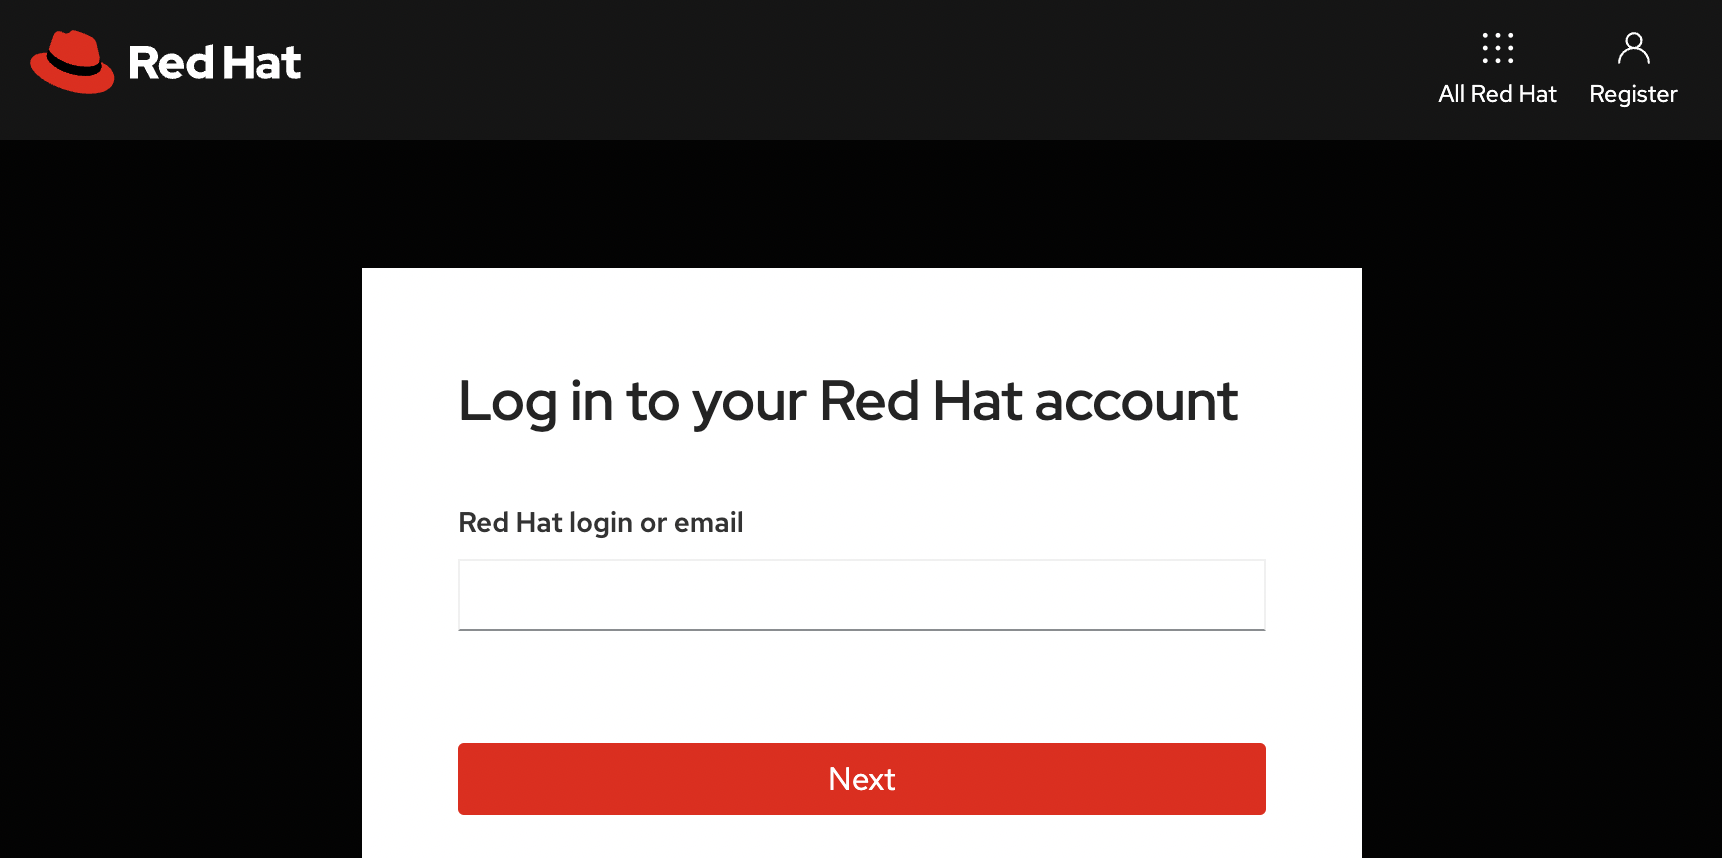
From here, sign in to your Red Hat account or create a new account, and the download will start automatically.
You now have a bootable RHEL .iso that we can use VirtualBox to run.
Setting up VirtualBox
VirtualBox can be used to run operating systems in a special environment, called a virtual machine, on top of the existing operating system. We’ll use it to install the RHEL VM in this tutorial, so head to the VirtualBox downloads page to download the correct platform package for your machine.

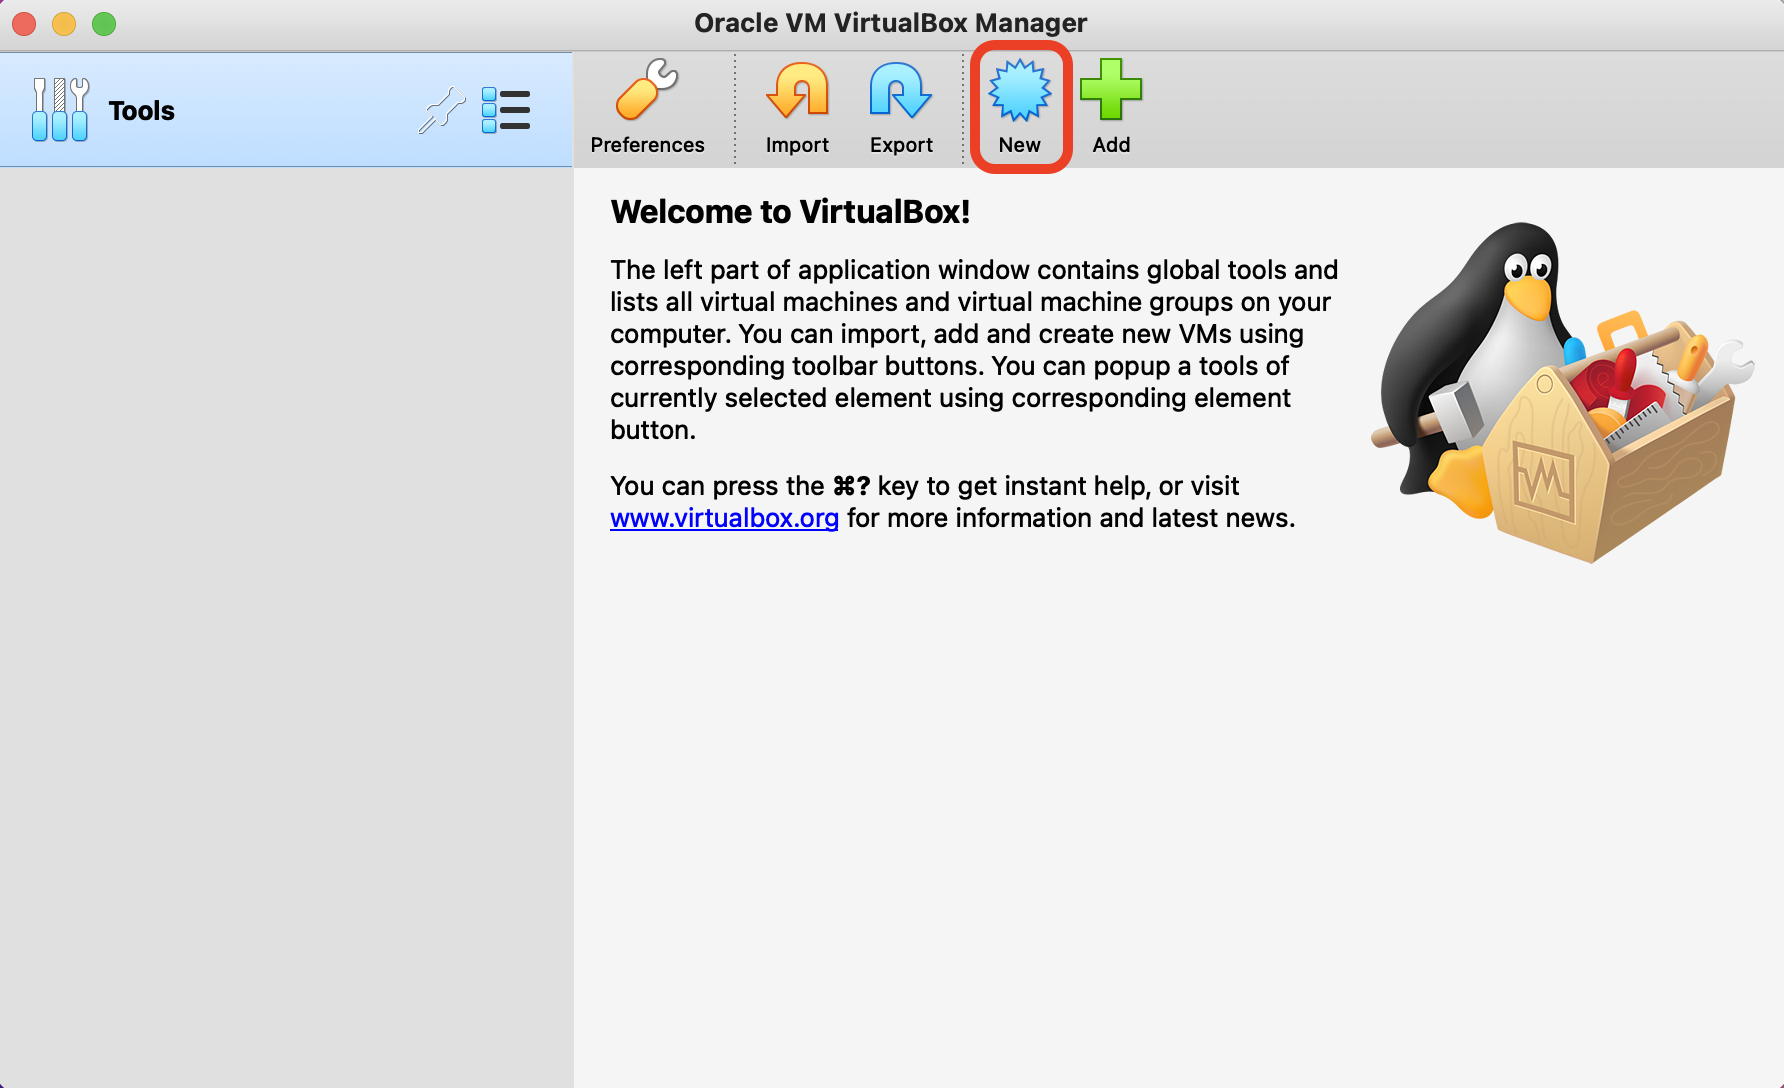
After installing and opening VirtualBox, you should be greeted at the homepage, where we’ll click on the New button to create a new VM.
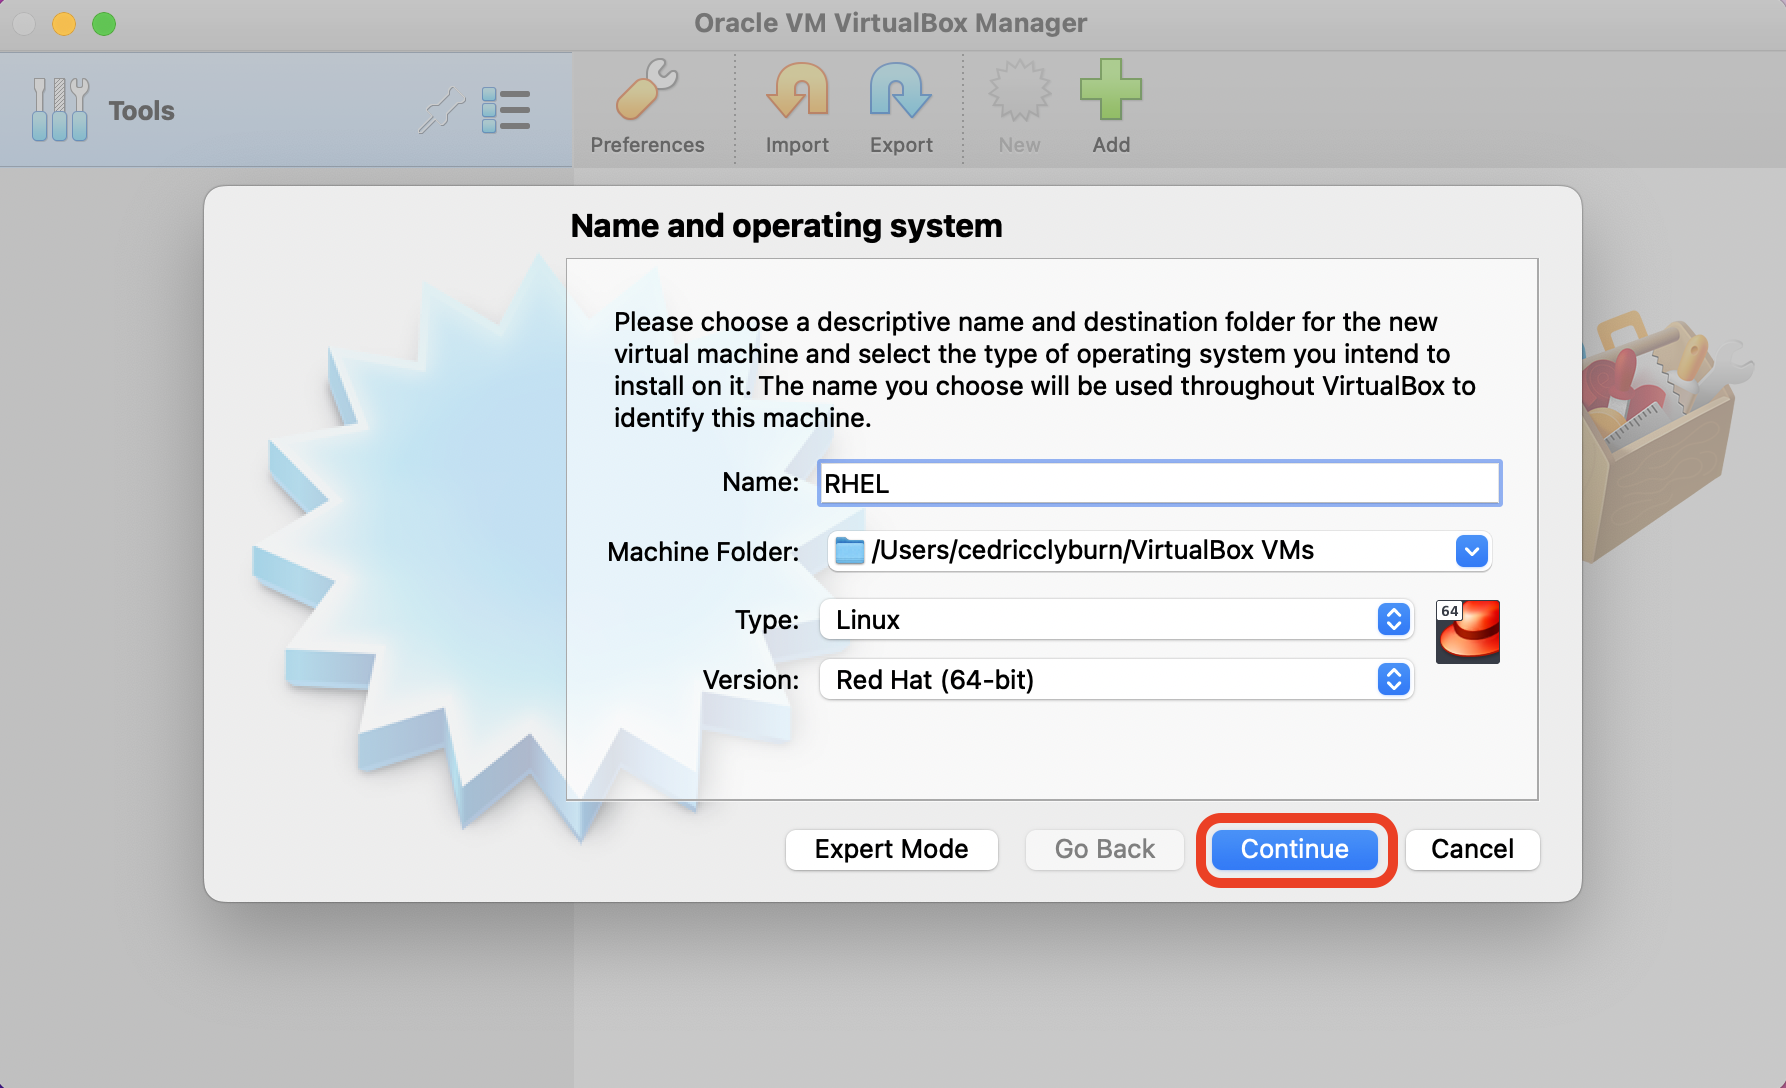
From here, give this virtual machine a name, for example RHEL, and feel free to use the default machine folder location, which stores your virtual machine files. Under Version, be sure to select Red Hat (64-bit) if it hasn’t already pre-populated. Click continue from here.
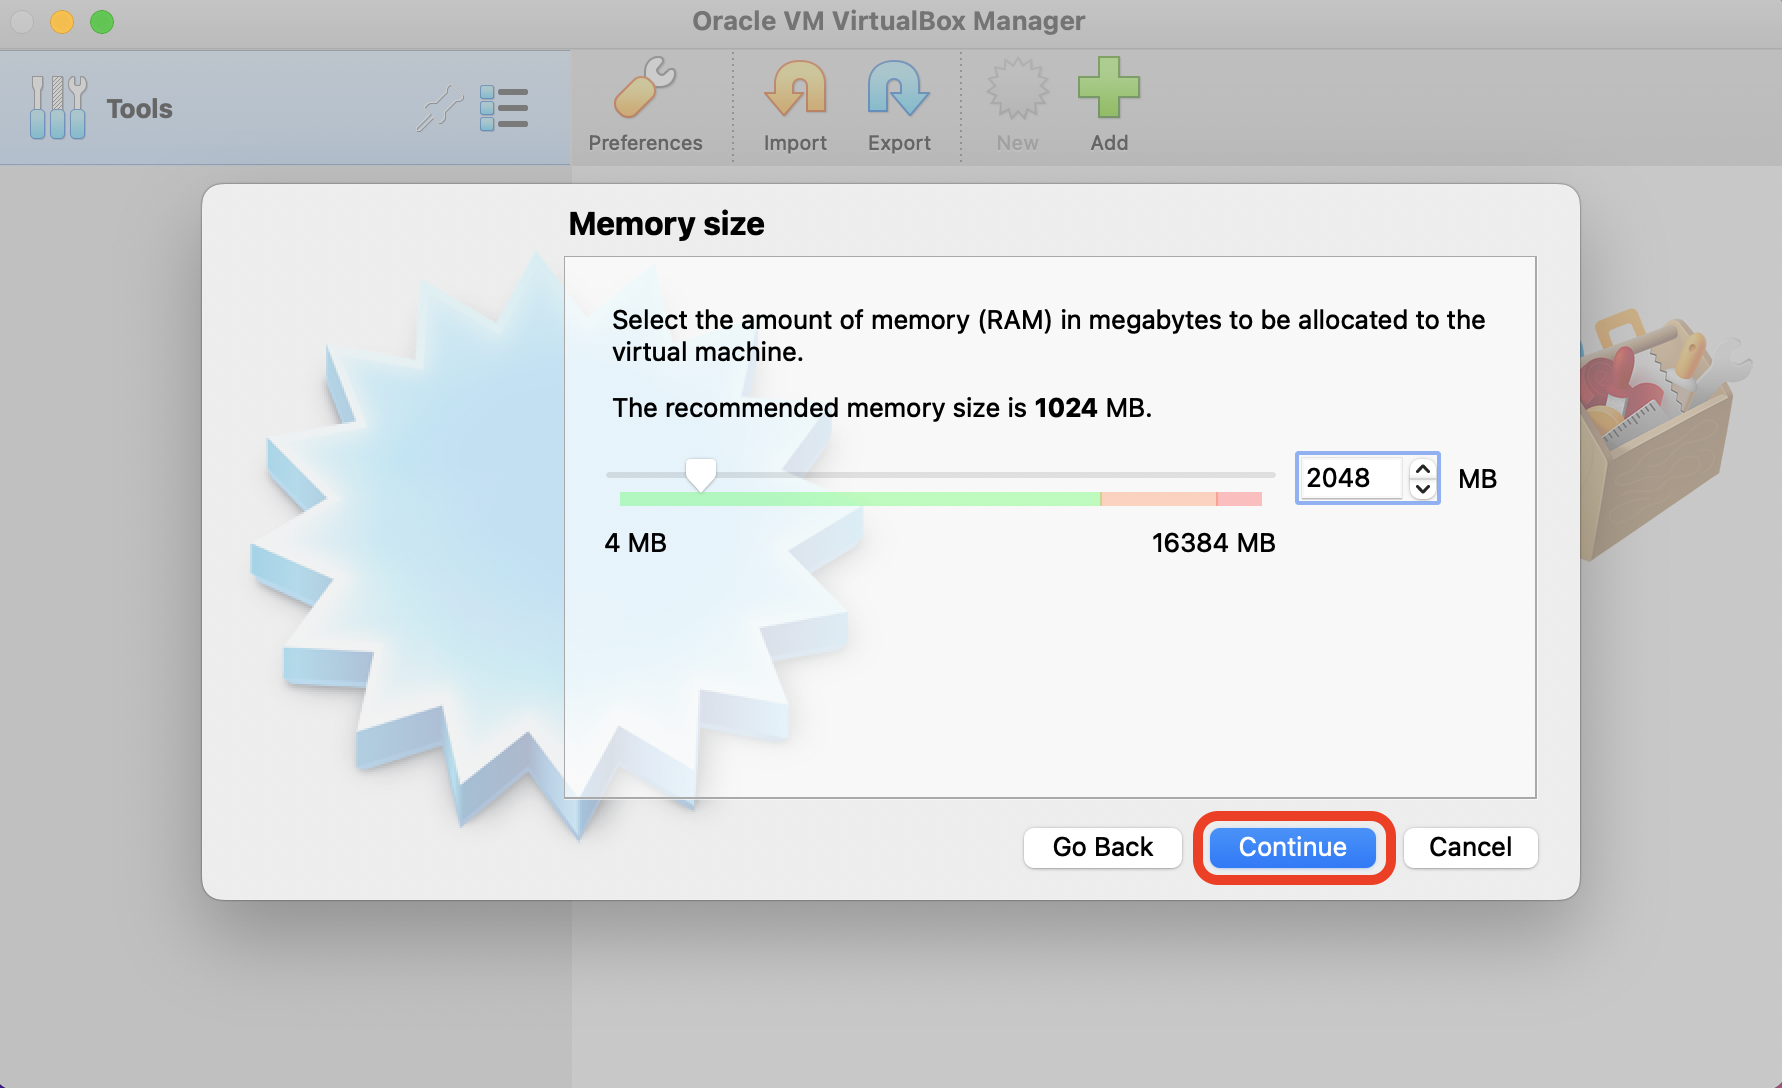
Now, while the reccomended memory size is 1024 MB (1 GB), feel free to increase this to 2048 MB (2 GB) for normal usage.
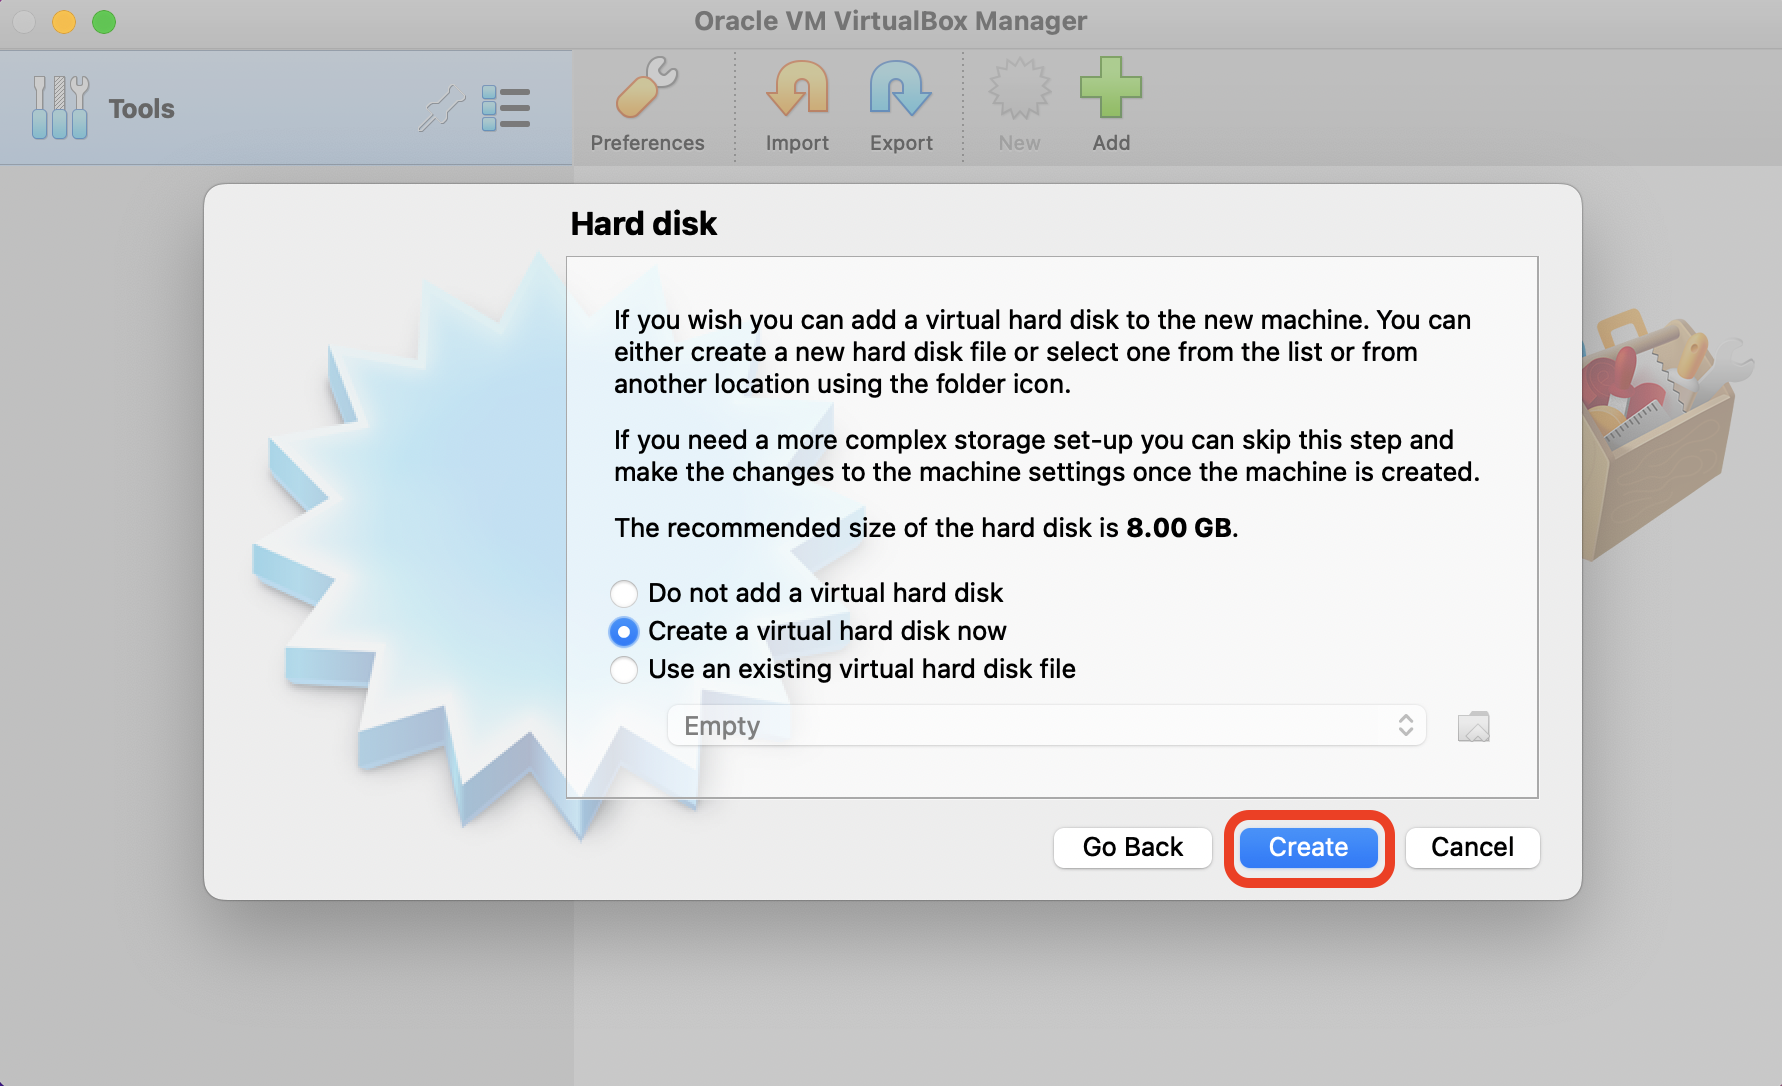
Select the default option to create a virtual hard disk now, and hit create. For the hard disk file type, select VirtualBox Disk Image (VDI, recommended for normal usage), and select Dynamically allocated on the next prompt (also reccomended for daily usage).
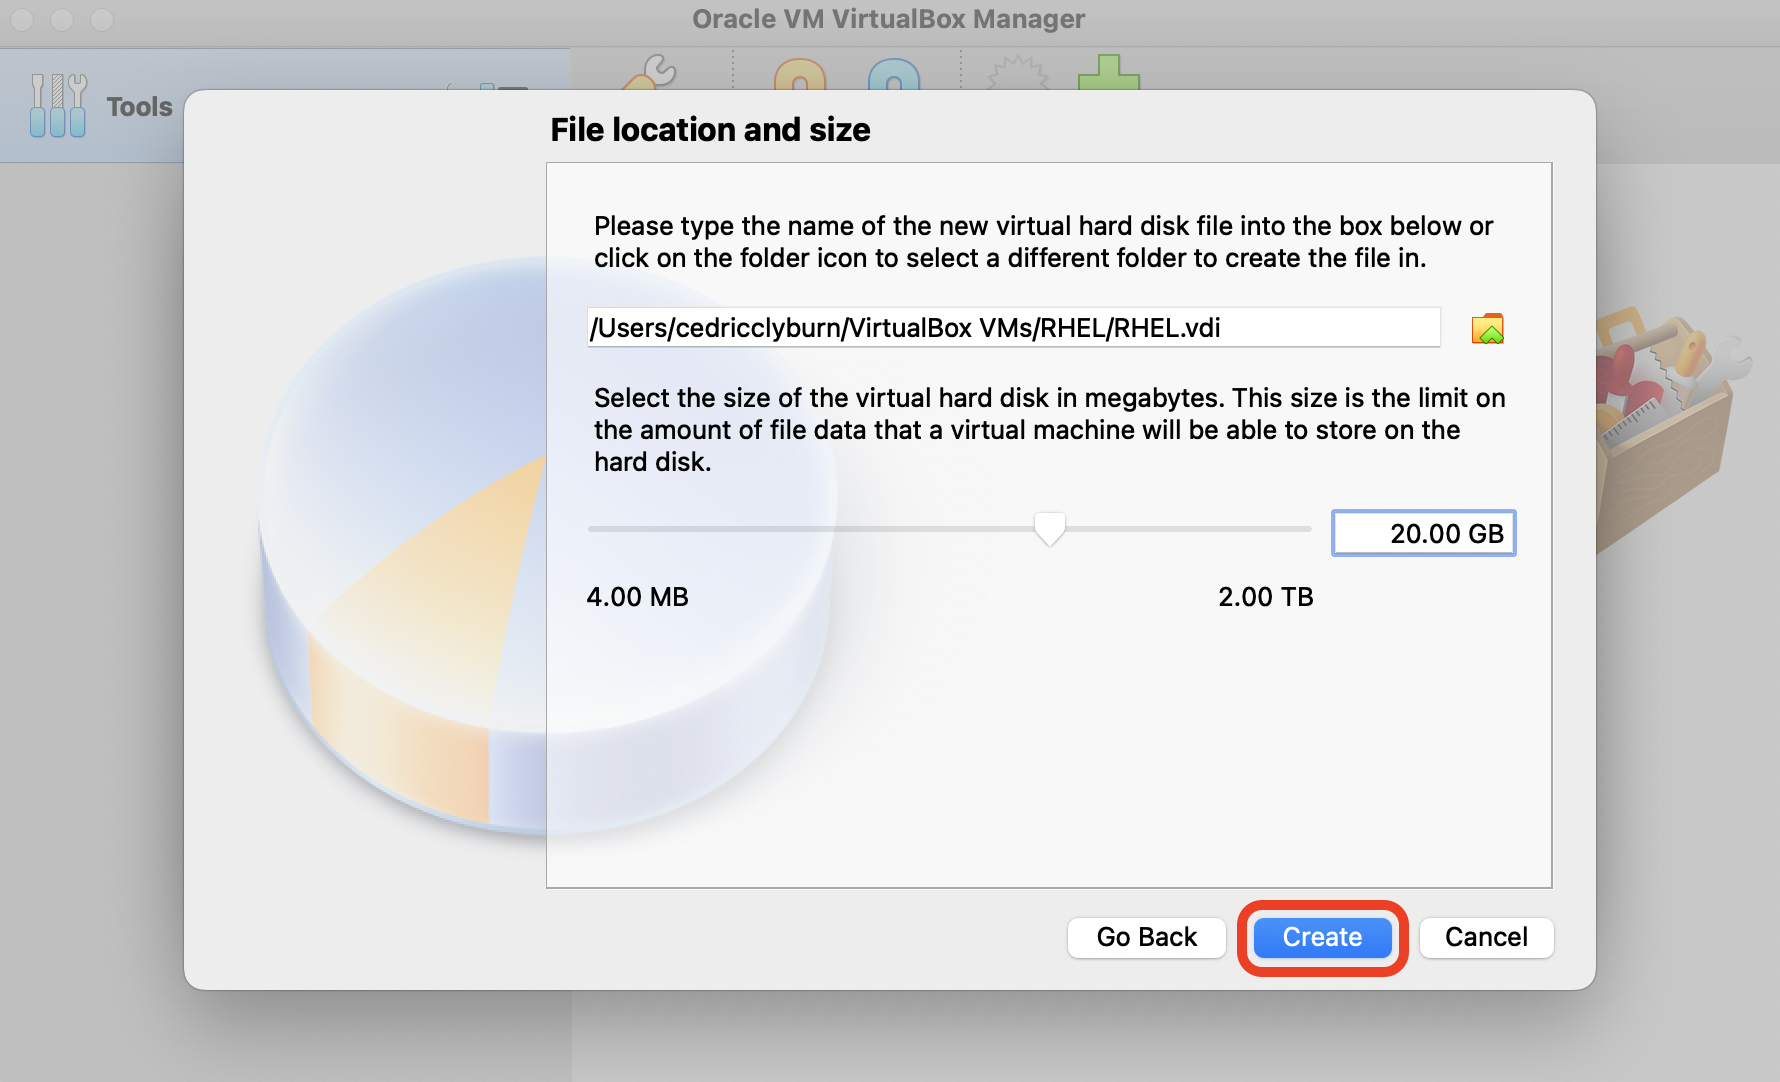
Next, select the File location and size for the virtual hard disk. You can leave the default location, but select a size of 20 GB to ensure enough space for packages and downloads. Hit create to continue.
Finally, we need to attach the downloaded RHEL .iso file to our virtual machine. After selecting our RHEL VM, hit the settings menu.
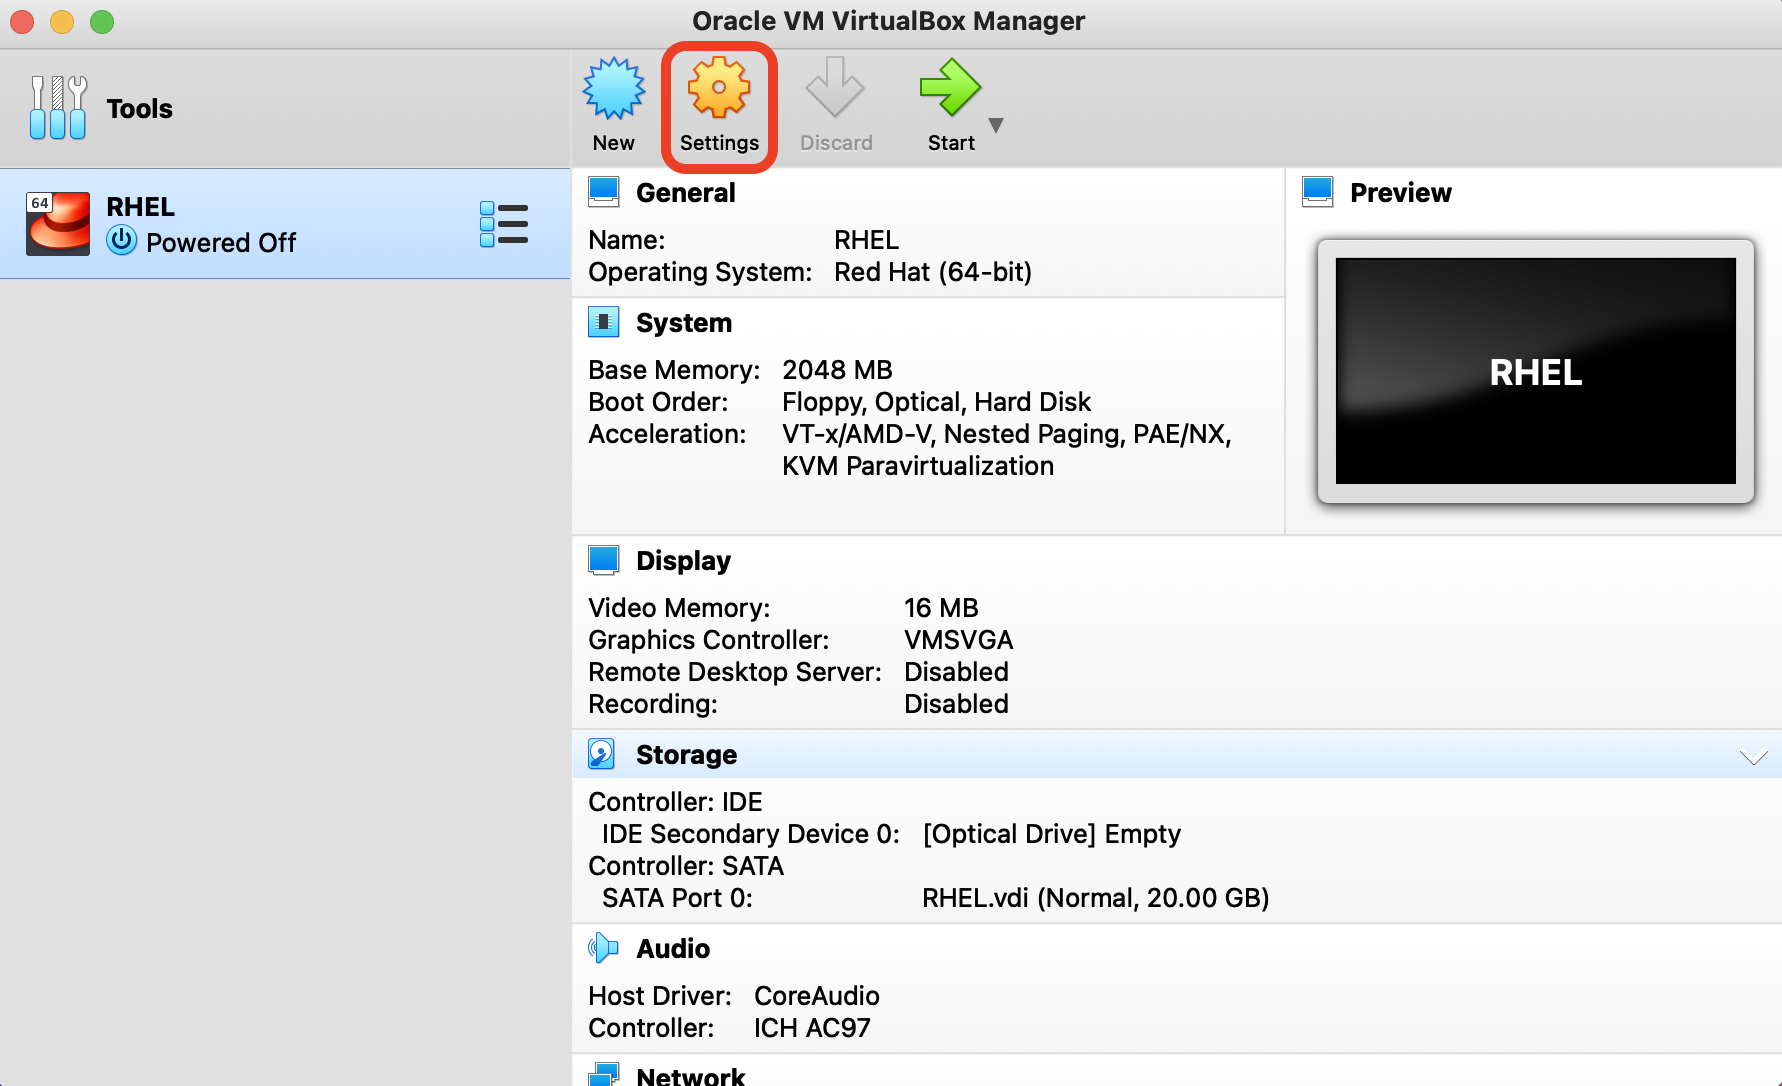
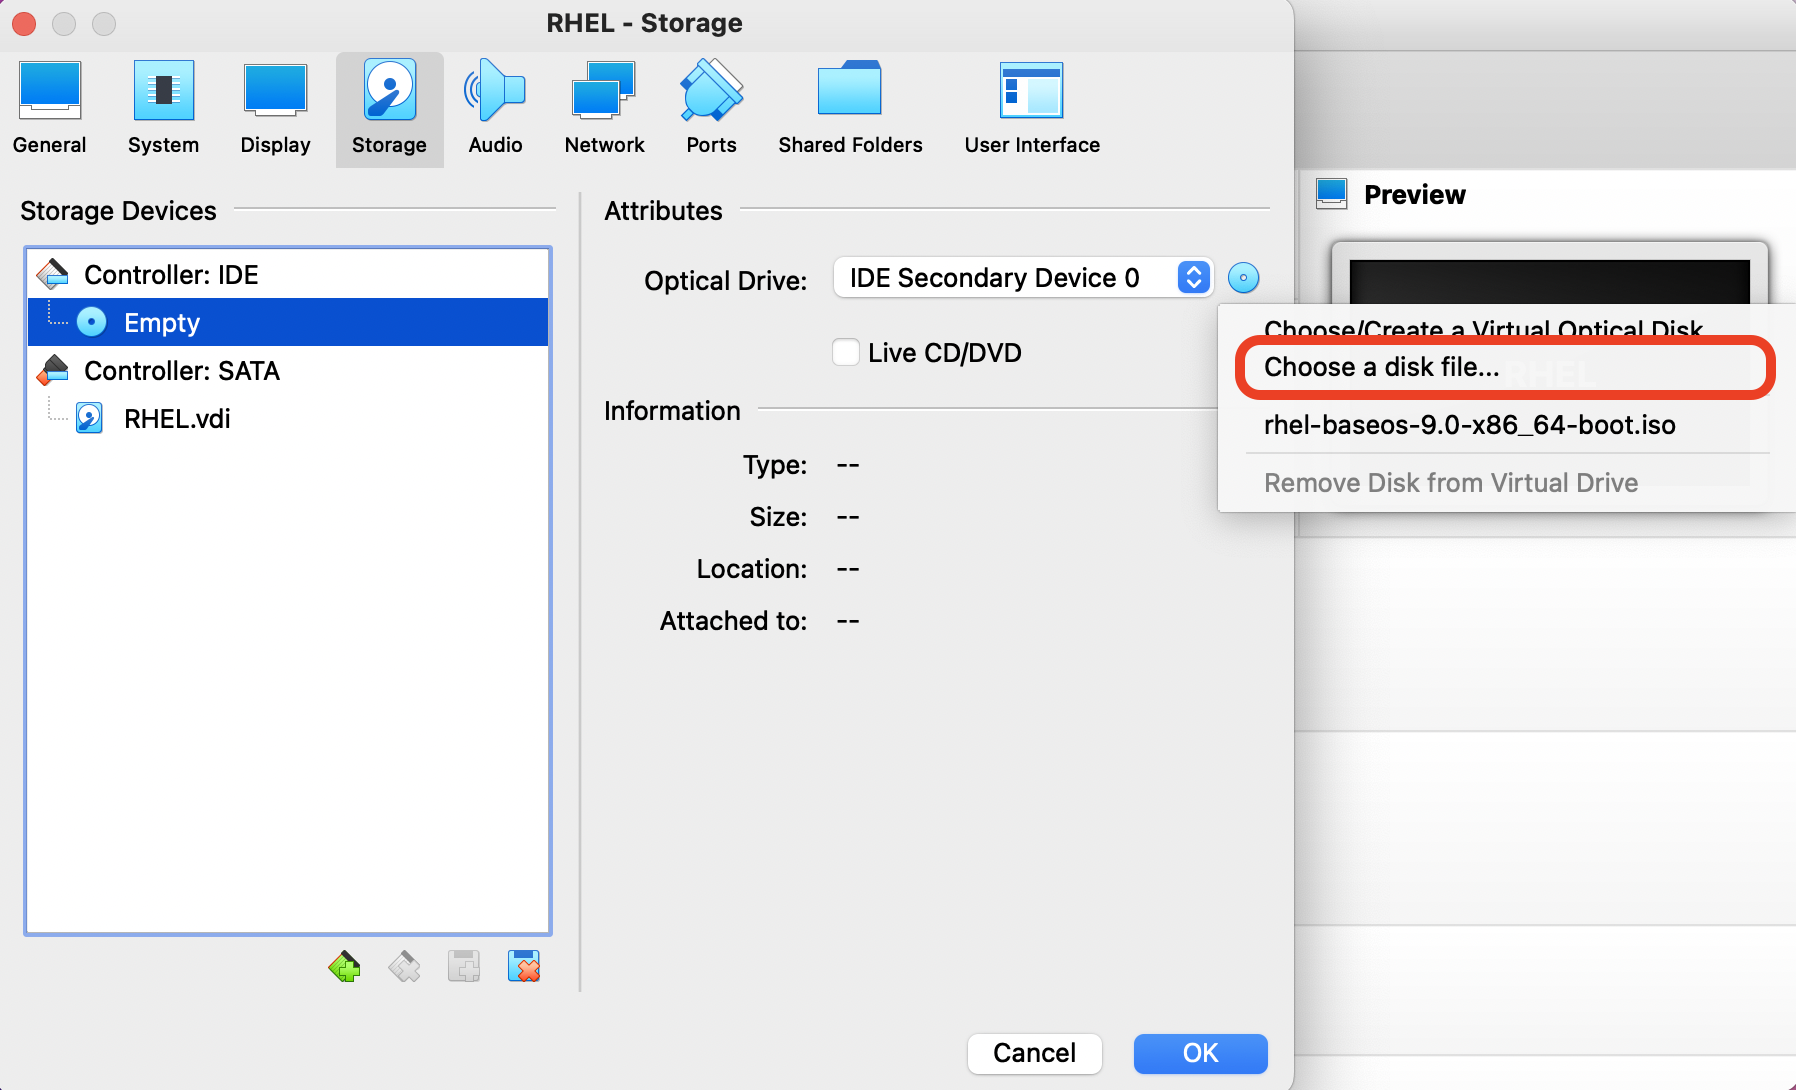
Under the storage section, select the Empty tab under Controller: IDE. Here, we can click on the CD icon and select *Choose a disk file… to select our downloaded .iso file. Navigate to where you downloaded the RHEL .iso, and load it into VirtualBox.
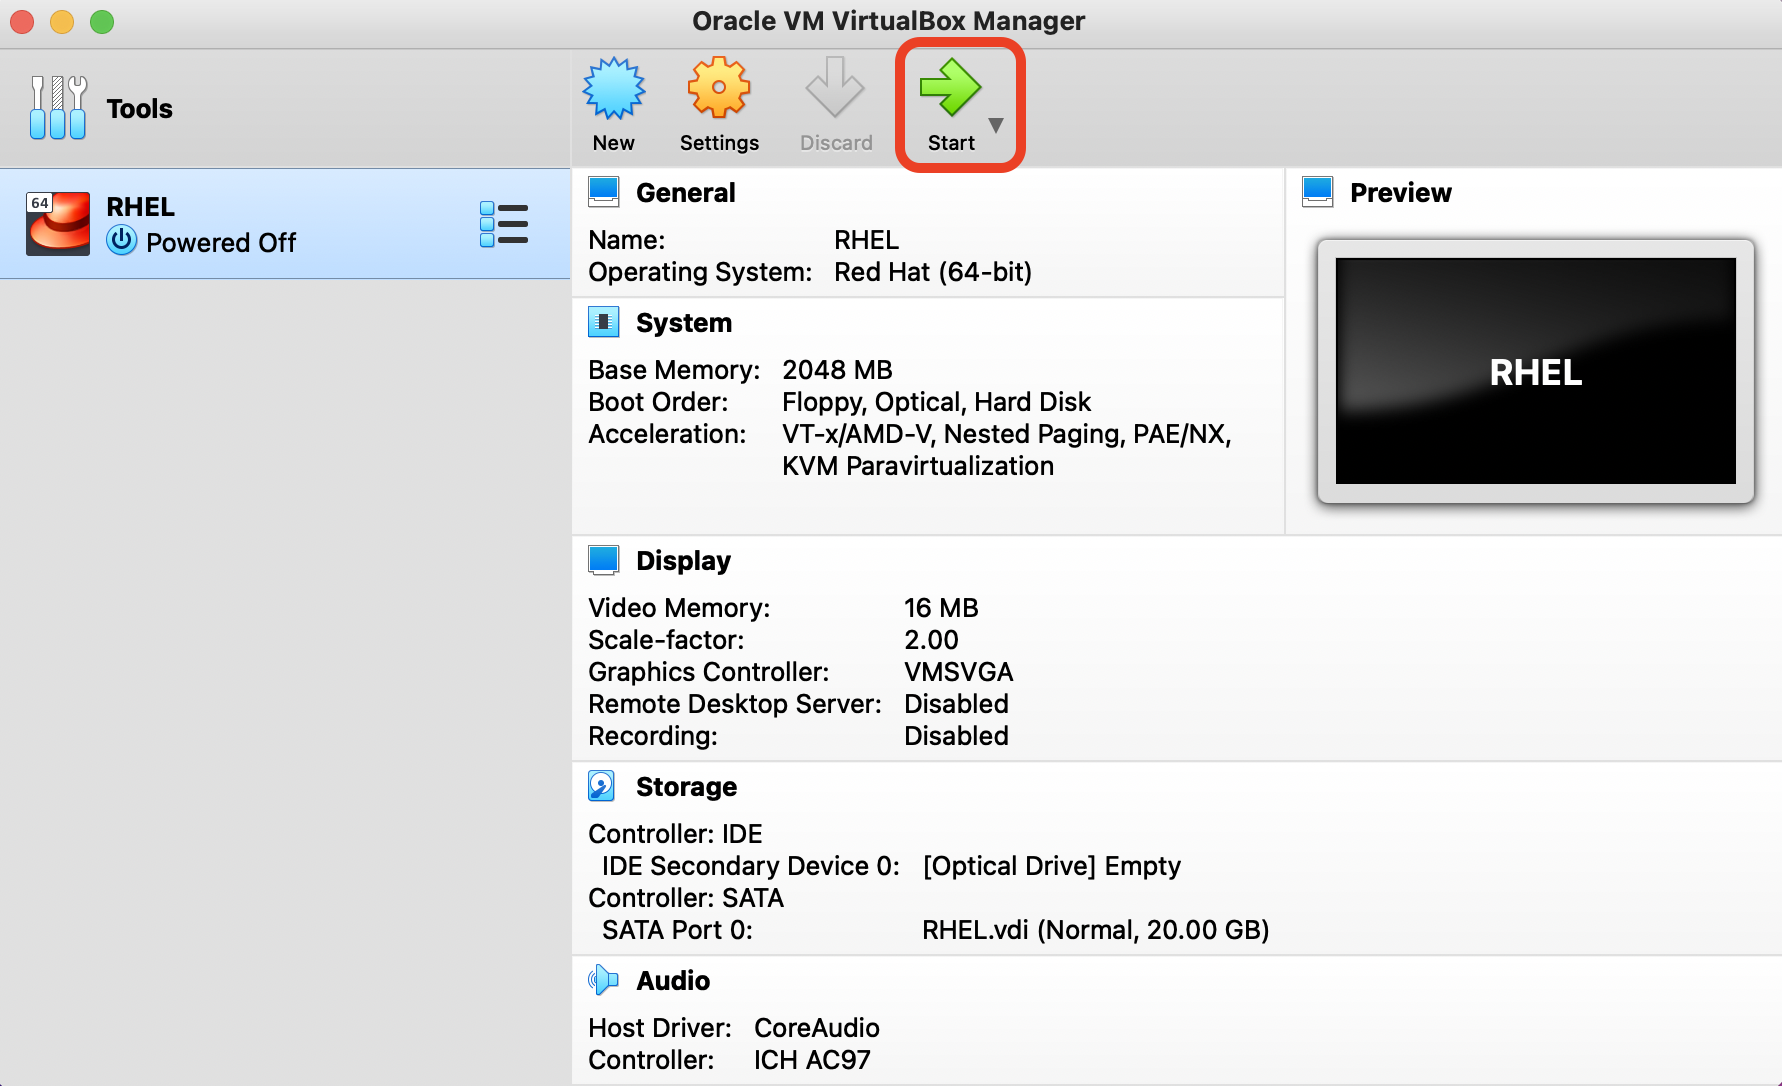
Once loaded in, hit Ok to leave the storage, and return to the VirtualBox dashboard. Now, simply press Start to launch Red Hat Enterprise Linux!
Getting Started with RHEL
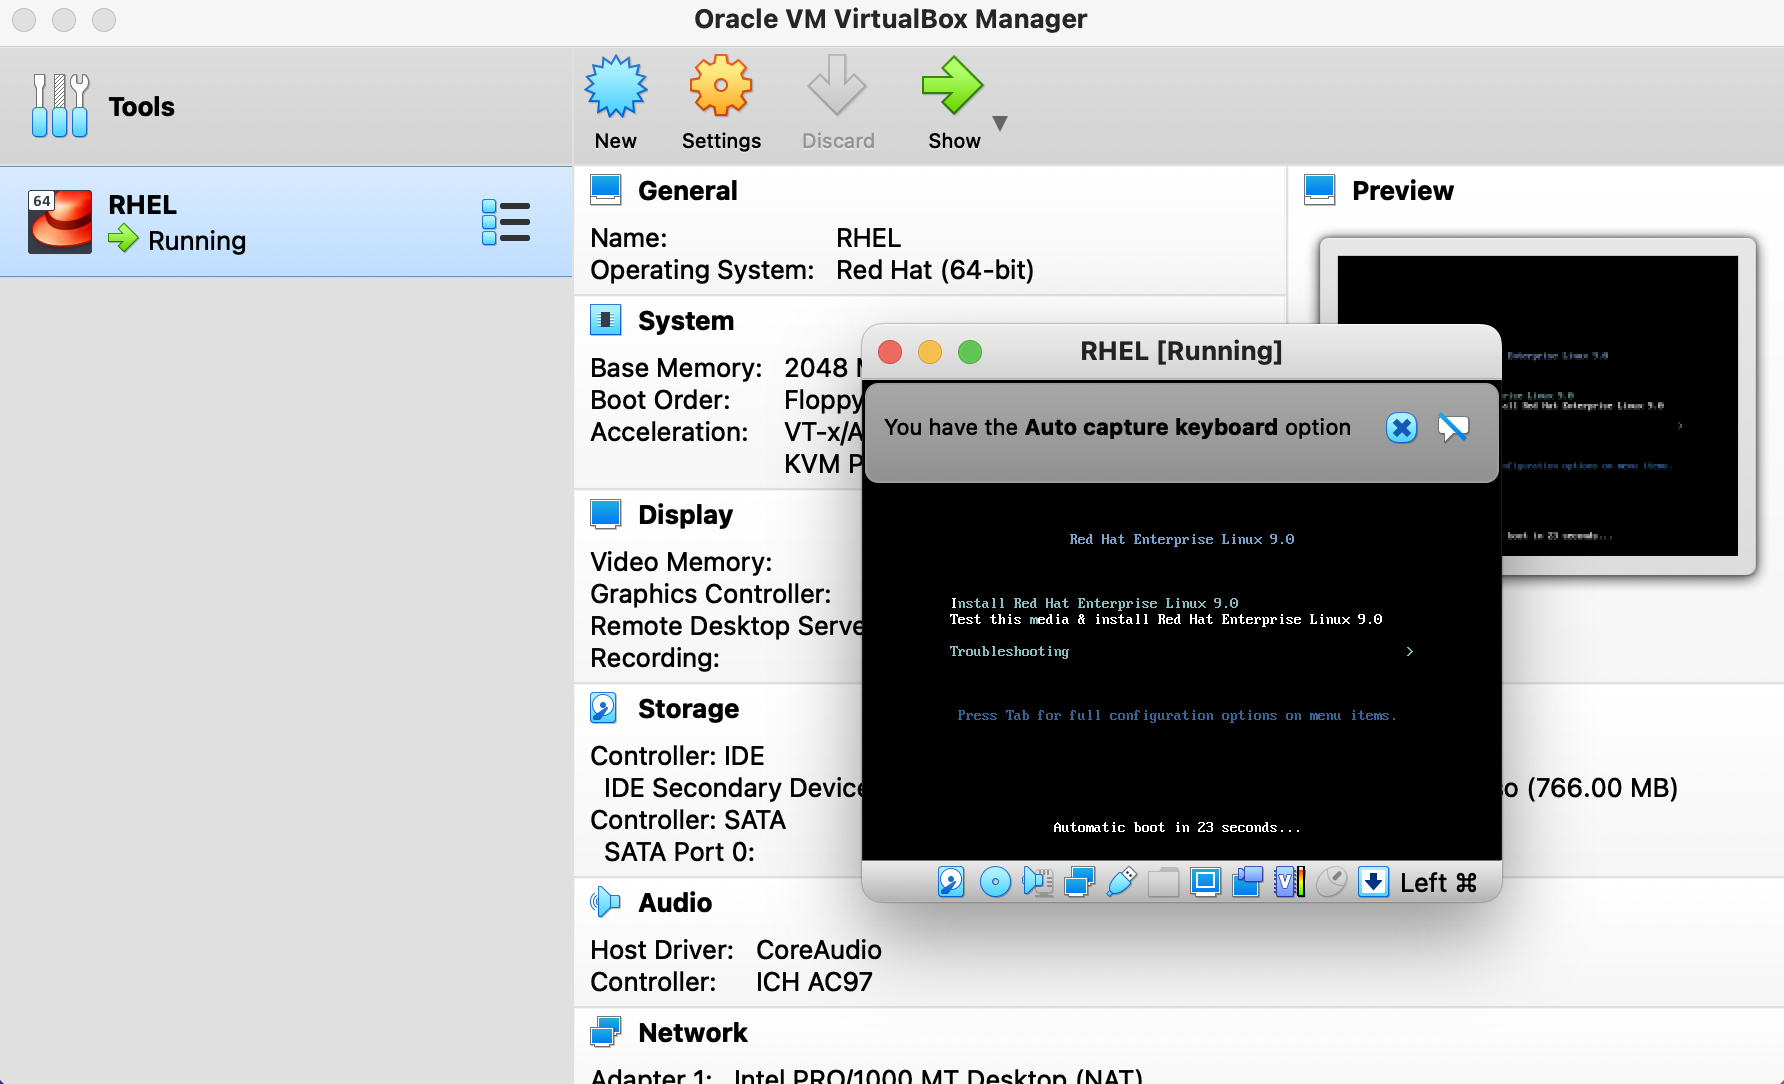
Once you start the RHEL virtual machine, you’ll be greeted by the Red Hat Boot Loader. Simply click into the VM and press enter to begin with the default RHEL installation process.
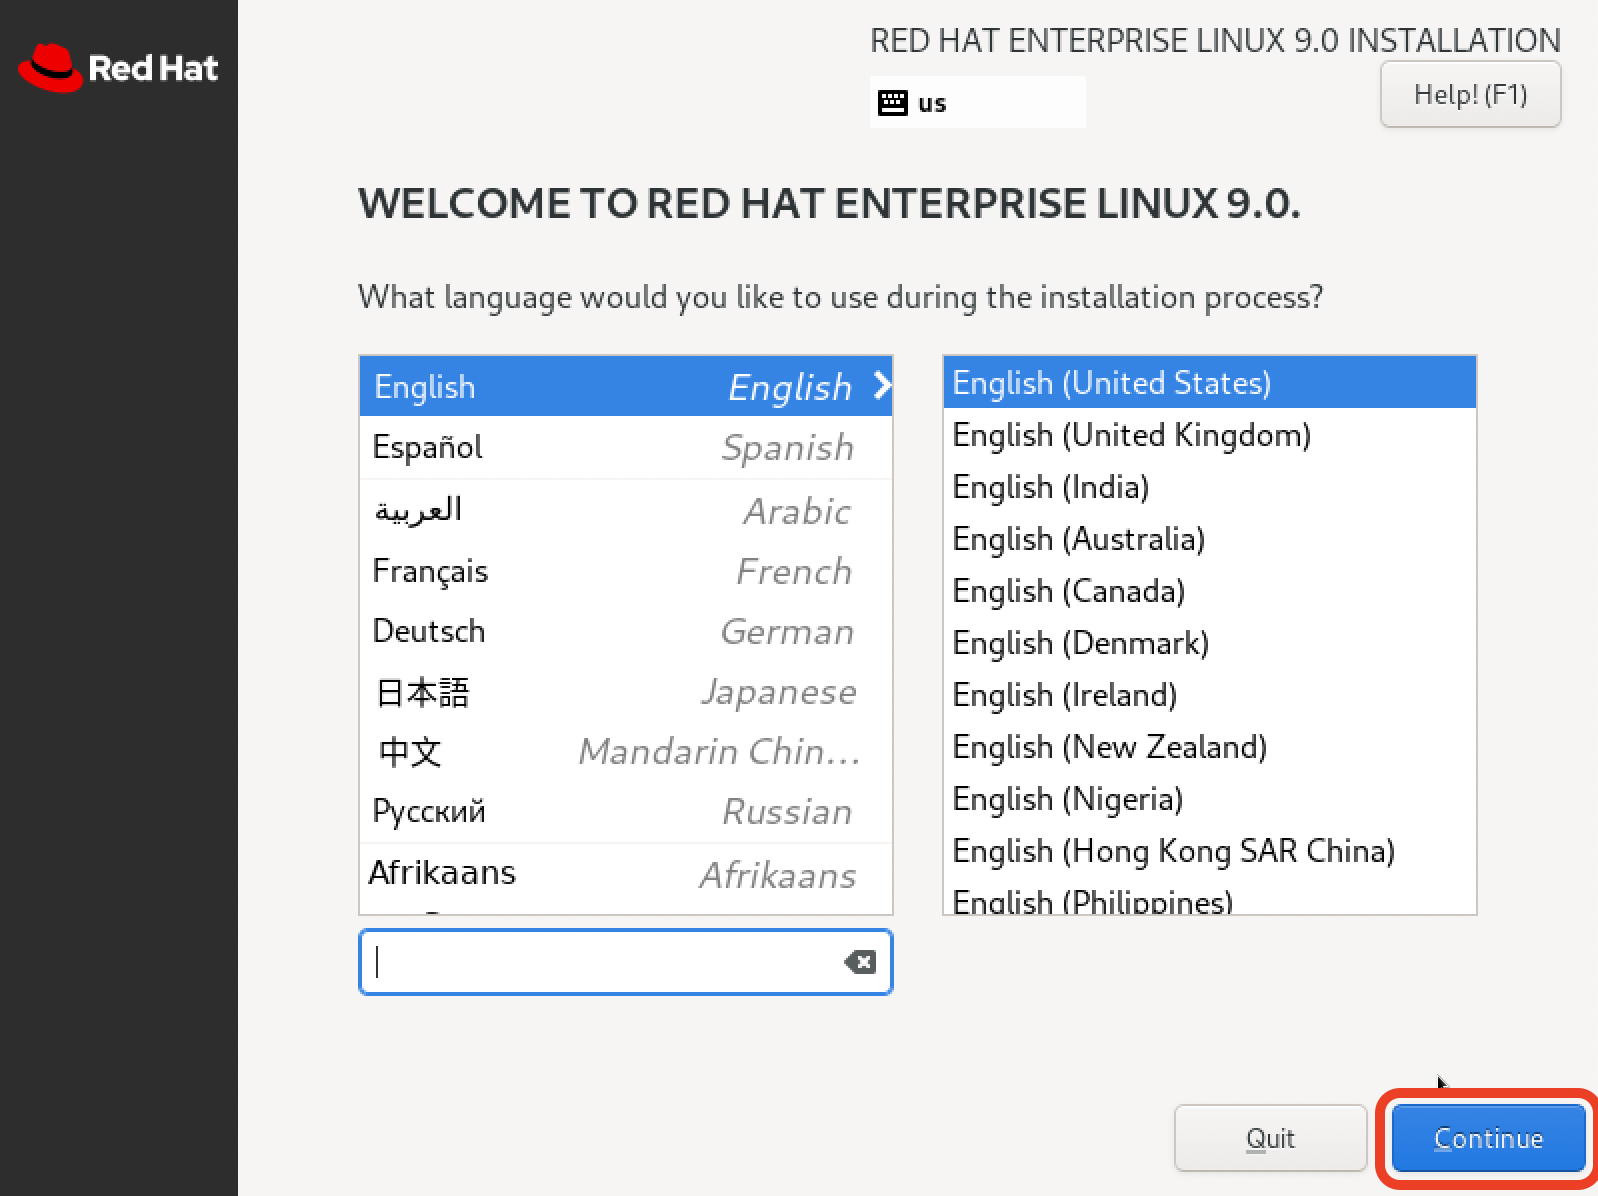
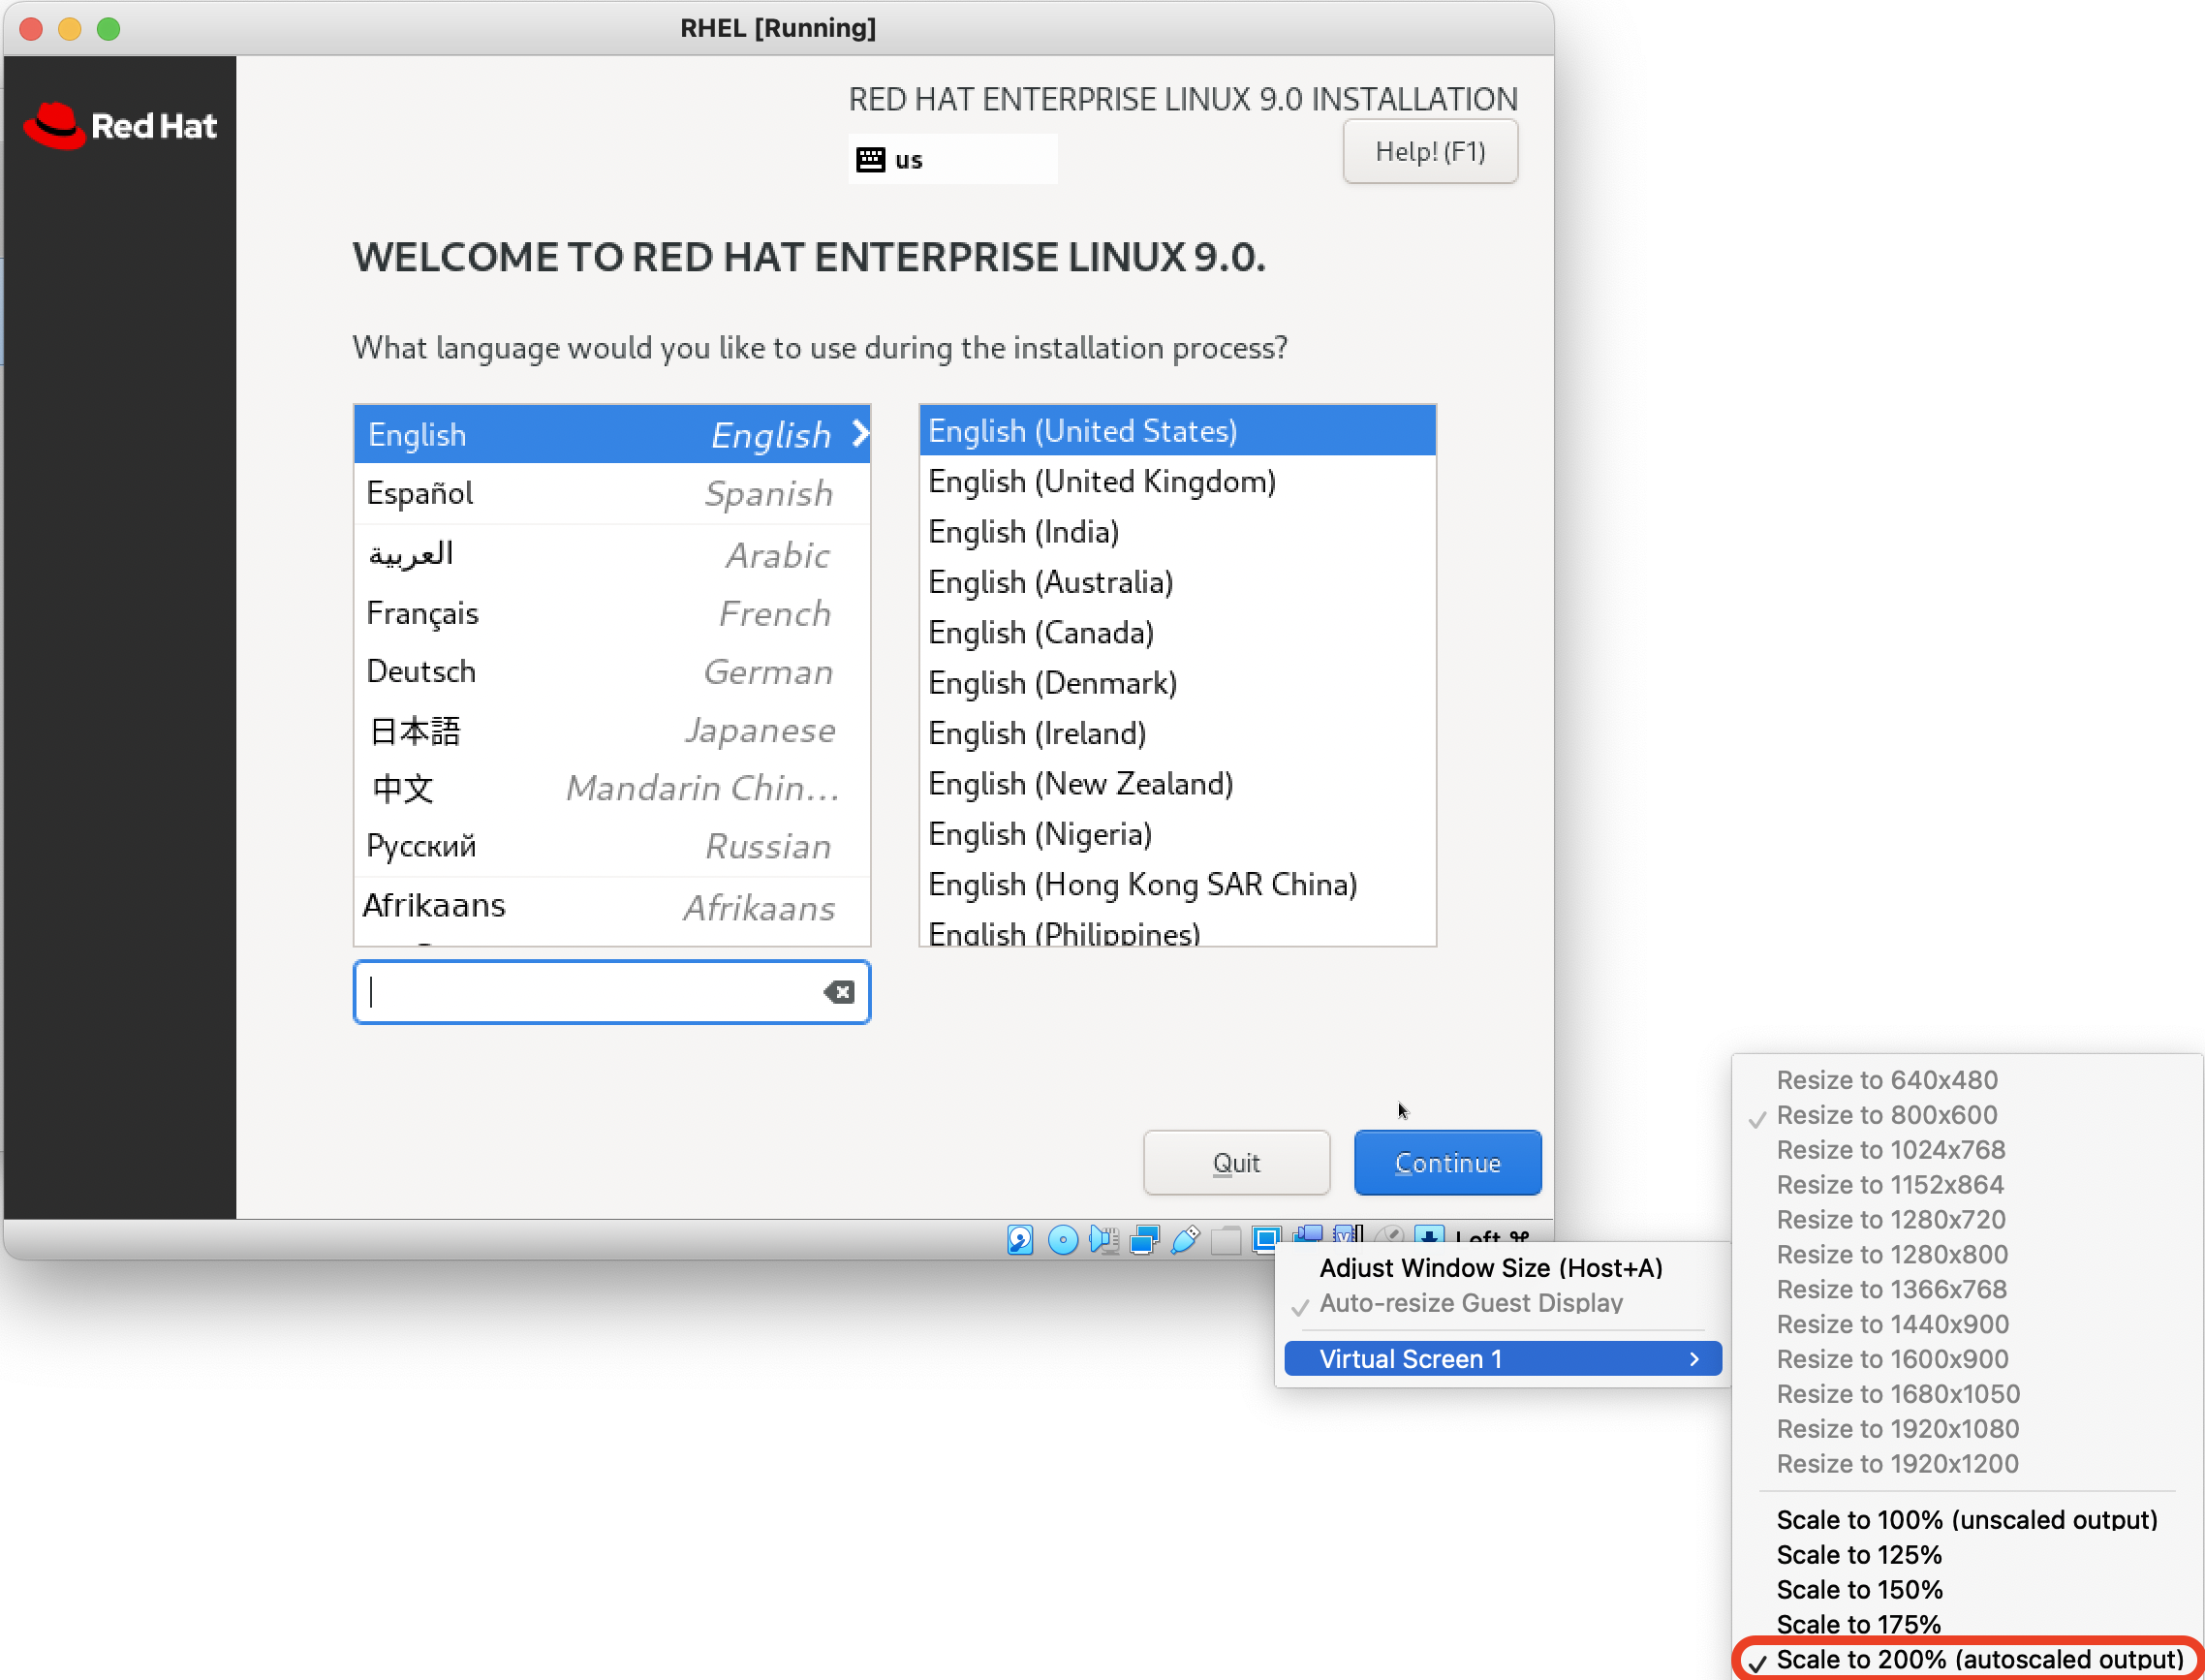
In around a minute, the installation wizard will start and ask you for your language. Select this, and proceed to configure the rest of your RHEL machine.
In addition, if you’d like to make the VirtualBox screen larger, head down to the window size control under the GUI and select Scale to 200%.
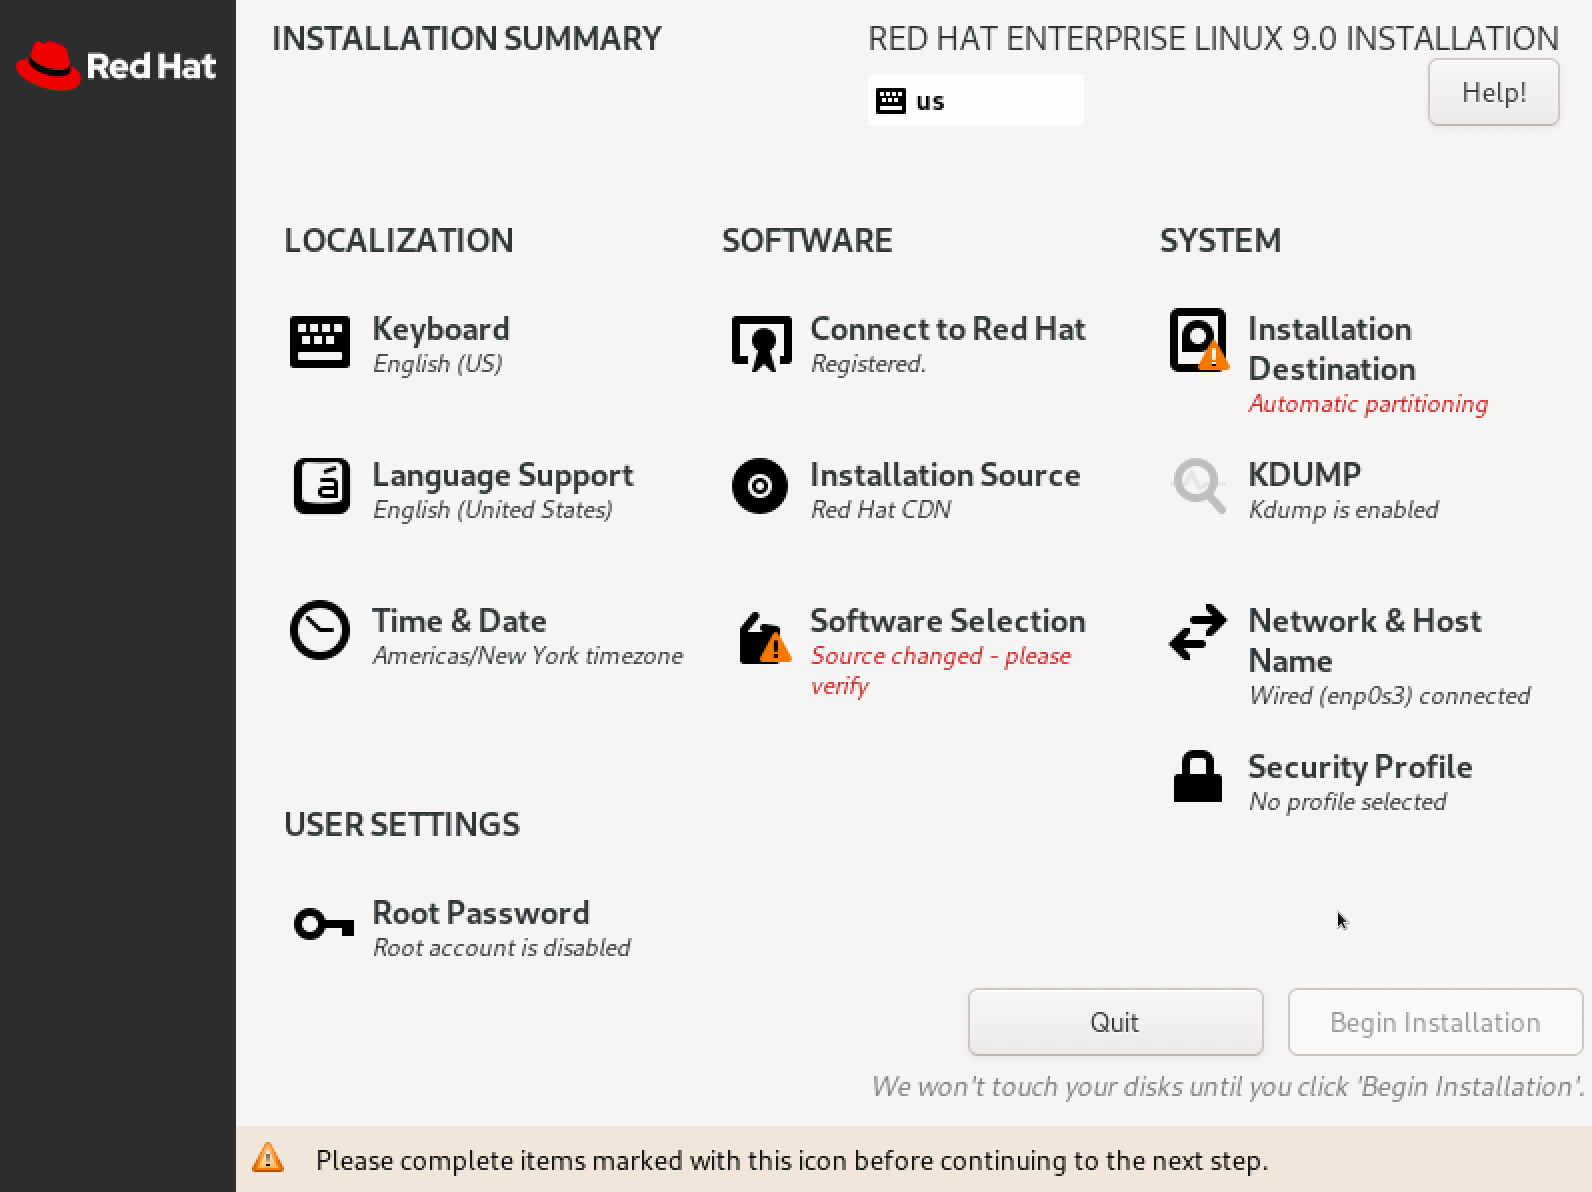
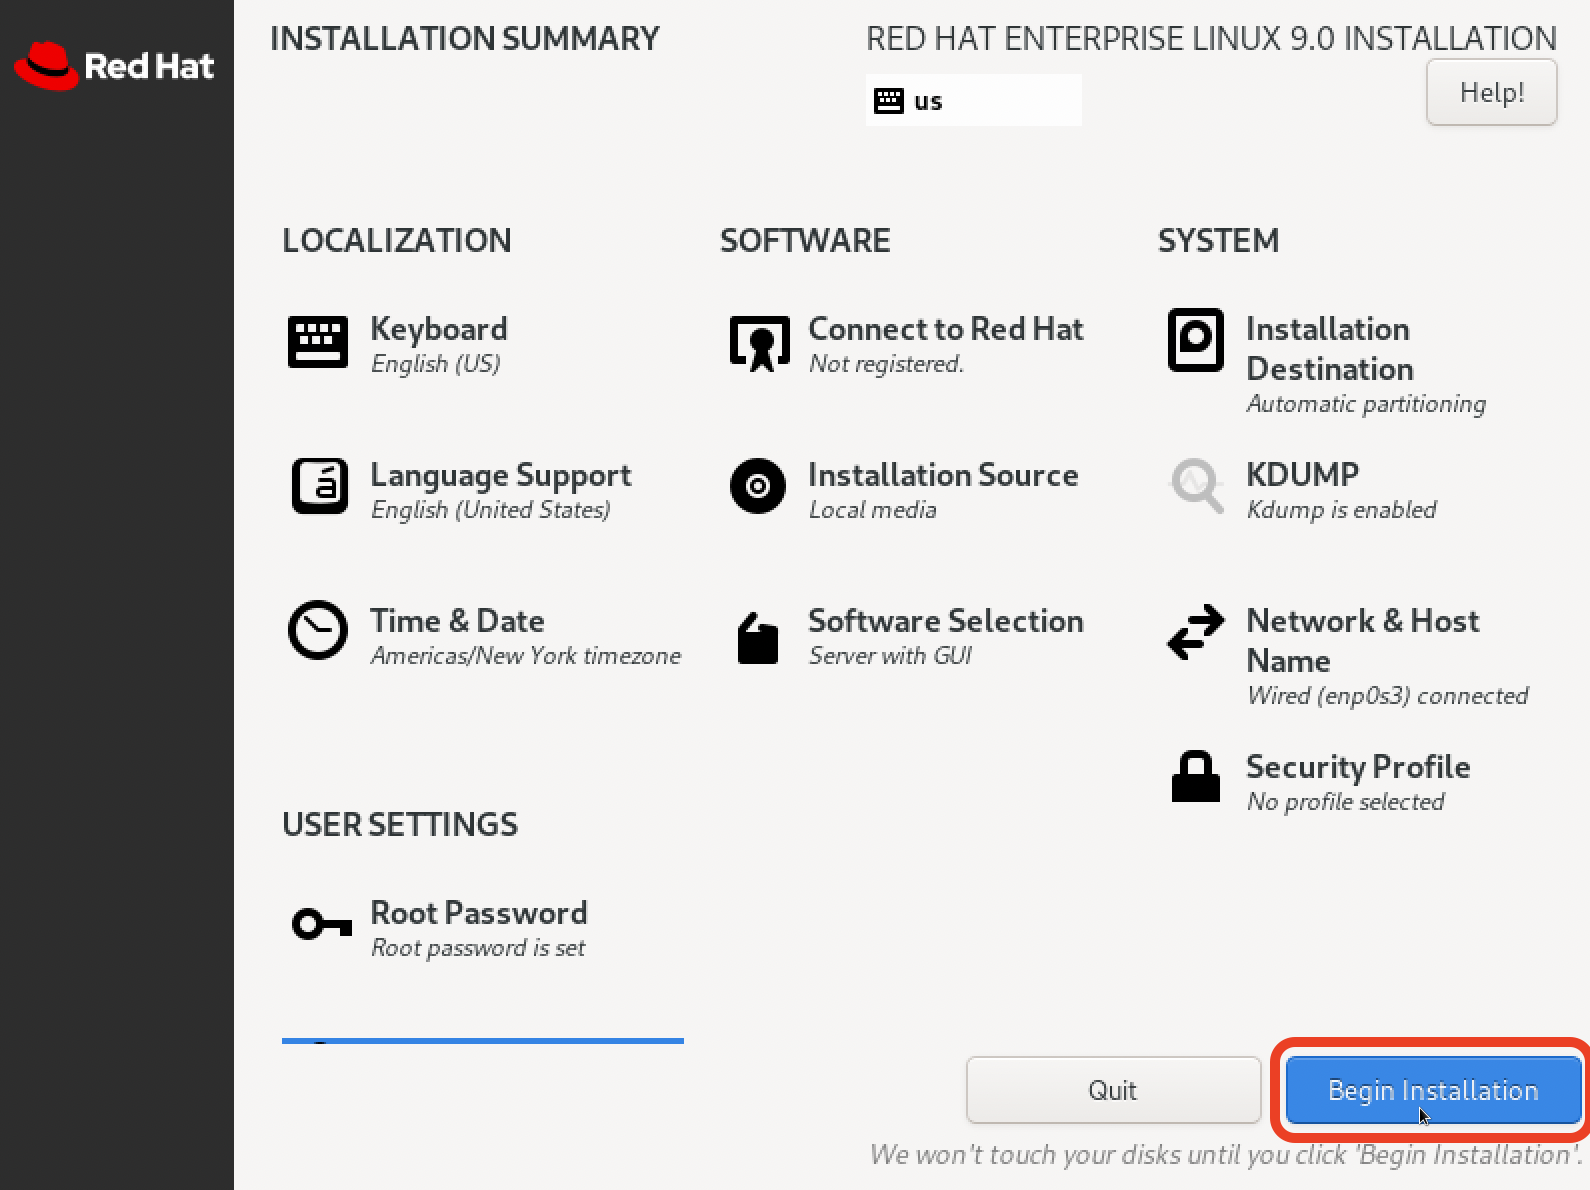
The configuration items include selecting your time & date, connecting to a Red Hat account, software selection, specifying installation destination, and root password/user creation.
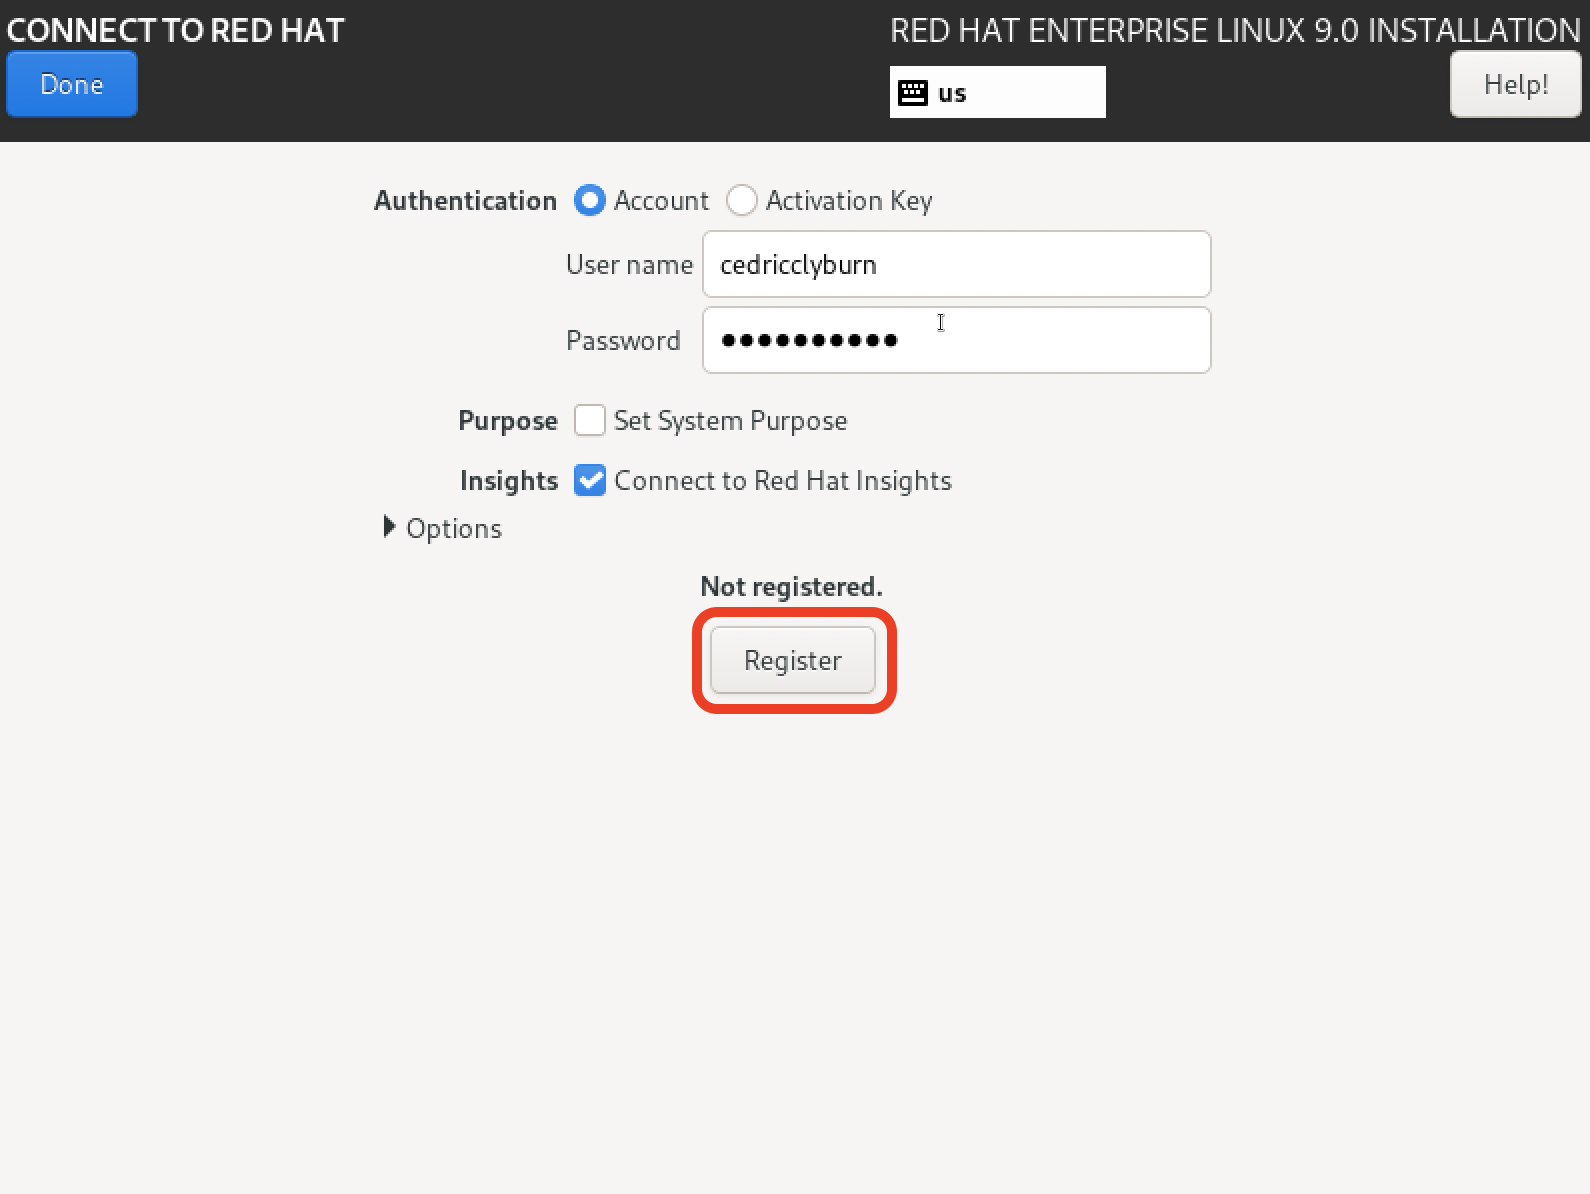
Firstly, be sure to connect your Red Hat account to RHEL. Feel free to use your existing credentials that you used to download the .iso image, or if needed, create a new account here.
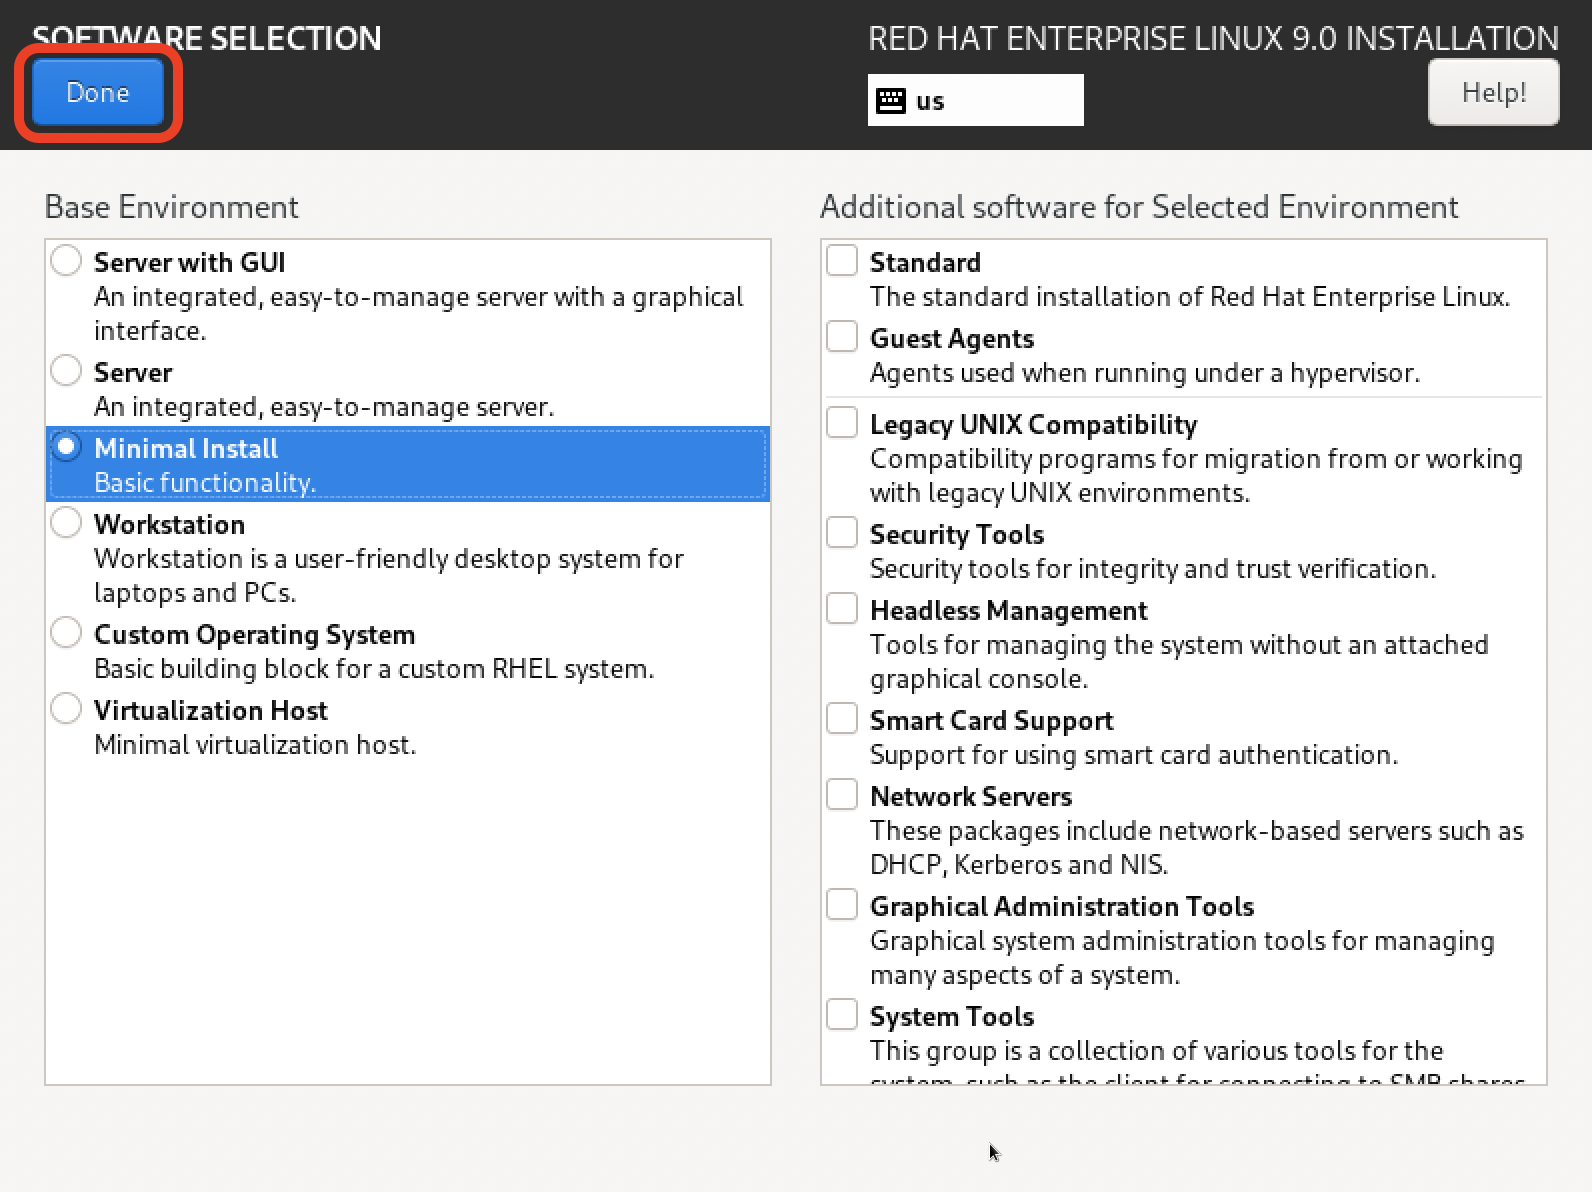
We won’t be needing the complete RHEL Server with GUI for this tutorial, so select Software Selection and choose Minimal install.
Next, specify the installation destination. Nothing is needed to be done here as we are using a virtual machine, so you can leave this section after confirming the 20 GB drive that we created earlier.

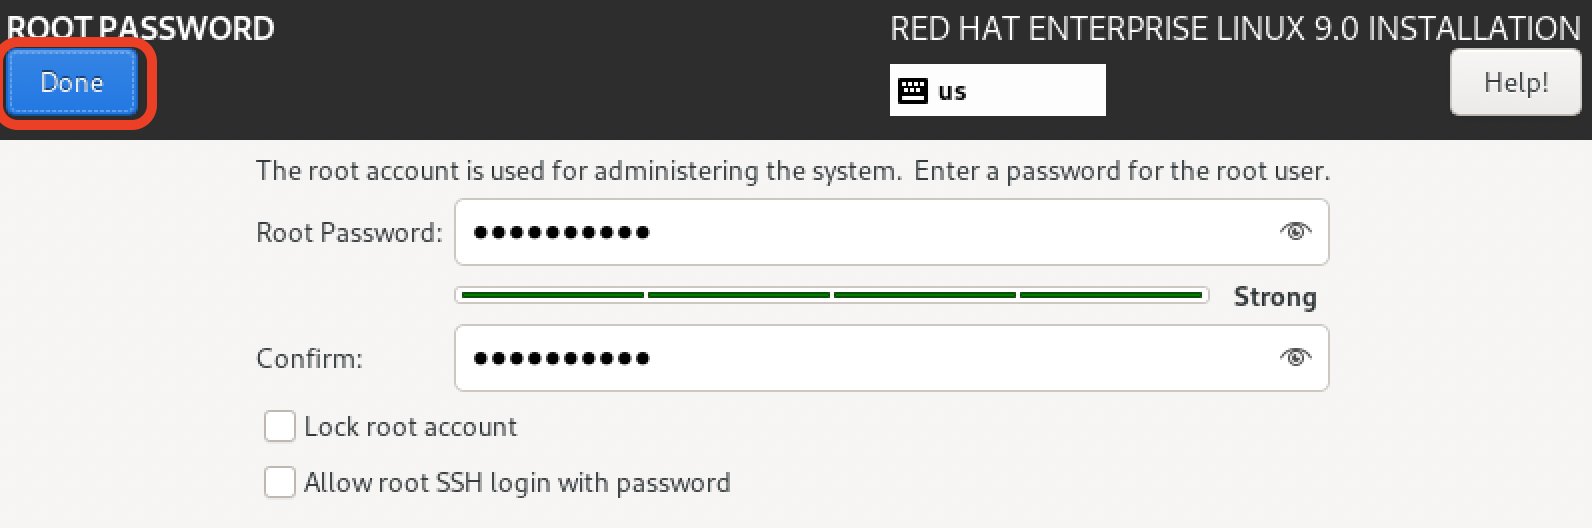
The last steps involve user settings. From the installation summary, click on Root password, and select a root password of your choice. Once finished here, click *Done.
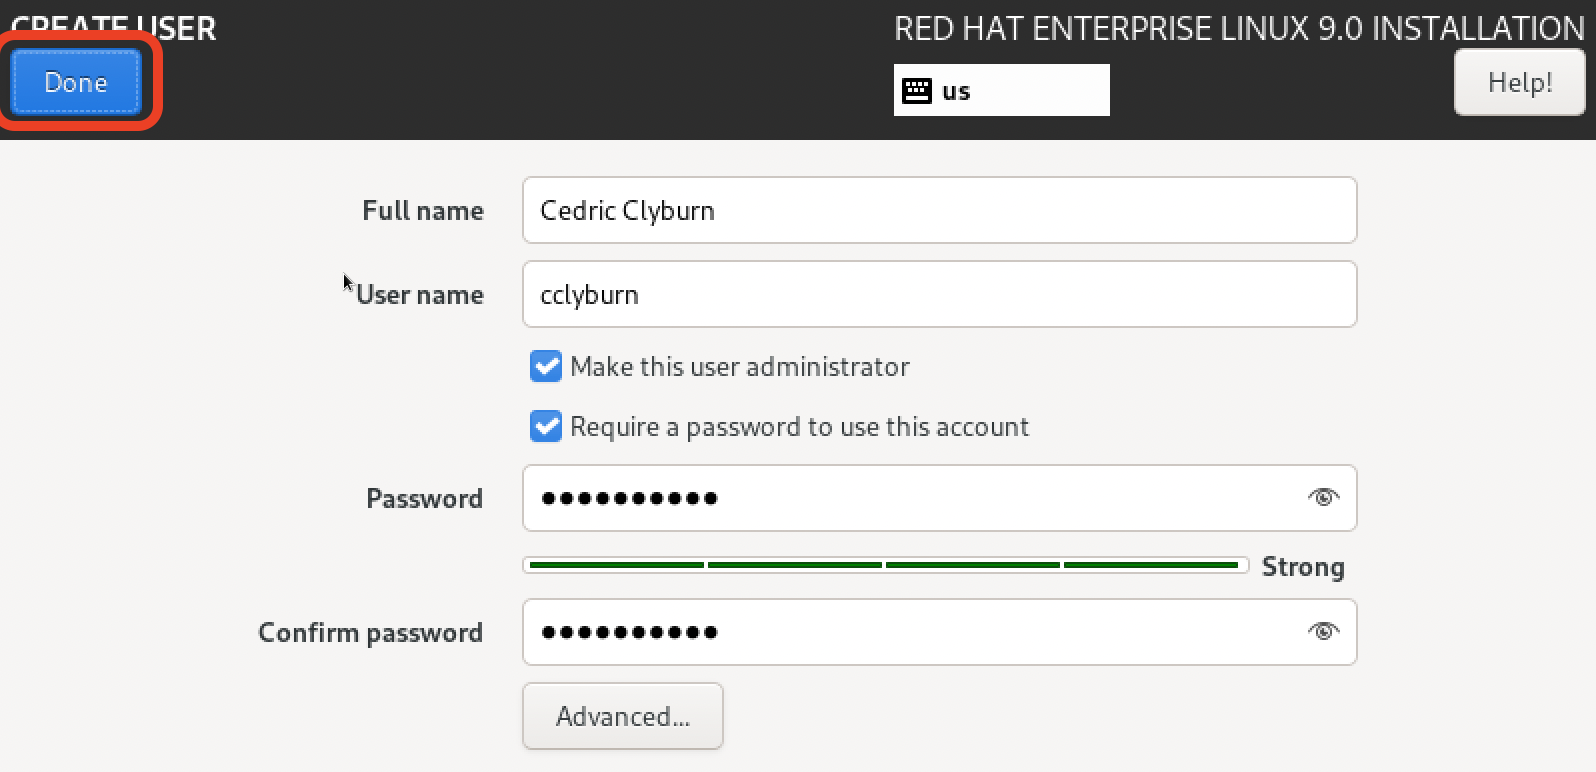
In addition, be sure to create a user other than root to work with. Again, create the credentials, and hit Done when finished.
Once you’ve finished all the configuration tasks, you’re ready to begin the installation of RHEL.
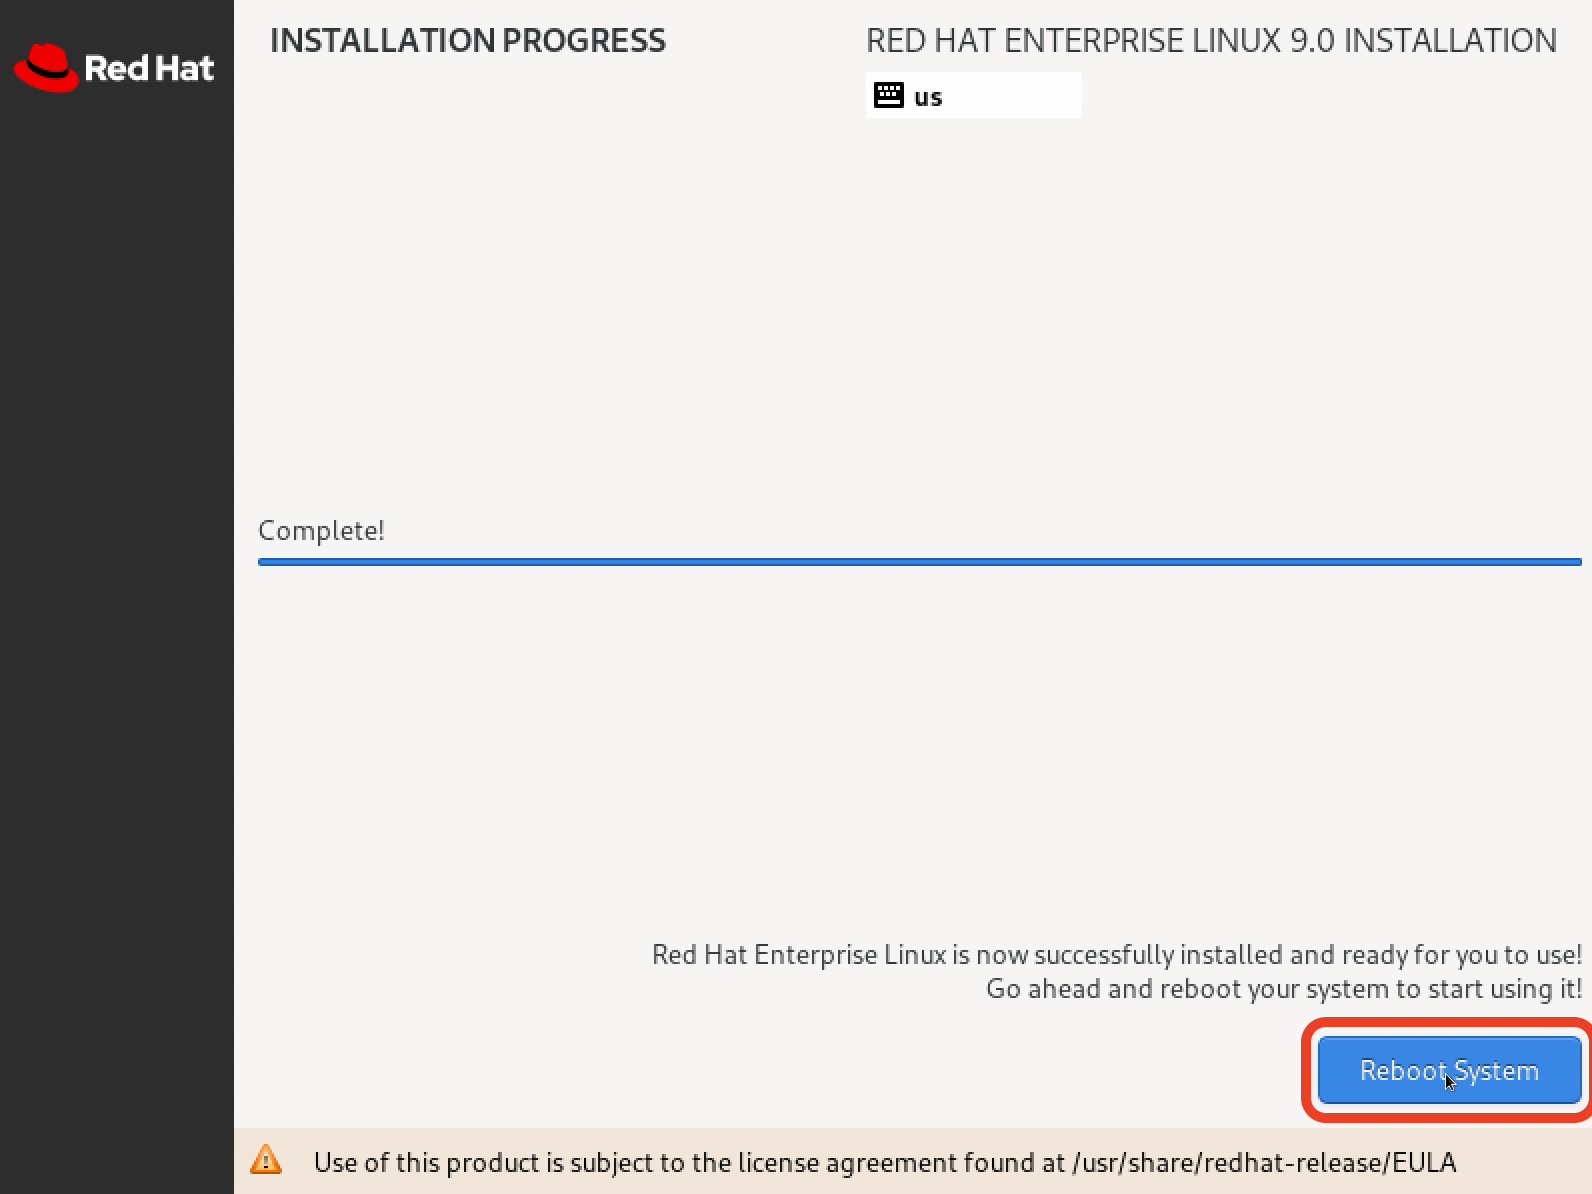
It may take a bit of time to prepare the installation and install packages, but once finished installing you’ll be prompted to reboot the system.
Once the Red Hat Enterprise Linux virtual machine has rebooted, you should now be in the RHEL CLI, ready to begin.
