Code editor: nano
Installing nano
To get started with the nano editor, we simply need to install nano using dnf.
dnf install -y nanoUpdating Subscription Management repositories.
Last metadata expiration check: 2:15:10 ago on Tue 04 Oct 2022 01:21:12 AM UTC.
Dependencies resolved.
========================================================================================================
Package Architecture Version Repository Size
========================================================================================================
Installing:
nano x86_64 2.9.8-1.el8 rhel-8-baseos-rhui-rpms 580 k
...
Complete!Installing quarkus
Next, let’s also install Quarkus, and any other dependencies so we can create a template "Getting Started" application. Based off of the Get Started instructions, we can use the following command to install the Quarkus CLI.
curl -Ls https://sh.jbang.dev | bash -s - trust add https://repo1.maven.org/maven2/io/quarkus/quarkus-cli/
curl -Ls https://sh.jbang.dev | bash -s - app install --fresh --force quarkus@quarkusio
Downloading JBang...
Installing JBang...
Downloading JDK 11. Be patient, this can take several minutes...
...
[jbang] Setting up JBang environment...
Please start a new Shell for changes to take effectGetting started with nano
First, let’s return to tmux to have a few windows to work with. Then, let’s create the example application so we have code to edit with nano.
tmux
quarkus create && cd code-with-quarkus
Creating an app (default project type, see --help).
Looking for the newly published extensions in registry.quarkus.io
...
[SUCCESS] ✅ quarkus project has been successfully generated in:
--> /home/ec2-user/code-with-quarkusNow, let’s run the application using quarkus dev, and open a new pane using tmux in order to check that the application is running.
quarkus dev
Ctrl-b %
curl -s localhost:8080/hello
Creating an app (default project type, see --help).
Looking for the newly published extensions in registry.quarkus.io
...
[SUCCESS] ✅ quarkus project has been successfully generated in:
--> /home/ec2-user/code-with-quarkusAnd a result from the curl command as follows.
Hello from RESTEasy ReactiveLet’s use nano to change our code on the fly, and modify the RESTful endpoint. Creating one more pane, let’s open up the GreetingResource.java file using nano and change "Hello from RESTEasy Reactive" to "hello".
Ctrl-b "
nano code-with-quarkus/src/main/java/org/acme/GreetingResource.java
Now, the Quarkus application will automatically refresh, and upon a new curl command, you’ll notice the result has updated.
curl -s localhost:8080/hellohello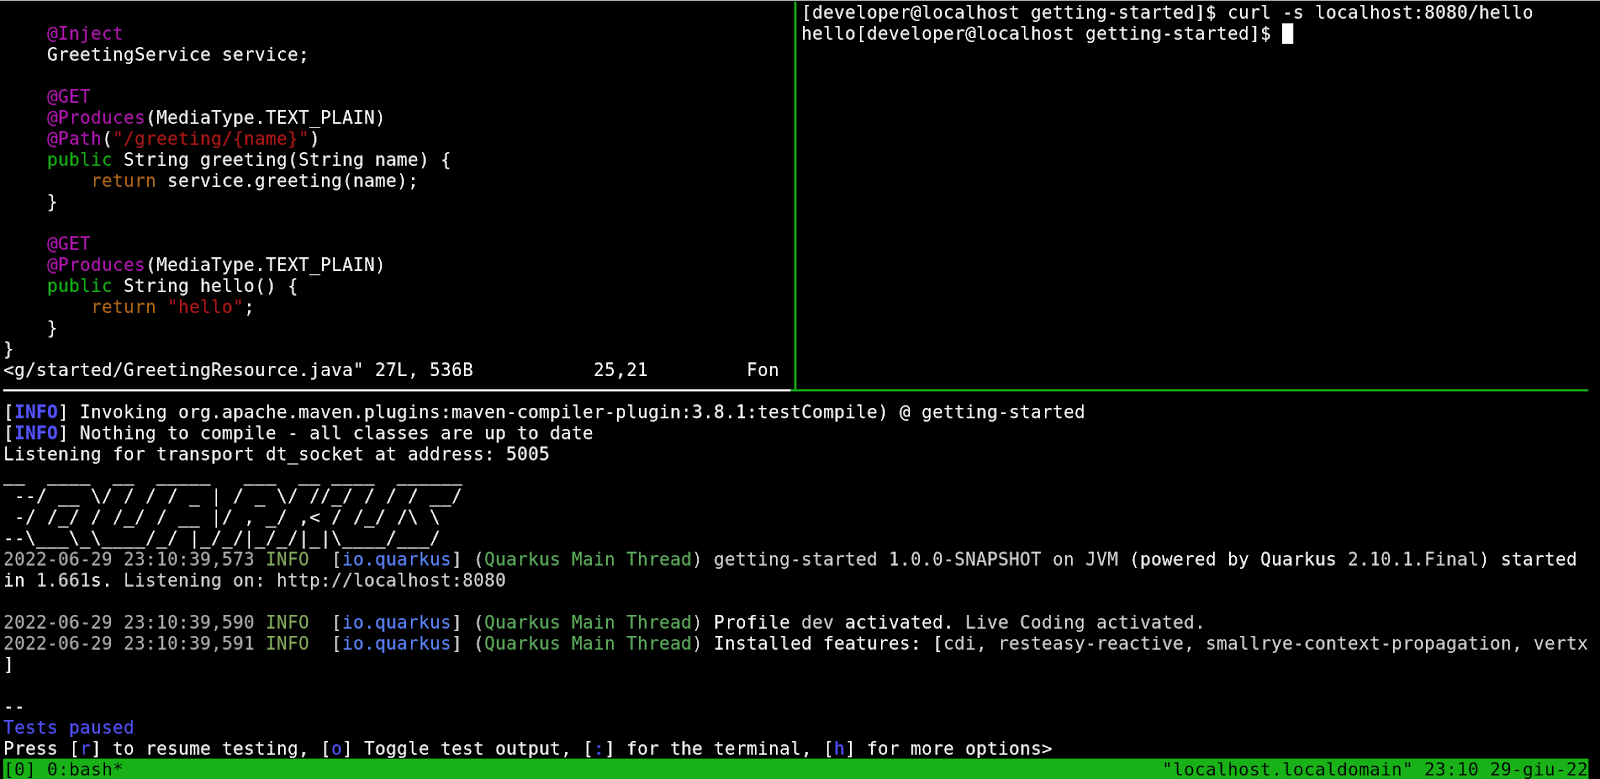
There are plenty of more shortcuts you can use with nano to really utilize the full power of the editor, and you can learn more using this official shortcuts guide.