Kustomize
Kustomize traverses a Kubernetes manifest to add, remove or update configuration options without forking. It is available both as a standalone binary and as a native feature of kubectl (and by extension oc).
The principals of kustomize are:
-
Purely declarative approach to configuration customization
-
Manage an arbitrary number of distinctly customized Kubernetes configurations
-
Every artifact that kustomize uses is plain YAML and can be validated and processed as such
-
As a "templateless" templating system; it encourages using YAML without forking the repo.
Exploring the Kustomize CLI
The kustomize CLI should have been installed as part of the lab
setup. Verify that it has been installed.
kustomize version --shortThis should display the version, it should look something like this.
{kustomize/v4.0.5 2021-02-13T21:21:14Z }Kustomize, at it’s core, is meant to build native Kubernetes manifests
based on YAML, while leaving the original YAML intact. It achieves this
in a "template-less" templating format. This is done by providing a kustomization.yaml file.
We will be focusing on two sub-commands the build command and the
edit command.
The build command takes the YAML source (via a path or URL) and creates
a new YAML that can be piped into kubectl create. We will work with
an example in the documentation/modules/ROOT/examples/kustomize-build directory.
cd documentation/modules/ROOT/examples/kustomize-buildHere you should see two files, a kustomization.yaml file and a welcome.yaml file, let’s have a look at them.
apiVersion: apps/v1
kind: Deployment
metadata:
  creationTimestamp: null
  labels:
    app: welcome-php
  name: welcome-php
spec:
  replicas: 1
  selector:
    matchLabels:
      app: welcome-php
  strategy: {}
  template:
    metadata:
      creationTimestamp: null
      labels:
        app: welcome-php
    spec:
      containers:
      - image: quay.io/redhatworkshops/welcome-php:latest
        name: welcome-php
        resources: {}
This file shows nothing special. Just a standard Kubernetes manifest.
What if, for example, we wanted to add a label to this manifest without editing it? This is where the kustomization.yaml file comes in.
apiVersion: kustomize.config.k8s.io/v1beta1
kind: Kustomization
resources:
- ./welcome.yaml
patchesJson6902:
- patch: |-
    - op: add
      path: /metadata/labels/testkey
      value: testvalue
  target:
    group: apps
    kind: Deployment
    name: welcome-php
    version: v1
images:
- name: quay.io/redhatworkshops/welcome-php
  newTag: ffcd15
As you can see in the output there isn’t much. The two sections for this
example are the resources and the patchesJson6902 sections.
resources is an array of individual files, directories, and/or URLs where other manifests are stored. In this example we are just loading in one file. The (patchesJson6902 is a patching RFC that kustomize supports. As you can see, in the patchesJson6902 file, I am adding a label to this manifest.
NOTE You can read about what options are available for patching in the official documentation site
Build this manifest by running:
kustomize buildYou can see that the new label got added to the manifest!
apiVersion: apps/v1
kind: Deployment
metadata:
  creationTimestamp: null
  labels:
    app: welcome-php
    testkey: testvalue
  name: welcome-php
spec:
  replicas: 1
  selector:
    matchLabels:
      app: welcome-php
  strategy: {}
  template:
    metadata:
      creationTimestamp: null
      labels:
        app: welcome-php
    spec:
      containers:
      - image: quay.io/redhatworkshops/welcome-php:ffcd15
        name: welcome-php
        resources: {}
You can use the kustomize edit command instead of writing YAML. For
example, you can change the image tag this Deployment uses from latest
to ffcd15 by running the following:
kustomize edit set image quay.io/redhatworkshops/welcome-php:ffcd15This will update the kustomization.yaml file with a images section.
cat kustomization.yamlapiVersion: kustomize.config.k8s.io/v1beta1
kind: Kustomization
resources:
- ./welcome.yaml
patchesJson6902:
- patch: |-
- op: add
path: /metadata/labels/testkey
value: testvalue
target:
group: apps
kind: Deployment
name: welcome-php
version: v1
images:
- name: quay.io/redhatworkshops/welcome-php
newTag: ffcd15Now when you run:
kustomize build .You should see not only the new label but also the new ffcd15 image tag.
NOTE You may have to close the
kustomization.yamltab and re-open it to see the changes.
You can see how you can take already existing YAML and modify it for your specific environment without the need to copy or edit the original.
Kustomize can be used to write a new YAML file or be pipped into
the kubectl (or oc) command. Example:
kustomize build . | kubectl apply -f -Exploring Kustomize with Kubectl
Since Kubernetes 1.14, The kubectl command (and by extension the
oc cli) has support for Kustomize built in.
You can see this by running:
kubectl kustomize --helpThis runs the kustomize build command. You can see this by running:
kubectl kustomizeAlthough you can use this to pipe it into the apply command, you
don’t have to. The kubectl apply command has the -k option that
will run the build before it applies the manifest.
To test this out, first create a namespace:
kubectl create namespace kustomize-testNext make sure you’re on the namespace:
kubectl config set-context --current --namespace=kustomize-testTo test this out, first create a project:
oc new-project kustomize-testNext make sure you’re on the project:
oc project kustomize-testFinally run the command to build and apply the manifests:
kubectl apply -k ./NOTE You can pass not only directories, but URLs as well. The only requirement is that you have a
kustomization.yamlfile in the path.
This should create the deployment and you should see the pods running in the namespace:
kubectl get pods -n kustomize-testYou can see the deployment was created with the additional labels:
kubectl get deployment welcome-php -o jsonpath='{.metadata.labels}' | jq -rAlso, the image was updated based on the customization that was made:
kubectl get deploy welcome-php -o jsonpath='{.spec.template.spec.containers[].image}{"\n"}'As you can see kustomize can be a powerful tool.
Deploying Kustomized Application
In previous chapter, you learned that in a GitOps workflow; the entire application stack (including infrastructure) is reflected in a git repo. The challenge is how to do this without duplicating YAML.
So now that you’ve explored kustomize, let’s see how it fits into Argo
CD and how it can be used in a GitOps workflow.
Before preceeding, move back into the home directory:
cd -The Argo CD Web Console
Access Argo CD Web Console.
Once you have accepted the self signed certificate, you should be presented with the Argo CD login screen.
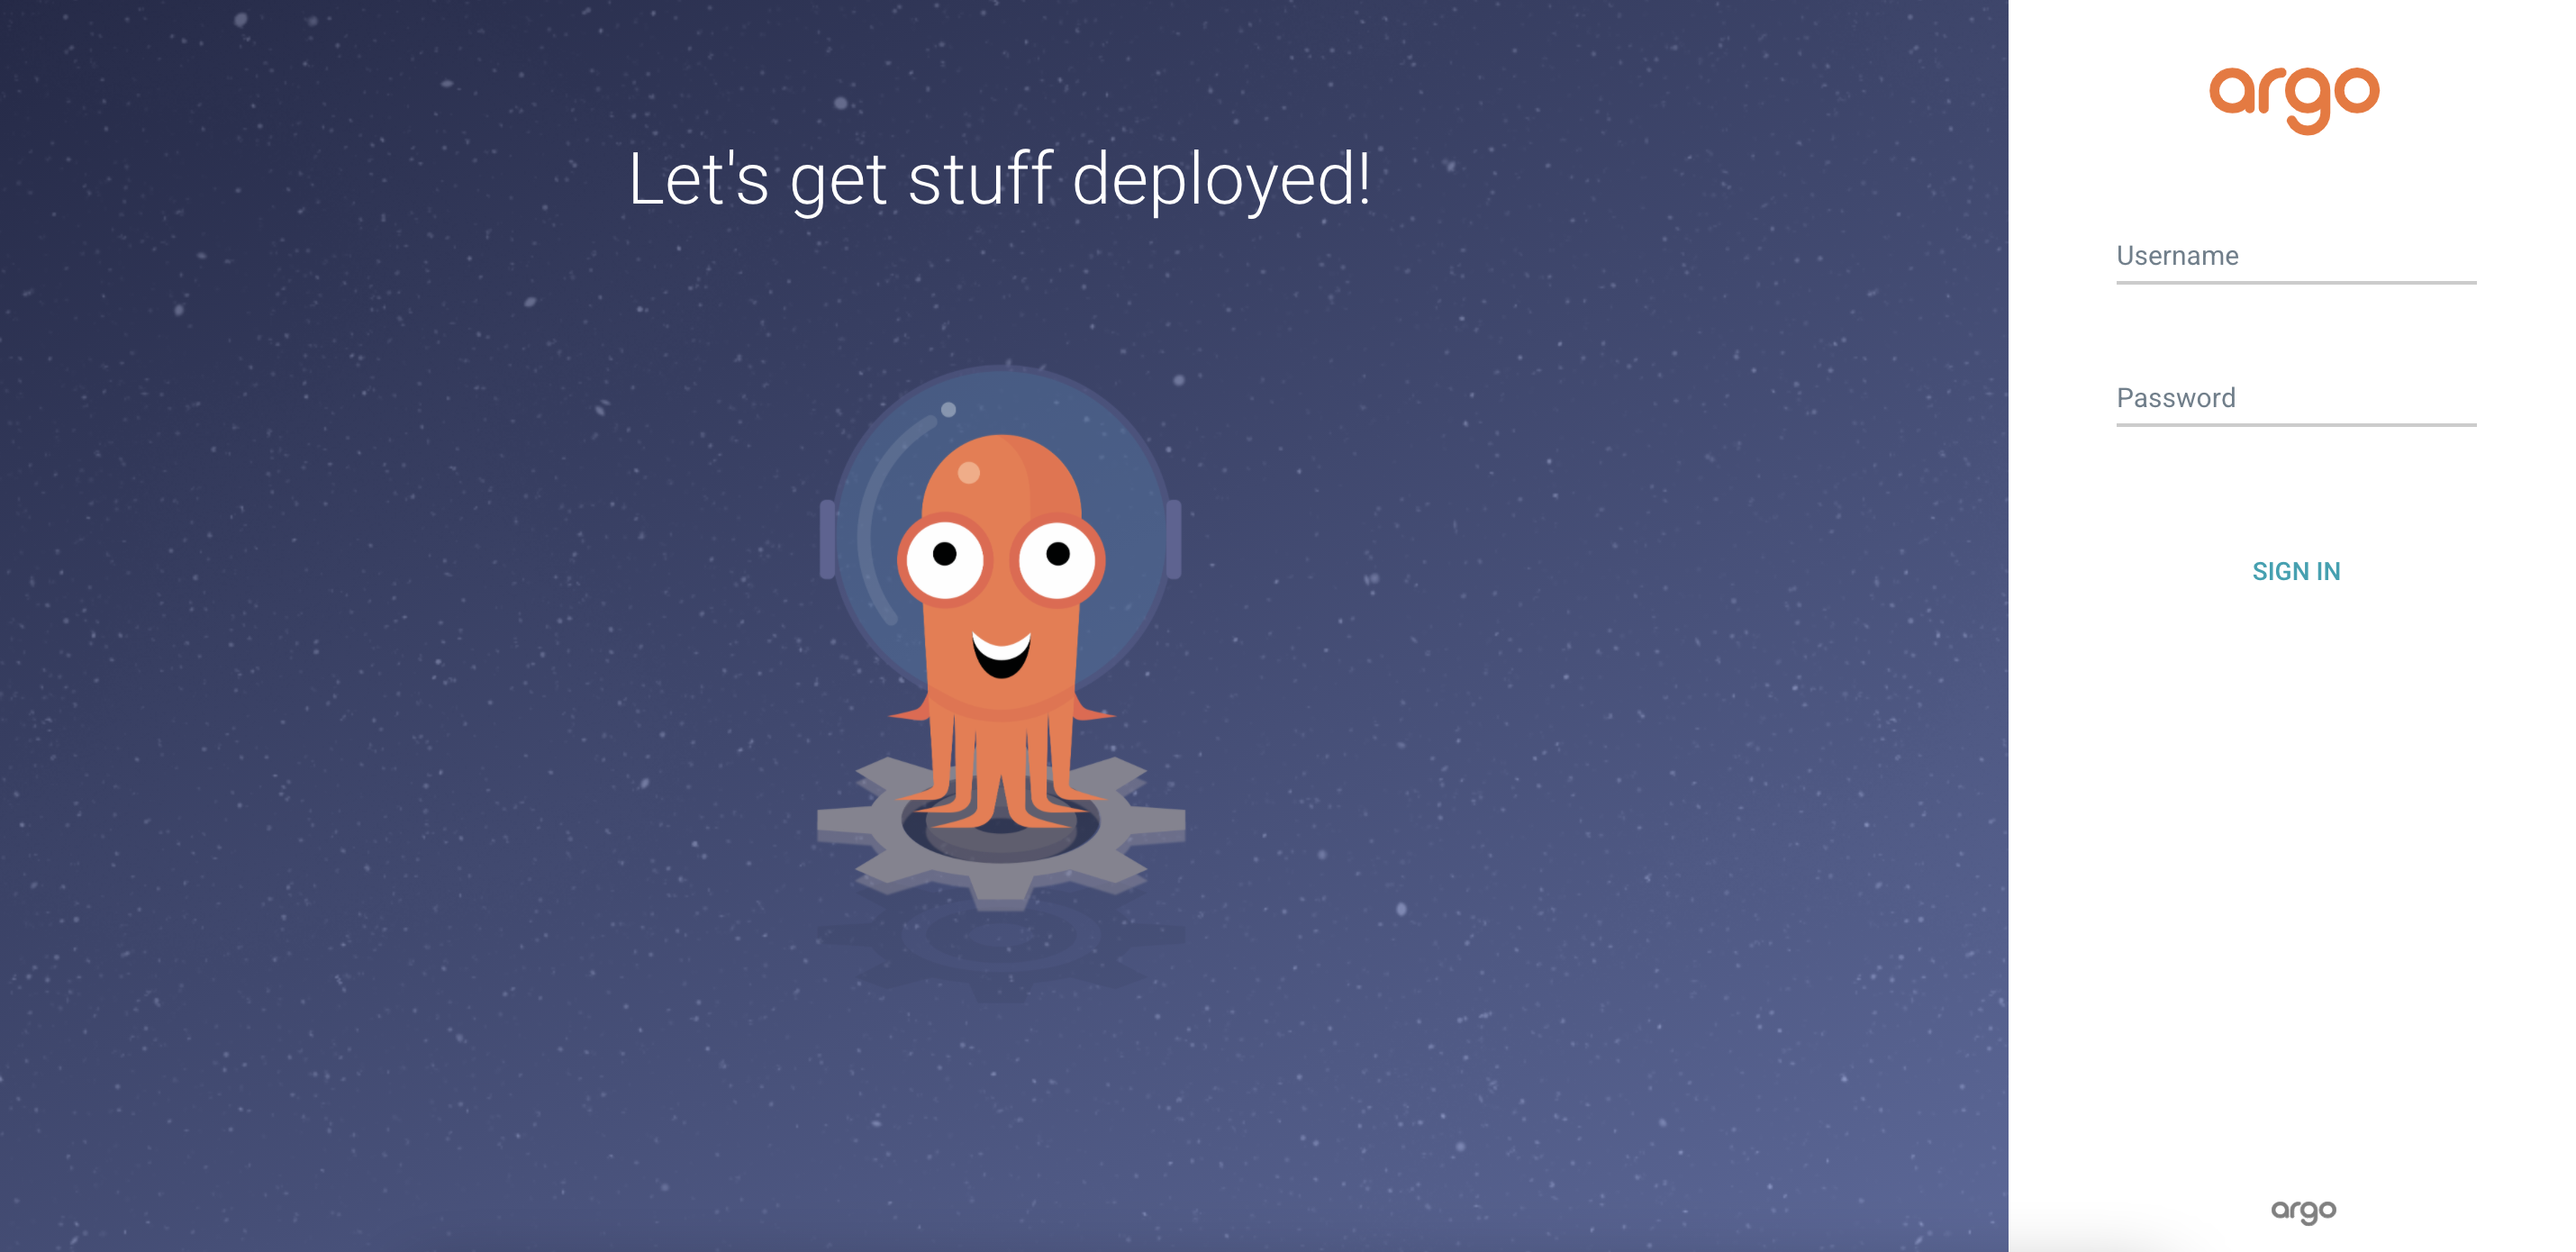
You can login with the following
Username:
adminPassword:
Kustomized Application
Argo CD has native support for Kustomize. You can use this to avoid duplicating YAML for each deployment. This is especially good to use if you have different environments or clusters you’re deploying to.
Take a look at the Application definition:
apiVersion: argoproj.io/v1alpha1
kind: Application
metadata:
  name: bgdk-app
  namespace: argocd
spec:
  destination:
    namespace: bgdk
    server: https://kubernetes.default.svc
  project: default
  source:
    path: apps/bgd/overlays/bgdk
    repoURL: https://github.com/redhat-developer-demos/openshift-gitops-examples
    targetRevision: minikube
  syncPolicy:
    automated:
      prune: true
      selfHeal: false
    syncOptions:
    - CreateNamespace=true
This application is pointed to the same repo but different directory.
This is using a concept of an "overlay", where you have a "base" set of manifests and you overlay your customizations.
Take a look at the kustomization.yaml file:
apiVersion: kustomize.config.k8s.io/v1beta1
kind: Kustomization
namespace: bgdk
resources:
- ../../base
- bgdk-ns.yaml
patchesJson6902:
- target:
version: v1
group: apps
kind: Deployment
name: bgd
namespace: bgdk
patch: |-
- op: replace
path: /spec/template/spec/containers/0/env/0/value
value: yellow
- target:
version: v1
group: networking.k8s.io
kind: Ingress
name: bgd
namespace: bgdk
patch: |-
- op: replace
path: /spec/rules/0/host
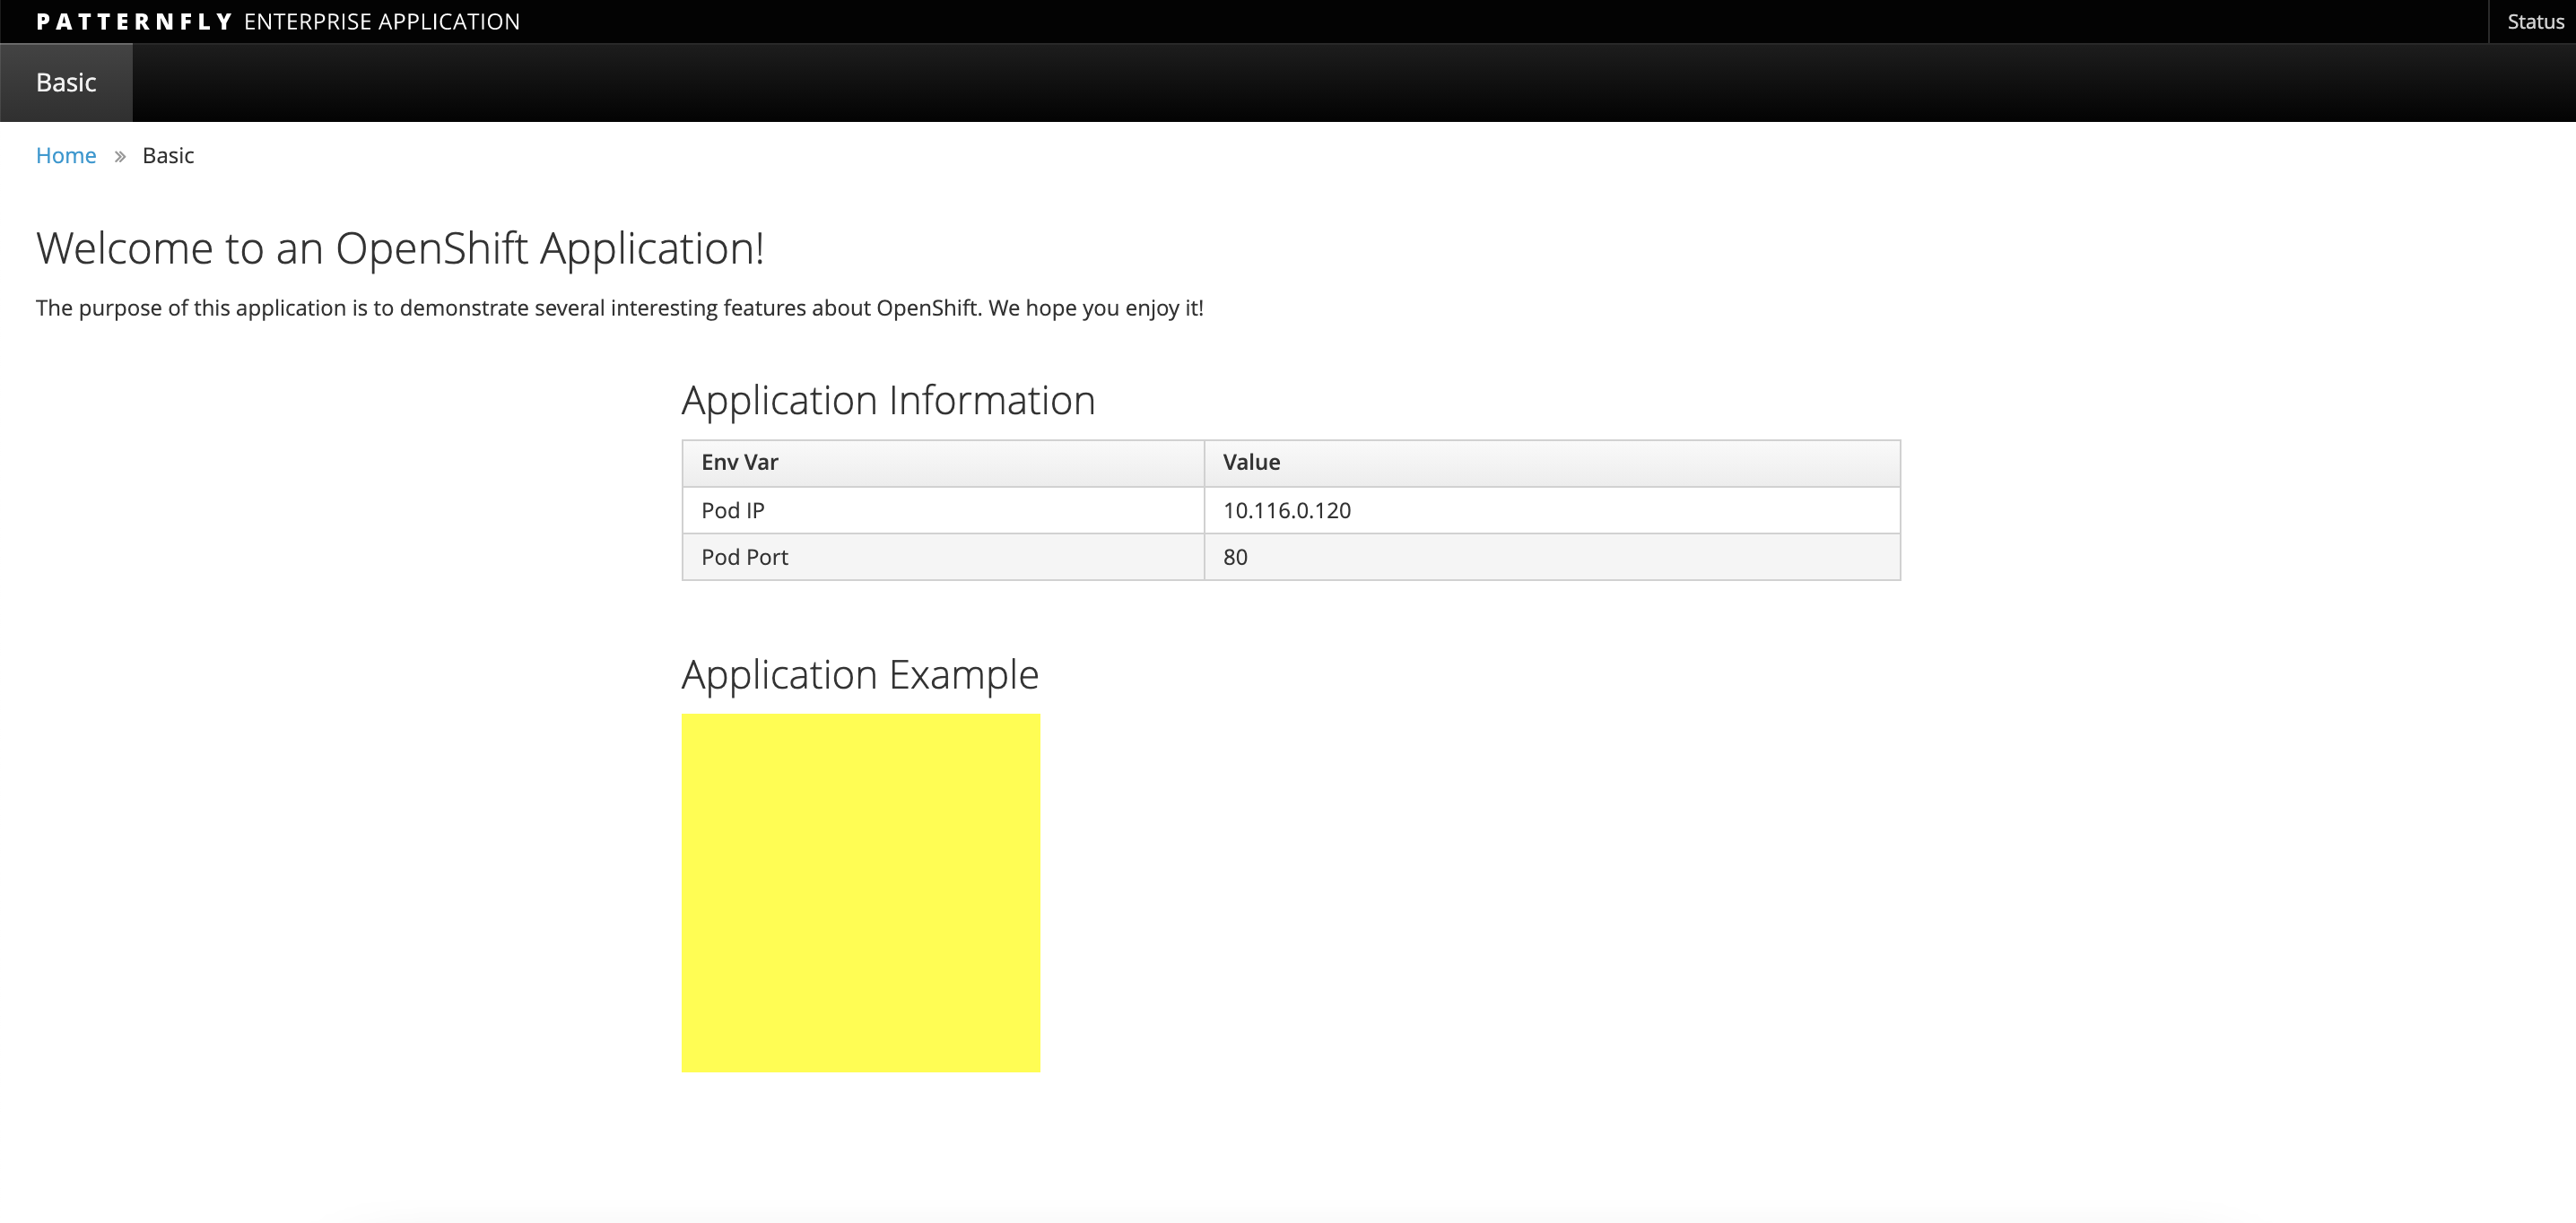
value: bgdk.devnationThis kustomization.yaml take the base application and patches the
manifest so that we get a yellow square instead of a blue one. It
also deploys the application to the bgdk namespace (denoted by
the namespace: section of the file) and update the Ingress hostname for this new namespace to be bgdk.devnation.
Add Minikube IP (minikube ip) and the Ingress hostname bgdk.devnation to your Host file, like /etc/hosts.
Example:
192.168.39.242 bgd.devnation bgdk.devnationDeploy this application:
kubectl apply -f documentation/modules/ROOT/examples/minikube/bgdk-app/bgdk-app.yamlapiVersion: argoproj.io/v1alpha1
kind: Application
metadata:
name: bgdk-app
namespace: openshift-gitops
spec:
destination:
namespace: bgdk
server: https://kubernetes.default.svc
project: default
source:
path: apps/bgd/overlays/bgdk
repoURL: https://github.com/redhat-developer-demos/openshift-gitops-examples
targetRevision: main
syncPolicy:
automated:
prune: true
selfHeal: false
syncOptions:
- CreateNamespace=trueThis application is pointed to the same repo but different directory.
This is using a concept of an "overlay", where you have a "base" set of manifests and you overlay your customizations.
Take a look at the kustomization.yaml file:
apiVersion: kustomize.config.k8s.io/v1beta1
kind: Kustomization
namespace: bgdk
resources:
- ../../base
- bgdk-ns.yaml
patchesJson6902:
  - target:
      version: v1
      group: apps
      kind: Deployment
      name: bgd
      namespace: bgdk
    patch: |-
      - op: replace
        path: /spec/template/spec/containers/0/env/0/value
        value: yellow
This kustomization.yaml take the base application and patches the
manifest so that we get a yellow square instead of a blue one. It
also deploys the application to the bgdk namespace (denoted by
the namespace: section of the file).
Deploy this application:
kubectl apply -f documentation/modules/ROOT/examples/bgdk-app/bgdk-app.yamlThis should show you two apps on the Argo CD UI.
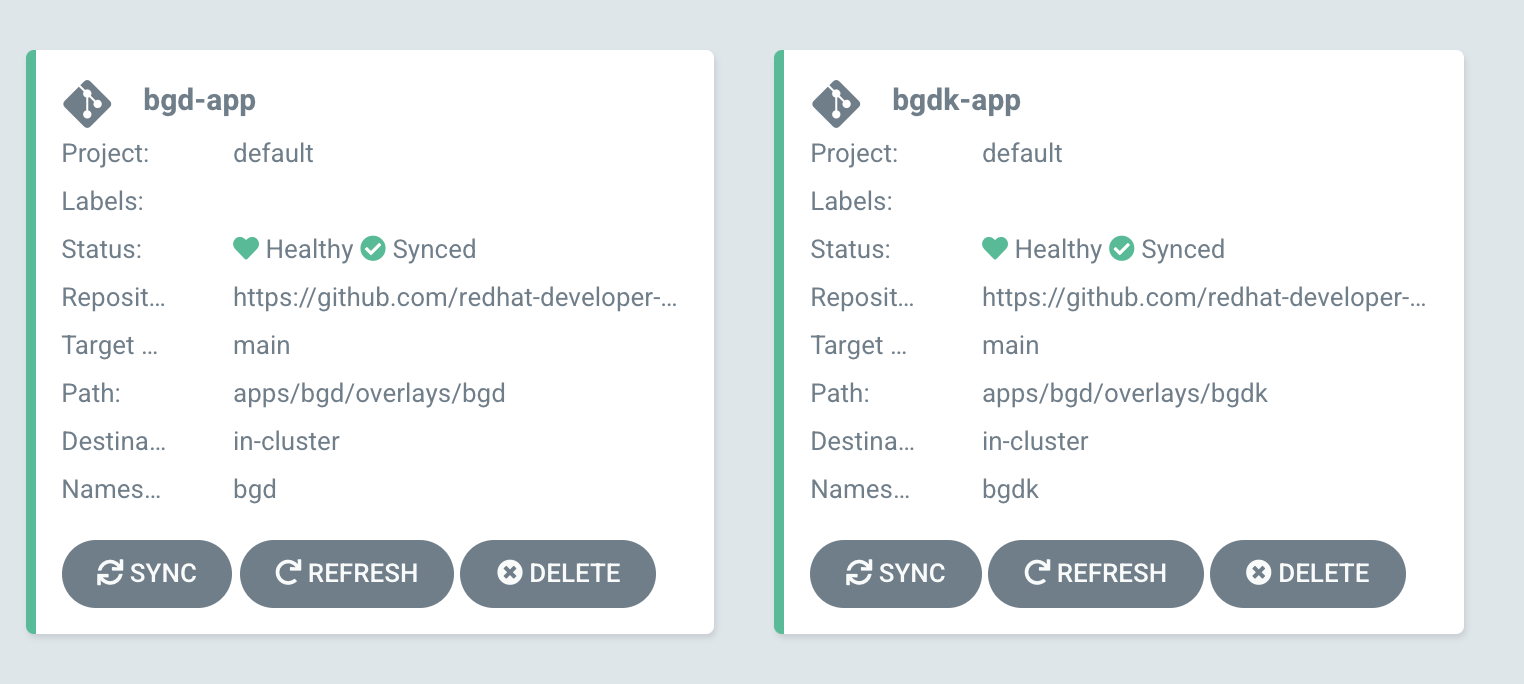
Open the application’s Ingress or Route.
As you can see, the application deployed with your customizations! To review what we just did.
-
Deployed an Application called
bgdwith a blue square. -
Deployed another Application based on
bgdcalledbgdk -
The Application
bgdkwas deployed in it’s own namespace, with deployment customizations. -
ALL without having to duplicate YAML!