Continuous Integration with Openshift Pipelines
30 MINUTE EXERCISE
In this lab you will learn about deployment pipelines and you will create a pipeline to automate the build of the Inventory service.
Create a Git Repository for Inventory Code
The first step is to create a Git repository to store your source code. You can use any Git server (e.g. GitHub, BitBucket, etc). For this lab we will use a Gitea git server.
Click on the 'Developer Repository' button below
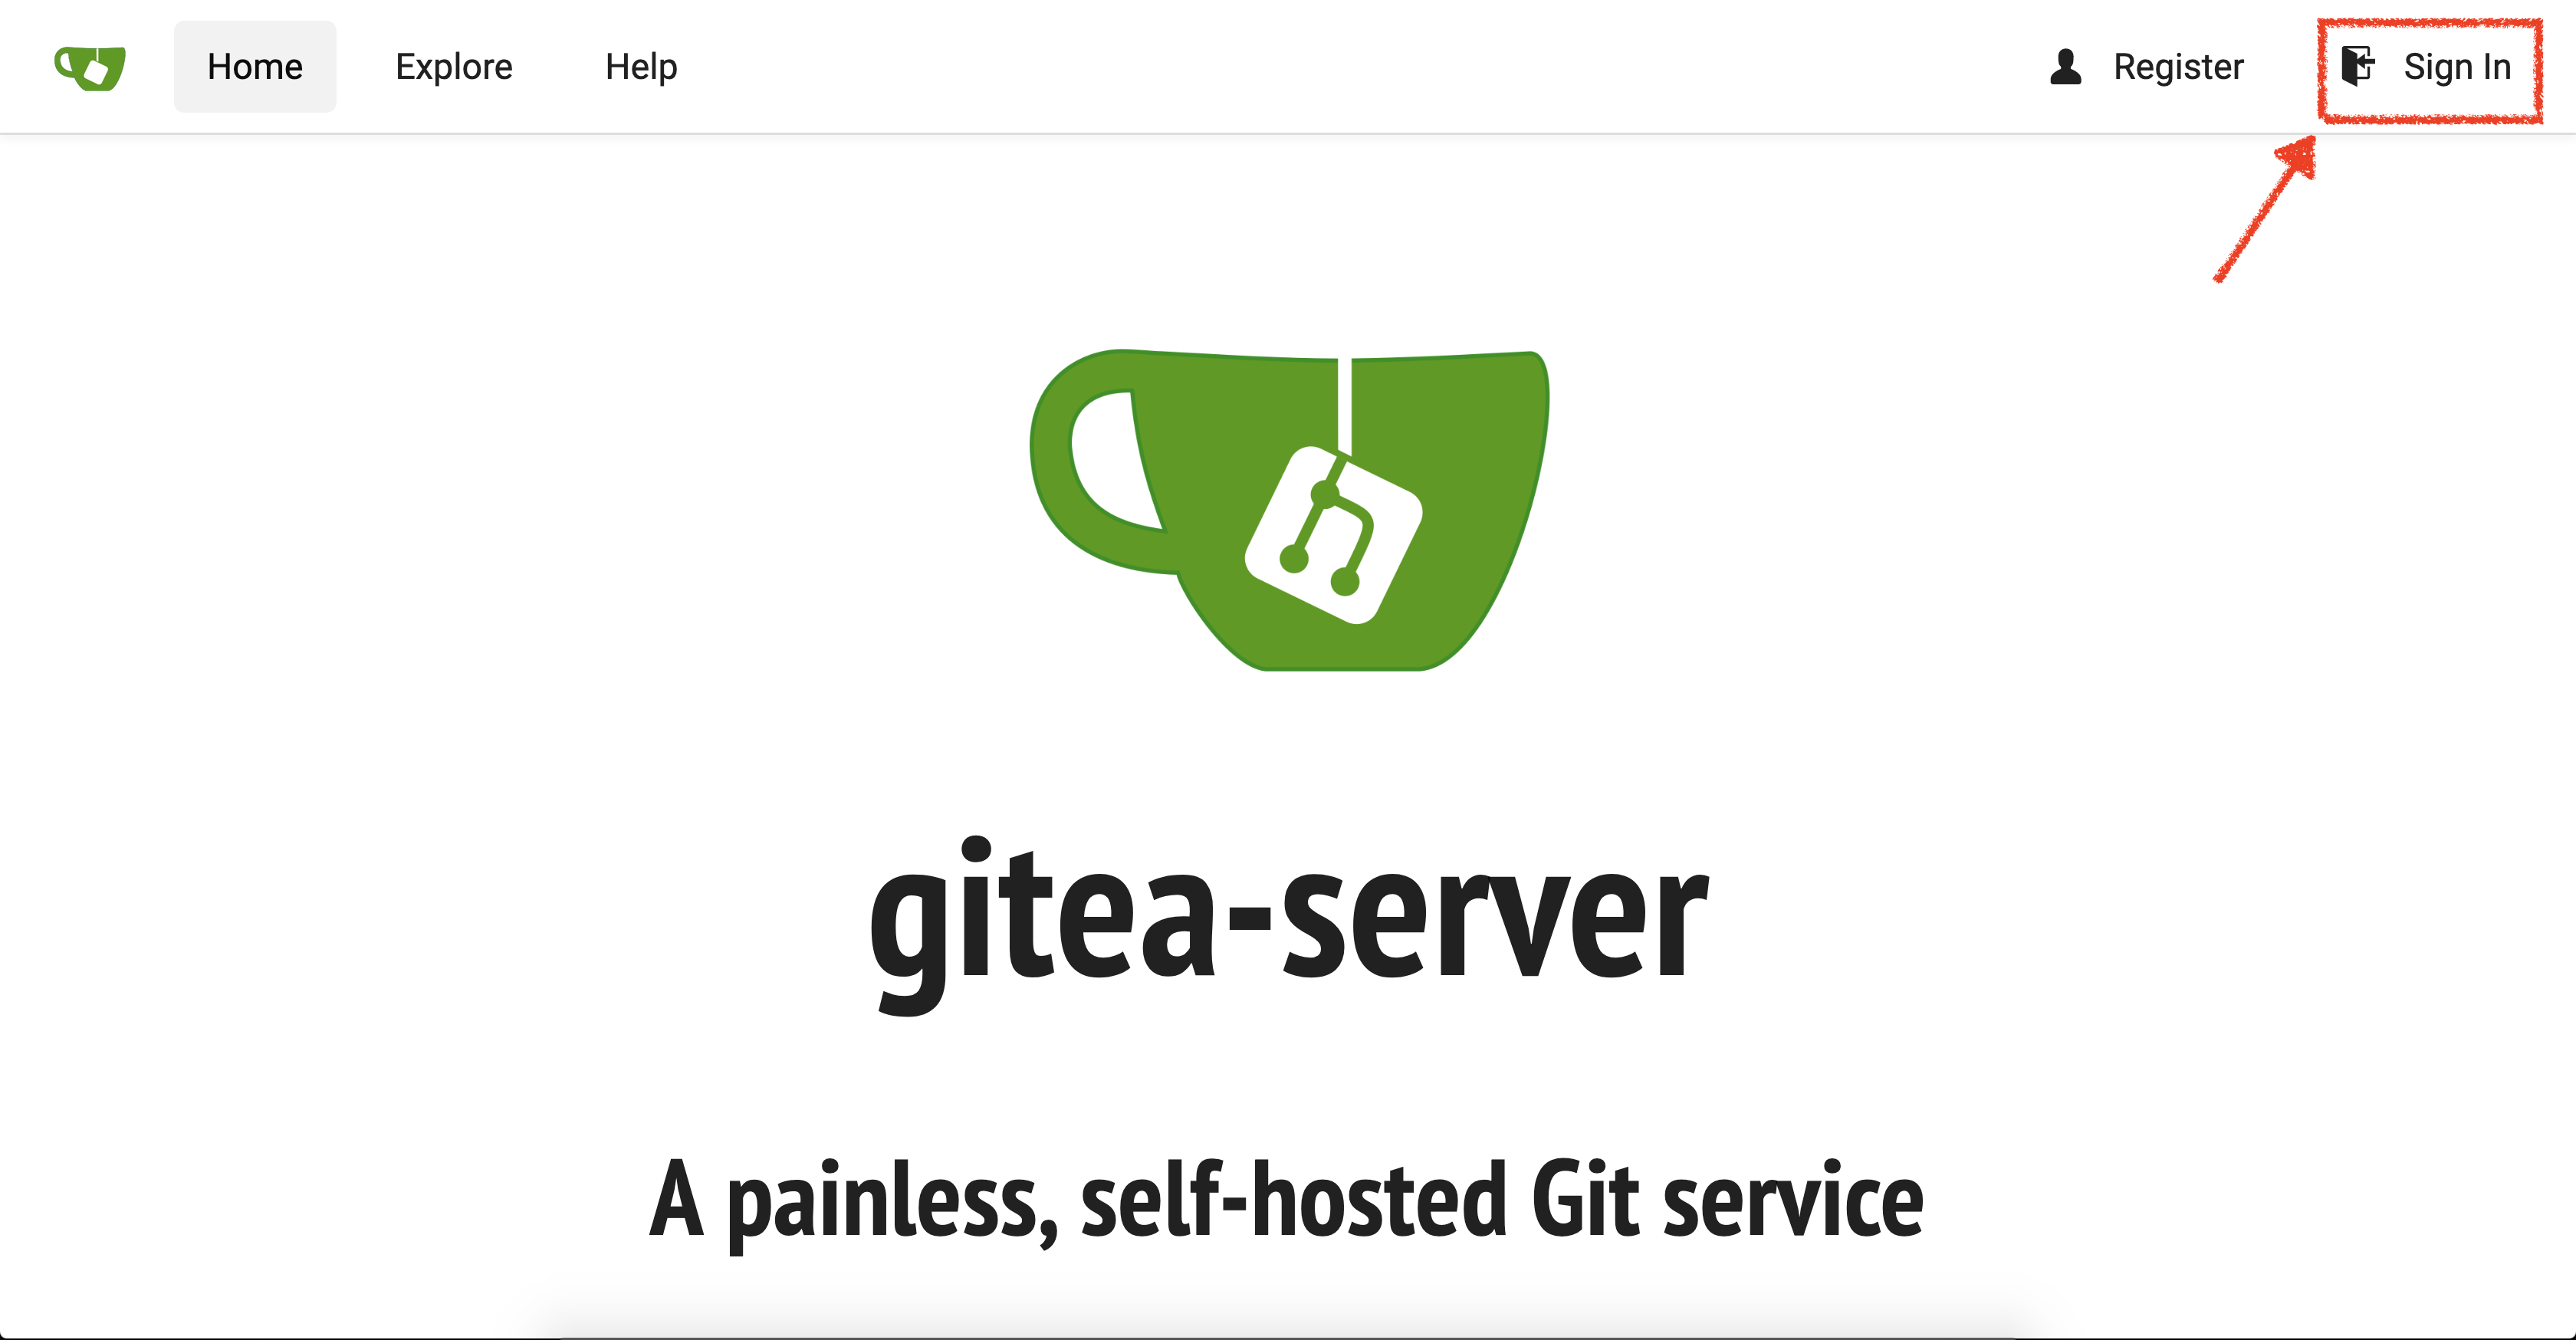
Then, click on 'Sign In' and login via OpenShift as user%USER_ID%/%OPENSHIFT_PASSWORD%
Create a new repository called 'inventory-quarkus'.
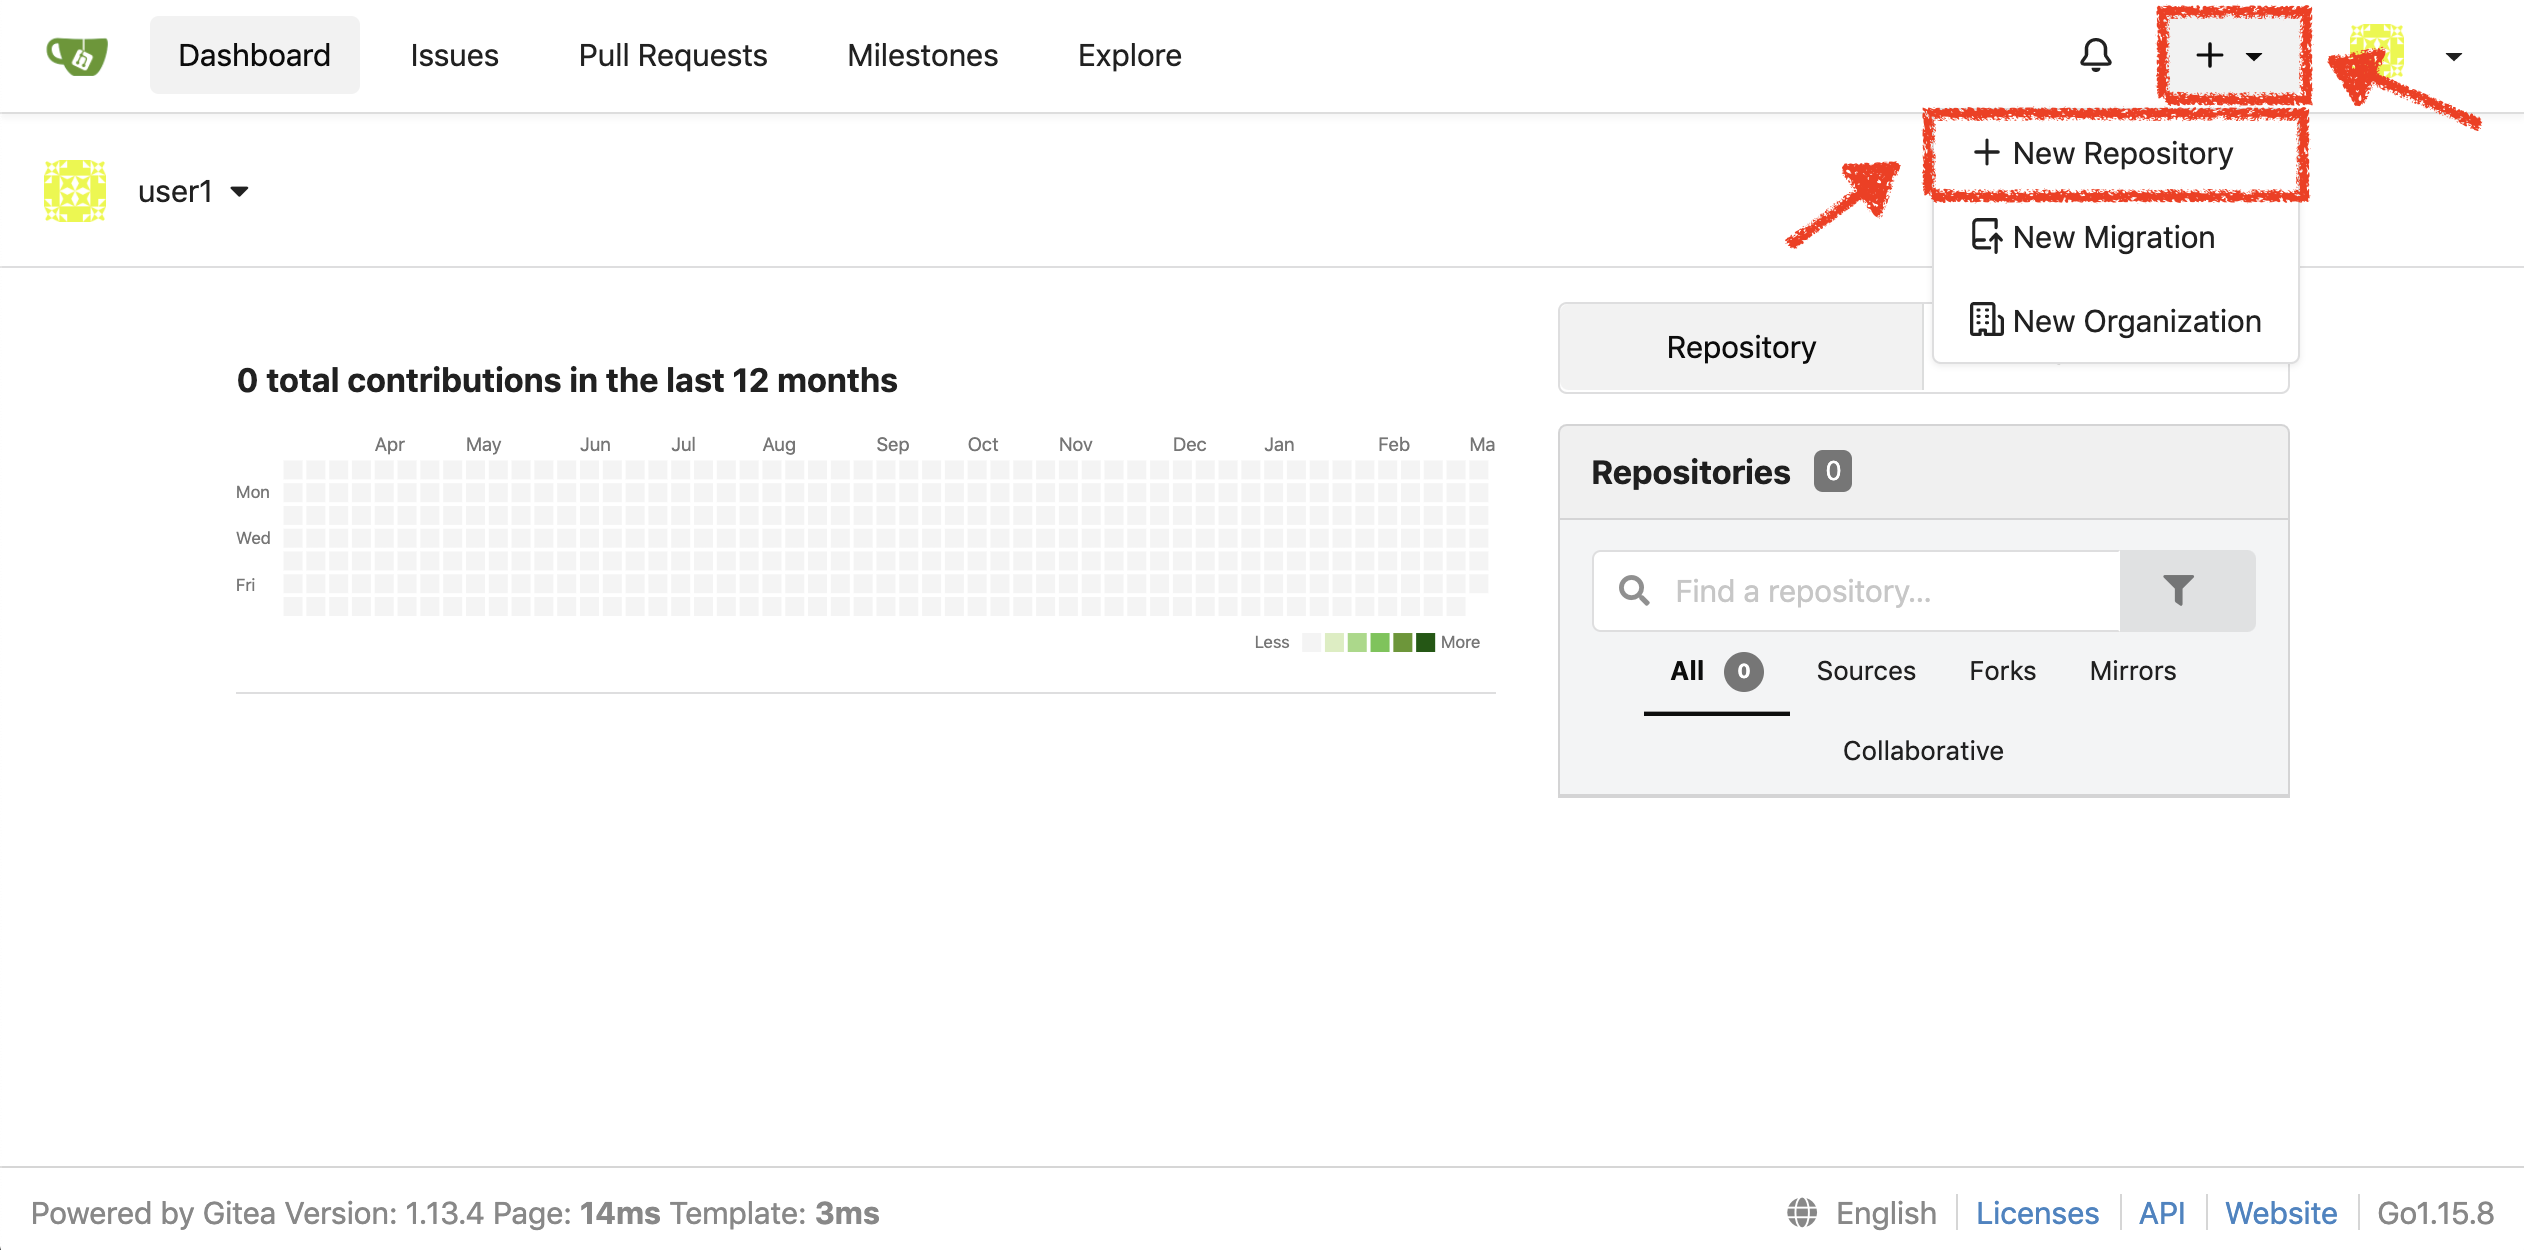
Click on the '+' icon → '+ New Repository' as below and enter the following values:
| Parameter | Value |
|---|---|
Repository Name* |
inventory-quarkus |
Click on 'Create Repository' button.
The Git repository is created now.
Push Inventory Code to the Git Repository
Now that you have a Git repository for the Inventory service, you should push your local source code into this Git repository.
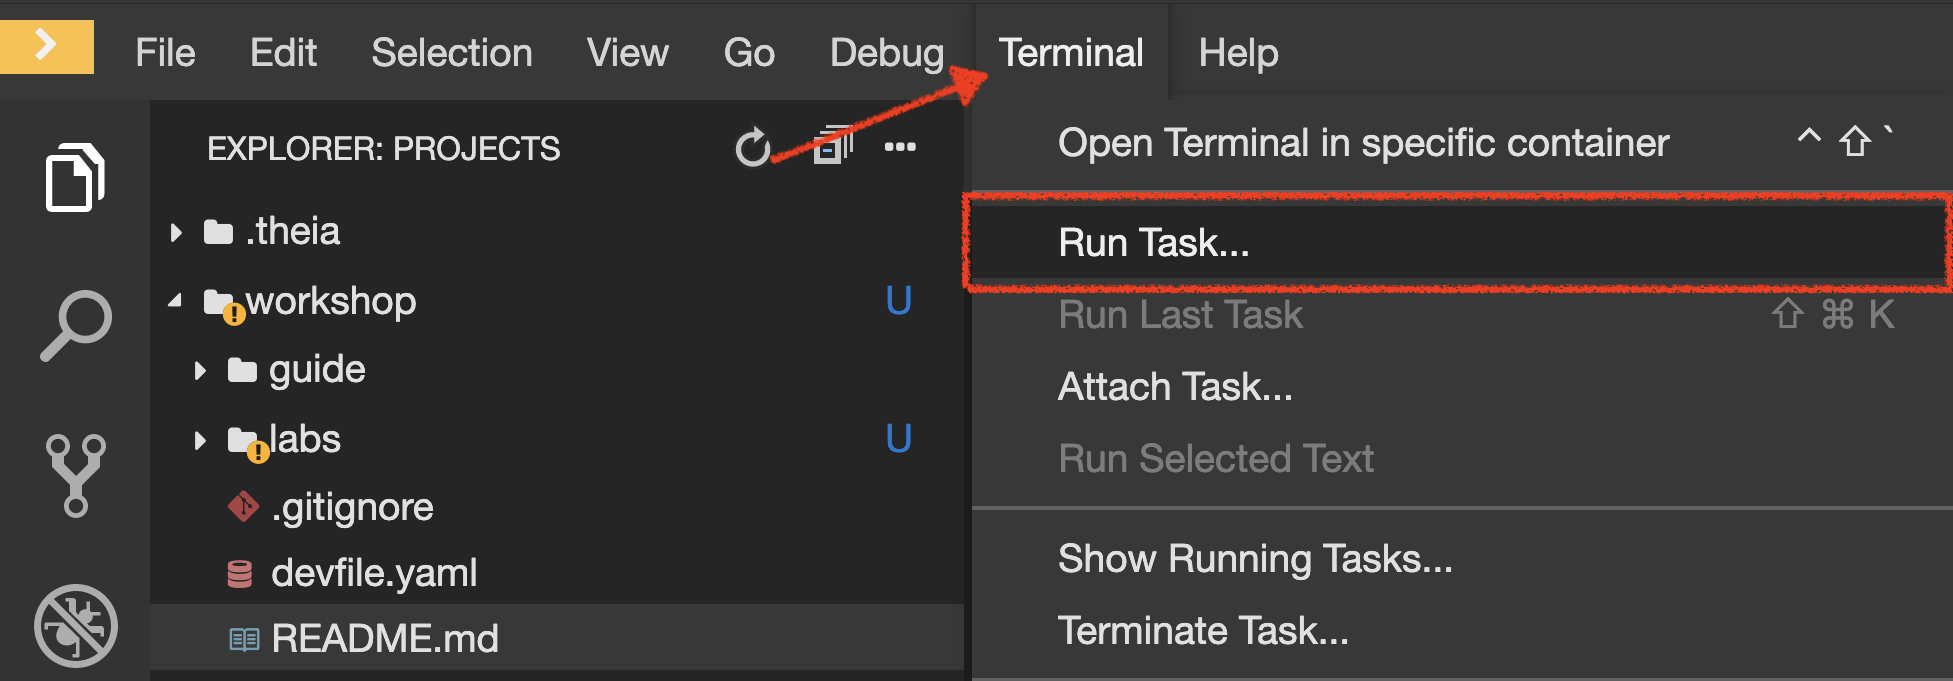
Click on 'Terminal' → 'Run Task…' → 'Inventory - Commit'
Execute the following commands in the '>_ workshop_tools' terminal window
cd /projects/workshop/labs/inventory-quarkus
git init
git remote add origin http://gitea-server.gitea.svc:3000/user%USER_ID%/inventory-quarkus.git
git add *
git commit -m "Initial"
git push http://user%USER_ID%:openshift@gitea-server.gitea.svc:3000/user%USER_ID%/inventory-quarkus.git
To open a '>_ workshop_tools' terminal window, click on 'Terminal' → 'Open Terminal in specific container' → 'workshop-tools'
|
The output should be as follows:
Initialized empty Git repository in /projects/workshop/labs/inventory-quarkus/.git/
[master (root-commit) f7b9db7] Initial
 12 files changed, 831 insertions(+)
 [...]
Enumerating objects: 29, done.
Counting objects: 100% (29/29), done.
Delta compression using up to 16 threads.
Compressing objects: 100% (20/20), done.
Writing objects: 100% (29/29), 10.76 KiB | 3.59 MiB/s, done.
Total 29 (delta 1), reused 0 (delta 0)
remote: . Processing 1 references
remote: Processed 1 references in total
To http://gitea-server.gitea.svc:3000/user%USER_ID%/inventory-quarkus.git
 * [new branch]      master -> master
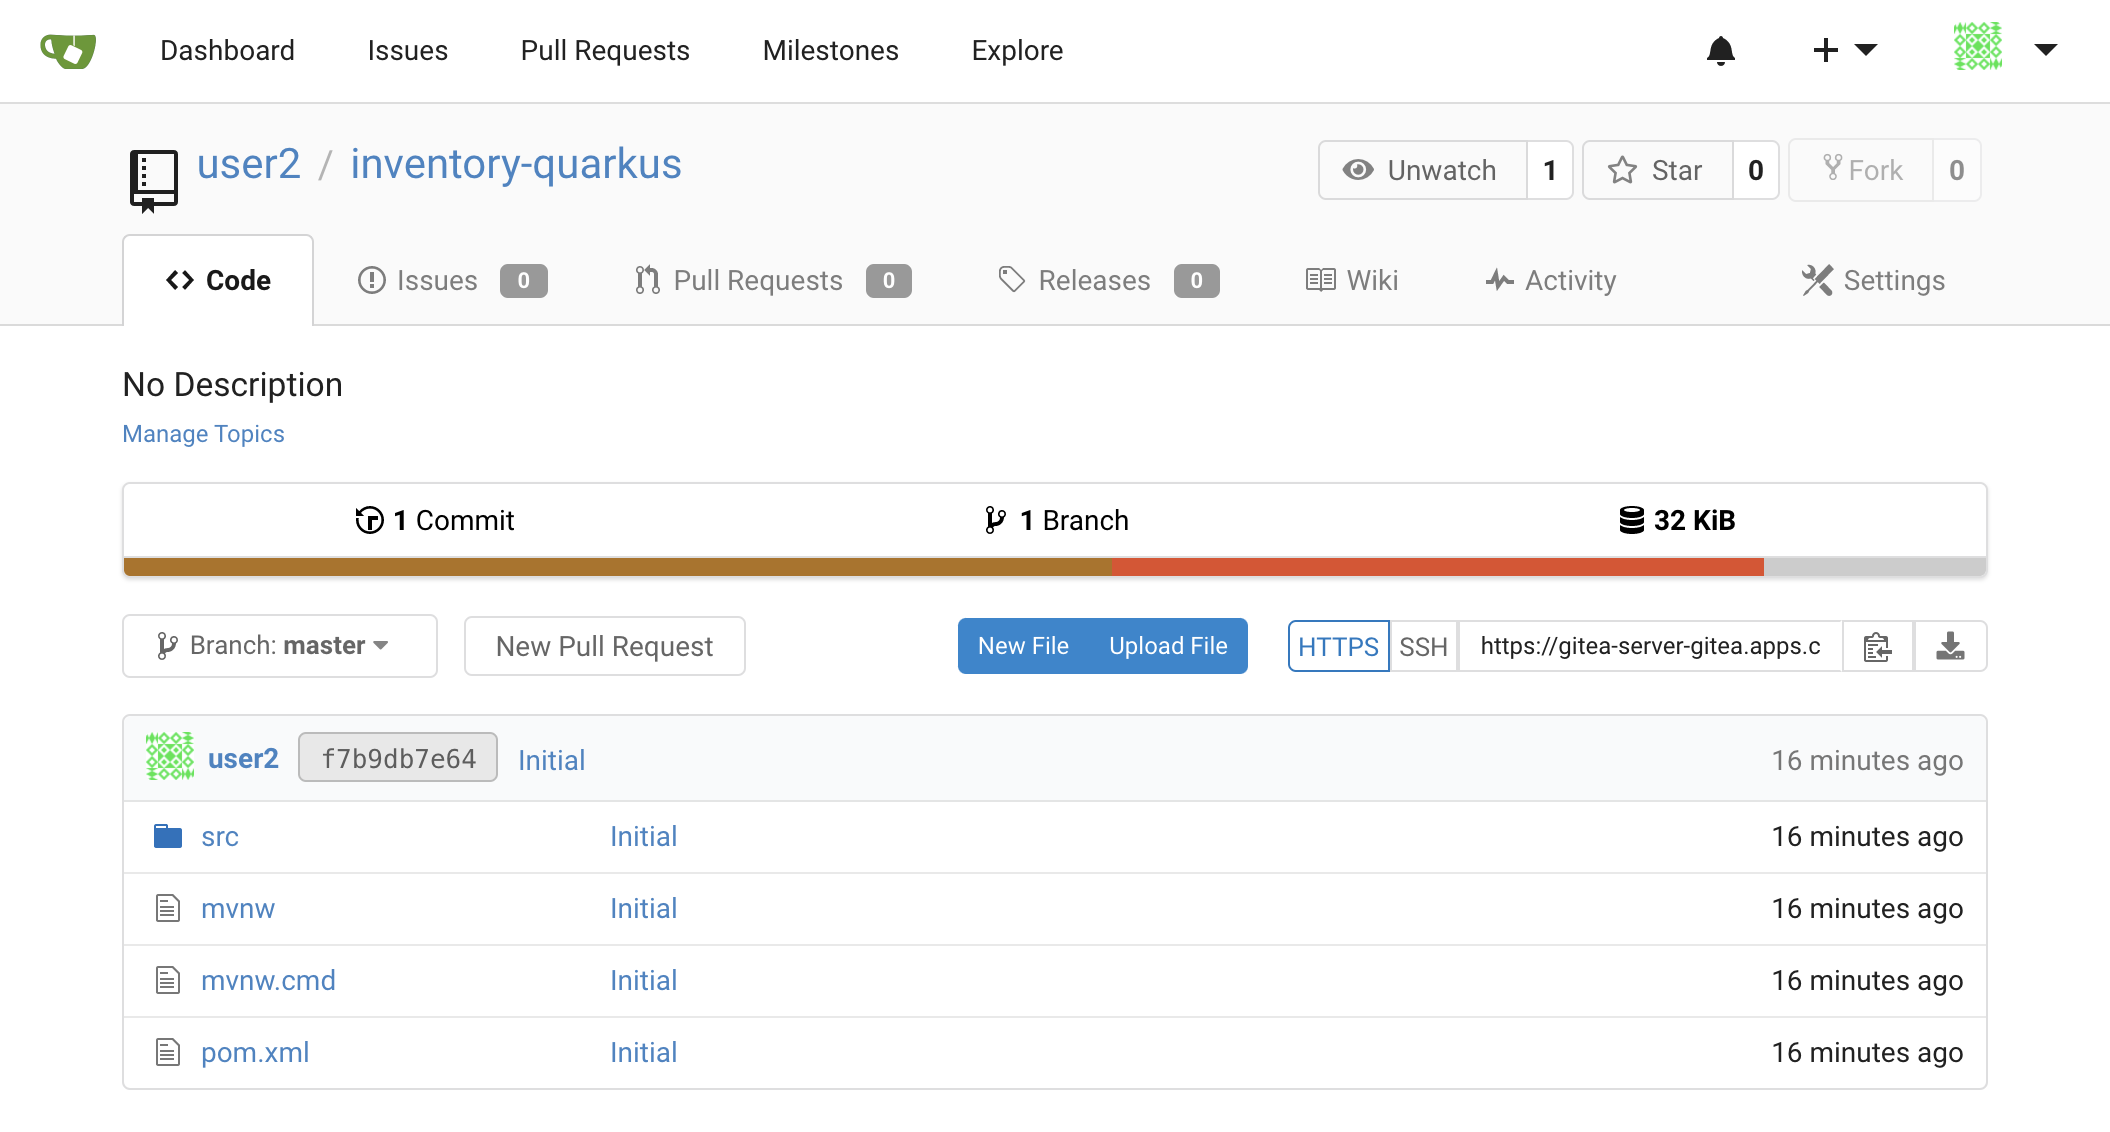
Once done, in your Git Repository, refresh the page of your 'inventory-quarkus' repository. You should
see the project files in the repository.
Switch to the Staging Environment
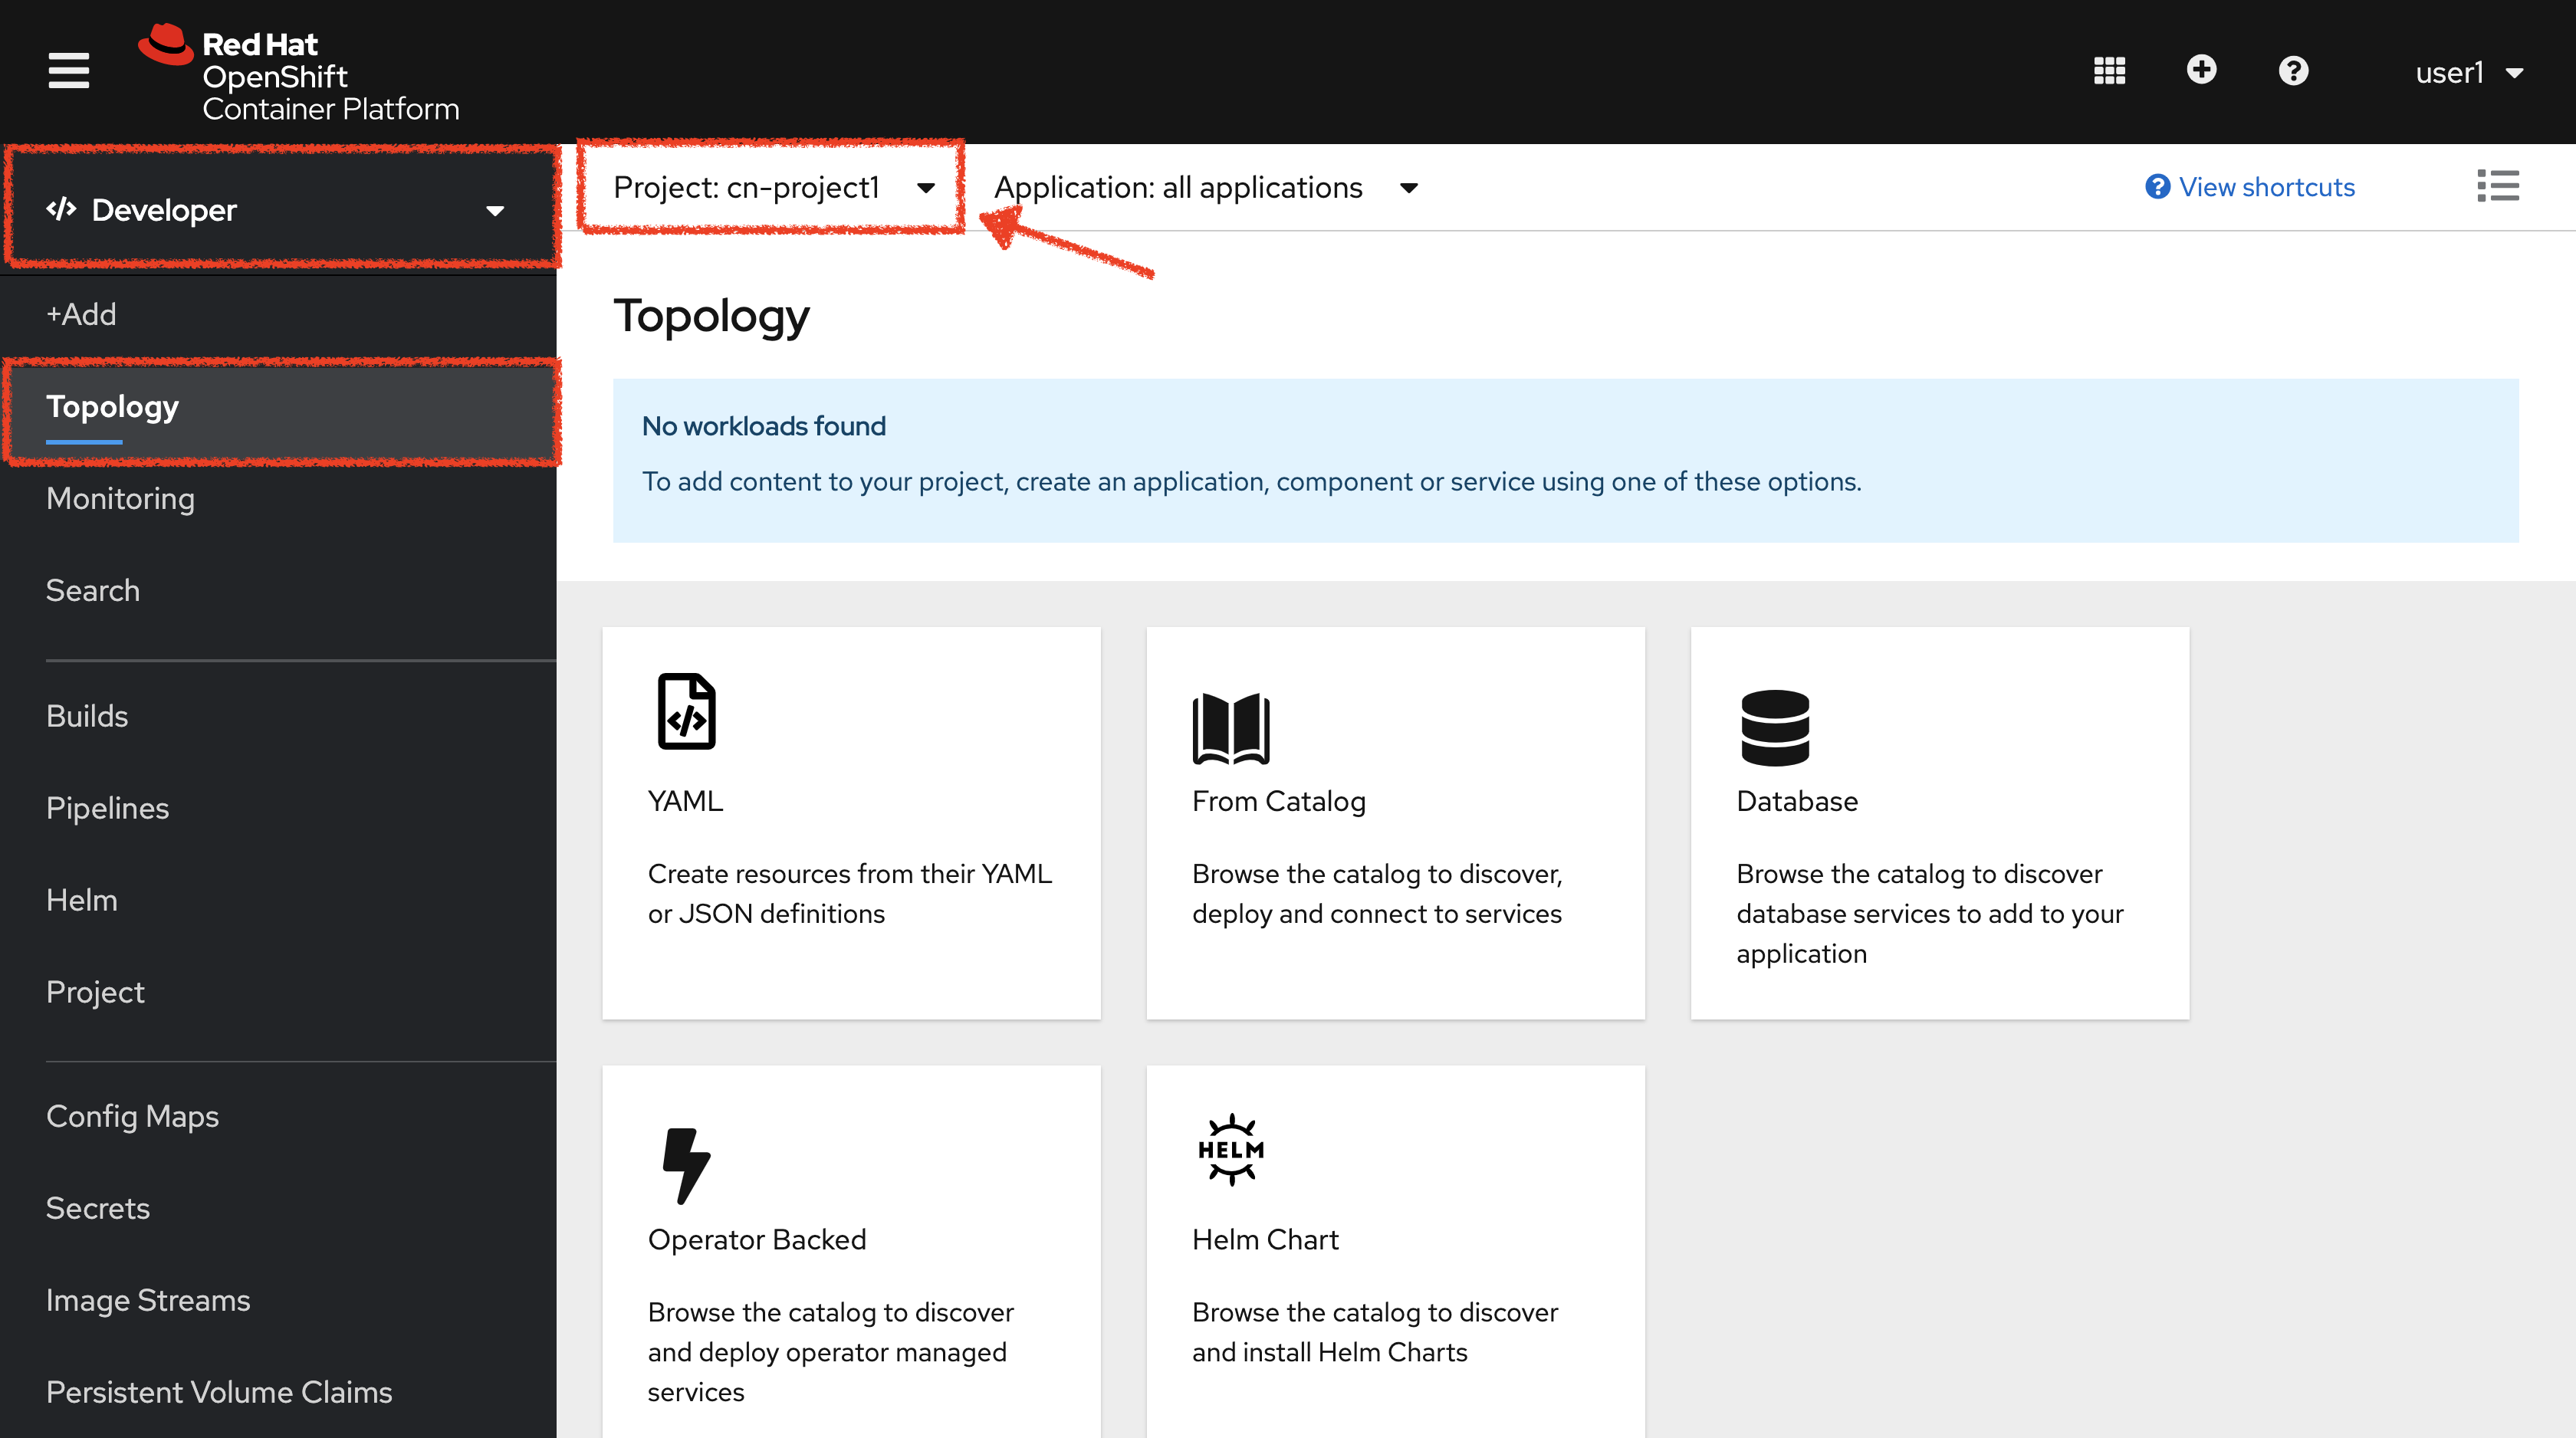
First, let’s switch your OpenShift Console to your Staging Environement i.e 'cn-project%USER_ID%'.
In the OpenShift Web Console, from the Developer view,
click on 'Topology' then select your 'cn-project%USER_ID%'.
Create an ImageStream
The container image you are about to create will be stored into the internal image registry of the OpenShift cluster by using an ImageStream.
It provides an abstraction for referencing container images from within OpenShift. The imagestream and its tags allow you to see what images are available and ensure that you are using the specific image you need even if the image in the repository changes.
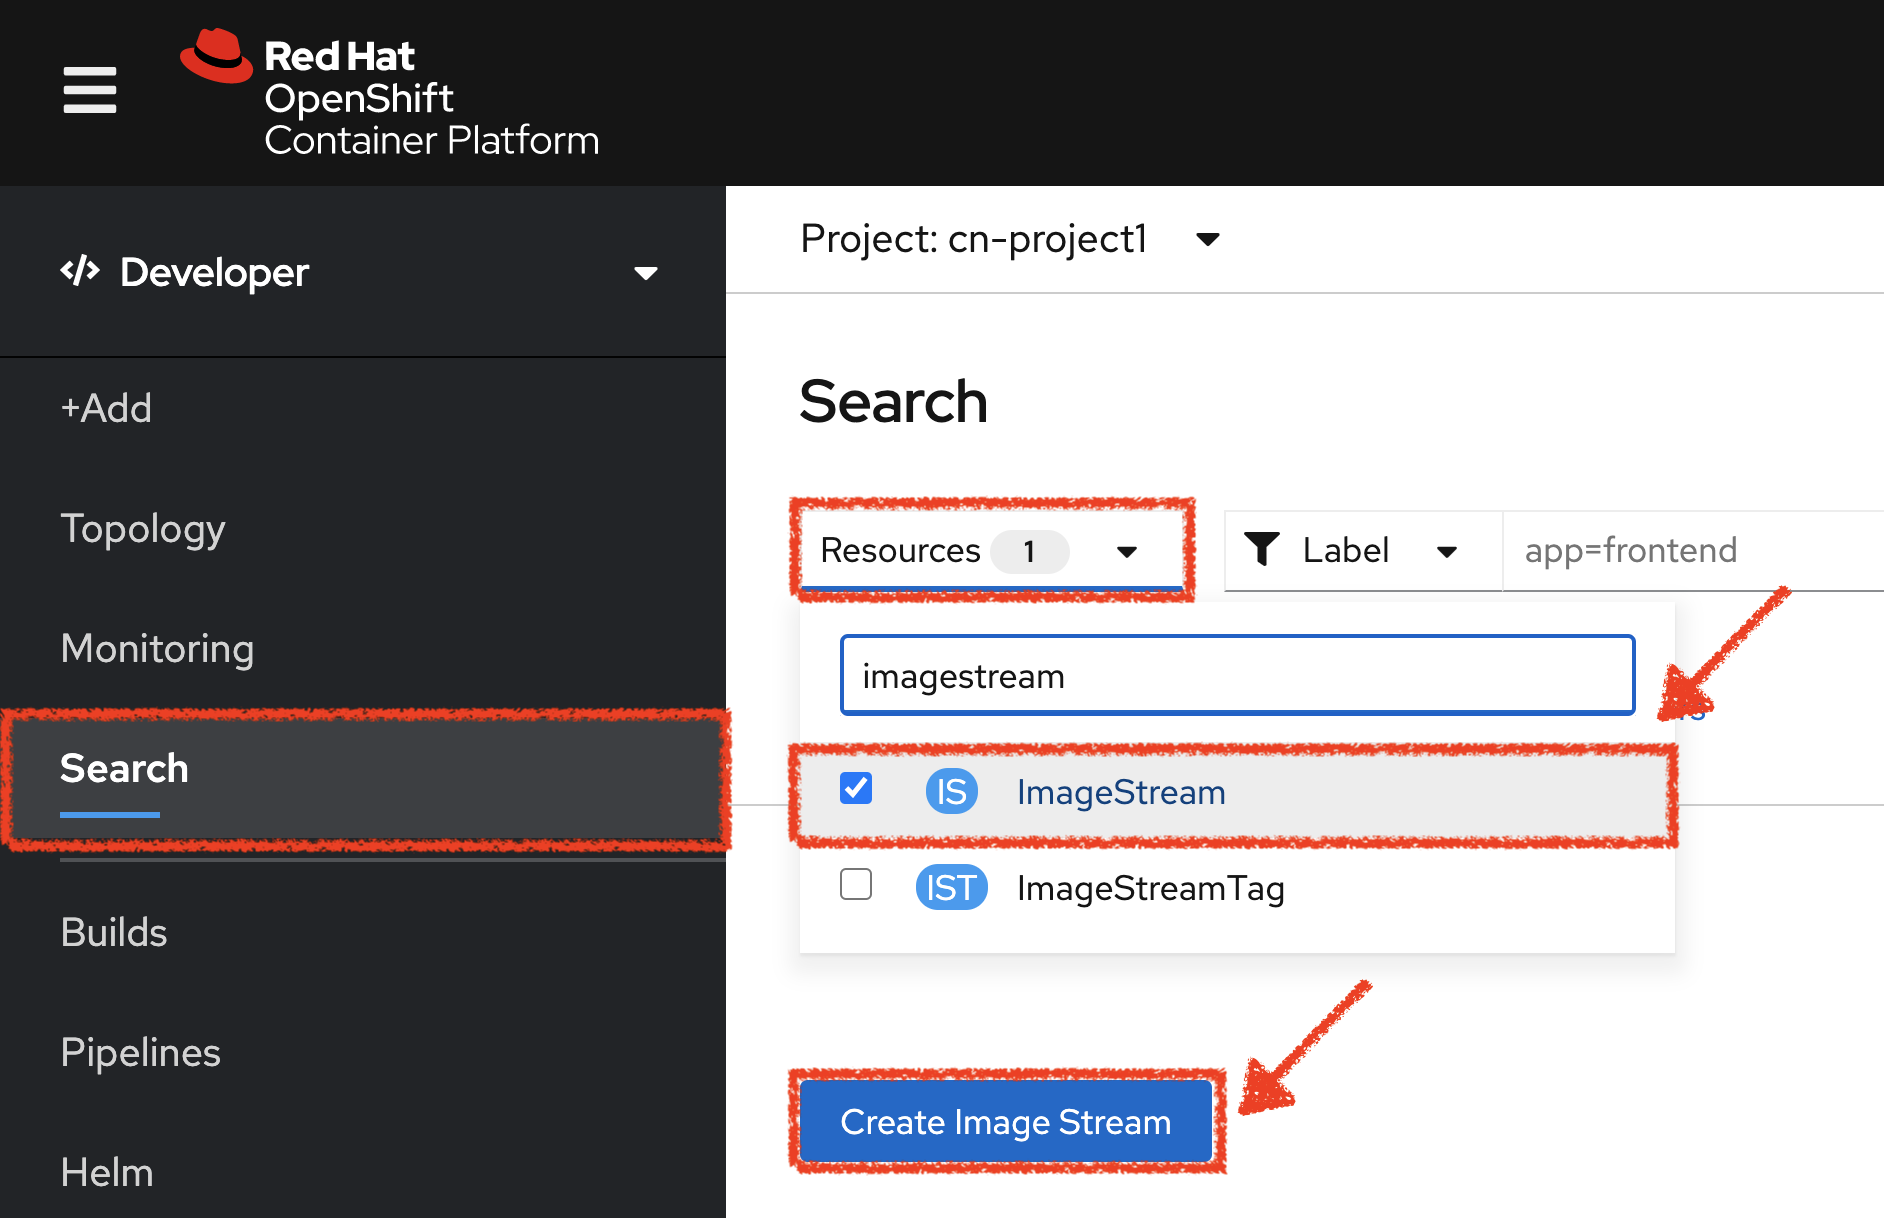
In the OpenShift Web Console, from the Developer view,
click on 'Search' → 'Resources' → 'IS ImageStream' → 'Create Image Stream'.
Then update the content as follows:
apiVersion: image.openshift.io/v1
kind: ImageStream
metadata:
  name: inventory-coolstore
  namespace: cn-project%USER_ID%
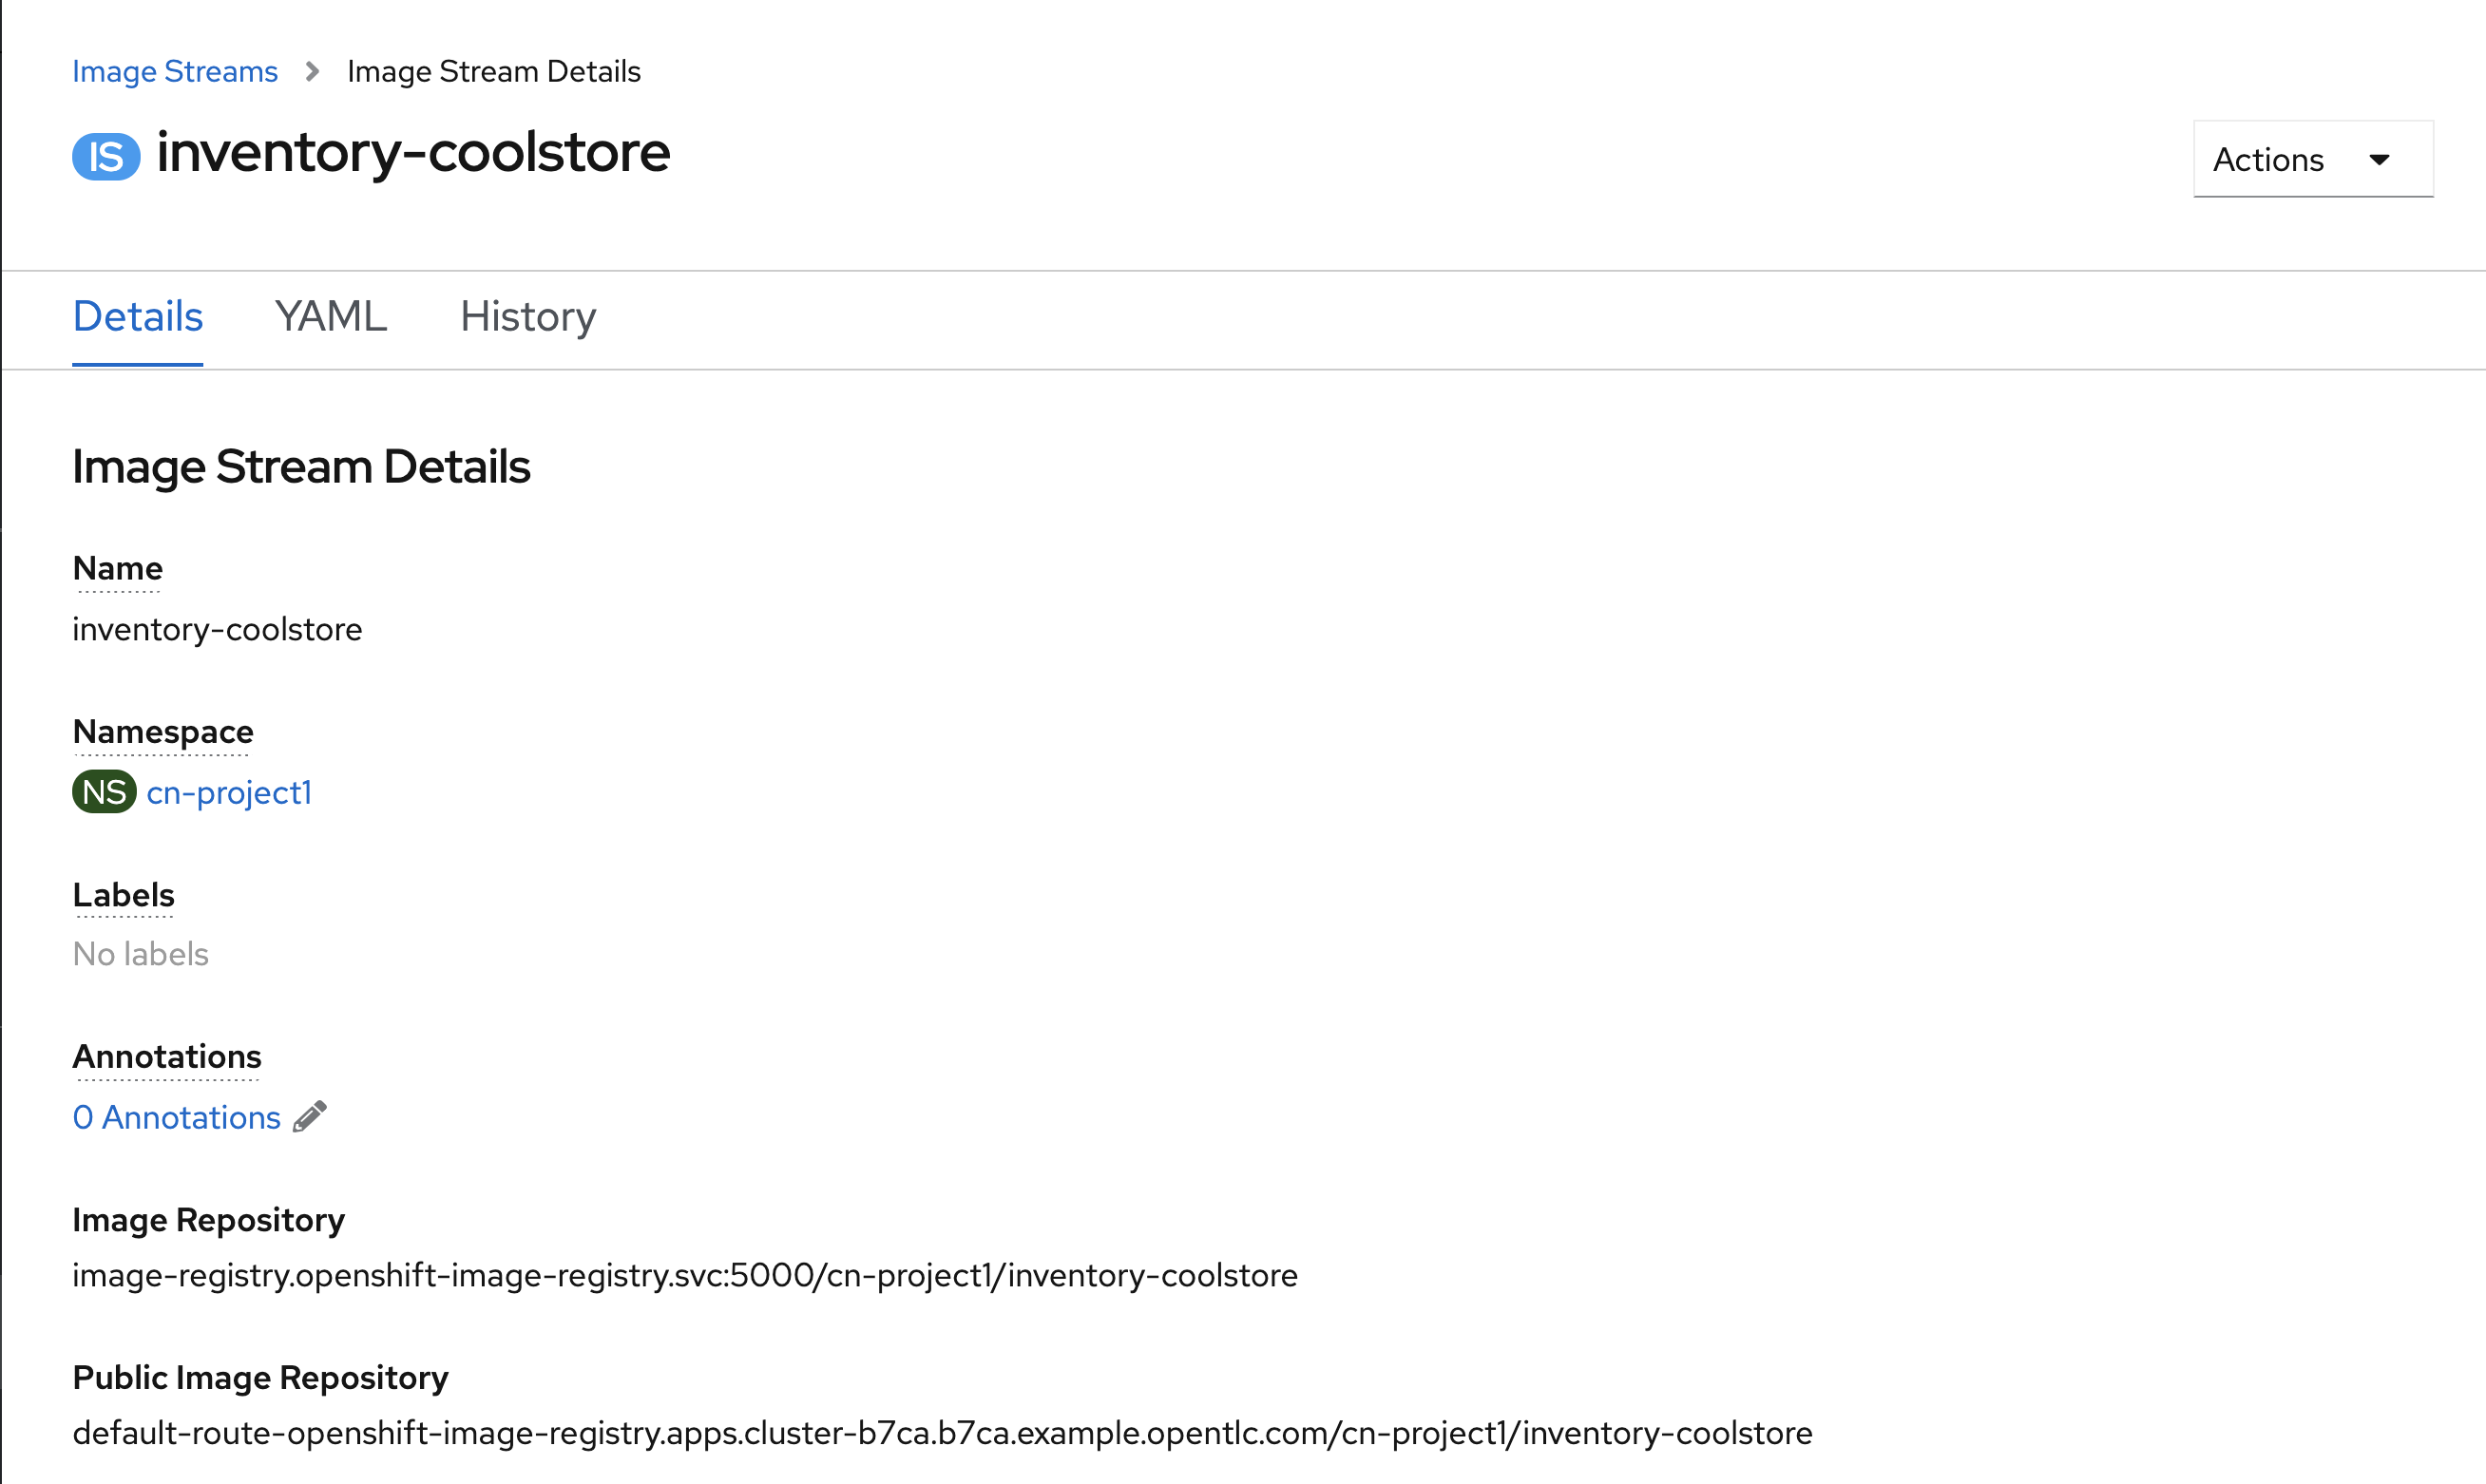
Then click on 'create'. Your ImageStream for the Inventory Service is now created.
Create a Pipeline
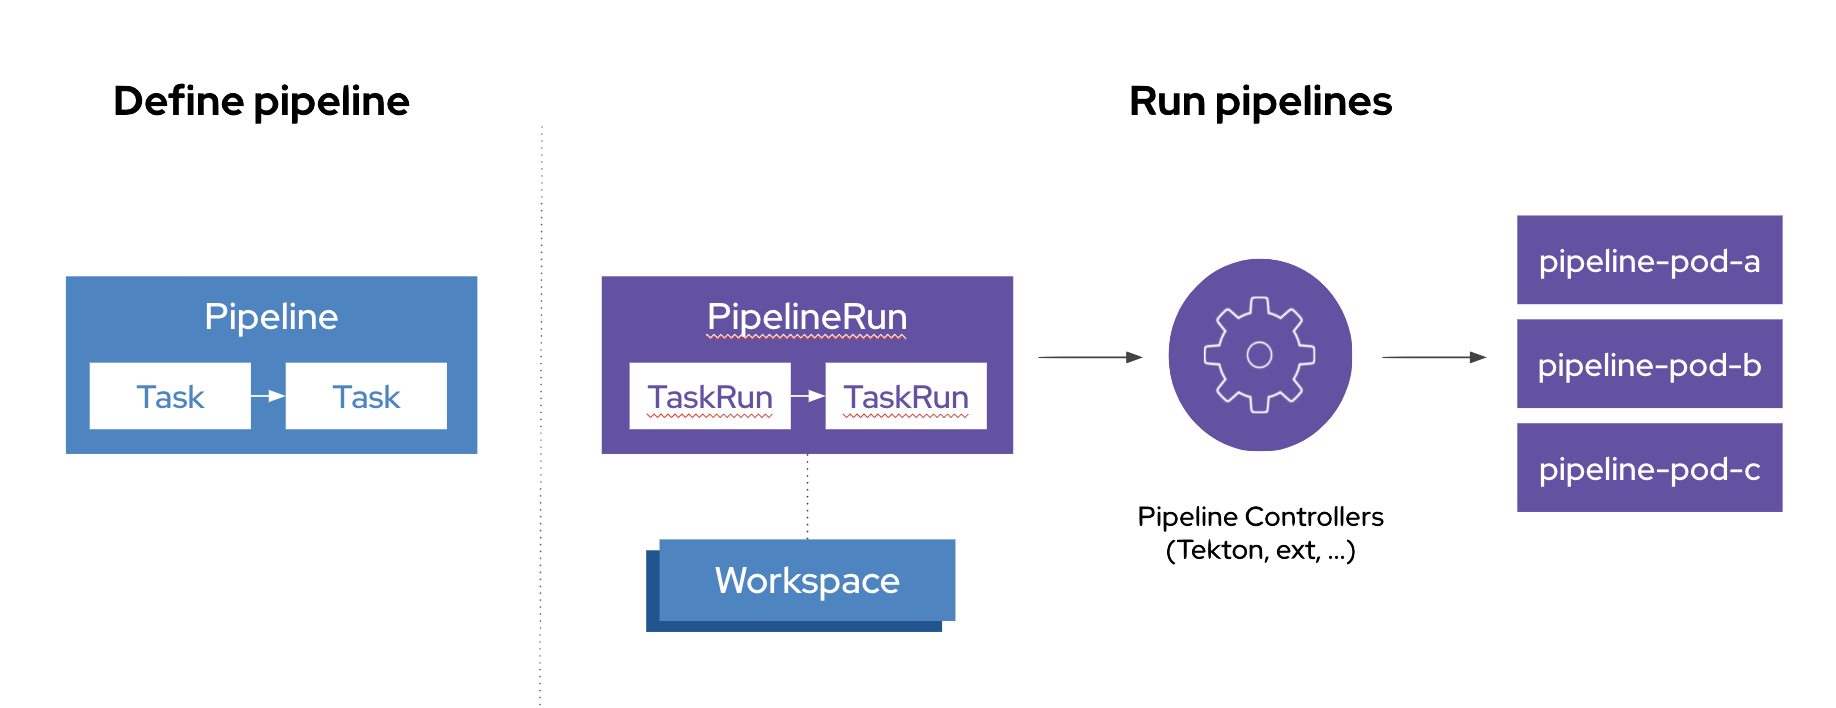
A Pipeline defines a number of Task that should be executed and how they interact with each other via Workspace.
In the OpenShift Web Console, from the Developer view,
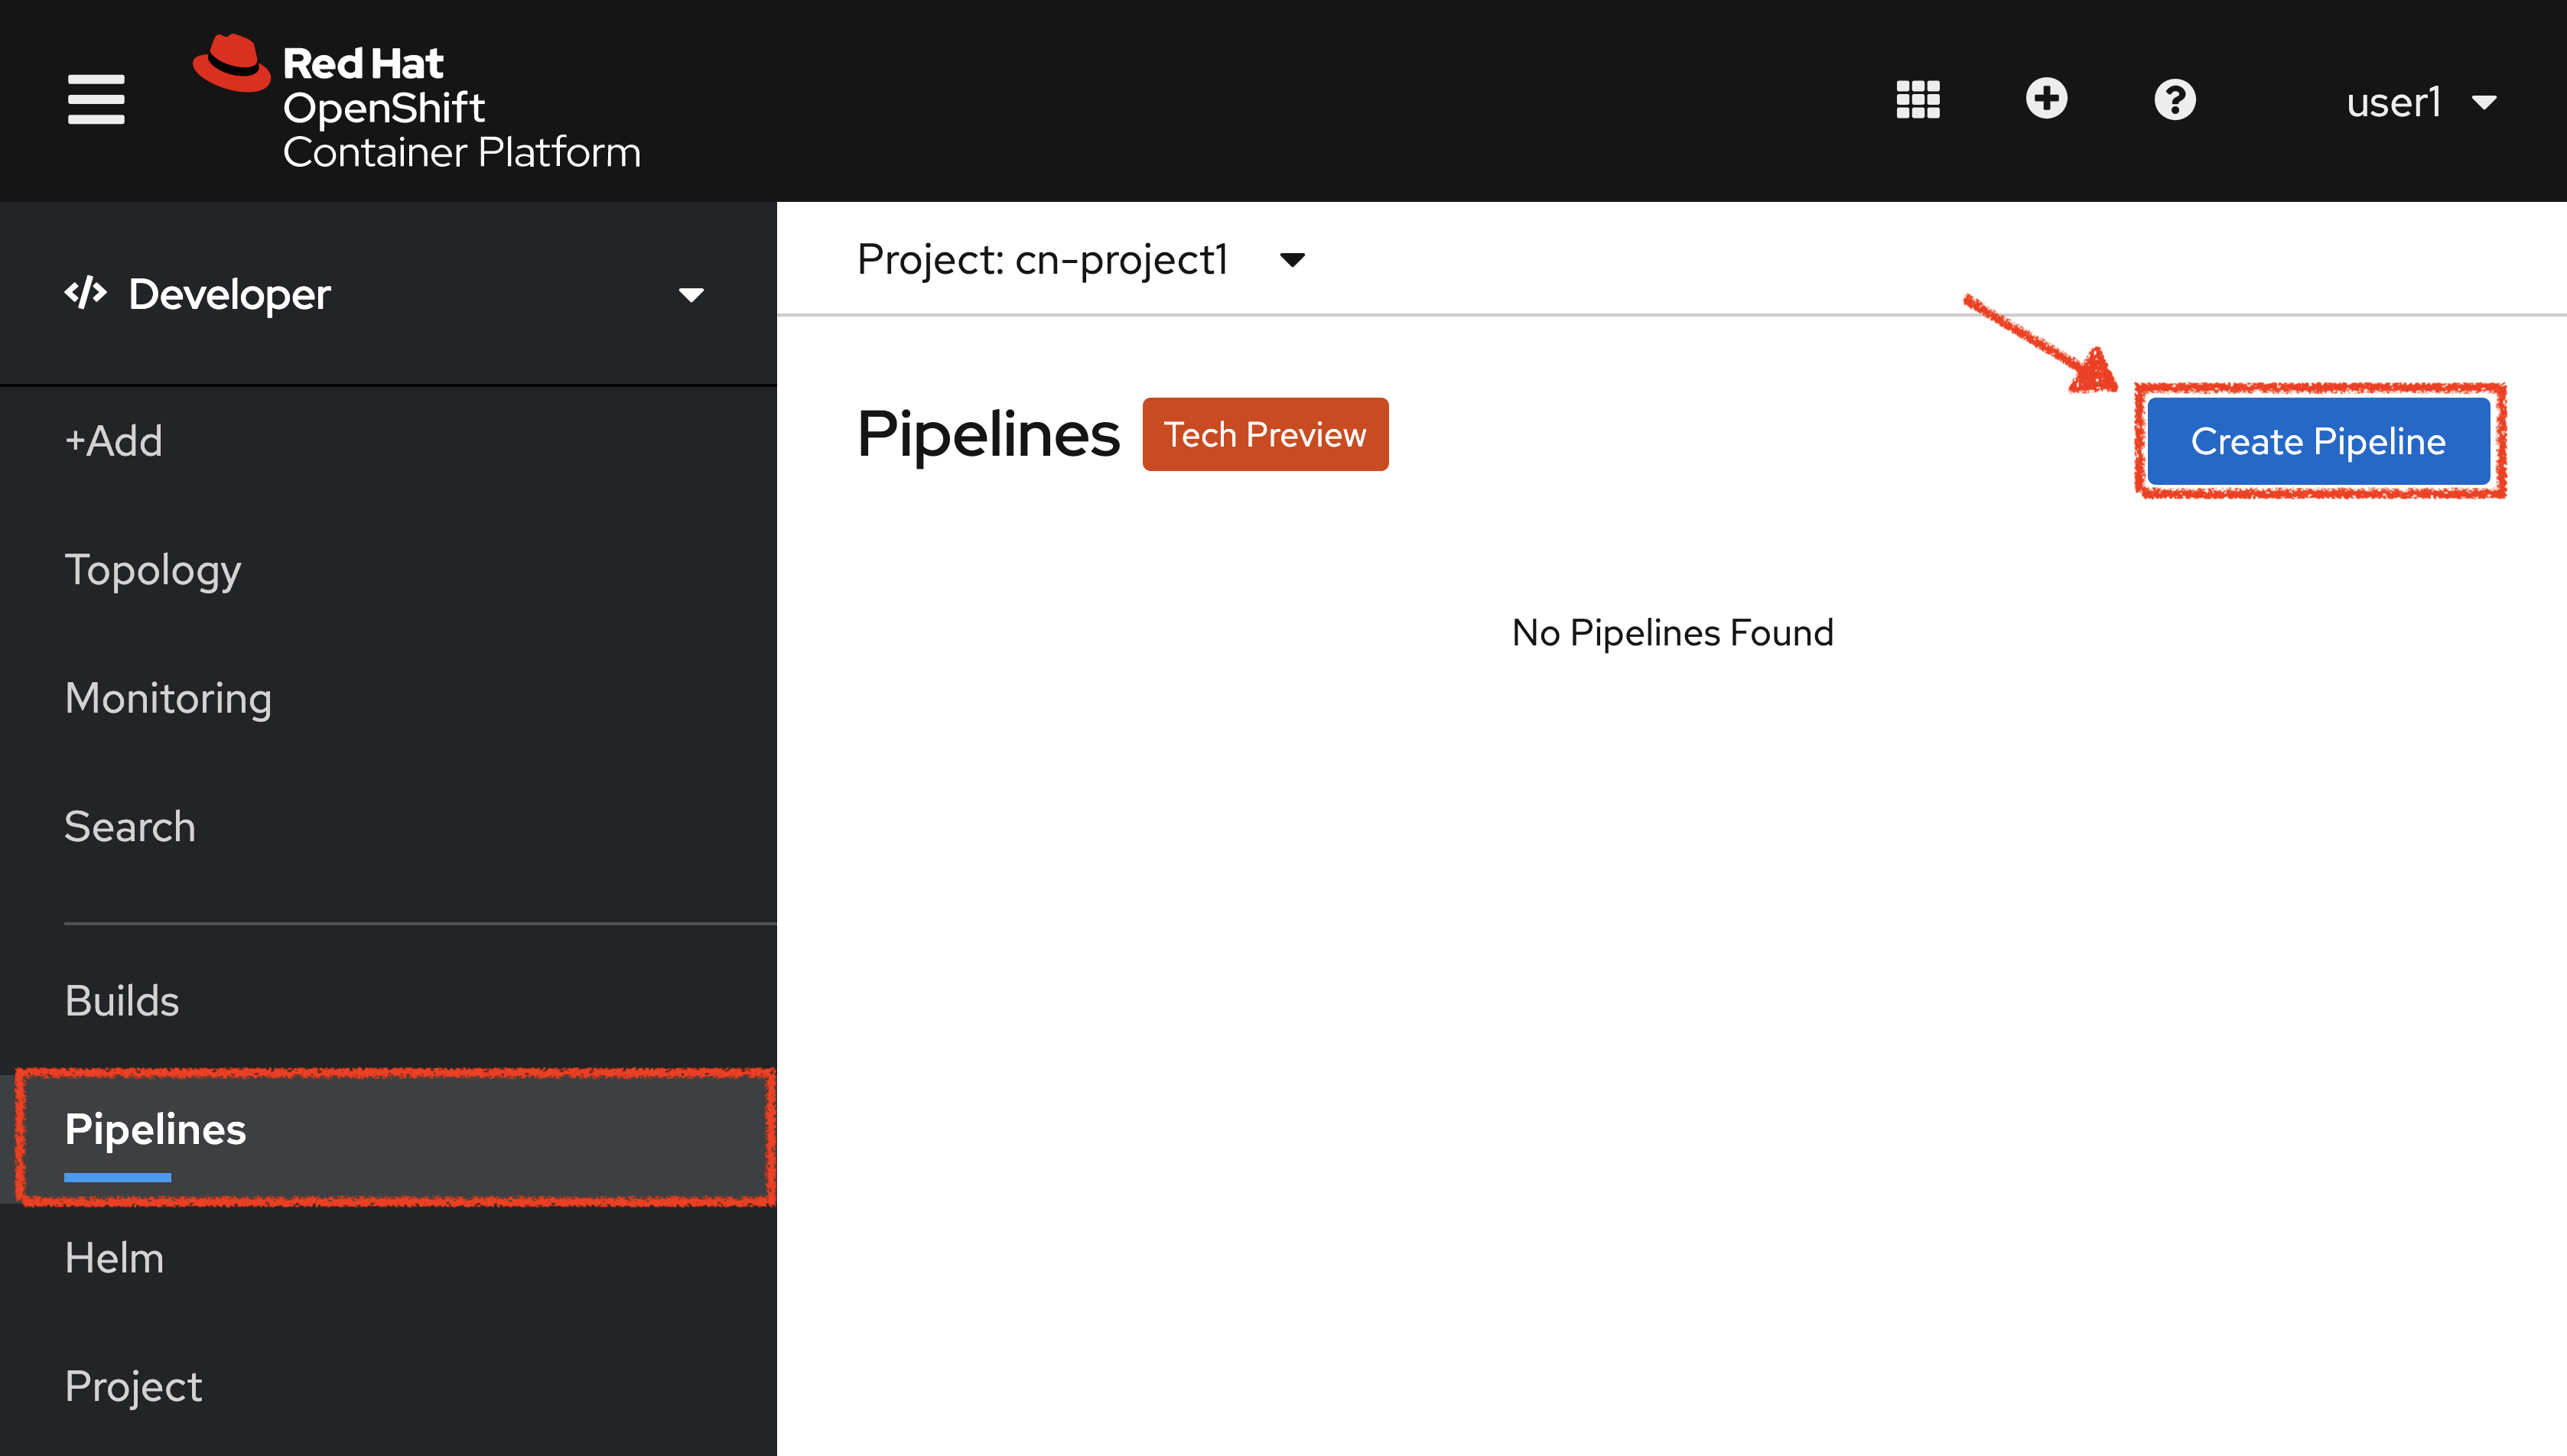
click on 'Pipelines' → 'Create Pipeline'.
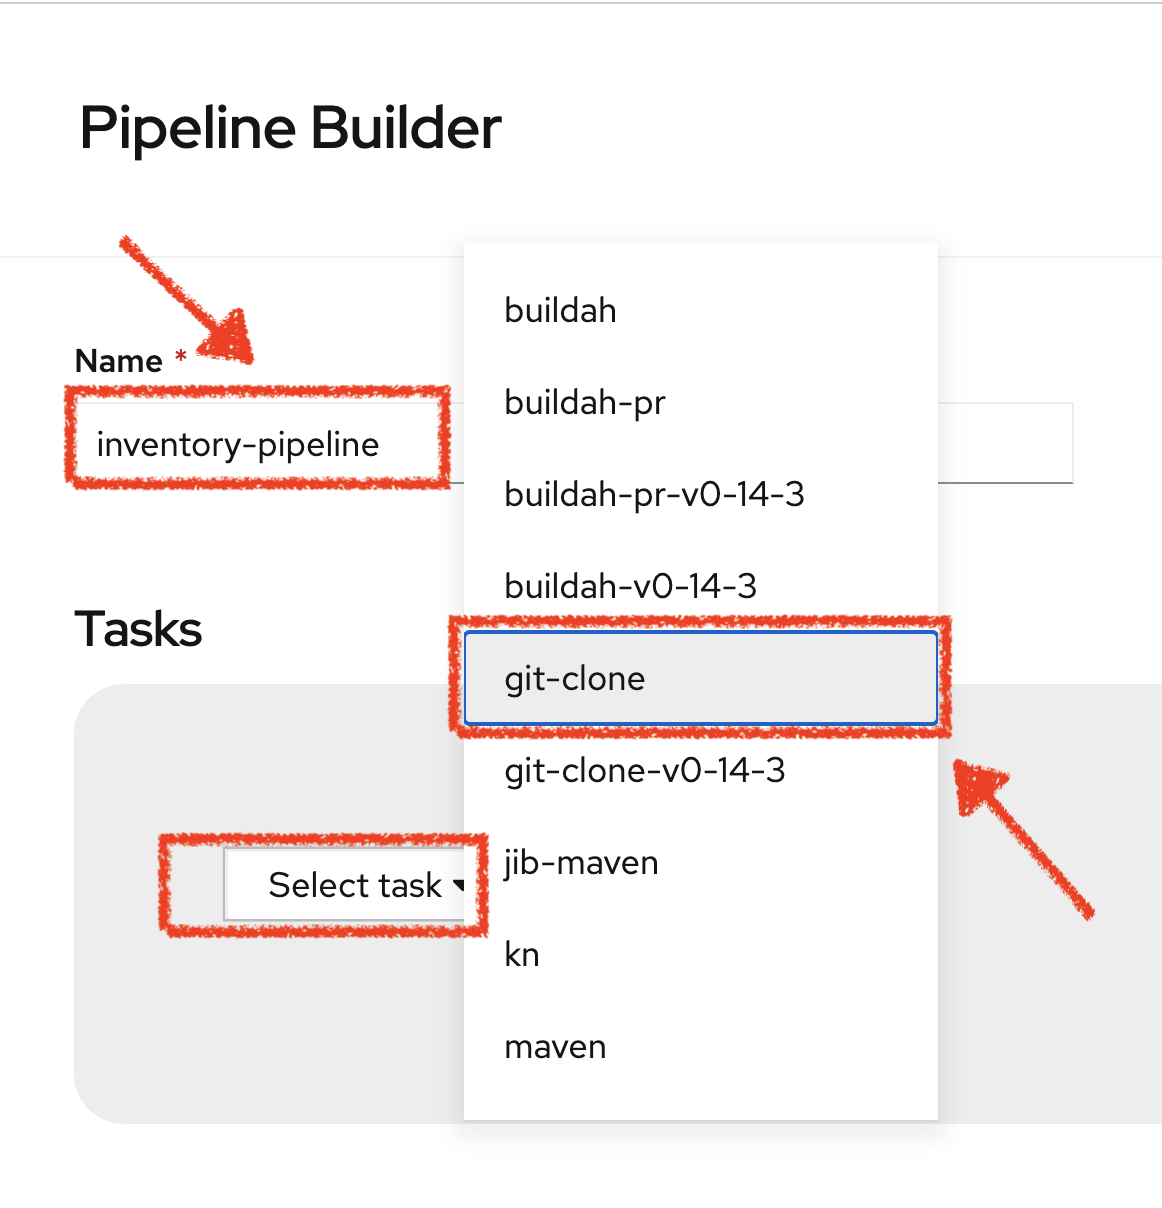
Specify 'inventory-pipeline' as Name then click on 'Select task' and select 'git-clone' task.
Click on the newly created 'git-clone' task and enter the following configuration:
| Parameter | Value |
|---|---|
Display Name |
git-clone |
url |
http://gitea-server.gitea.svc:3000/user%USER_ID%/inventory-quarkus.git |
revision |
master |
Once done, let’s add other tasks. Click on the blue plus icon at the right hand side of the 'git-clone' task
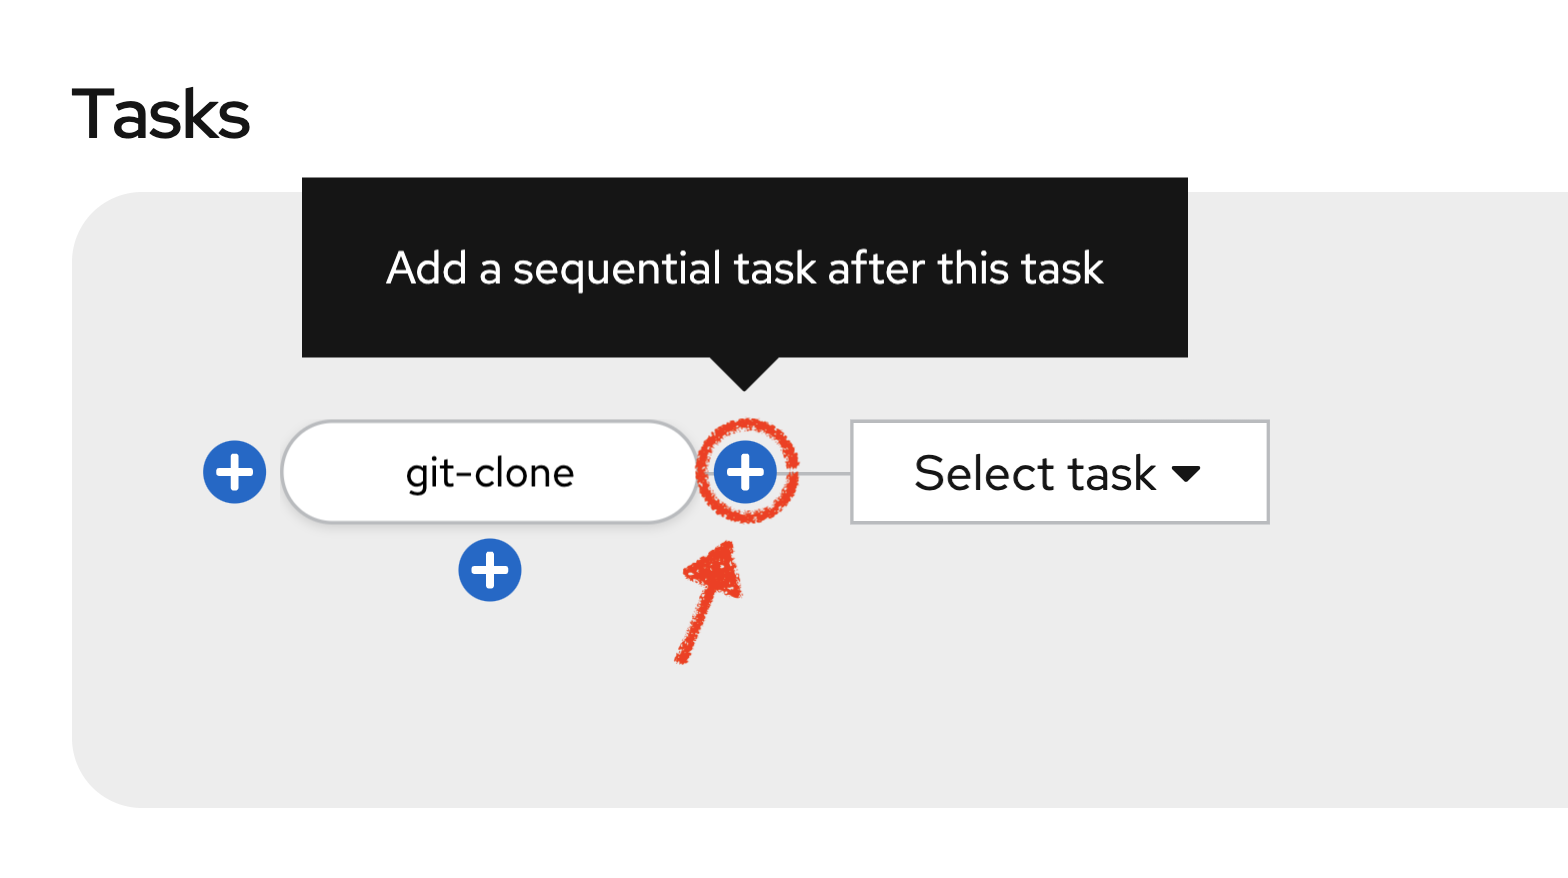
Then click on 'Select task' and select 's2i-java' task
Click on the newly created 's2i-java' task and enter the following configuration:
| Parameter | Value |
|---|---|
Display Name |
s2i-java |
PATH_CONTEXT |
. (dot) |
TLSVERIFY |
false |
MAVEN_MIRROR_URL |
http://nexus.opentlc-shared.svc:8081/repository/maven-all-public |
Image* |
image-registry.openshift-image-registry.svc:5000/cn-project%USER_ID%/inventory-coolstore |
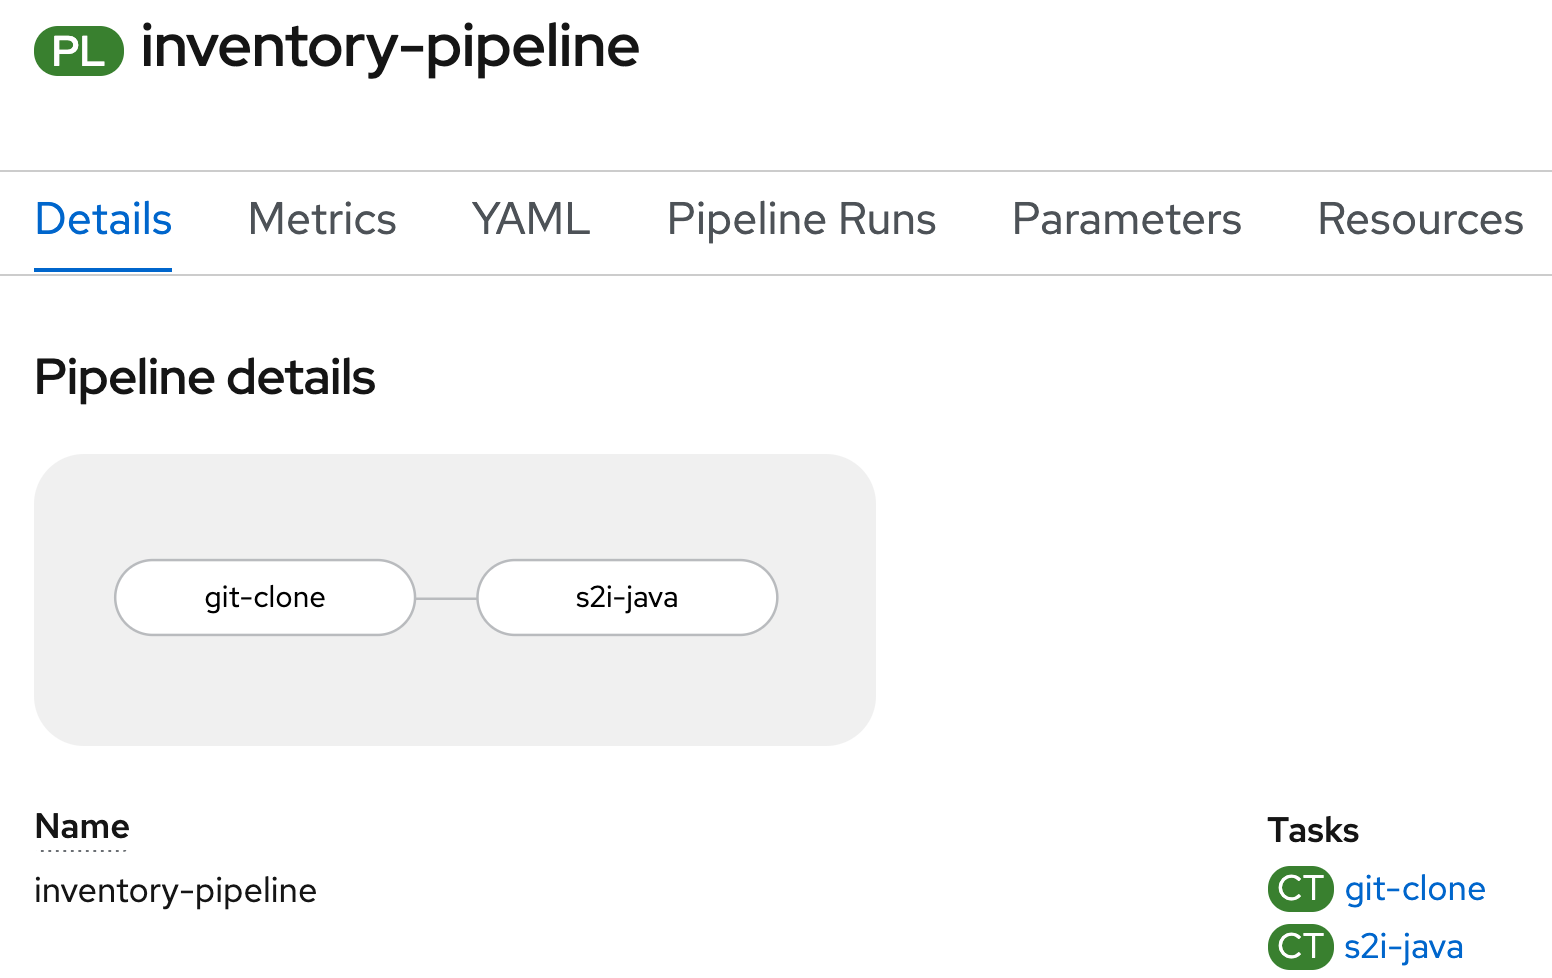
Once done, click on 'Create'. Your simple Pipeline is now created.
Attach a Shared Workspace to the Pipeline
Workspaces allow Tasks to declare parts of the filesystem that need to be provided at runtime by TaskRuns.
A TaskRun can make these parts of the filesystem available in many ways, using:
-
a read-only ConfigMap or Secret
-
an existing PersistentVolumeClaim shared with other Tasks
-
a PersistentVolumeClaim from a provided VolumeClaimTemplate
-
an emptyDir that is discarded when the TaskRun completes.
Workspaces are similar to Volumes except that they allow a Task author to defer to users and their TaskRuns when deciding which class of storage to use.
In the OpenShift Web Console, from the Developer view,
click on 'Search' → 'Resources' → 'PVC PersistentVolumeClaim' → 'Create Persistent Volume Claim'.
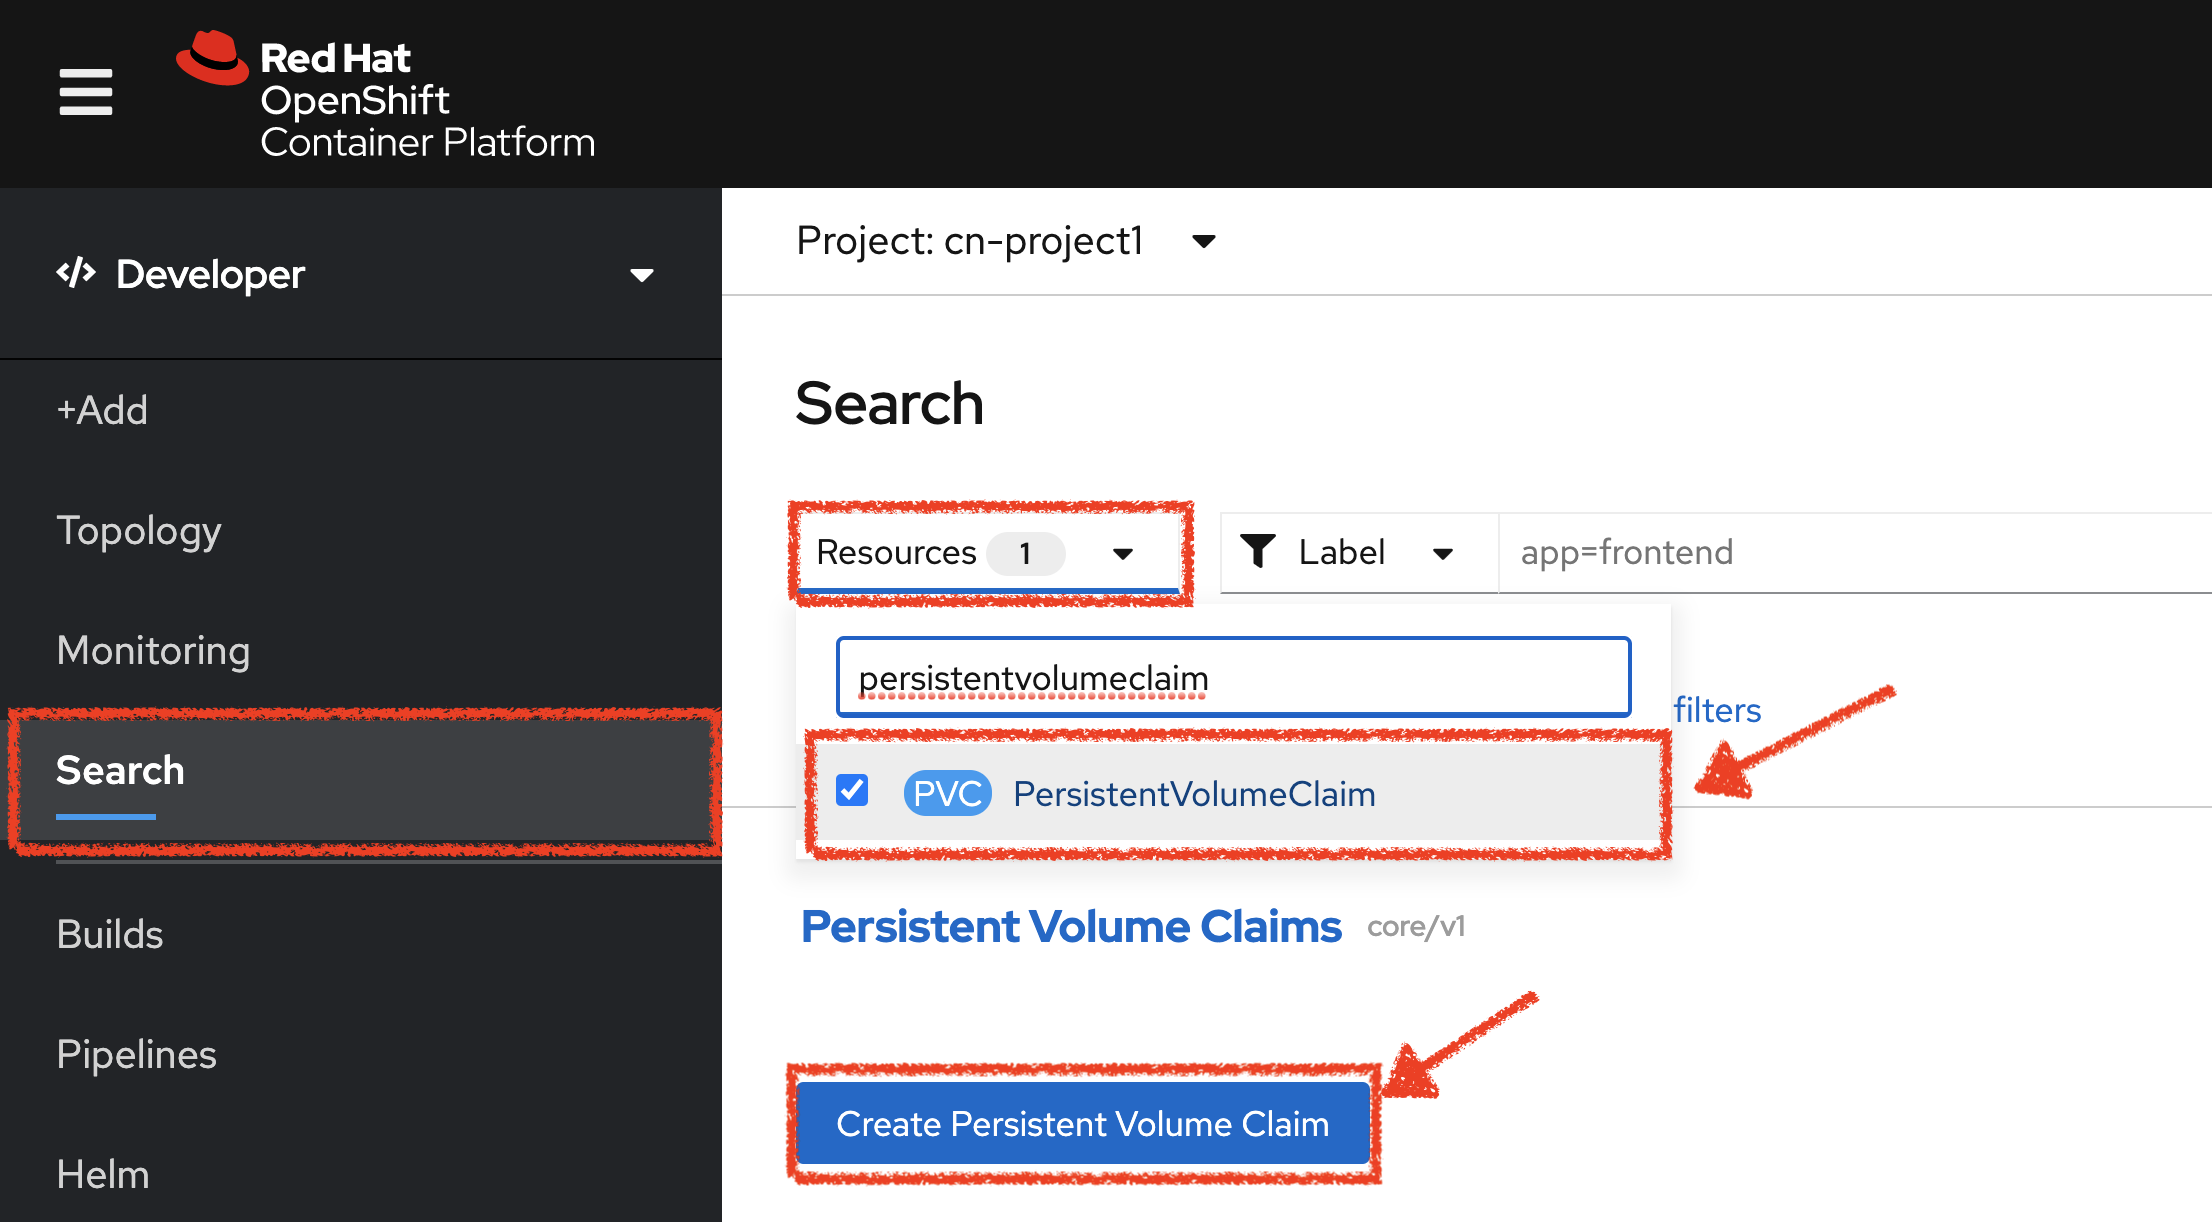
Enter the following configuration:
| Parameter | Value |
|---|---|
Persistent Volume Claim Name * |
inventory-pipeline-pvc |
Access Mode * |
Single User (RWO) |
Size * |
1 GiB |
Then, Click on 'Create'. The Shared Storage for your pipeline is ready.
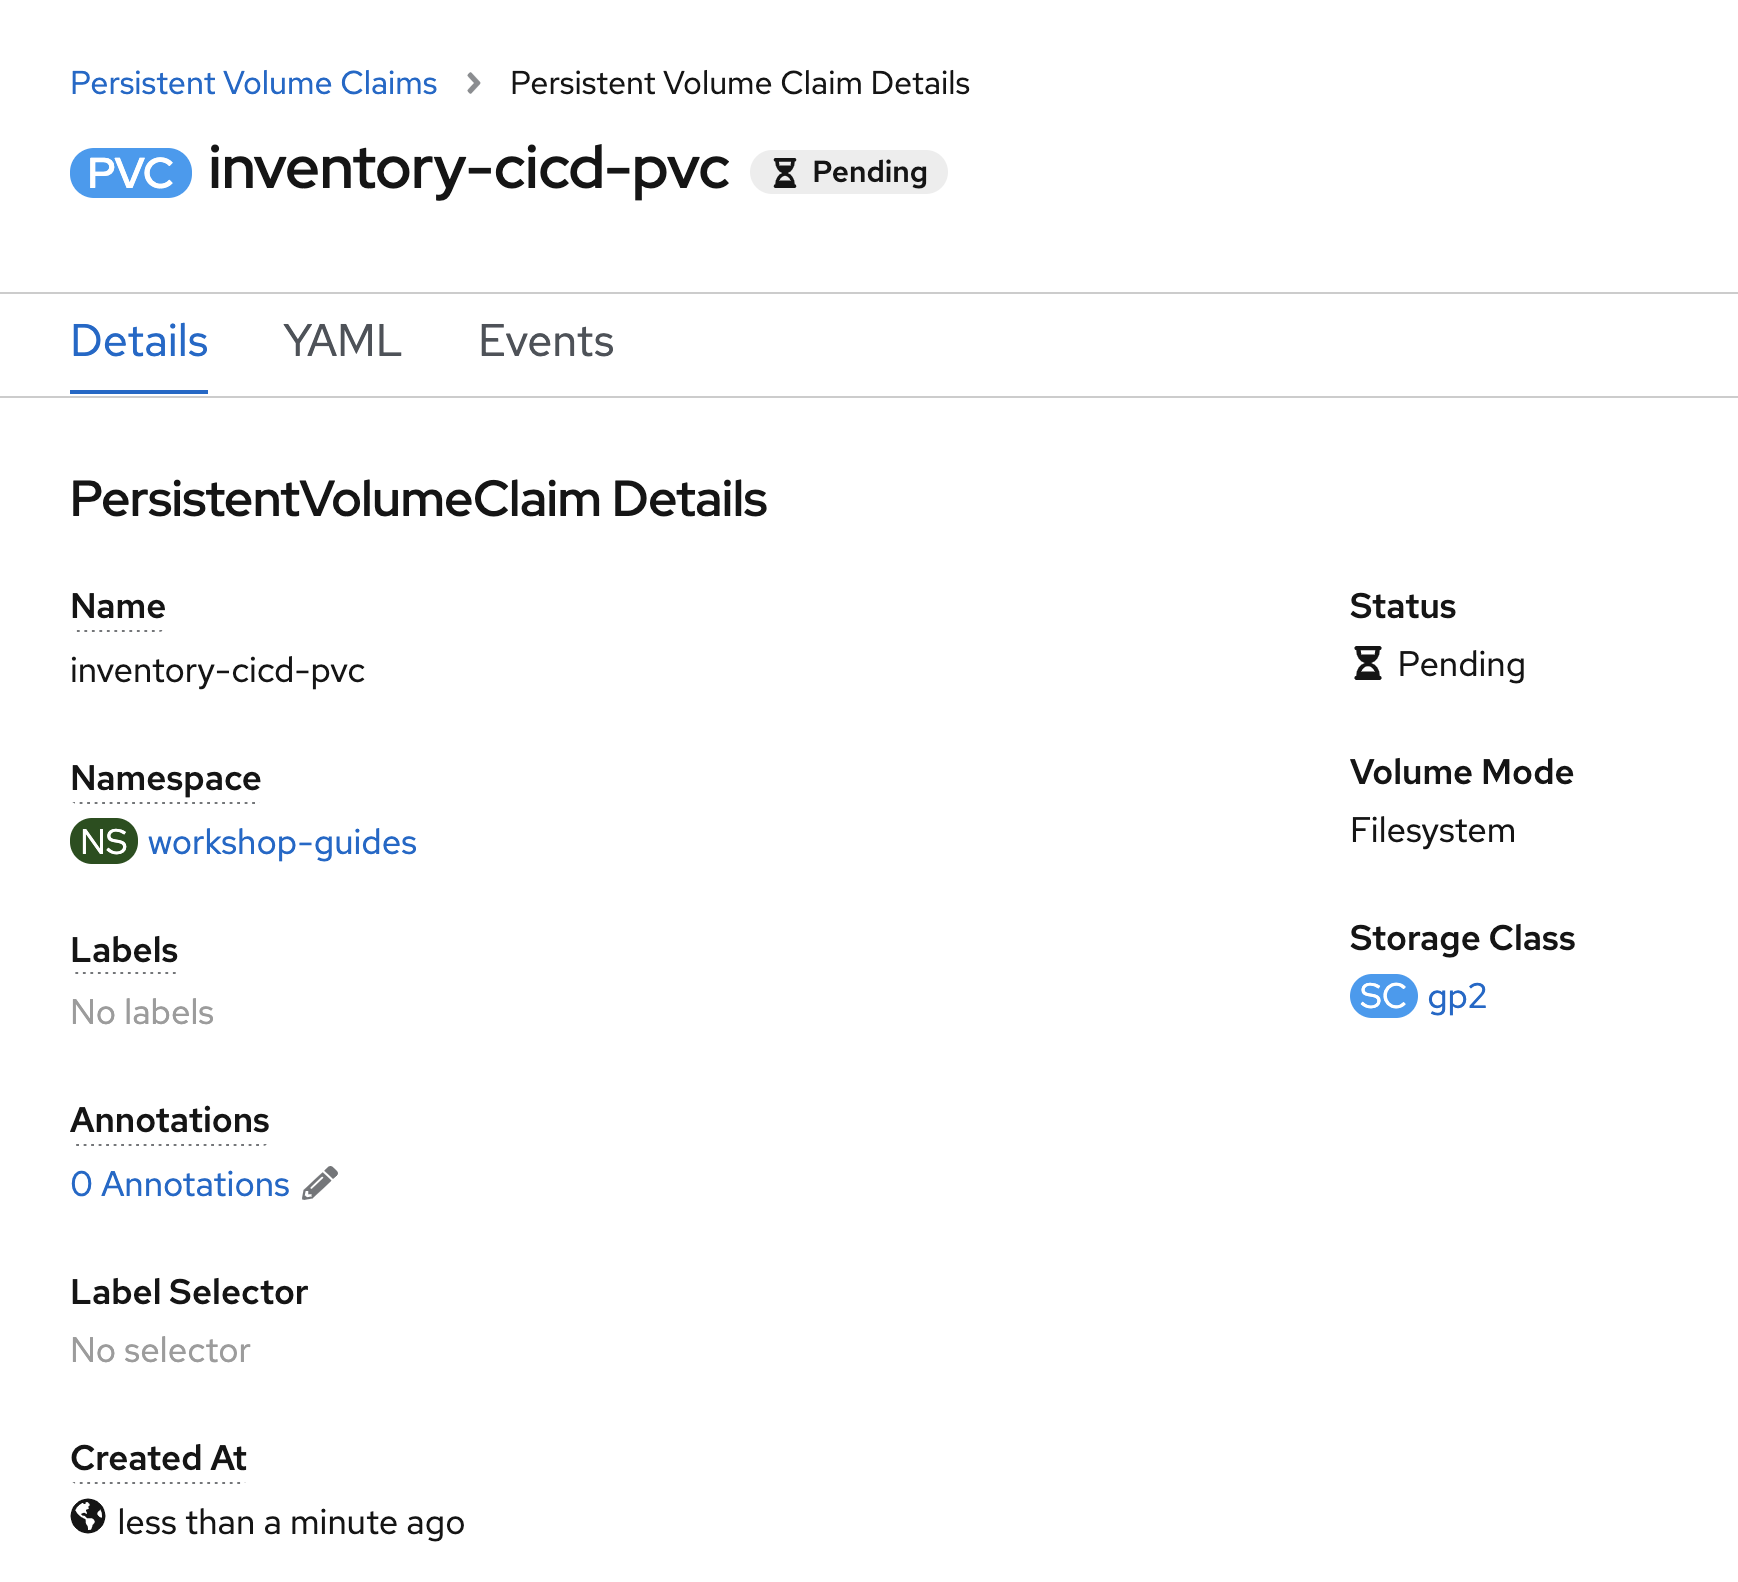
In the OpenShift Web Console, from the Developer view,
click on 'Pipelines' → 'PL inventory-pipeline' → 'YAML'
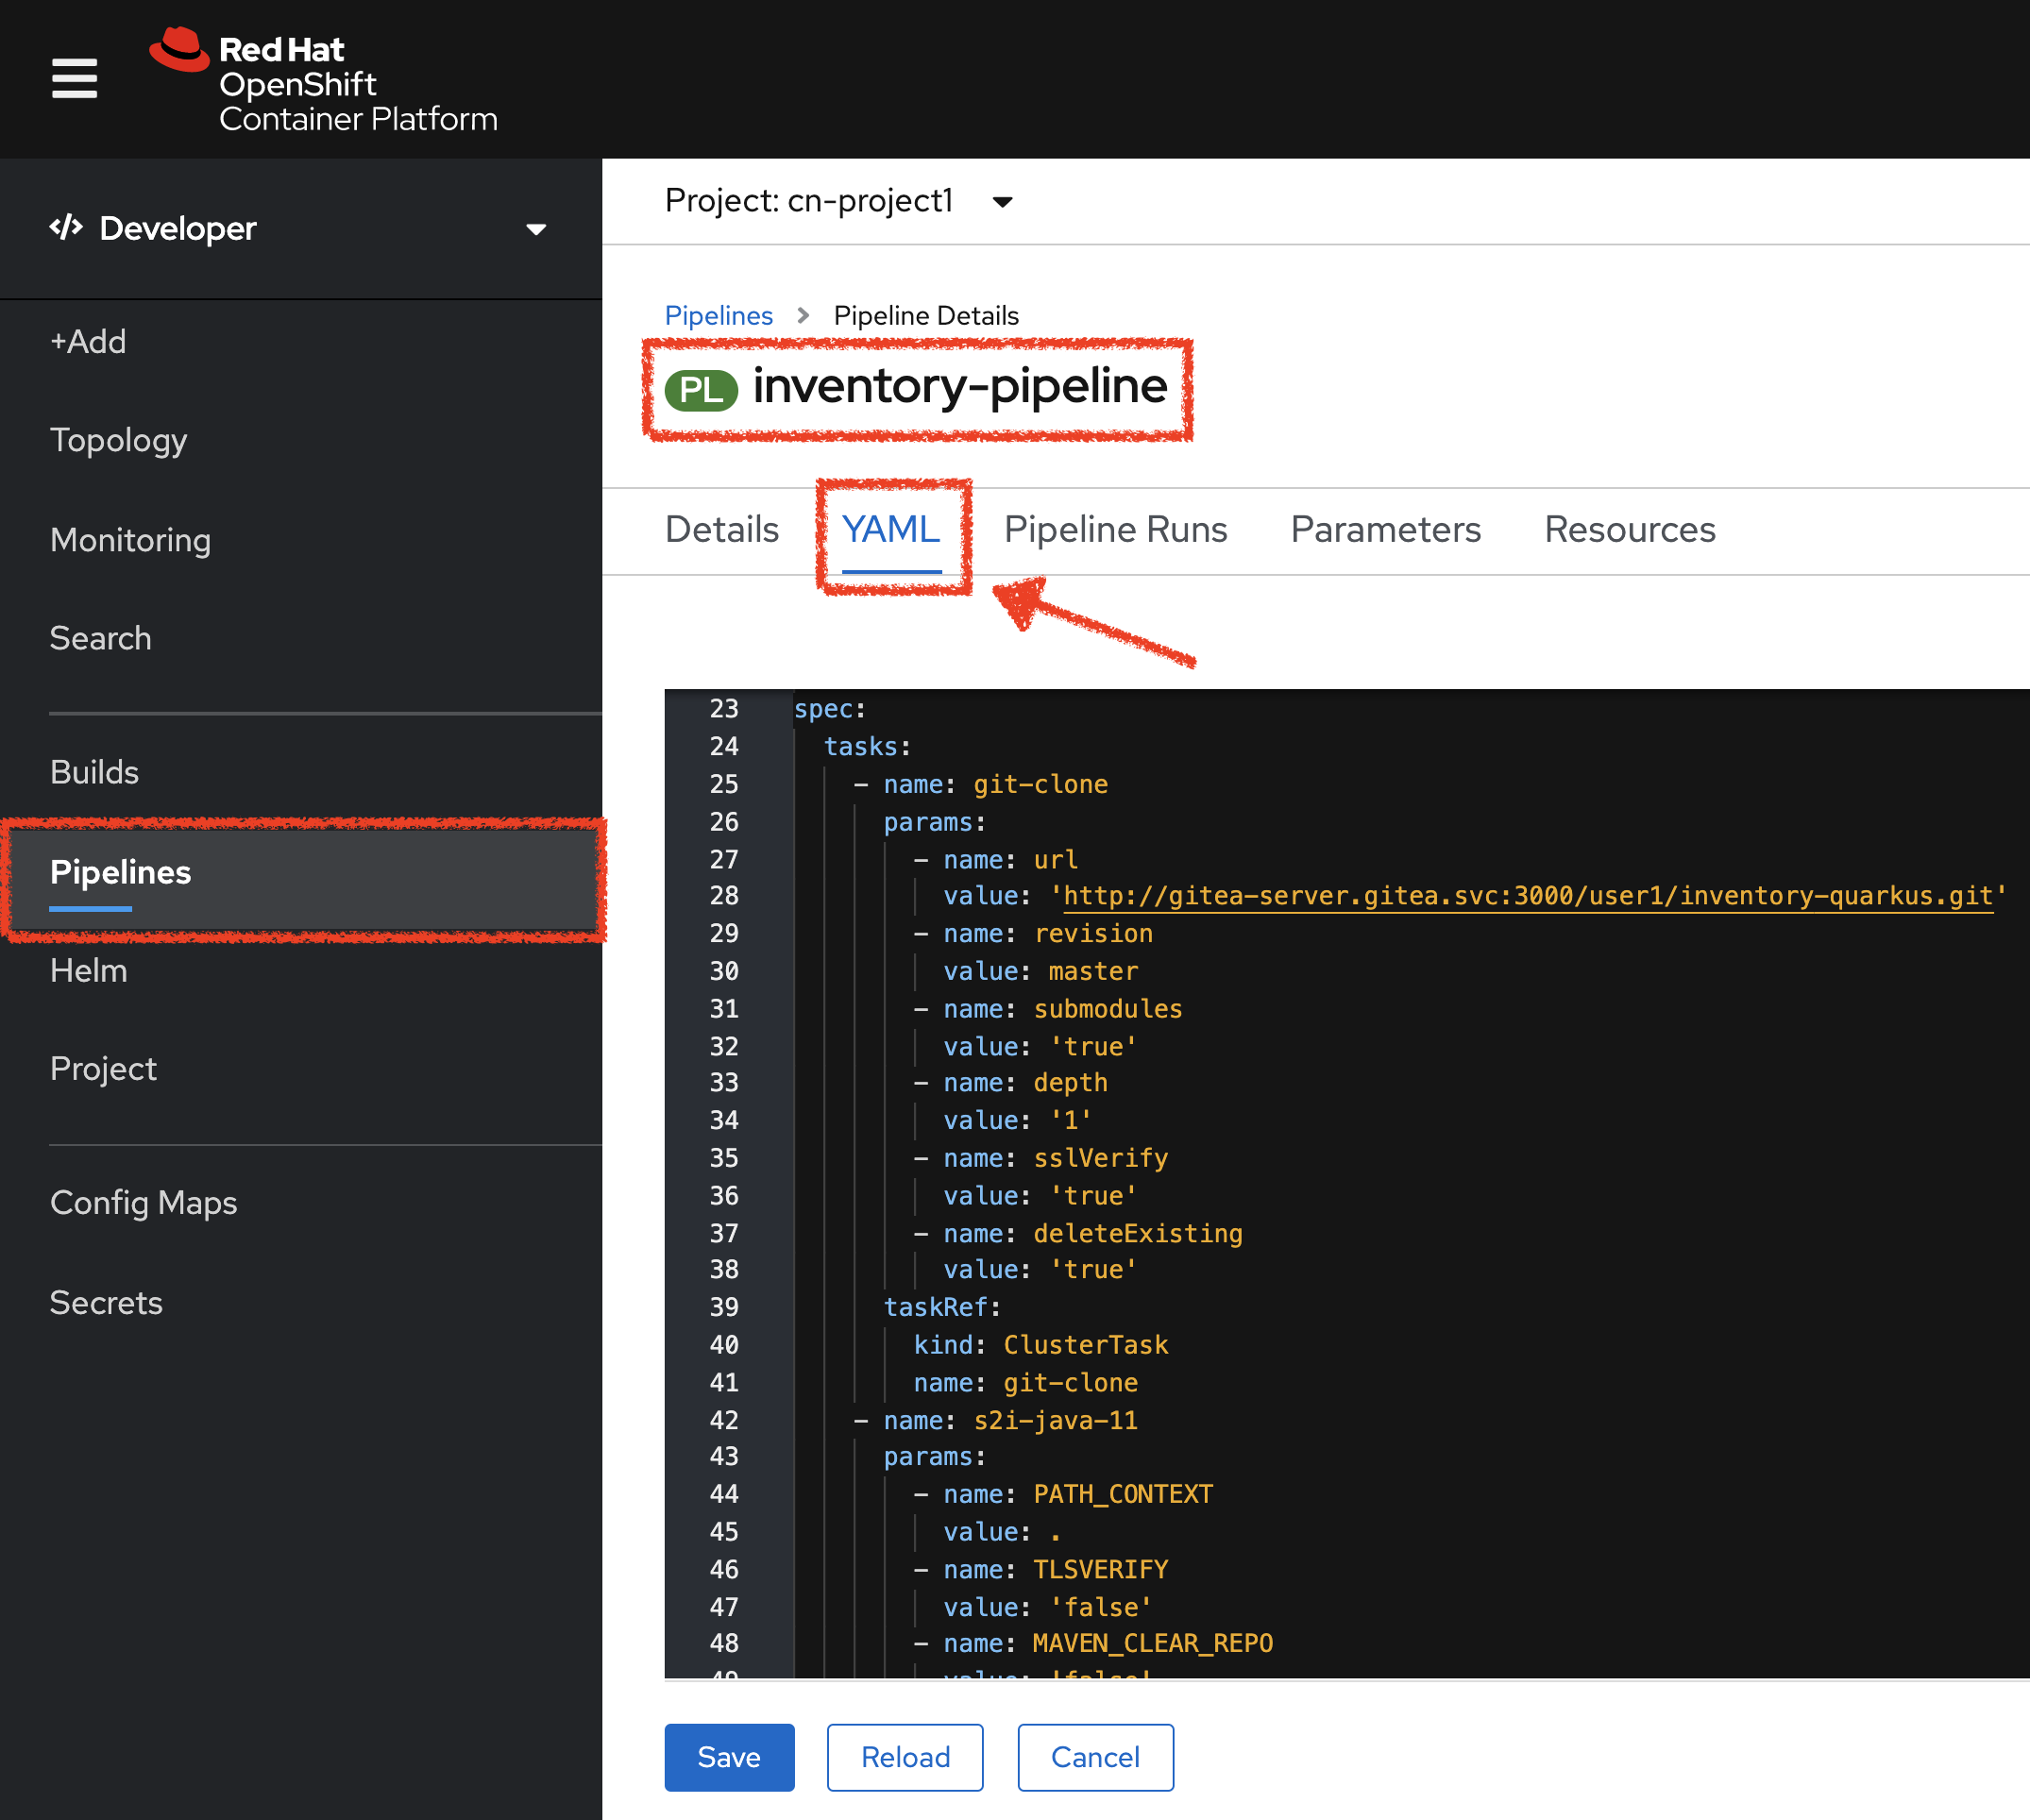
Add the three (3) workspace configurations as follows:
apiVersion: tekton.dev/v1beta1
kind: Pipeline
metadata:
  [...]
  name: inventory-pipeline
  namespace: cn-project%USER_ID%
  [...]
spec:
  workspaces: (1)
    - name: shared-workspace
  tasks:
    - name: git-clone
      workspaces: (2)
        - name: output (3)
          workspace: shared-workspace (4)
      params:
        [...]
      taskRef:
        [...]
    - name: s2i-java
      workspaces:
        - name: source (5)
          workspace: shared-workspace (6)
      params:
        [...]
      taskRef:
        [...]
      runAfter:
[...]| 1 | List of Workspaces shared between the Tasks defined in the Pipeline: shared-workspace |
| 2 | List of Workspaces used in the Task |
| 3 | Name that uniquely identifies the Workspace used in the Task. This Task uses one Workspace named output |
| 4 | Name of the Pipeline Workspace used by the Task. Note that the Workspace output in turn uses the Pipeline Workspace named shared-workspace |
| 5 | This Task uses one Workspace named source |
| 6 | The Pipeline Workspace attached is named shared-workspace |
Finally, Click on 'Save'. A shared workspace is now configured into your Pipeline.
Run the Pipeline
Now that your pipeline is created and configured, let’s run it.
In the OpenShift Web Console, from the Developer view,
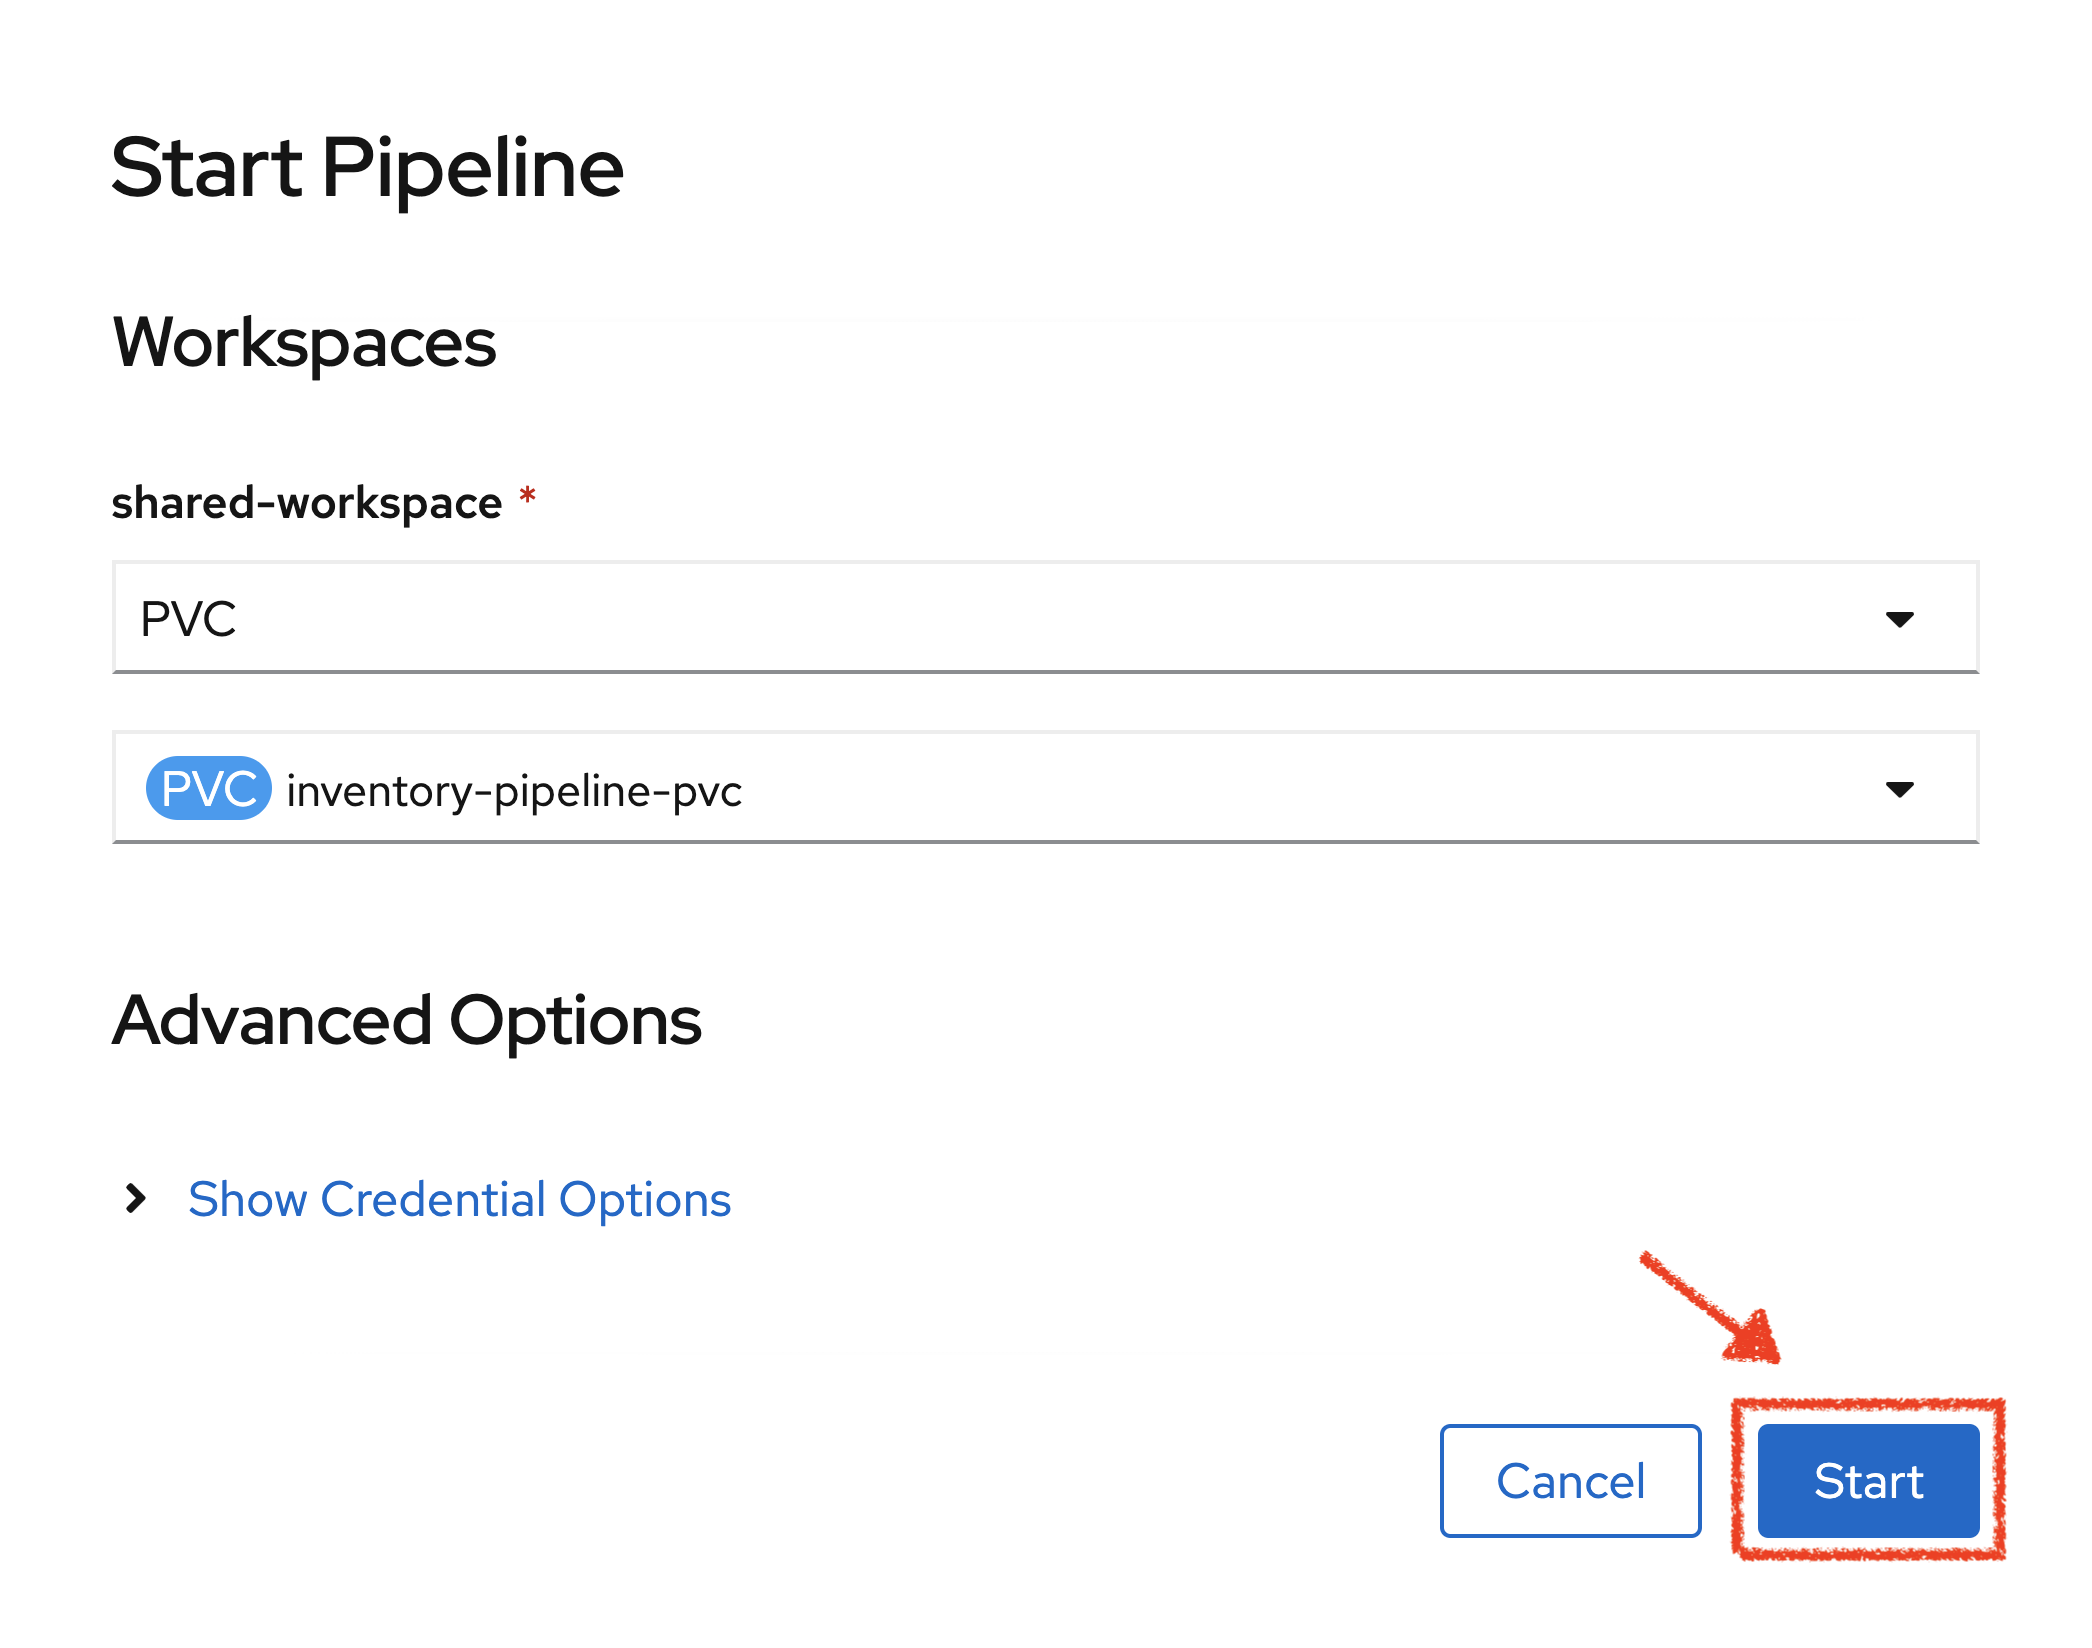
click on 'Pipelines' → 'PL inventory-pipeline' → 'Actions' → 'Start'
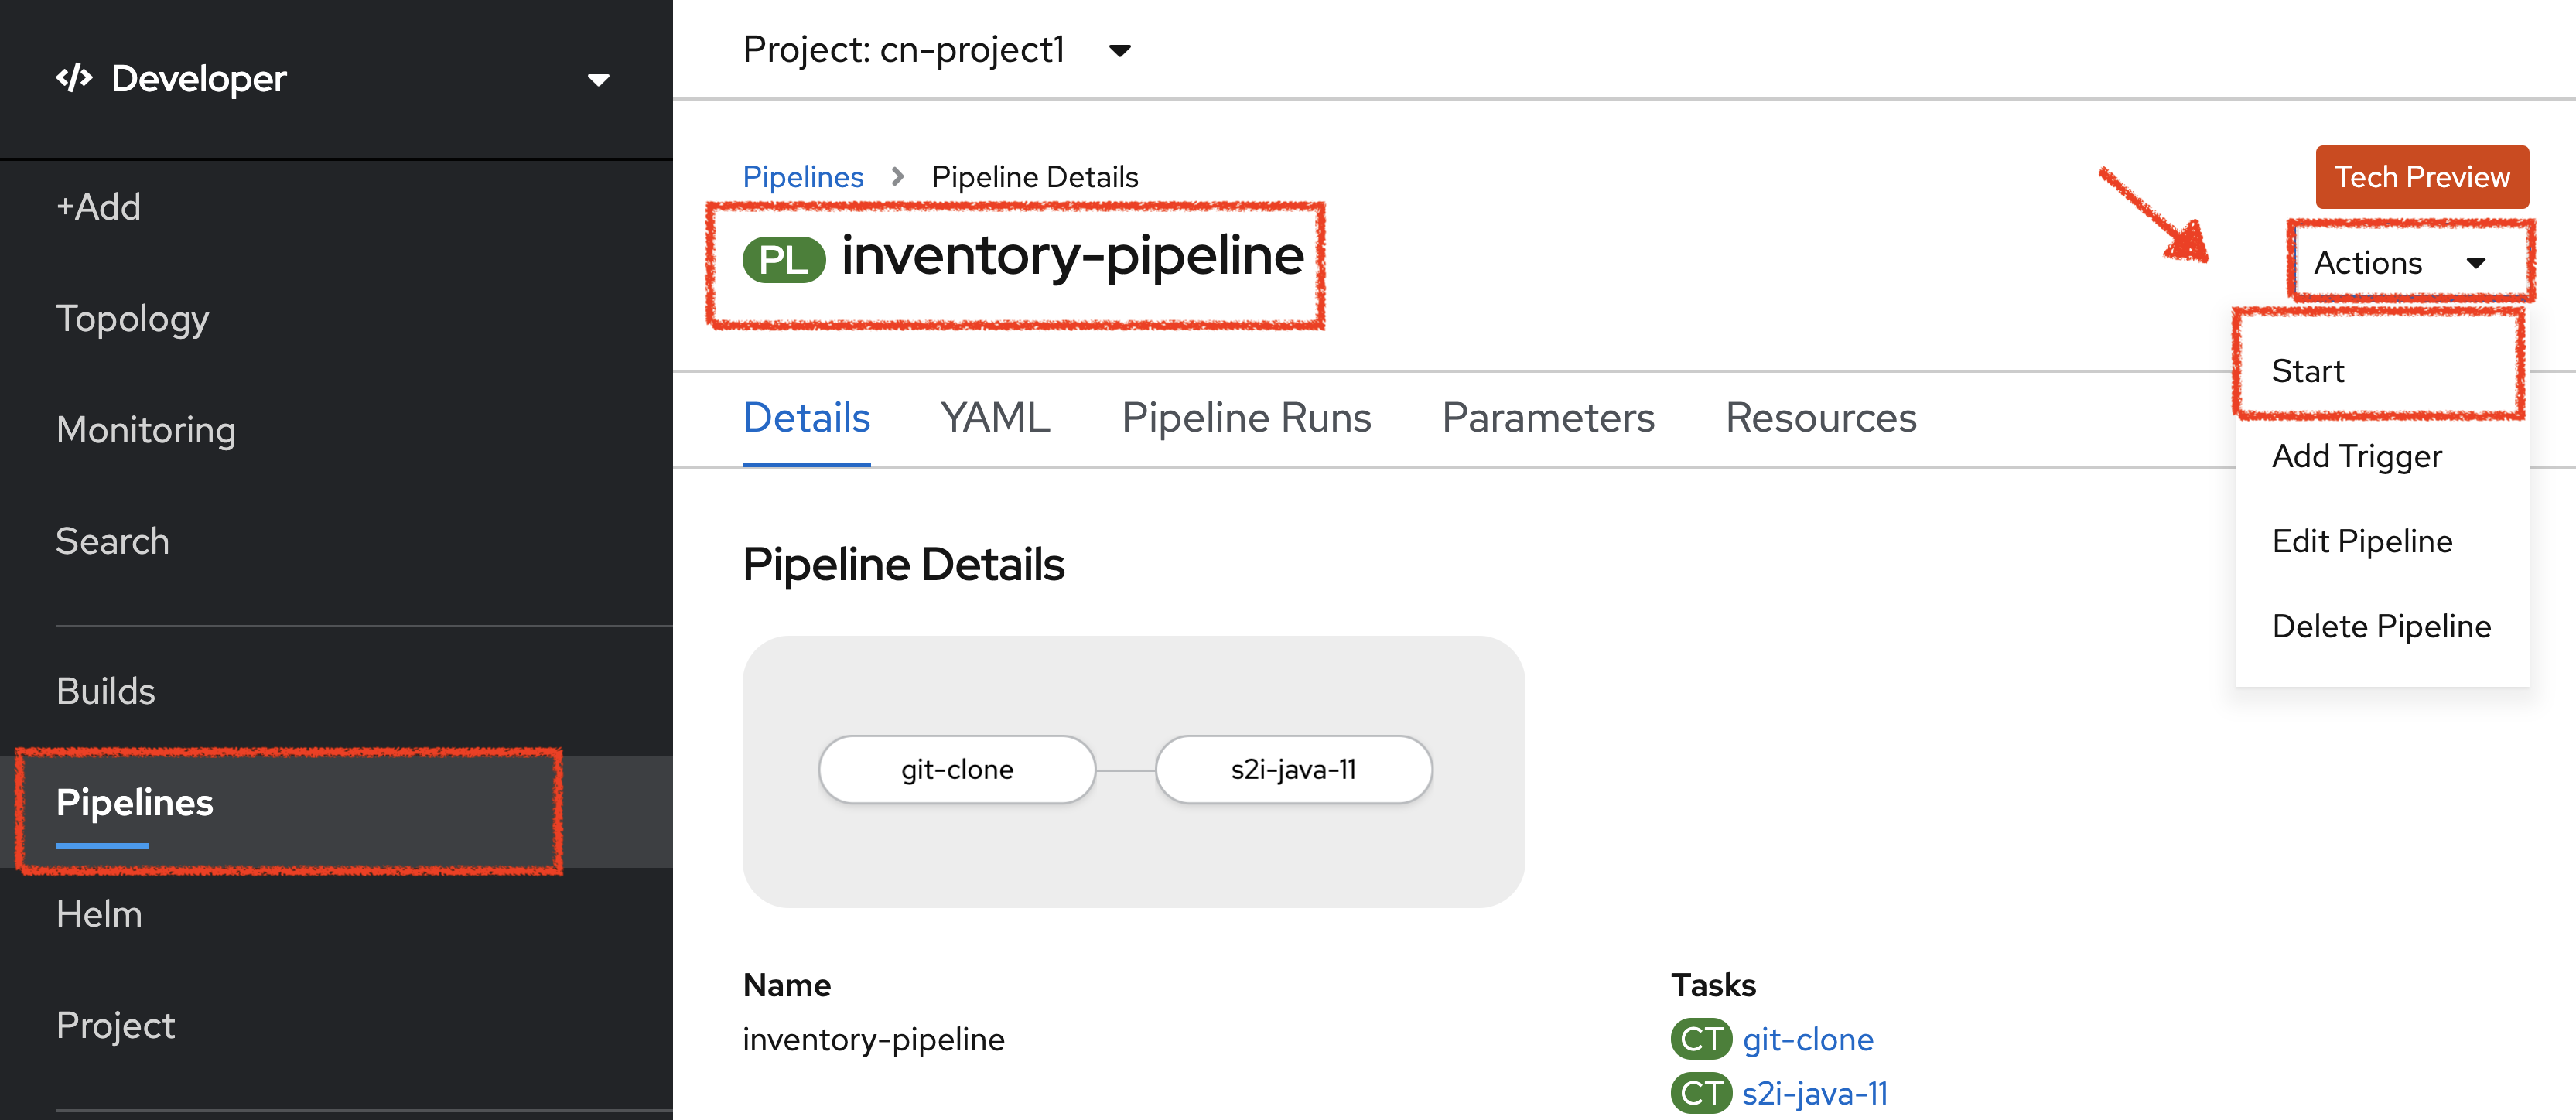
Enter the following parameters then click on 'Start'
| Name | Type | Value |
|---|---|---|
shared-workspace |
PVC |
PVC inventory-pipeline-pvc |
Congratulations!! You have created and run your first CI Pipeline on OpenShift!!
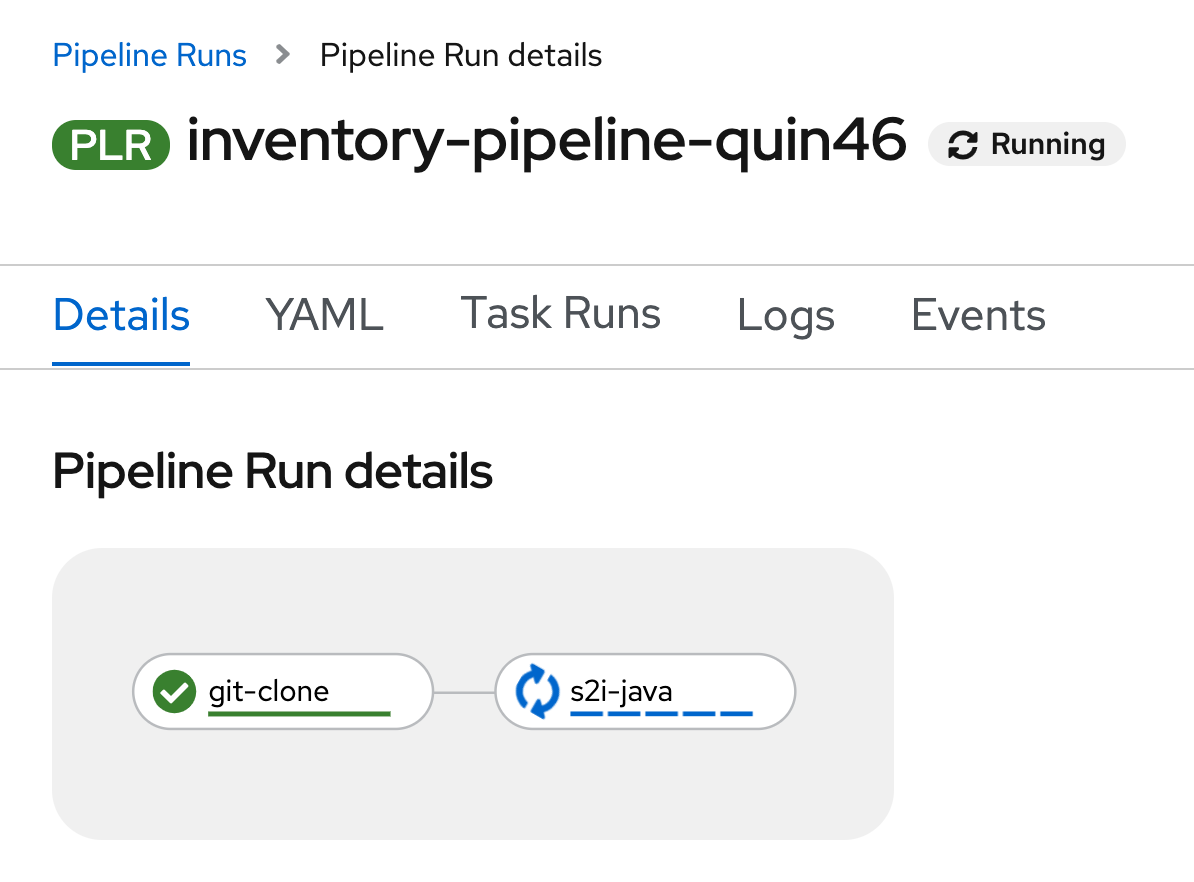
Well done! You are ready for the next lab.


