Deploy the Front-End
| In this section, you will see how to build a container for the front-end. If you want to skip this part and jump directly to the deployment part, you can also use a pre-existing image by jumping here. |
Build a Container
To deploy this application, you can’t just use the same container that you used in development. That container is for a development environment and includes things such as a hot-reload server.
For your production environment, you will package up your React application and deploy it on an Nginx server. Ideally, it will use environment variables to configure it and will run as a non-root user for maximum security.
To find out more about building such containers, you can take a look at this blog post.
For this workshop, you will use the templates provided in that post.
First, start by copying the Dockerfile, nginx.conf and start-nginx.sh files from the repository mentioned above.
cd front
curl https://raw.githubusercontent.com/joellord/frontend-containers/main/react-project/Dockerfile.rootless -o Dockerfile
curl https://raw.githubusercontent.com/joellord/frontend-containers/main/react-project/start-nginx.sh -o start-nginx.sh
curl https://raw.githubusercontent.com/joellord/frontend-containers/main/react-project/nginx.conf -o nginx.conf
To avoid copying all the node_modules folder in your container, you can also create a .dockerignore file.
echo "node_modules" > .dockerignoreYou are now ready to build this image.
docker build -t urlshortener-front .
If you are using podman instead of docker, you need to use the --format=docker parameter to push your image to Docker Hub.
|
Push to a registry
Now that you have an image ready to be deployed, you can use the docker push command to store this image into a registry. Feel free to use any registry for this step.
If you don’t have access to an image registry, you can create a free account on Quay.io or skip to the deployment step and use the publicly available image.
Use the CLI tool to push this image to a registry. Make sure that you replace `%REGISTRY_USERNAME% with your actual username
docker push urlshortener-front %REGISTRY_USERNAME%/urlshortener-frontThis application image is now available to be used by OpenShift.
Deploy the front-end
You are now ready to deploy this image in your OpenShift cluster. Using the oc CLI tool, this can be done with a single command.
oc new-app %REGISTRY_USERNAME/urlshortener-frontIf you didn’t push your custom image to a public registry, you could also use this image with the latest version of the URL shortener front-end.
oc new-app joellord/urlshortener-front| If you run into an error message about hitting a rate limit, take a look at this blog post for more details on how to work around it. |
OpenShift will now go and download that image from your registry and create a new application with it.
Expose the application
The front-end has been deployed to your cluster, but there still isn’t a way to access it from the outside of the cluster.
To do so, you need to expose the service created with a Route. This can be done with a single command.
oc expose svc/urlshortener-front --port=8080Your application is now fully deployed to OpenShift, and you should be able to see it in the Topology view of your application, as shown below.
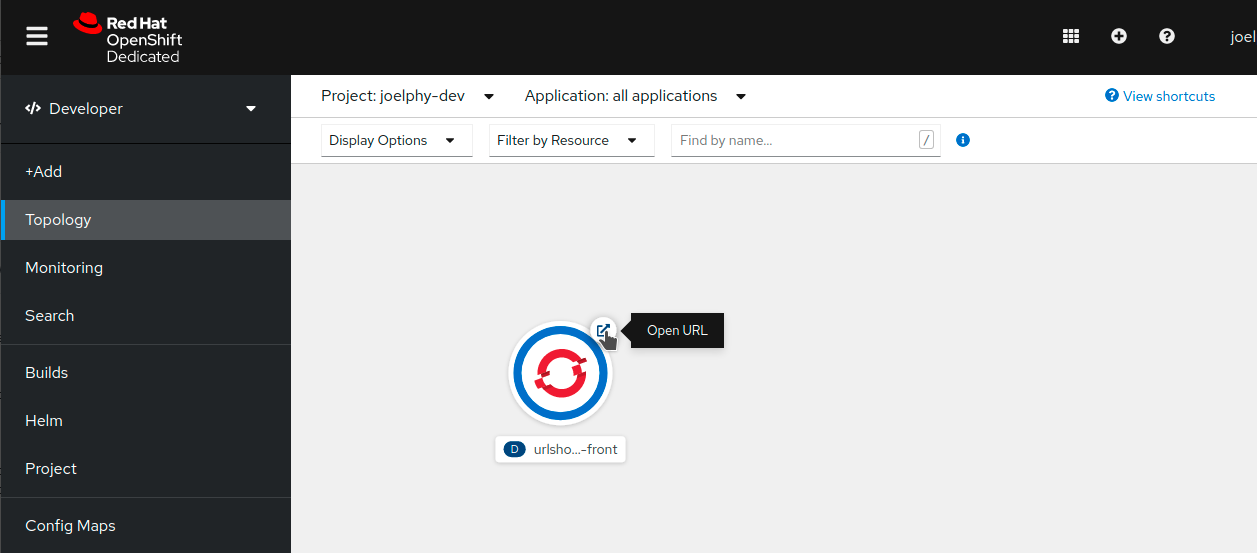
Verify application status
If you click on the "Open URL" button next to your application in the topology view, it should open up your front-end application.
From here, you can view the list of redirection URLs (currently empty). You can also see the form to add new URLs (currently non-working). Finally, a third link in the navigation bar leads to an "About" page. In there, you can see the status of the Node.js API, the Mongo database and the redirector service.
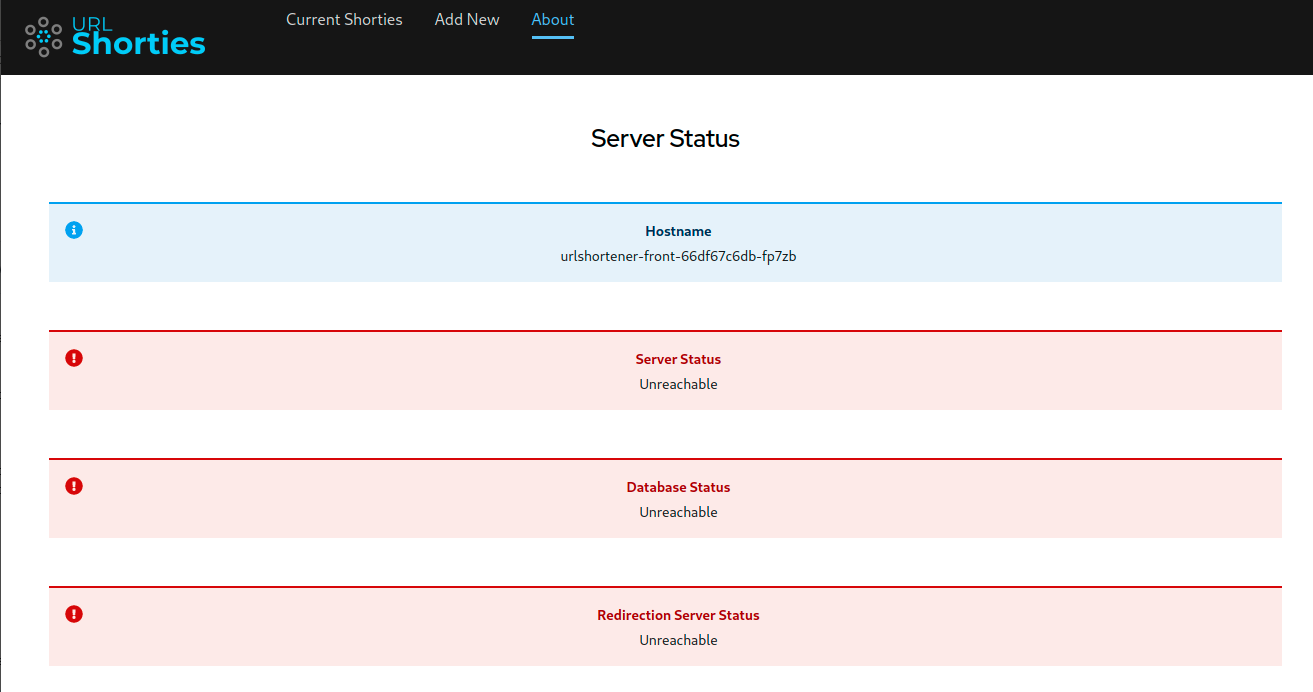
Right now, all indicators are red because the front-end doesn’t have a back-end to talk to. This will be addressed in the next section.