Preparing the development environment
In this step you will prepare the environment that you will use throughout the rest of the modules. You will:
-
Install Visual Studio Code IDE
-
Configure VScode command line tools
-
Install VSCode Language Support for Java
-
Install Red Hat Business Automation Bundle in VSCode
-
Creating the base folder for the labs
In these labs, the commands will consider the directory ~/enablement as the base directory to clone GitHub repos or create new projects.
-
To create a new folder named
enablementusing your terminal you can use the following command (Linux/OSX):$ mkdir ~/enablement && cd ~/enablement
Installing Visual Studio Code IDE
To install Visual Studio Code, navigate to the [VSCode website](https://code.visualstudio.com/), and click the blue Download button to download the IDE for your operating system.
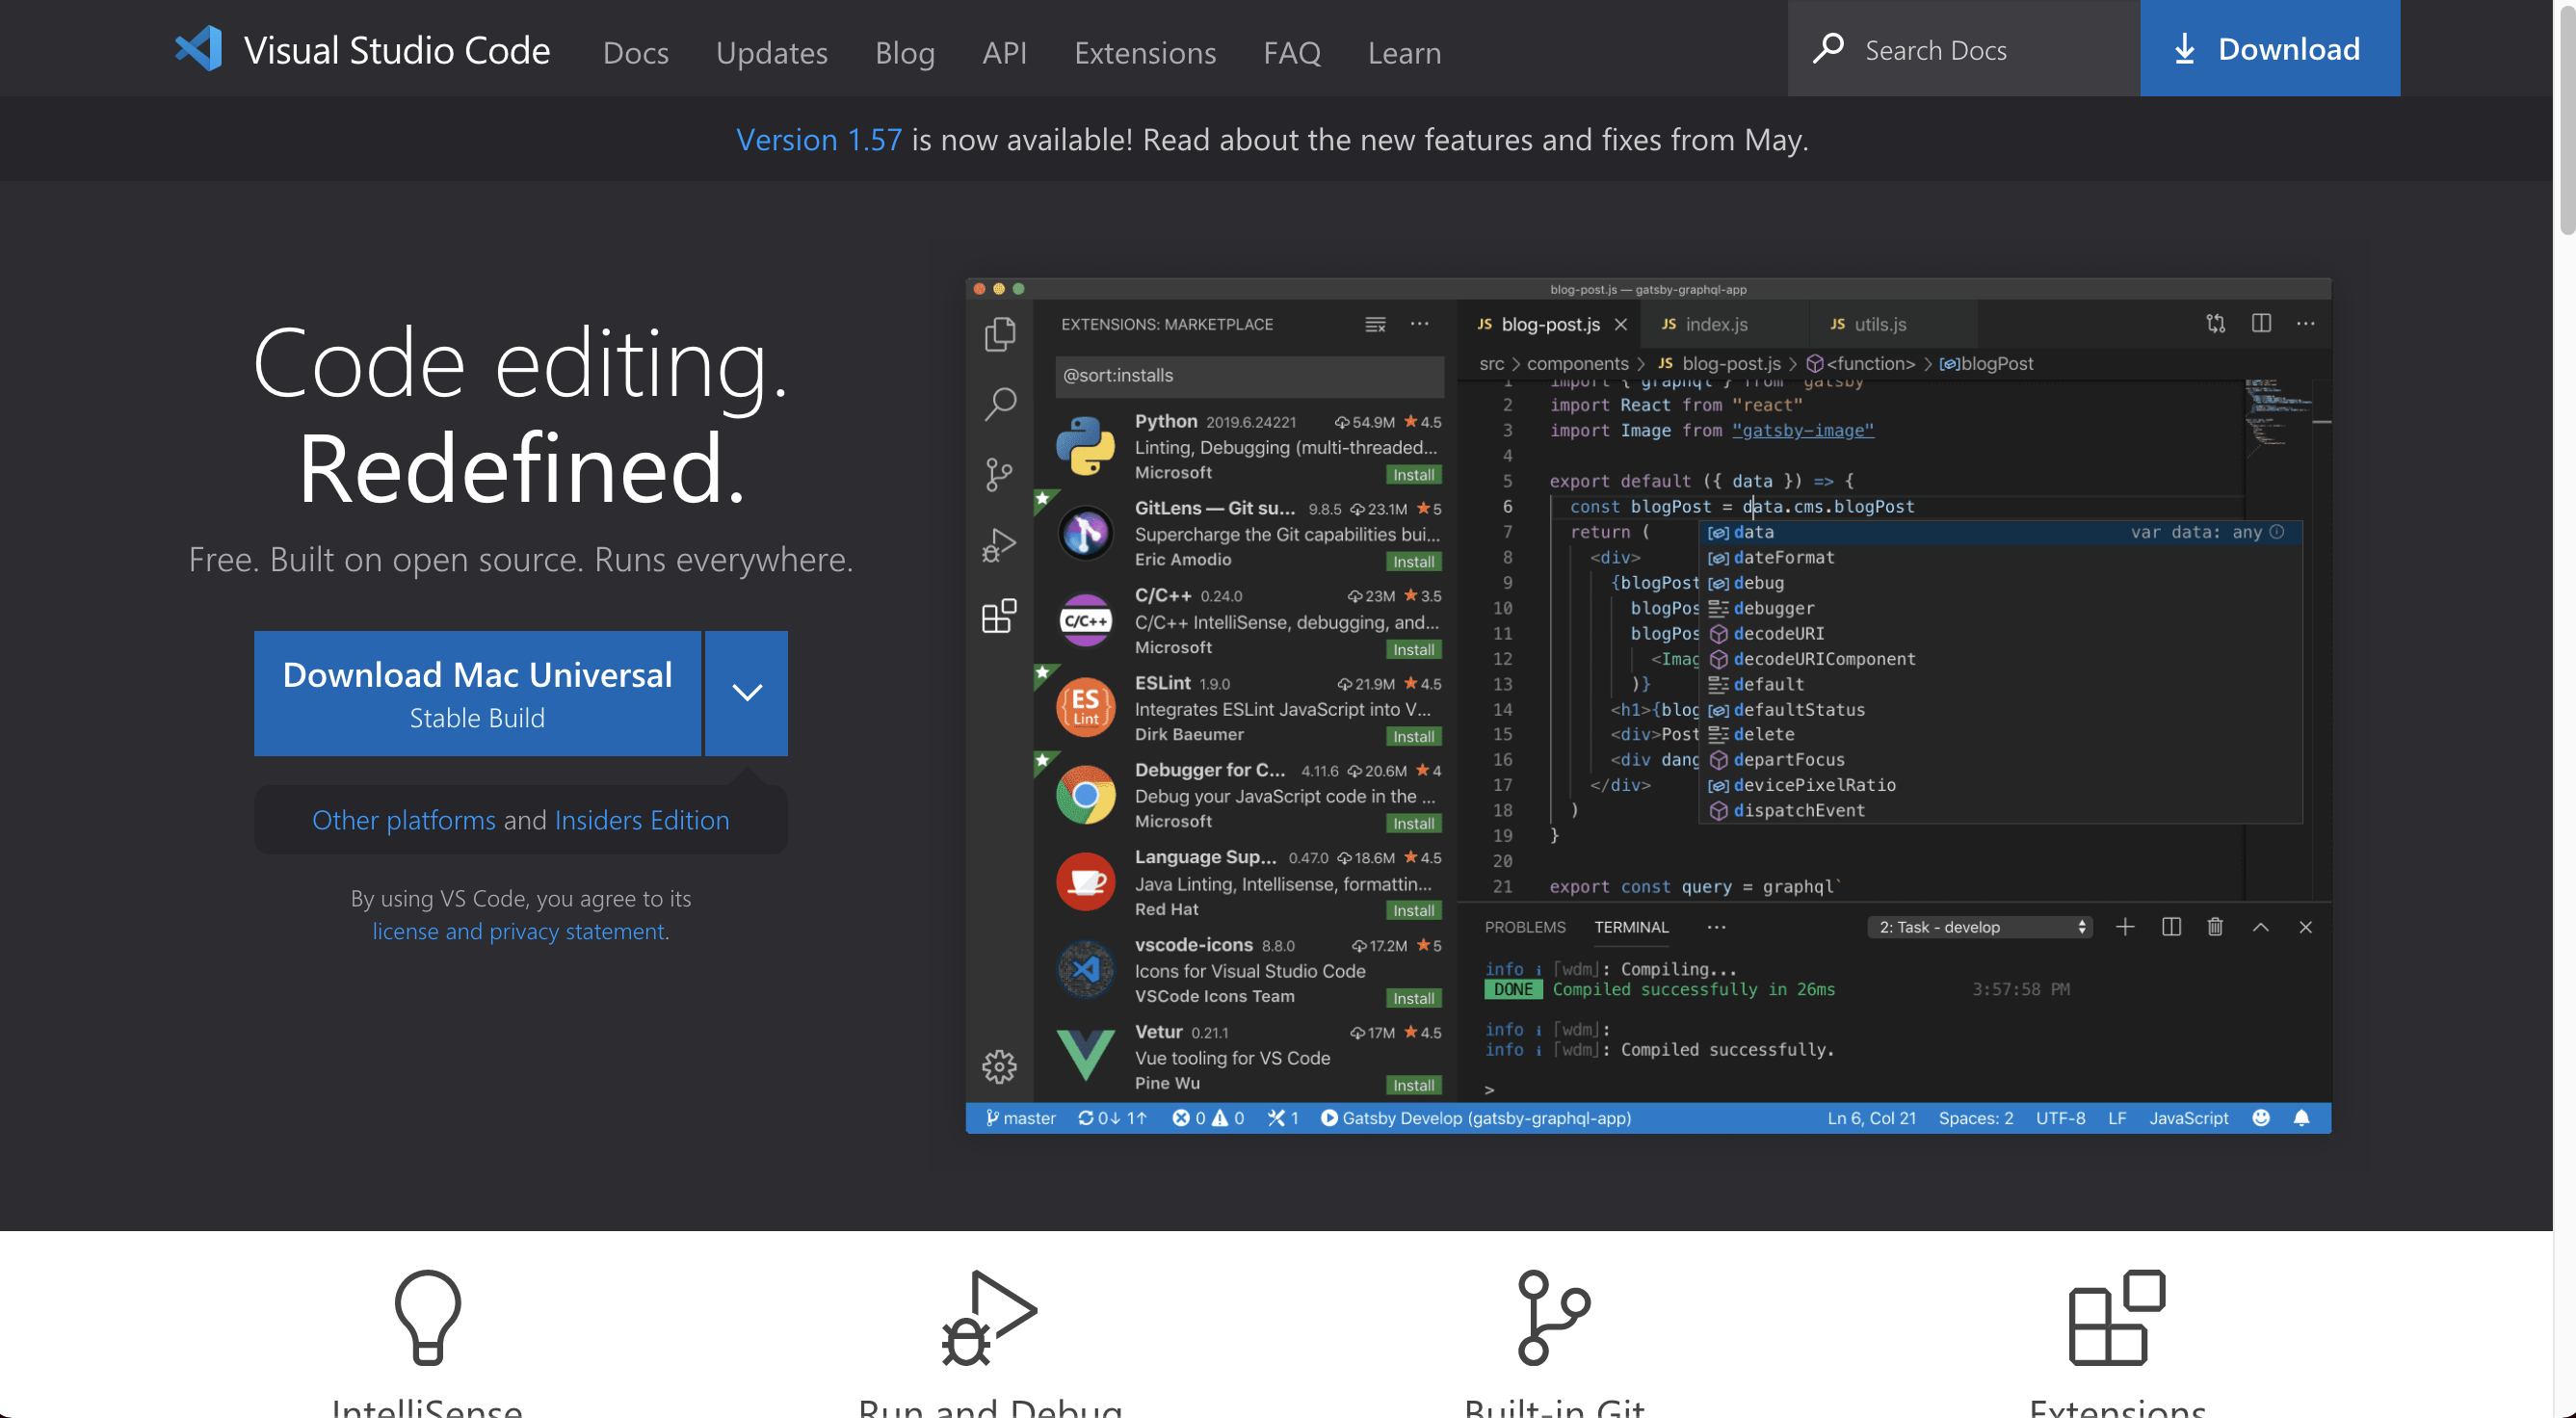
Follow the standard installation instructions.
| If you do not want to get automatic updates, you can set the Update: Mode setting from default to none . To modify the update mode, go to File > Preferences > Settings (macOS: Code > Preferences > Settings), search for update mode and change the setting to none.* |
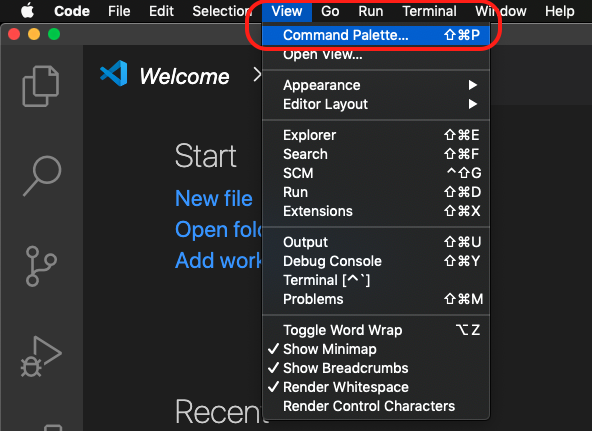
Configuring VSCode to run via Command Line
This step will allow you to start VSCode using your terminal using the command code.
Open VSCode, and look for the Command Pallet option (it can also be opened pressing ctrl+shift+p or cmd+shift+p):
Type code and select the option Shell Command: install 'code' command in PATH:
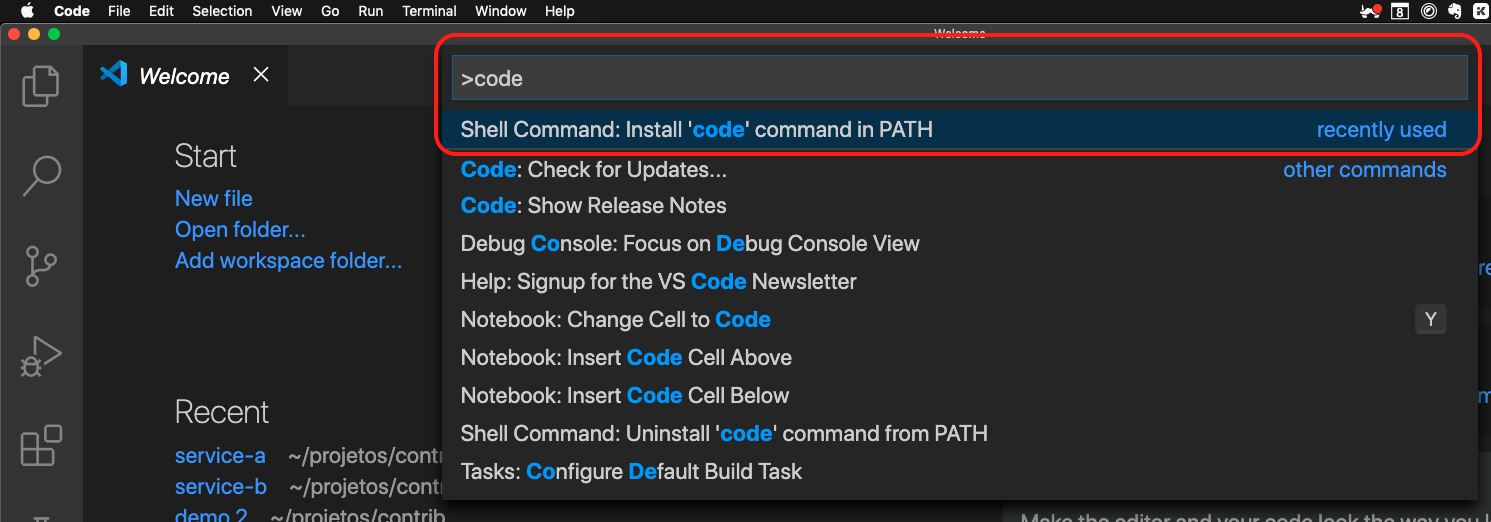
When you click the option above, VSCode will configure your operational system so that you can run the code command in your terminal to open VSCode.
Installing VSCode Plugins
It is possible to install plugins in VScode in two different ways:
We need to install two extensions to work the labs: Language Support for Java by Red Hat and Red Hat Business Automation Bundle.
Choose one of the two alternatives below and install the extensions:
Option 1: Installing via VSCode Marketplace
In VSCode marketplace, you can find the plugins at:
Open the page for each extension and click the green install button on each of the extensions to install it.
Option 2: Installing directly through VSCode
It is also possible to install the plugin directly from within VSCode.
Click the extensions tab from the left side bar:
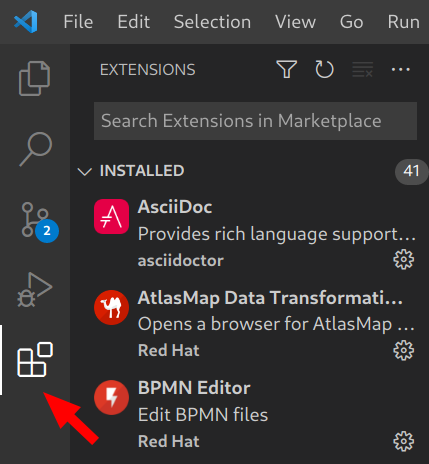
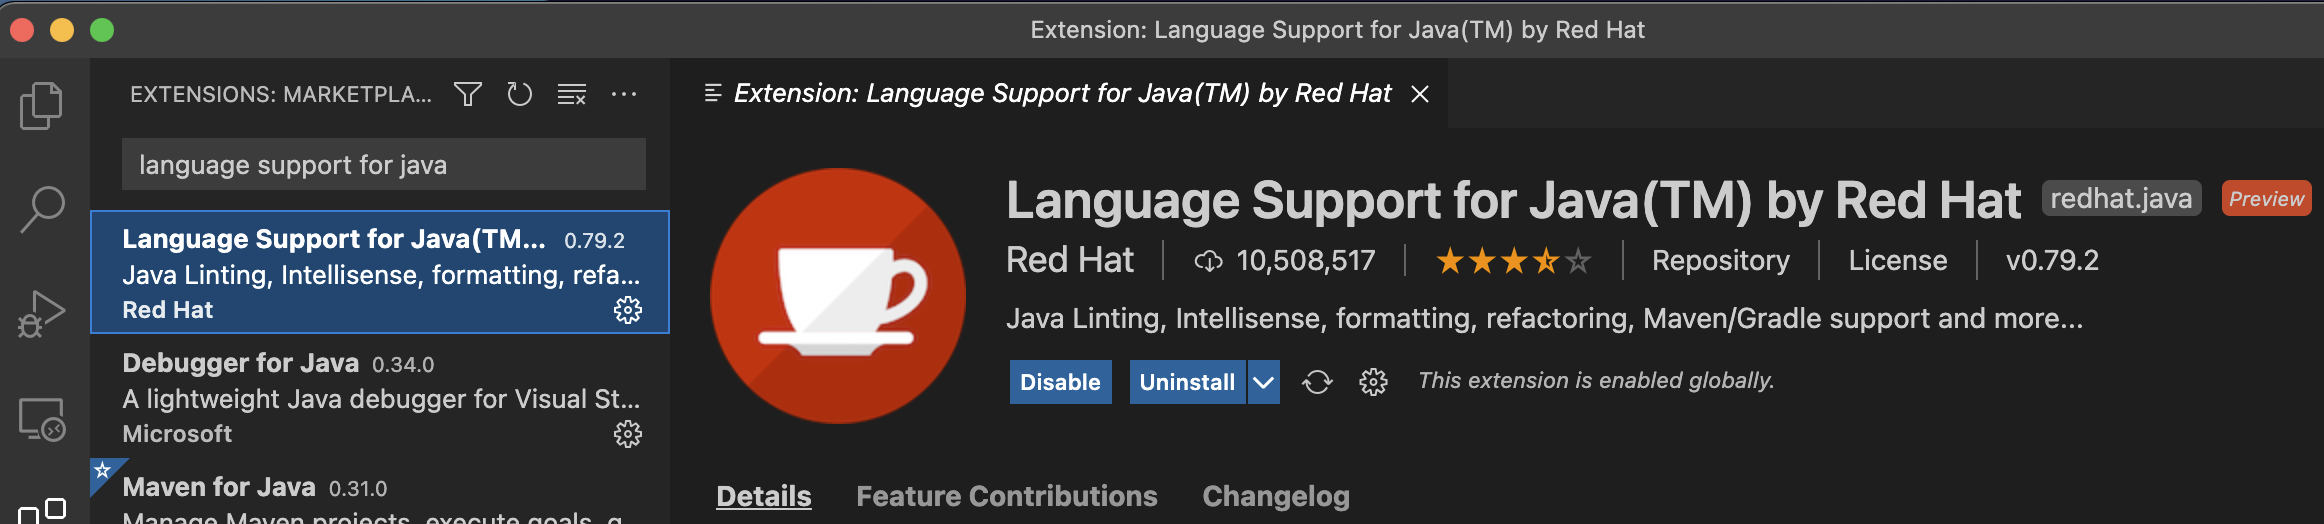
In the search box, search for language support for java. The Red Hat extension should be on the top of the list. Select the extension and click on the Install button.
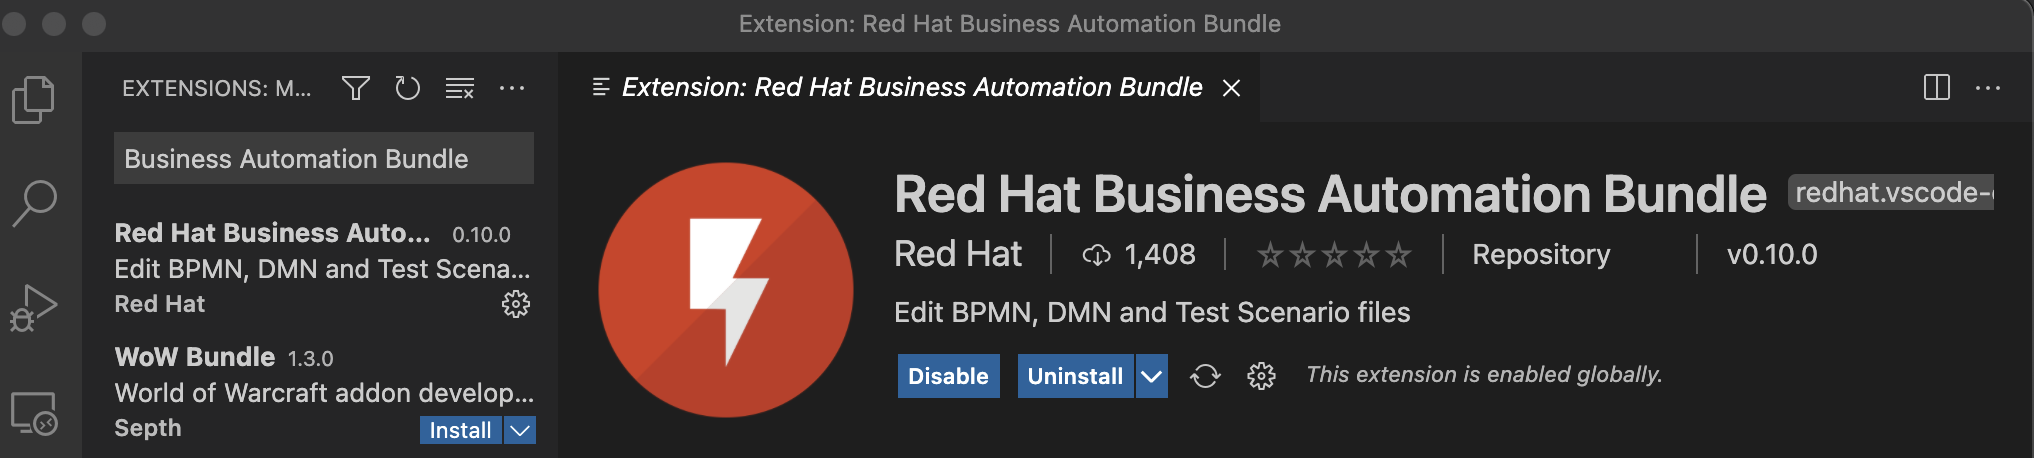
In the search box, search for Business Automation Bundle, and select it. Click the install button.
Your IDE is now ready to start working with Kogito applications.
Install Graal VM ( Optional )
GraalVM is a Java VM and JDK based on HotSpot/OpenJDK, implemented in Java. It supports additional programming languages and execution modes, like ahead-of-time compilation of Java applications for fast startup and low memory footprint.
Most of the exercises in this guide’s lab can be done on OpenJDK or Oracle Hotspot. Although if you want to try compiling the application into a native executable, you will need GraalVM or Mandrel.
Download GraalVM Community 22.0.0.2 Java 11 (graalvm-ce-java11) from [the following website](https://github.com/graalvm/graalvm-ce-builds/releases/tag/vm-22.0.0.2) for your operating system, and follow the [installation instructions](https://www.graalvm.org/docs/getting-started/#install-graalvm) for your operating system.
You can look for the files graalvm-ce-java11-*-22.0.0.2.tar.gz matching your OS.
You don’t need the ruby, r, python and wasm packages. You only need the native-image package.
Getting Started with GraalVM:
If you find any "permission denied" errors while running the setx command, try opening your terminal (command line) as an admin user by right clicking the command shell icon, and selecting run as administrator.
If running on Windows, make sure GraalVM is the last Java configured on your PATH environment variable
Which JVM am I using?
To confirm which JVM you are using, you can run the command java -version. See examples below:
Here you can see GraalVM 22.0.0.2 is installed for Java 11:
$ java -version
openjdk version "11.0.14" 2022-01-18
OpenJDK Runtime Environment GraalVM CE 22.0.0.2 (build 11.0.14+9-jvmci-22.0-b05)
OpenJDK 64-Bit Server VM GraalVM CE 22.0.0.2 (build 11.0.14+9-jvmci-22.0-b05, mixed mode, sharing)
Now here, we have Java HotSpot VM for Java 11:
$ java -version
java version "11.0.12" 2021-07-20 LTS
Java(TM) SE Runtime Environment 18.9 (build 11.0.12+8-LTS-237)
Java HotSpot(TM) 64-Bit Server VM 18.9 (build 11.0.12+8-LTS-237, mixed mode)
You can easily change the JVM by pointing your PATH environment variable to the JVM you want to use.