Setup
To run this deep dive, you need two different Kubernetes clusters. You can skip to the following chapter if you already have two clusters. If not, this chapter will show you how to start two, one in Red Hat Sandbox and the other locally with KinD.
Tools
To run this tutorial, you need at least two CLI tools, kubectl and skupper.
Kubectl
Any new version of kubectl should work, but the deep dive is tested with version 1.29.1.
| Tool | macOS | Linux | windows |
|---|---|---|---|
|
Skupper
This deep dive is tested with Skupper 1.7.0.
You can download the skupper CLI tool and copy to your PATH directory or use an installation script on Linux and Mac (https://skupper.io/install/index.html)
| Tool | macOS | Linux | windows |
|---|---|---|---|
|
Optional tools
It is not mandatory to install kubectx, but since we will frequently change the Kubernetes context, I recommend it.
Setup Red Hat Sandbox
Developer Sandbox for Red Hat OpenShift is a free Kubernetes cloud environment in a shared, multi-tenant OpenShift cluster that is pre-configured with a set of developer tools. The Developer Sandbox is active for 30 days and renewable once it expires.
To create your account, register to Developer Sandbox for Red Hat OpenShift. From there, click on the red button that says Start your sandbox for free as shown in the following image.
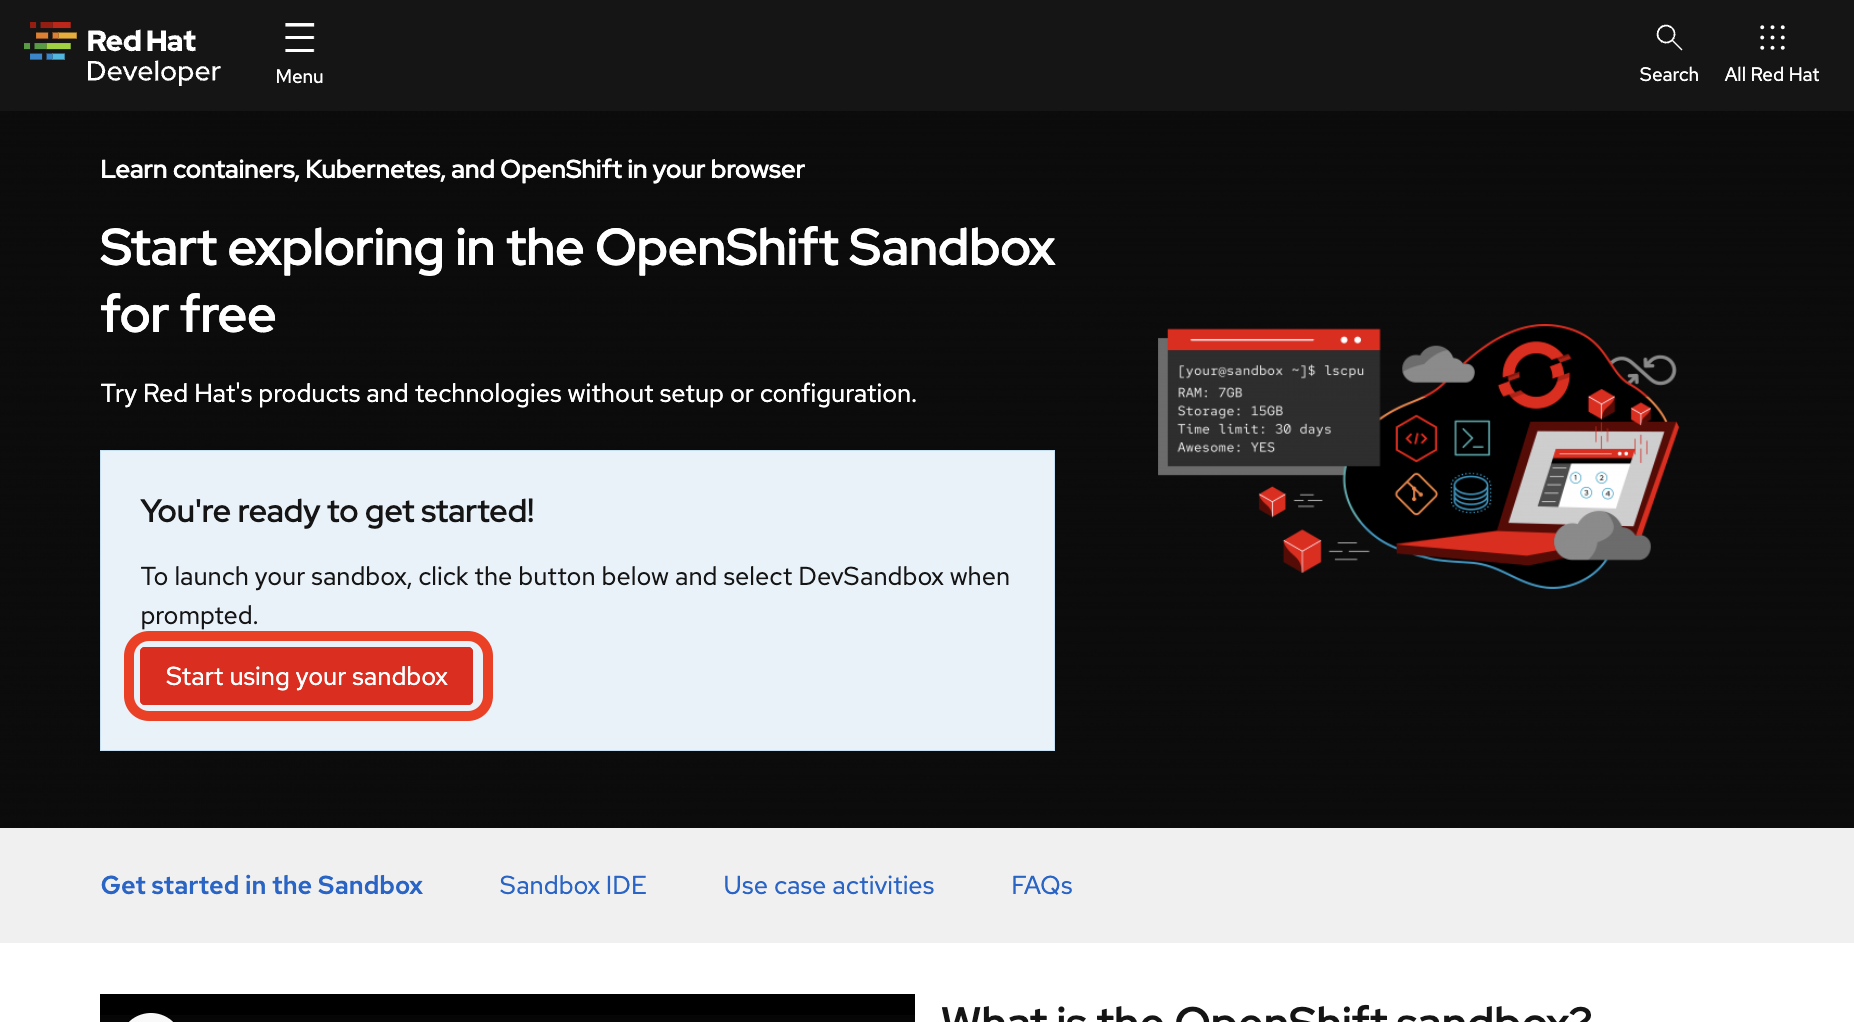
Use your existing Red Hat account or create a new one, then follow the instructions on the screen. You should then be redirected to the Developer Sandbox page again, but this time, you should see a button labelled Start using your sandbox.
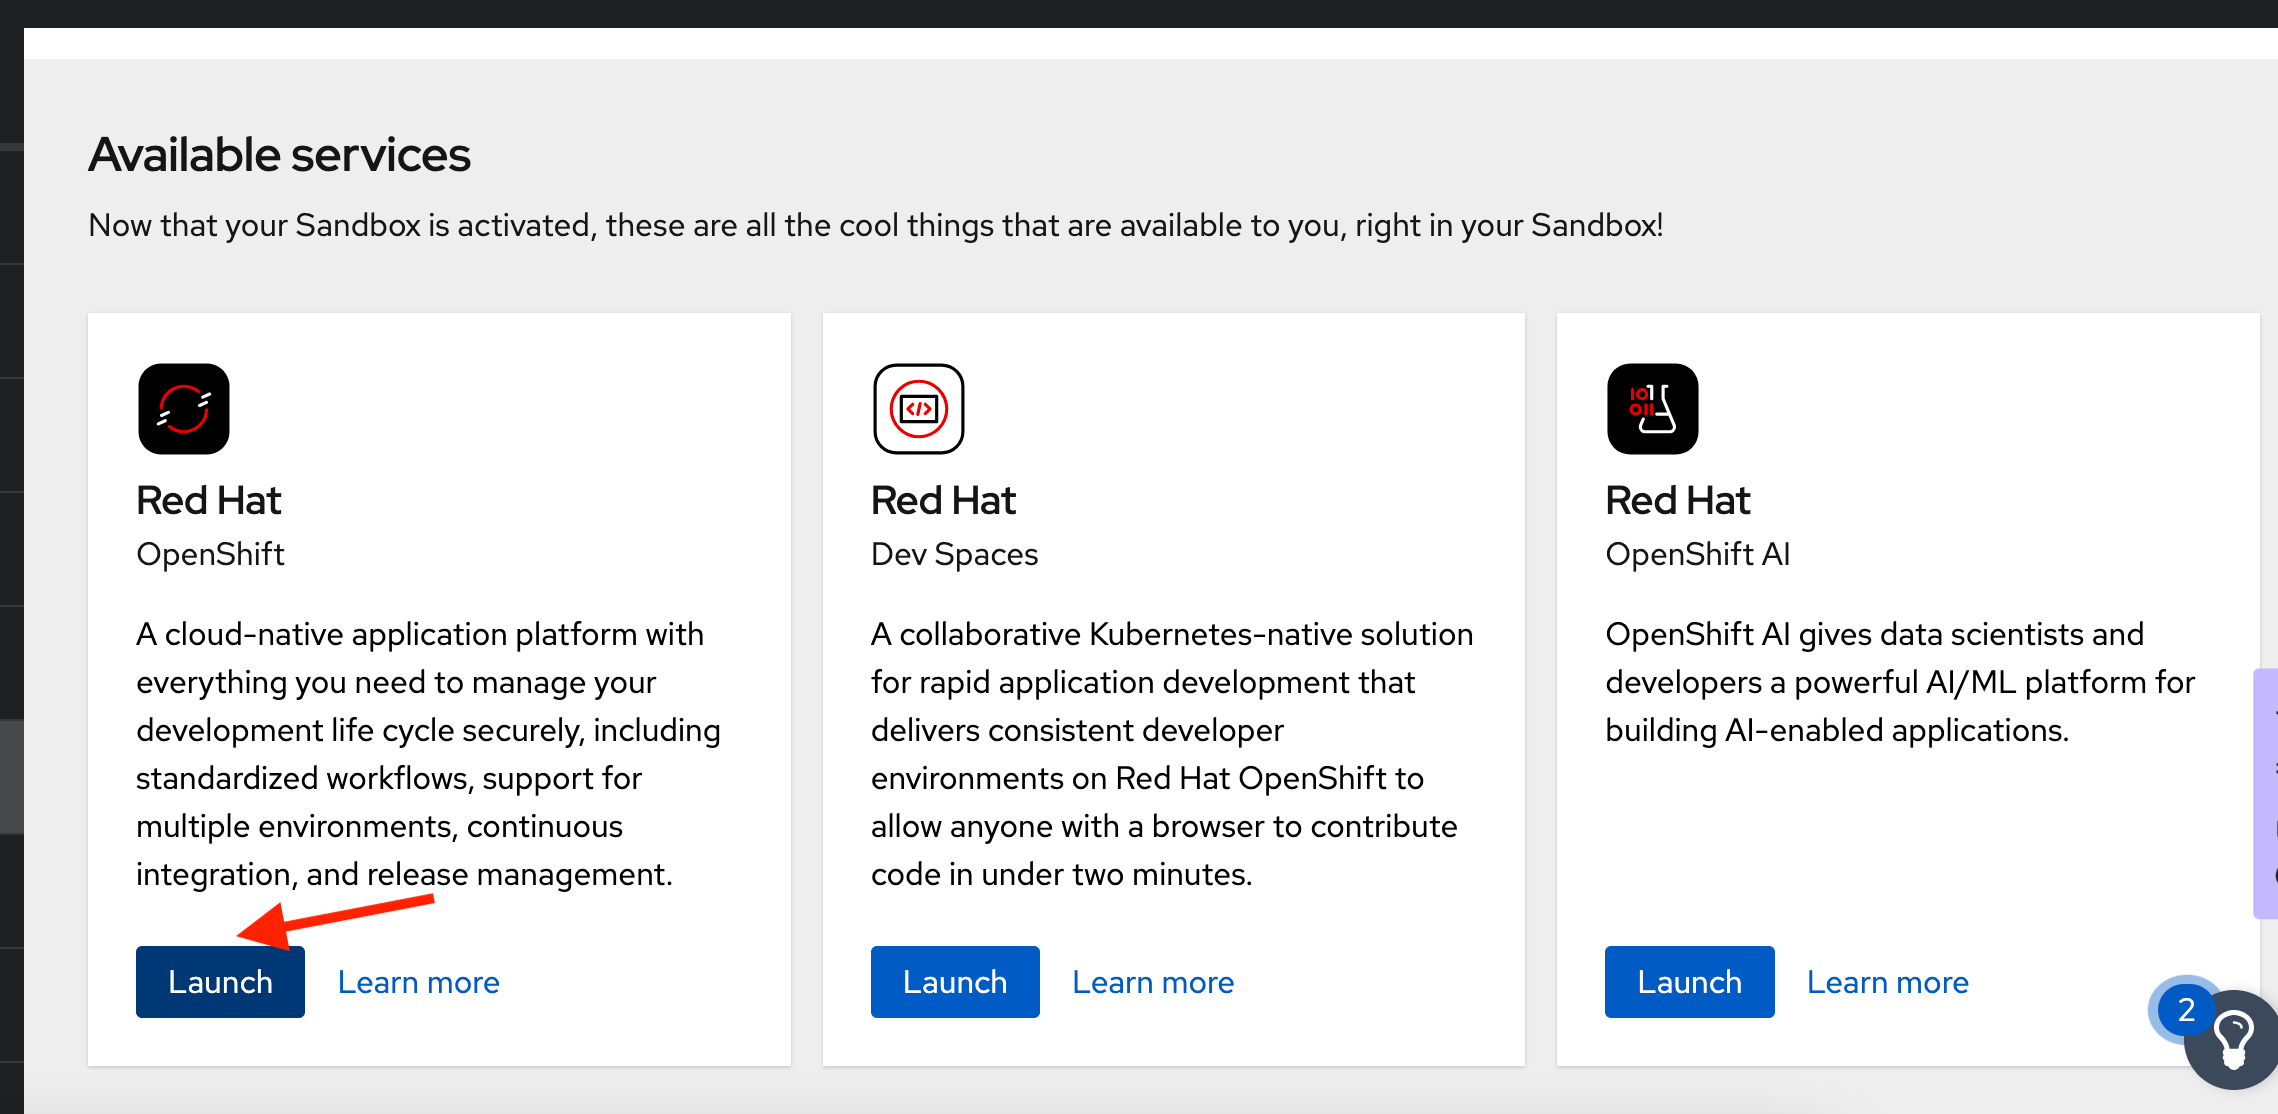
If the following screen is shown select the Red Hat OpenShift option:
Clicking on it opens up the OpenShift login screen where you can log in using the DevSandbox button, as seen below.
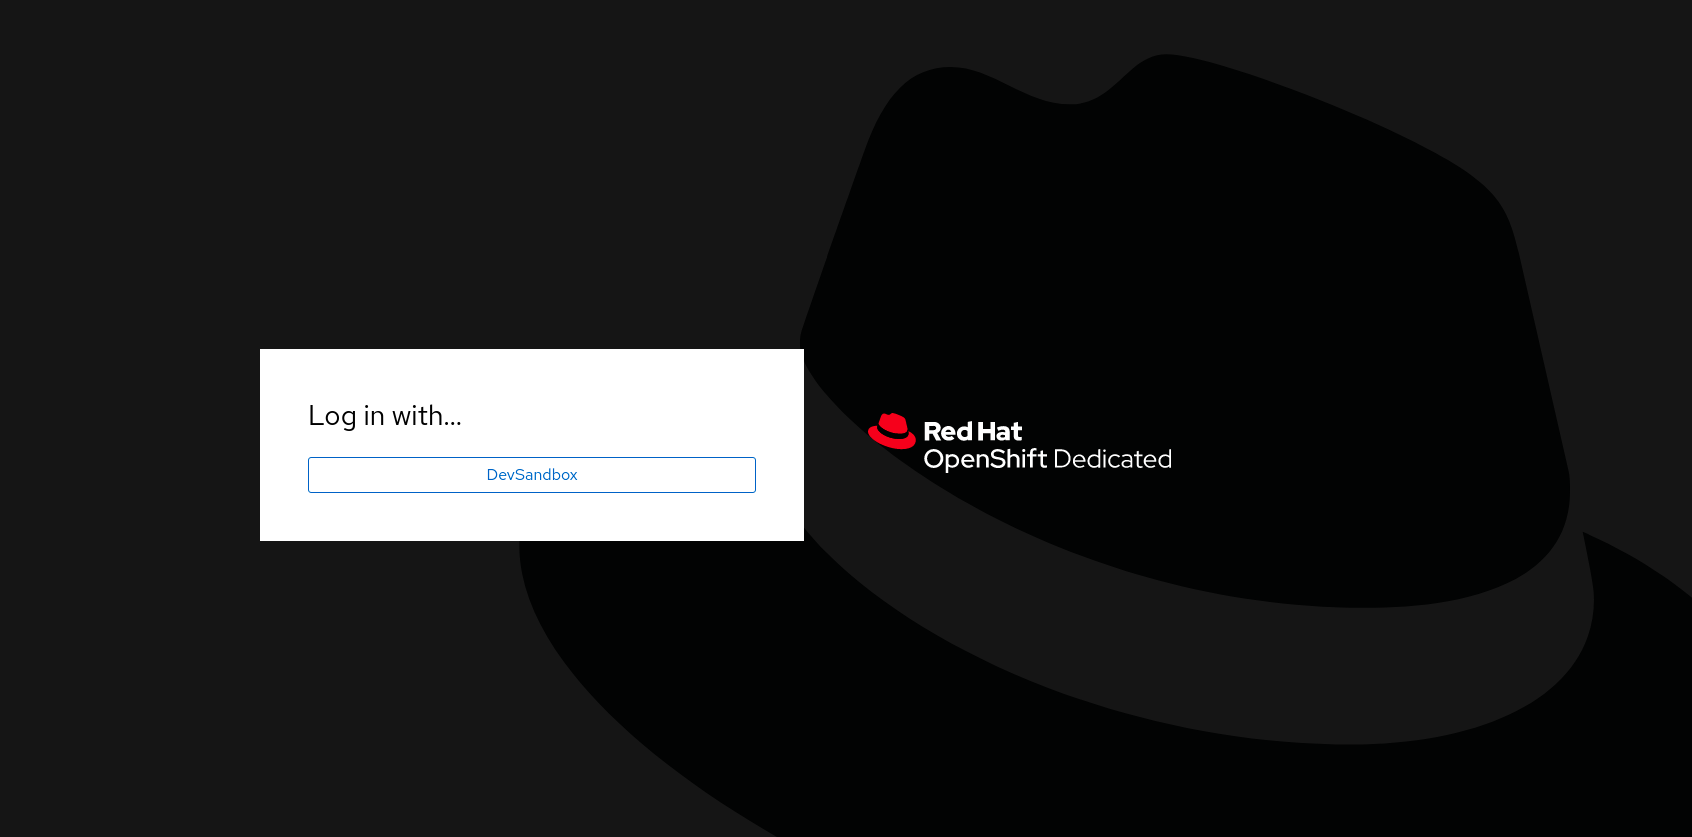
Clicking this button opens up your new OpenShift cluster console.

Also, you need to download oc CLI which is a kubectl wrapper for OpenShift.
Click on the question mark ? button, select Command Line Tools:
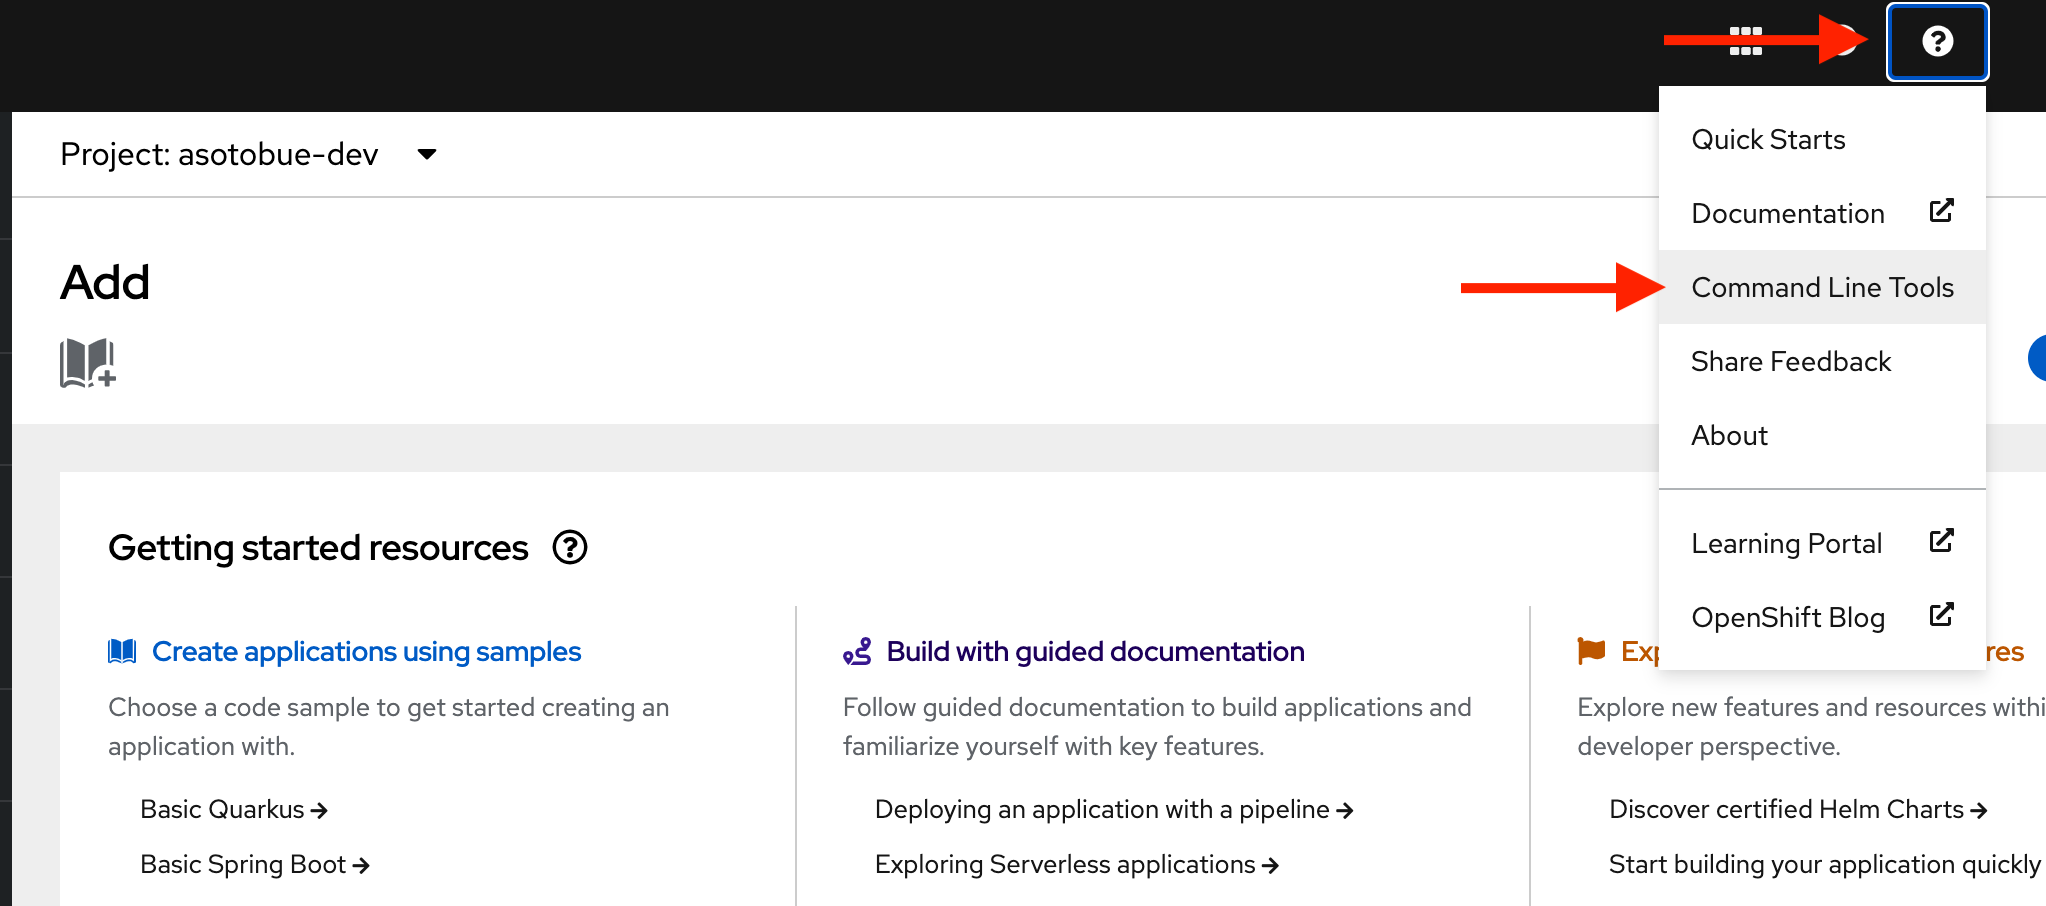
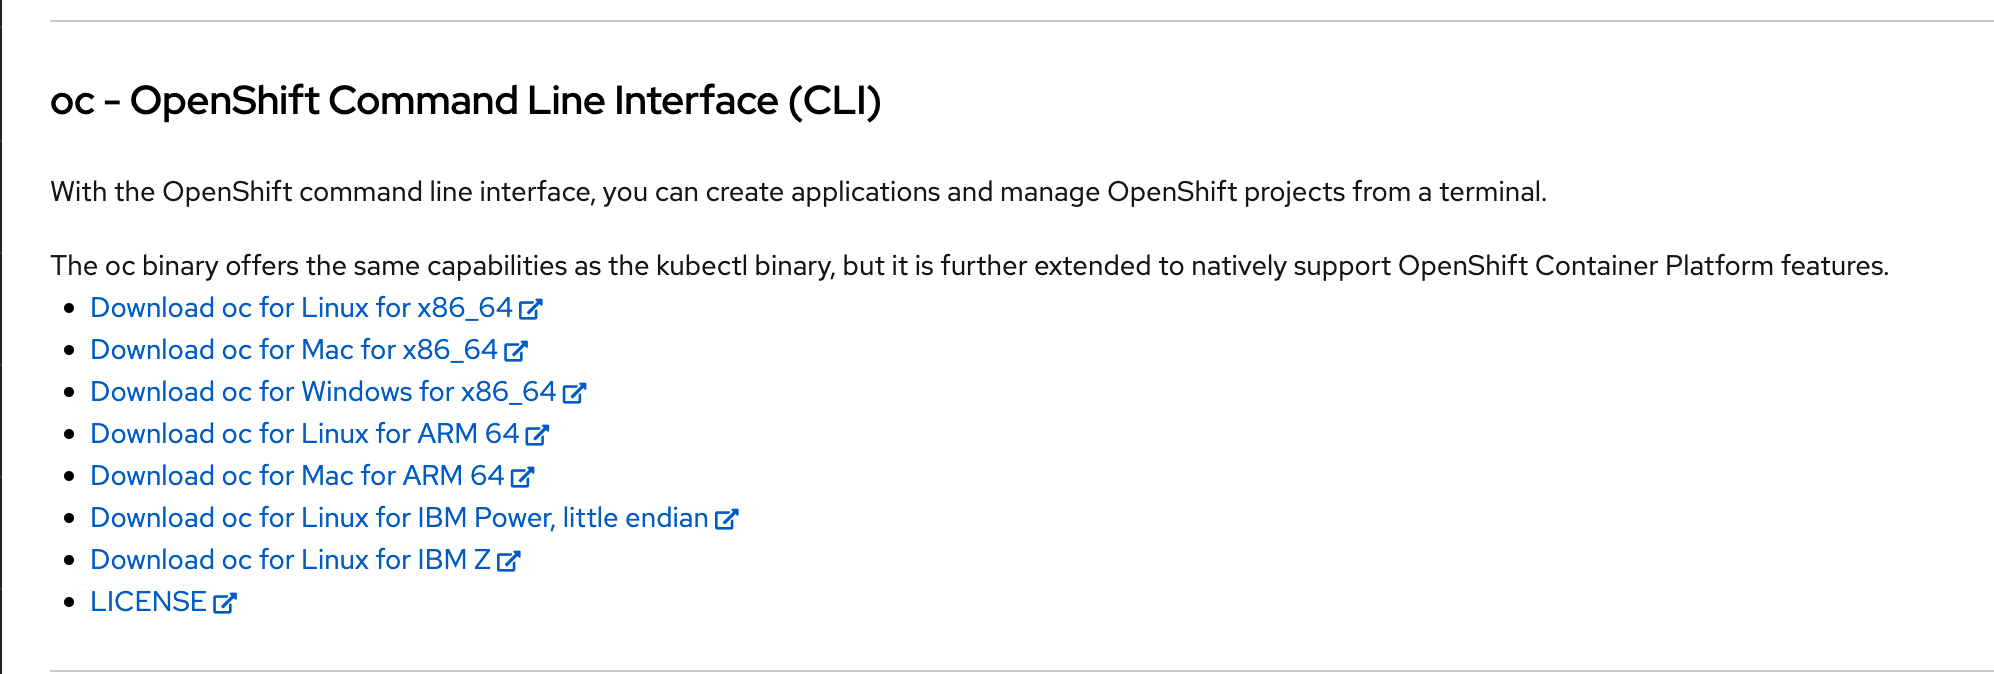
And finally download the oc CLI for your platform:
With oc downloaded and installed, it’s time to login to the cluster, click on your username select Copy Login command, and paste it to a terminal window:
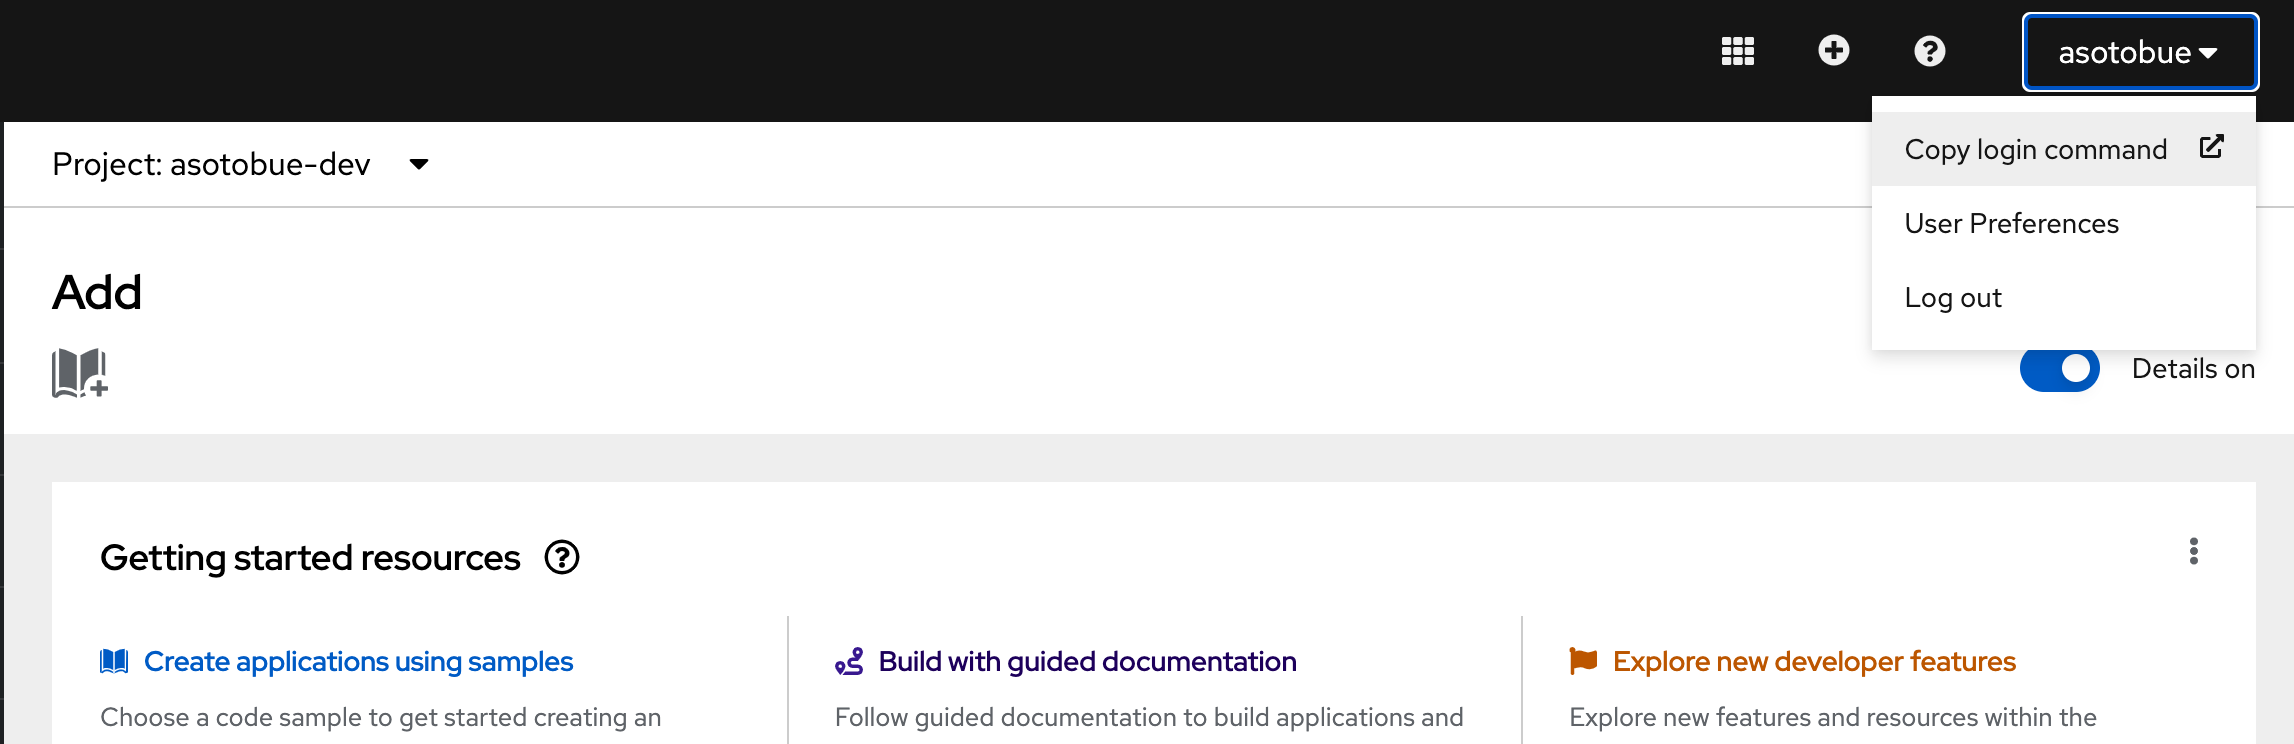
After that, you can start using the cluster either with oc or kubectl CLI.
After you log in to the cluster, run the following command to learn the Kubernetes context.
kubectl config current-context

asotobue-dev/api-sandbox-m4-g2pi-p1-openshiftapps-com:6443/asotobue
This context name is important when you need to switch between clusters.
In the rest of the deep dive, this cluster will be known as cluster 1 or c1.
KinD
To run KinD, you need a container engine such as Docker or Podman running on your local machine.
In this tutorial, we advocate for Podman as a container engine, as it offers a smooth integration with KinD.
Installing Podman
Podman Desktop is a powerful tool for managing containers and images on your desktop environment. It includes benefits such as running Kubernetes pods, deployment to your Kubernetes and OpenShift clusters, and Docker Desktop extension support.
Let’s take a look at some of the features of Podman Desktop and go through some of the basic steps we’ve done in this tutorial, on Podman Desktop.
Podman Desktop is available for Linux, macOS, and Windows. You can download the latest version from podman-desktop.io.
The installation process is straightforward and only takes a few minutes to complete.
For MacOS users, you can easily install Podman Desktop using Homebrew. The command is brew install podman-desktop.
|
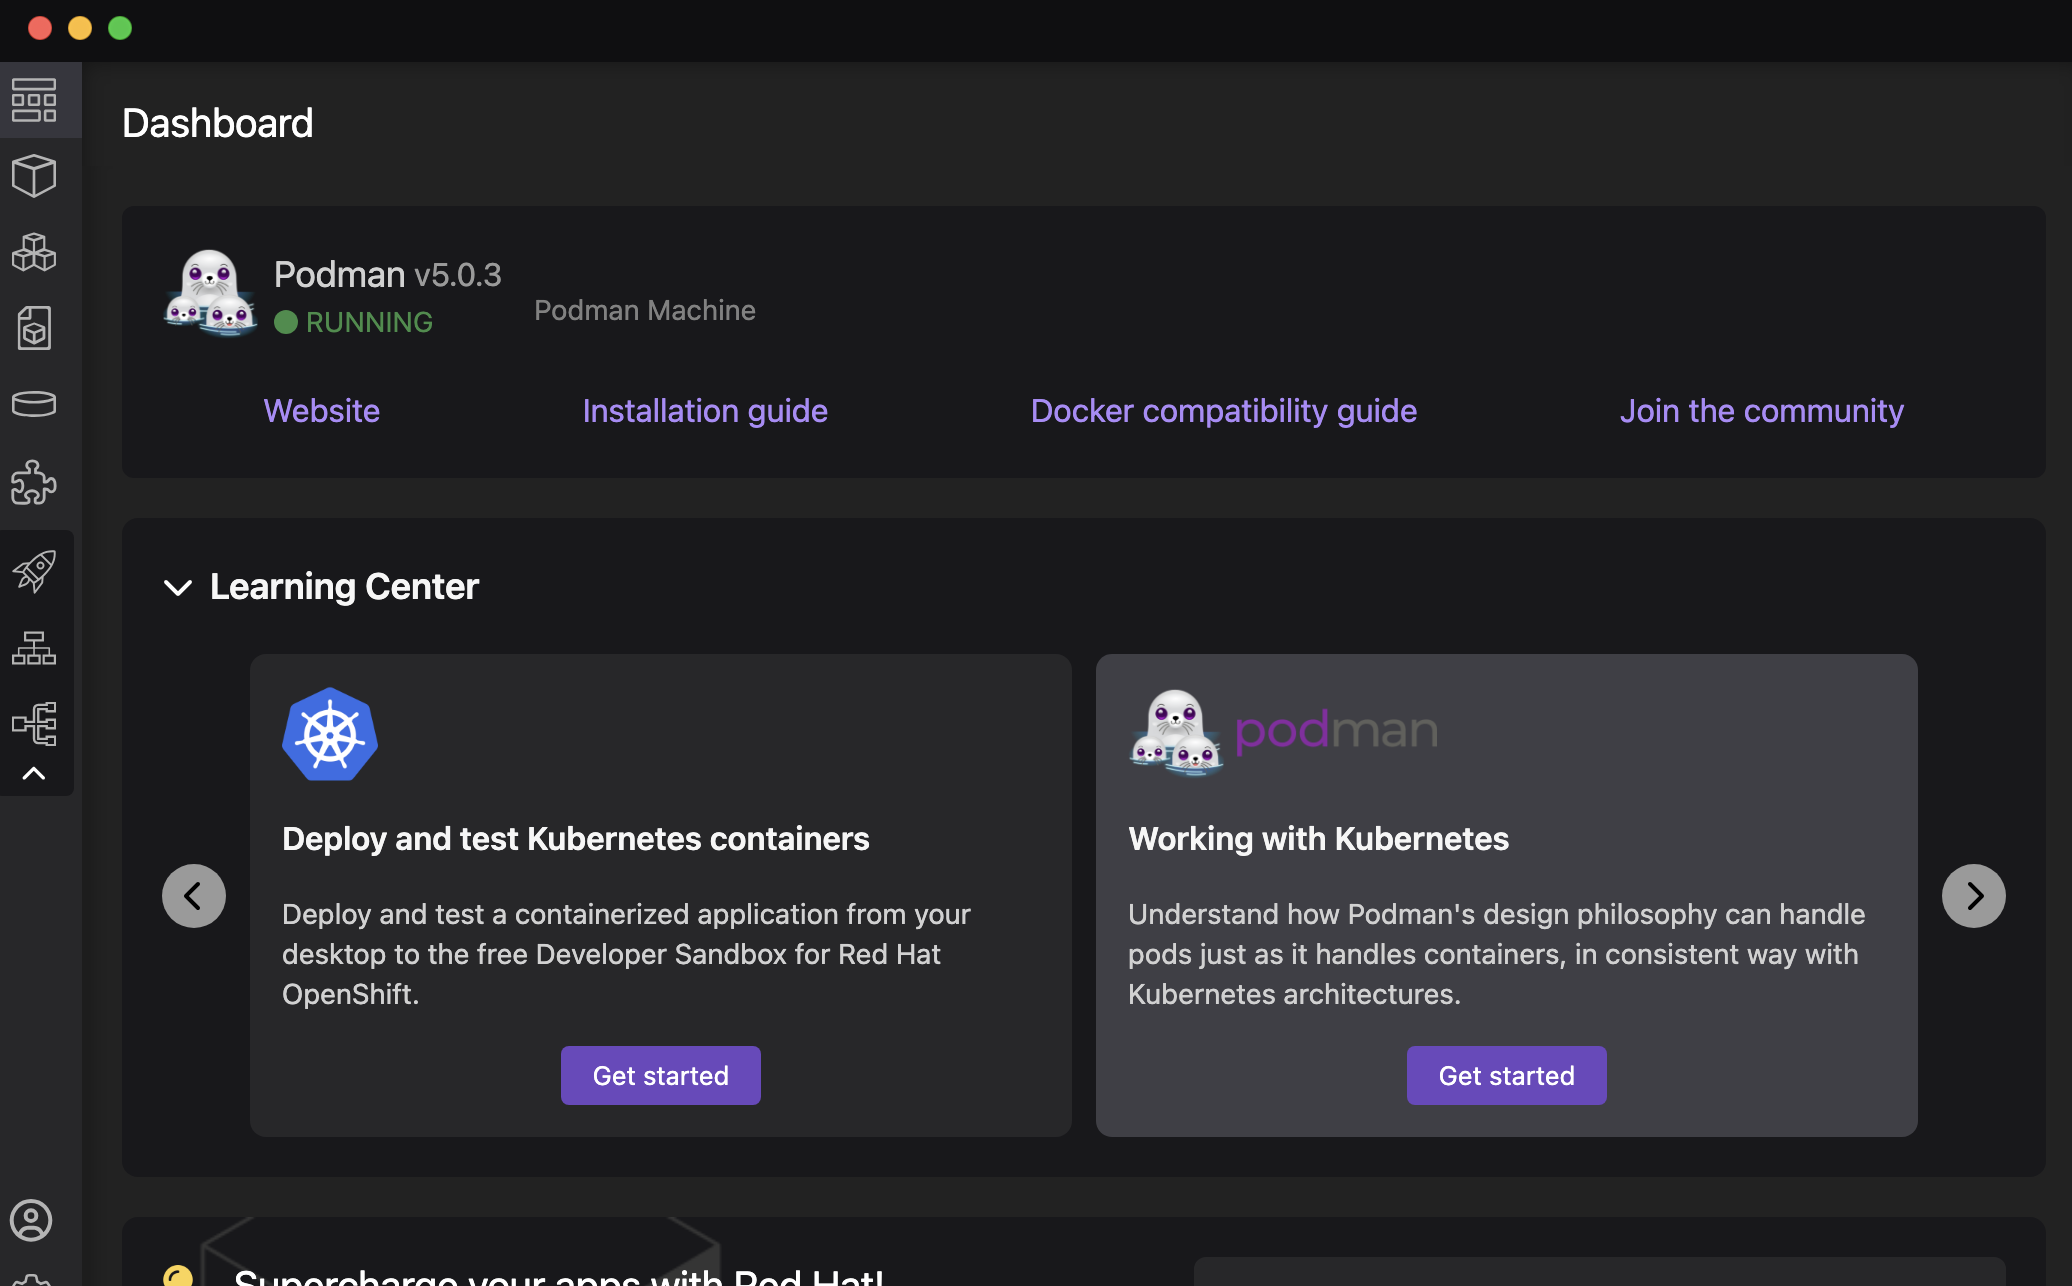
Once installed, your Podman Desktop dashboard will show the current version of Podman, featured extensions, and a left-hand navigation menu for:
-
Containers: Create, manage, and delete containers.
-
Pods: Create and manage pods, as well as play Kubernetes YAML using Podman or a Kubernetes cluster.
-
Images: Pull, build (via Dockerfile), and manage images.
-
Volumes: Manage persistent storage for containers.
Installing KinD
KinD is a tool for running local Kubernetes clusters using container “nodes”. kind was primarily designed for testing Kubernetes itself, but may be used for local development or CI.
It’s really easy to start using KinD with Podman Desktop.
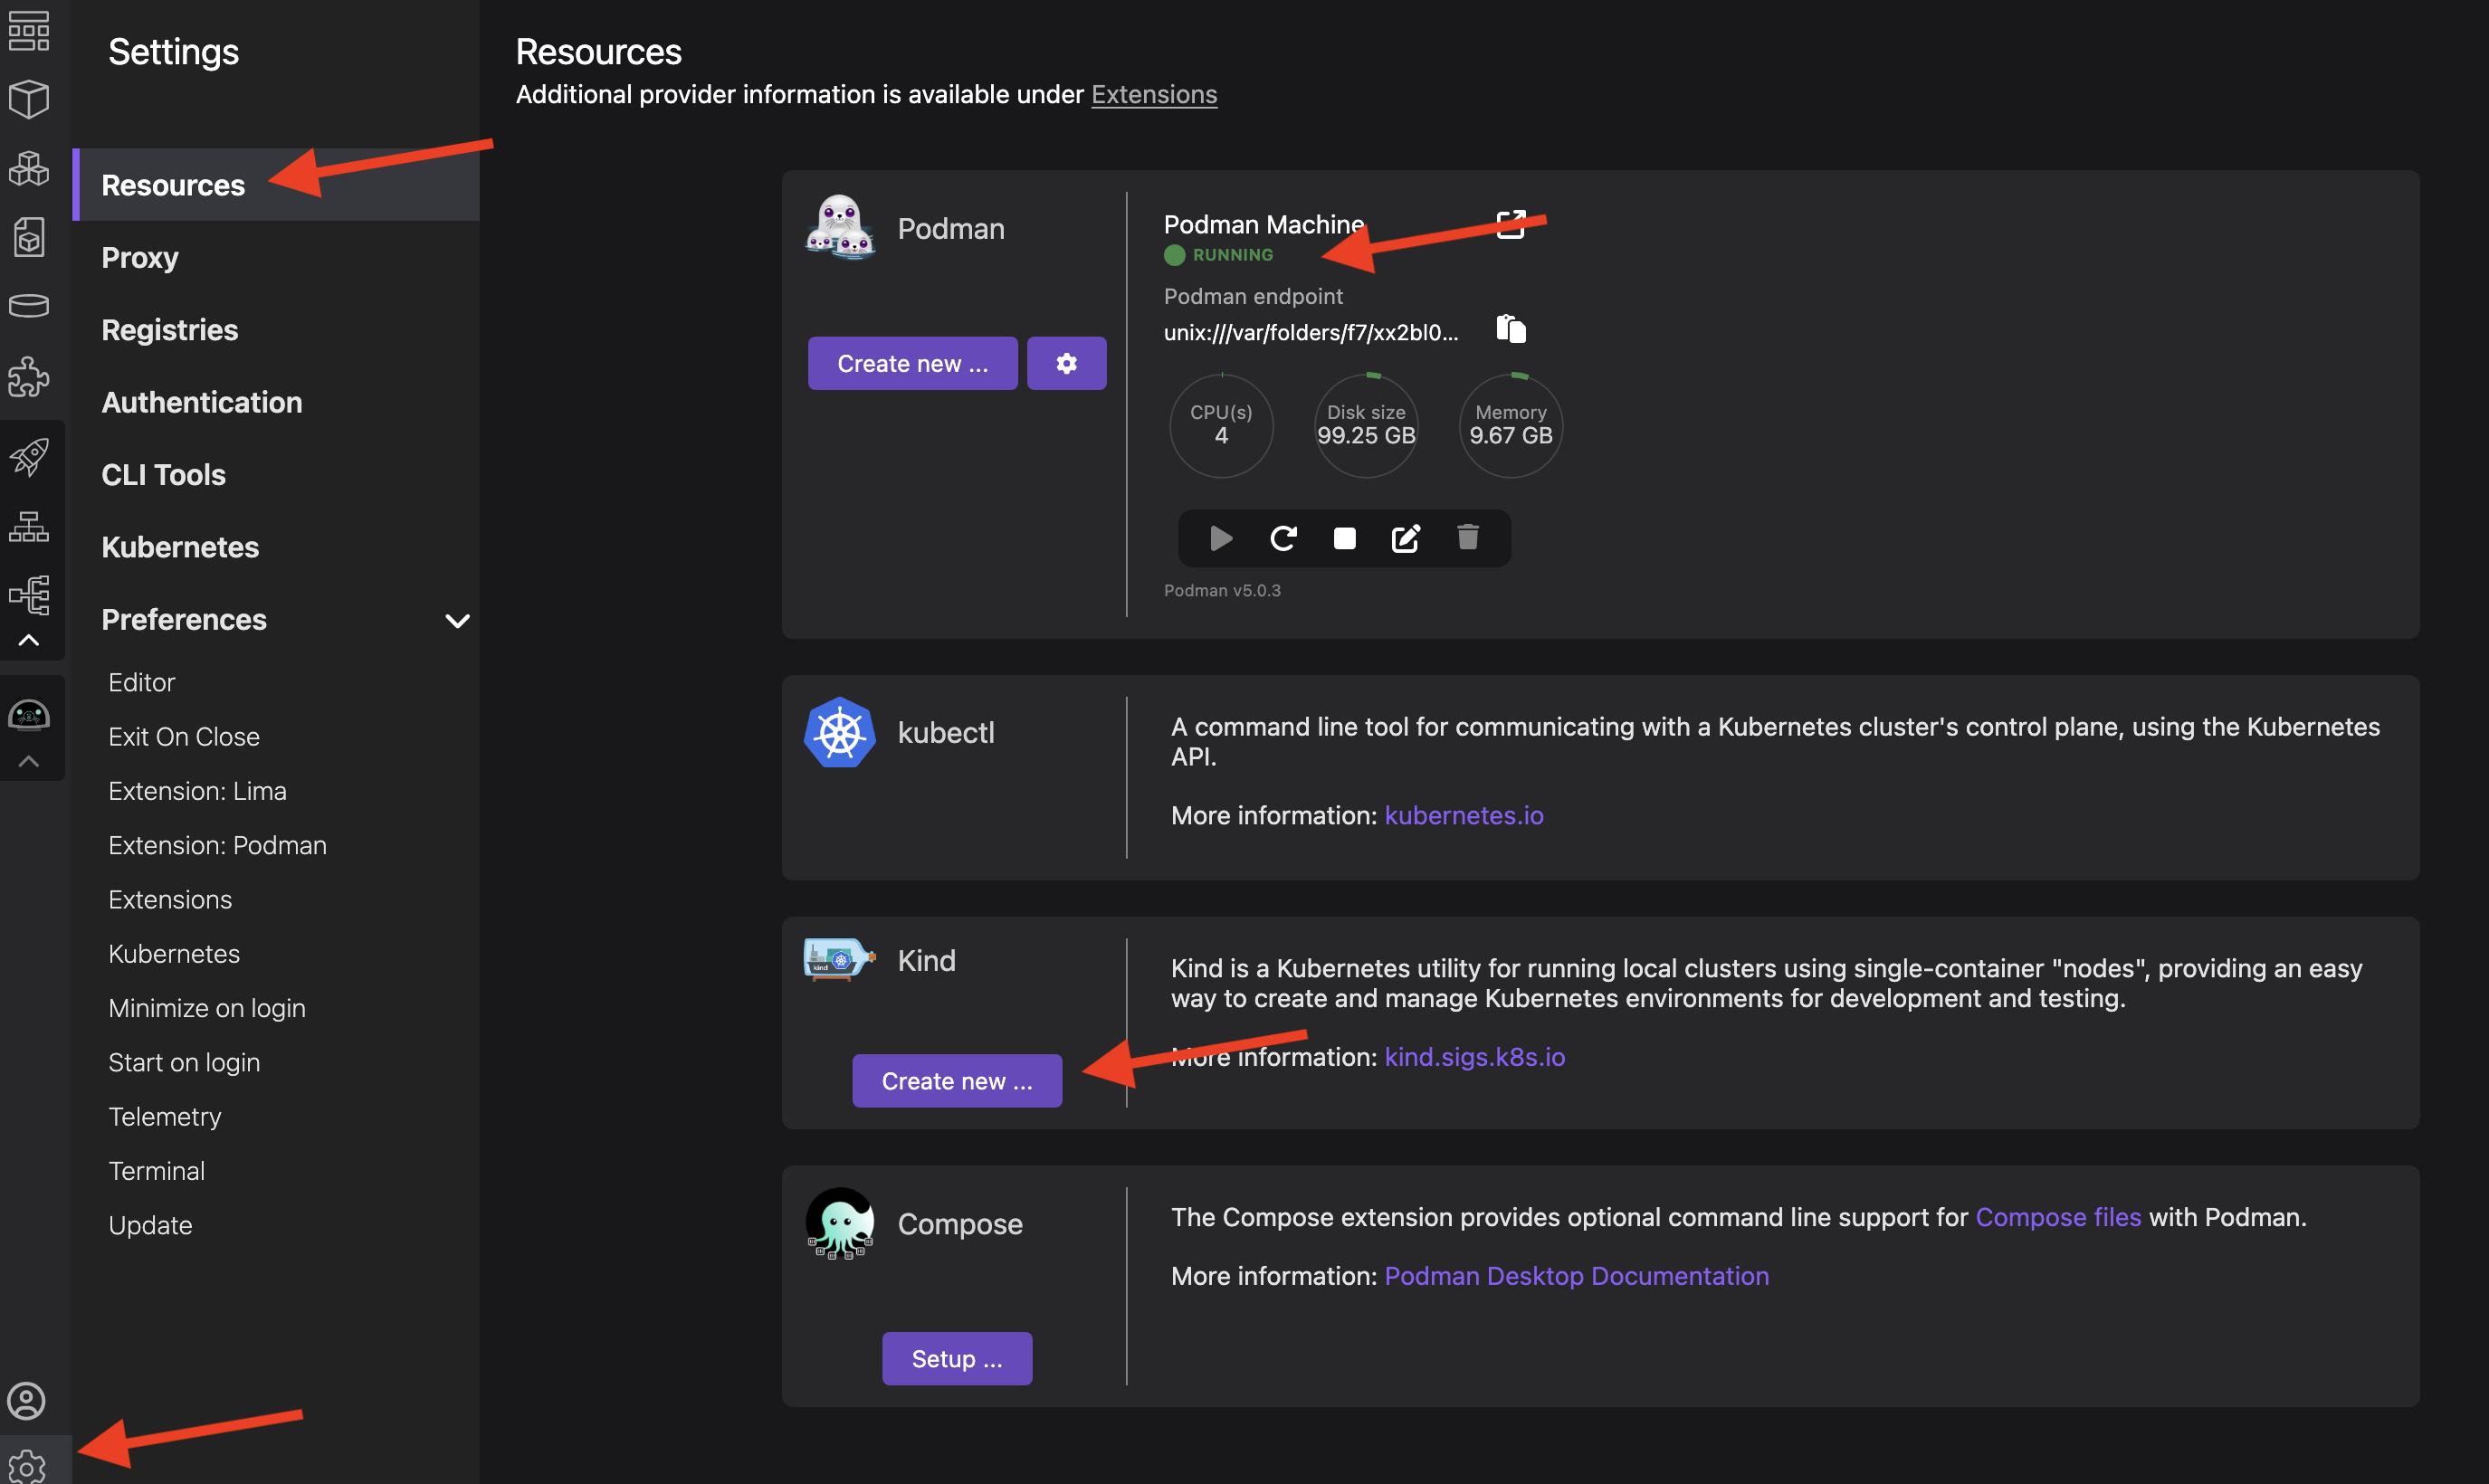
Open Podman Desktop and click on bottom gear icon to open the Settings options.
Then select Resources option, and click on Create New button of Kind section.
In case you’ve not created yet, you need to create a Podman machine, clicking Create New button in Podman section.
|
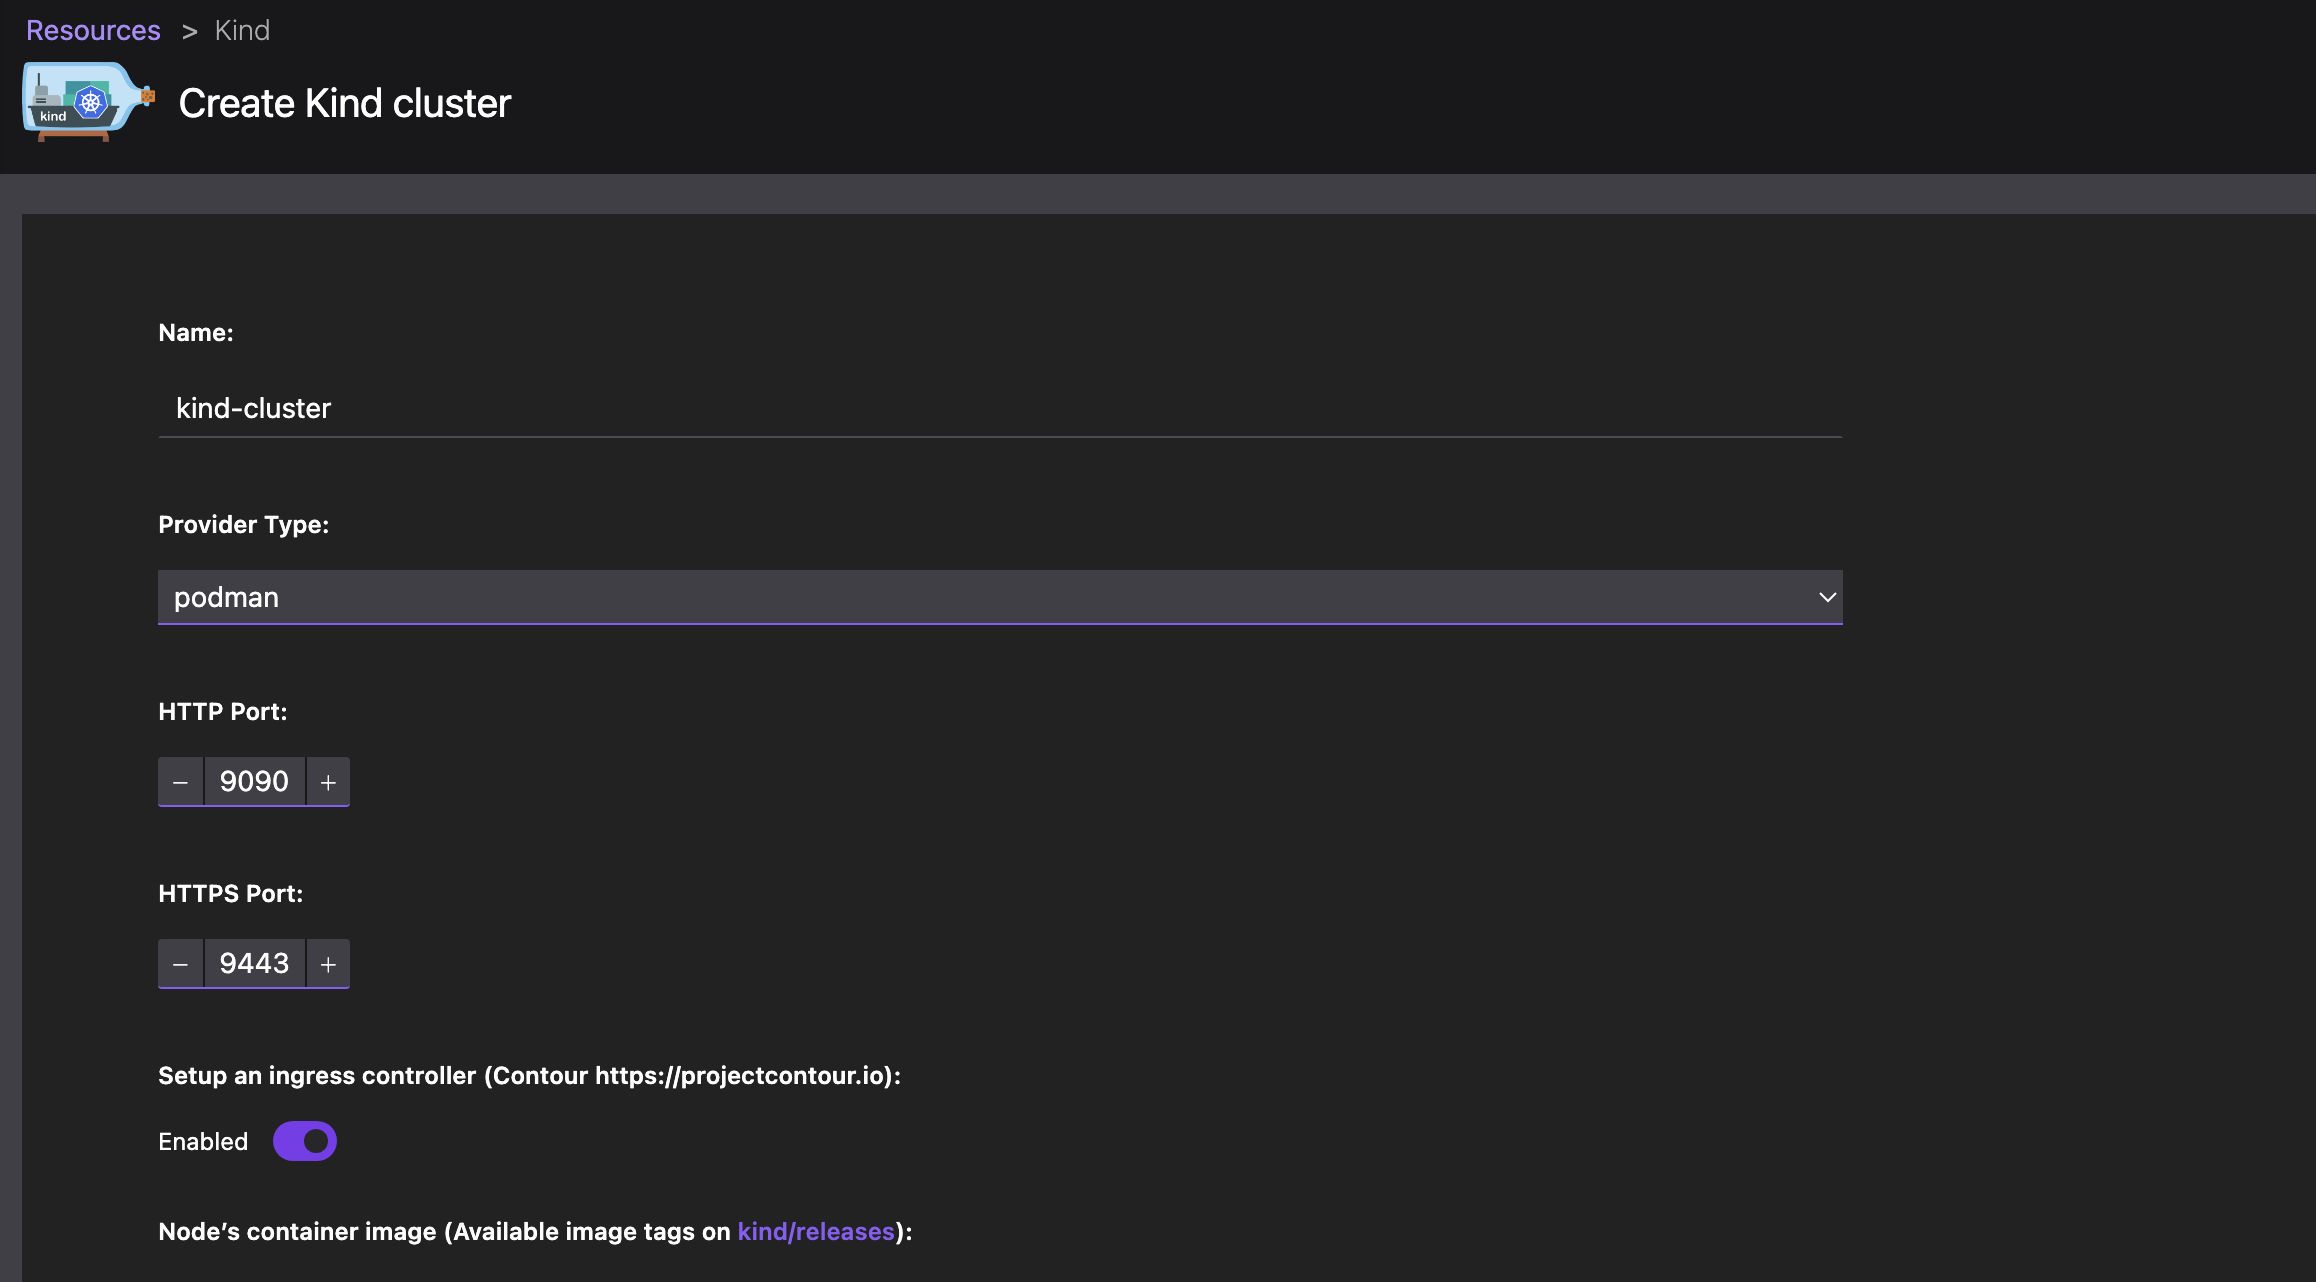
Leave the default configuration values and create the cluster:
Aftera few moments, you’ll have the cluster up and running. You can inspect running containers in Podman Desktop, to validate that KinD Pod is running:

If you named it as in the screenshot, the Kubernetes context for this cluster is kind-kind-cluster.
If you run the kubectx, you’ll get a list of all current Kubernetes clusters.
|
This cluster will be known in the rest of the deep dive as the cluster 2 or c2.
Configuring LoadBalancer
By default, Skupper exposes itself as a Kubernetes LoadBalancer Service. KinD doesn’t provide LoadBalancer implementation, so we need to enable it. To do that, we can install the MetalLB project.
First, move to the KinD context, and apply the manifest to install the MetalLB project.
kubectx kind-kind-cluster

kubectl apply -f https://raw.githubusercontent.com/metallb/metallb/v0.13.7/config/manifests/metallb-native.yaml
Set up the address pool used by load balancers. First, you need to know the IP range used by KinD inside Podman, run the following command in a terminal window and get the subnet field in IPv4:
podman network inspect kind[
{
"name": "kind",
"id": "c1e885627ce7f1fc8126f58f9434a16db5c301401379d9f9041e17659ceb5002",
"driver": "bridge",
"network_interface": "podman1",
"created": "2024-06-10T20:40:03.664158043+02:00",
"subnets": [
{
"subnet": "fc00:f853:ccd:e793::/64",
"gateway": "fc00:f853:ccd:e793::1"
},
{
"subnet": "10.89.0.0/24",
"gateway": "10.89.0.1"
}
],In this case, the IP range should be valid for the 10.89.0.0/24 subnet.
For example, from 10.89.0.10 to 10.89.0.100.
The last thing is to create the IPAddressPool object, which contains the IP range a Kubernetes with a Load Balancer type can be assigned.
apiVersion: metallb.io/v1beta1
kind: IPAddressPool
metadata:
  name: example
  namespace: metallb-system
spec:
  addresses:
  - 10.89.0.10-10.89.0.100 (1)
---
apiVersion: metallb.io/v1beta1
kind: L2Advertisement
metadata:
  name: empty
namespace: metallb-system| 1 | Substitute with your IP range |
Finally, apply the manifest:
kubectl apply -f ip-pool.yaml
If you are using minikube, you don’t need to install MetalLB. You can run minikube tunnel in a terminal window, automatically assigning the IP to Kubernetes Services of type LoadBalancer.
|
| If you use a Cloud Kubernetes installation like Red Hat Sandbox, you don’t need to configure anything as they already have this feature provided by default. |