Image Management
An image can be used to create and run containers. It is like a template, containing instructions on how to build the container. Images are the starting point for any container related activity, and can be thought of as a snapshot in a virtual machine (VM) environment.
Building an image based on a Containerfile (aka Dockerfile)
With the Containerfile that we created in the last step, let’s build a container image:
docker build -t my-image .You’ll see an output like this:
STEP 1/11: FROM registry.access.redhat.com/ubi9/openjdk-21-runtime:1.18-4
STEP 2/11: ENV LANGUAGE='en_US:en'
--> Using cache 7819ee5ffcddd7271987e306c787854c874bc81798370435d6efa7a89cc4990e
--> 7819ee5ffcdd
STEP 3/11: COPY --chown=185 target/quarkus-app/lib/ /deployments/lib/
--> 9b51381ccca6
STEP 4/11: COPY --chown=185 target/quarkus-app/*.jar /deployments/
--> 4d299e6fd3b4
STEP 5/11: COPY --chown=185 target/quarkus-app/app/ /deployments/app/
--> 6fce0c1e1dbc
STEP 6/11: COPY --chown=185 target/quarkus-app/quarkus/ /deployments/quarkus/
--> 7177bec47b2f
STEP 7/11: EXPOSE 8080
--> 9bd1b9ec7771
STEP 8/11: USER 185
--> 61bc6e589684
STEP 9/11: ENV JAVA_OPTS="-Djava.util.logging.manager=org.jboss.logmanager.LogManager"
--> 08f8fe193e07
STEP 10/11: ENV JAVA_APP_JAR="/deployments/quarkus-run.jar"
--> 2f8f931e08b1
STEP 11/11: CMD ["java", "-jar", "/deployments/app.jar"]
COMMIT my-image
--> a8172ead99ee
Successfully tagged localhost/my-image:latest
a8172ead99eece385fa756e85948656896645f7f1848c68dfe498da9d93be073
Listing the available images
To see your just created image, just run:
docker image listYou’ll see at least these two outputs:
REPOSITORY                                   TAG                 IMAGE ID            CREATED             SIZE
my-image                                     latest              87776d35fc85        4 minutes ago       392MB
registry.access.redhat.com/ubi9/openjdk-21-runtime 1.18-4        80786be7434f        3 weeks ago         375 MB
Your image is the my-image and the registry.access.redhat.com/ubi9/openjdk-21 is the image used to build yours.
Exploring the Desktop interface
Let’s take a look at image management in the Desktop interfaces.
- Podman Desktop
-
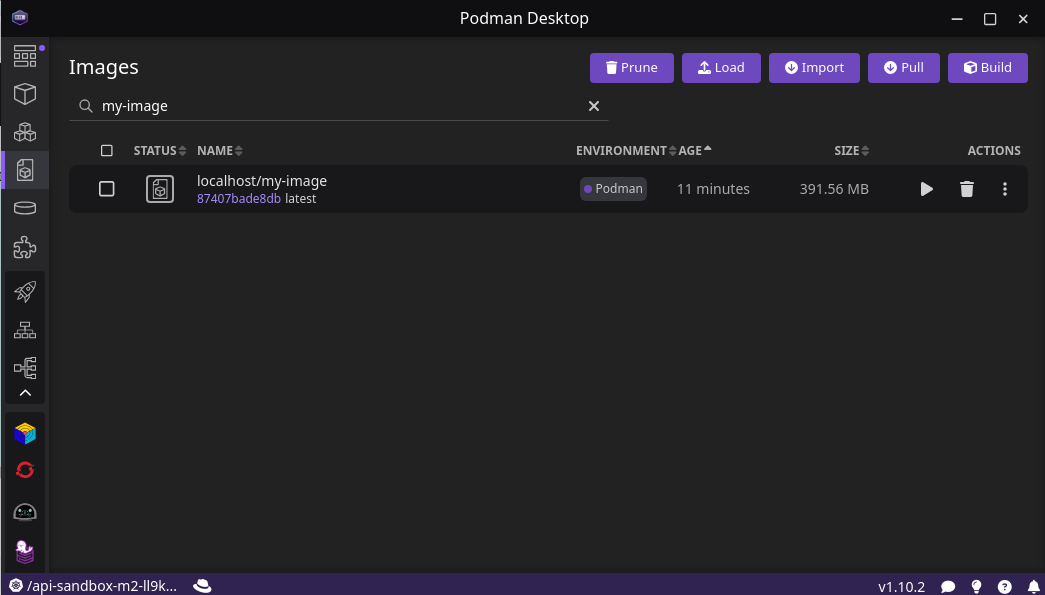
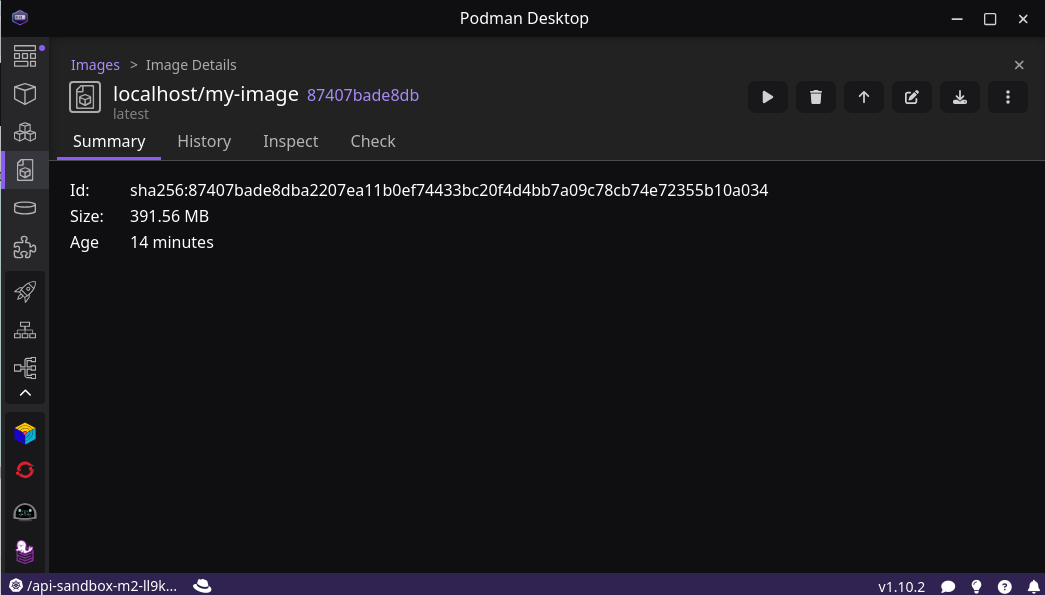
With Podman Desktop, we can see our newly created image in the Images tab. We can find information about the newly created image, including the the image ID, tag, creation date, and size of the image. Let’s select the image name to see more information about the image.
We can see information about the image layers, and low-level information about the image in JSON format.
For now though, let’s stick to the terminal and get a little more comfortable with the command line instructions.
Managing images
The Podman or Docker CLI offer many ways to manage container images. You can find out more by issuing the following help command:
docker image -hManage images
Description:
Manage images
Usage:
podman image [command]
Available Commands:
build Build an image using instructions from Containerfiles
diff Inspect changes to the image's file systems
exists Check if an image exists in local storage
history Show history of a specified image
import Import a tarball to create a filesystem image
inspect Display the configuration of an image
list List images in local storage
load Load image(s) from a tar archive
mount Mount an image's root filesystem
prune Remove unused images
pull Pull an image from a registry
push Push an image to a specified destination
rm Remove one or more images from local storage
save Save image(s) to an archive
scp Securely copy images
search Search registry for image
sign Sign an image
tag Add an additional name to a local image
tree Print layer hierarchy of an image in a tree format
trust Manage container image trust policy
unmount Unmount an image's root filesystem
untag Remove a name from a local imageLet’s try to remove your just created image:
docker image rm my-imageGreat! You’re well on your way to becoming a Container Image expert :)