3.2 Restart a Notebook Server
Introduction
Now that we have a working Kafka Instance we can connect to, we can try out sending and receiving messages from a Jupyter notebook. We’ll start a notebook and connect to your new Kafka instance. Then, we’ll show a different kind of application using the exact same prediction code to consume and produce streaming data.
For now, return to Red Hat OpenShift Data Science and navigate to JupyterHub.
Stopping a Notebook
If you’re notebook is currently running, you might want to restart with a new base image or different settings. In this case, we need to restart our notebook with our Kafka connection information from the Hub Control Panel (Start a notebook server page).
-
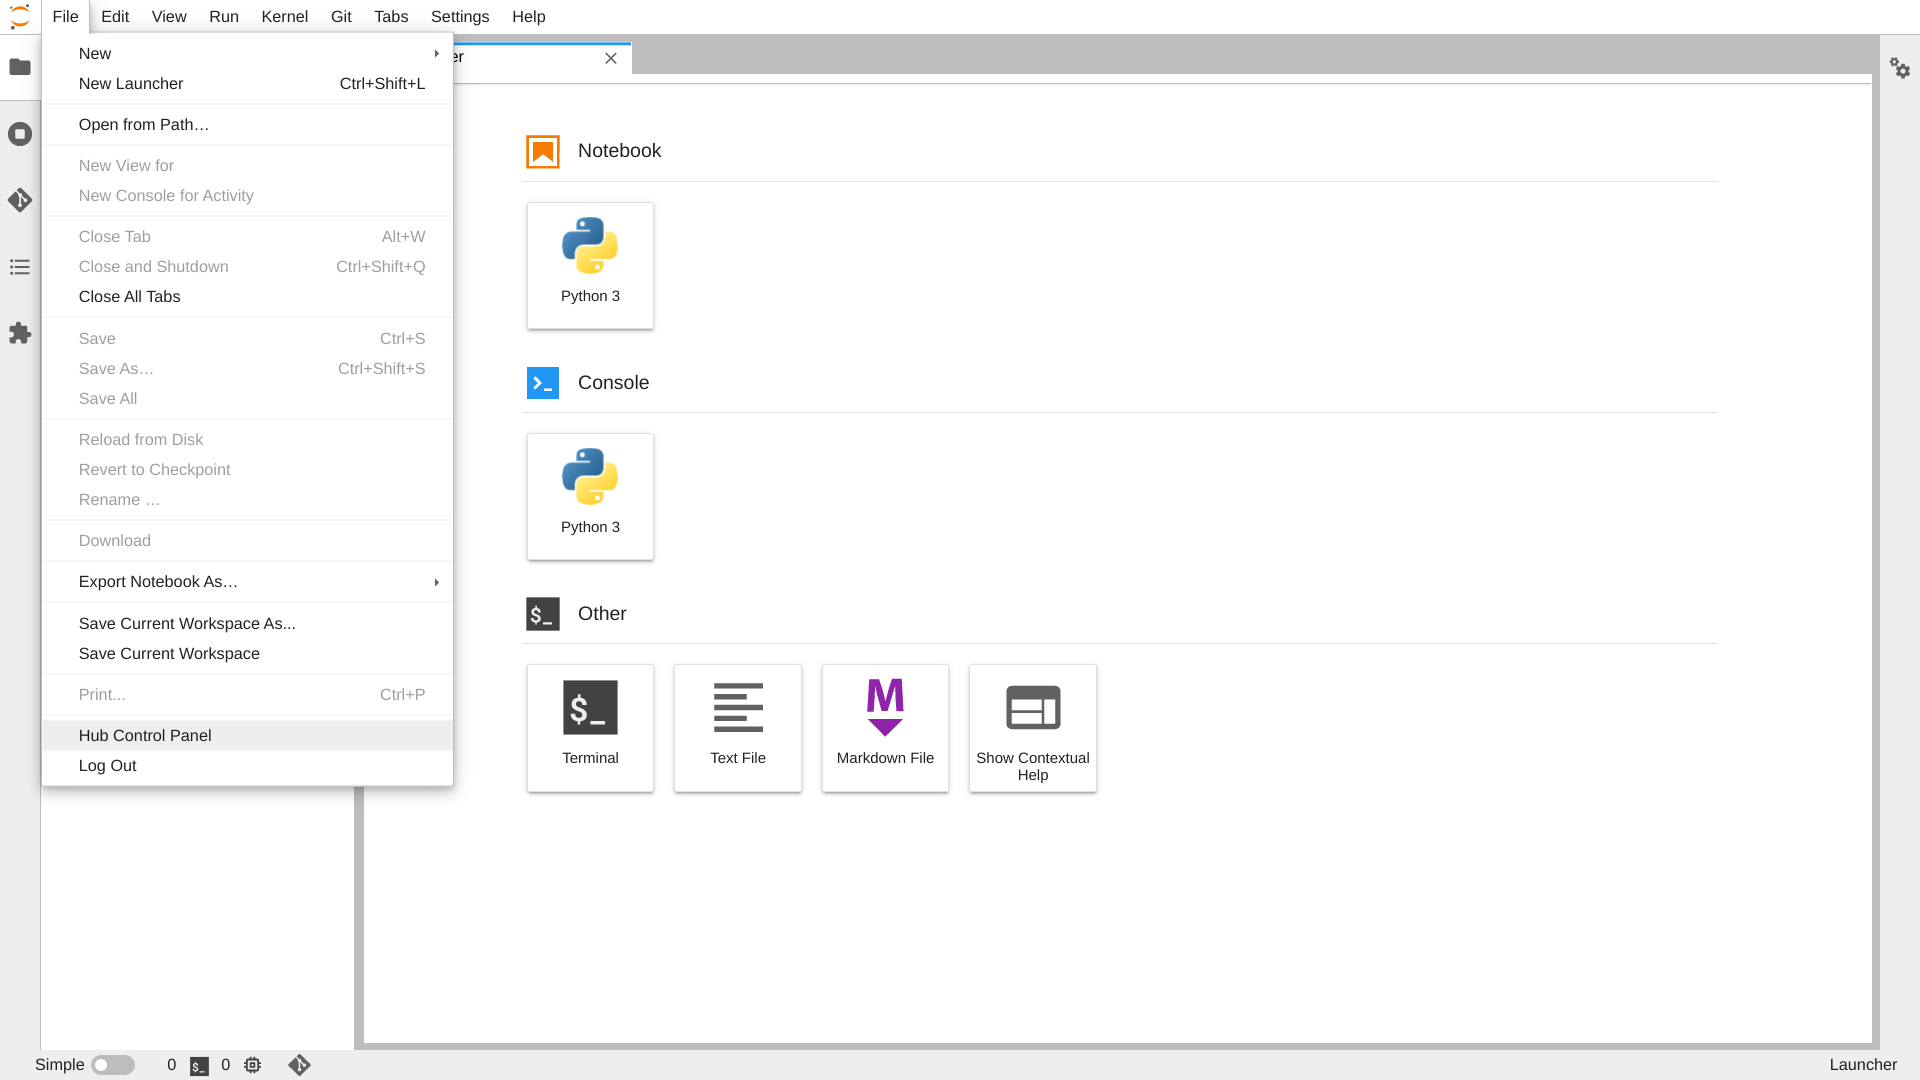
Navigate through the menu to File → Hub Control Panel
-
Click the Stop My Server Button

-
Wait for the Stop My Server button to disappear and then click the Start My Server Button

Starting a Notebook to Connect to Kafka
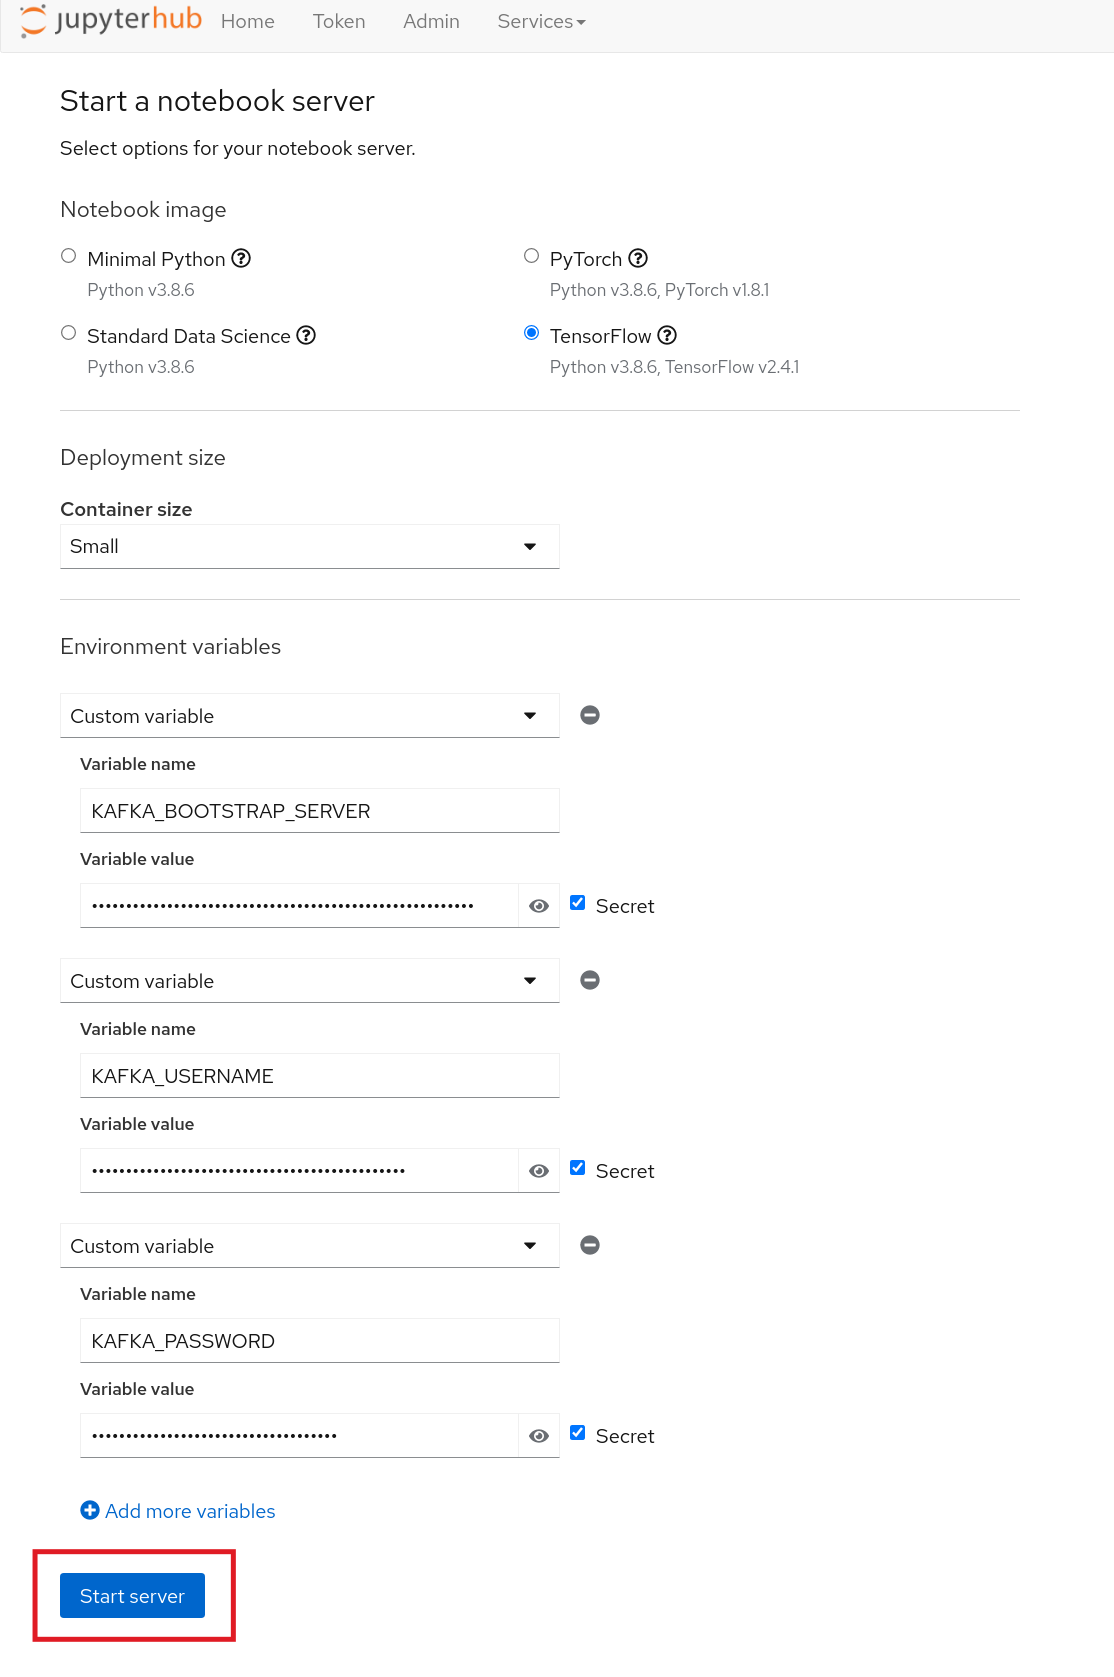
This should bring you back to the now familar "Start a notebook server" page. We’re going to start a notebook with the environment variables necessary to connect to Kafka. Then we can make sure everything is working before we deploy our AI Application.
On the "Start a notebook server" page, enter in the fields.
-
Set Notebook image to TensorFlow.
-
Set Container size to Small
-
Add Environment variables
To add environment variables click Add more variables for each variable and enter the variable info. Afterwards, to hide the value and save it in a Kubernetes secret, click the secret checkbox.
Now, add the following three variables with the information you recorded during your Kafka instance creation:-
Custom Variable-
Variable name:
KAFKA_BOOTSTRAP_SERVER -
Variable value: Location of the Kafka Bootstrap Server. (e.g. "abc.xyz.kafka.rhcloud.com:443"
-
-
Custom Variable)-
Variable name:
KAFKA_USERNAME -
Variable value: Client ID of the Service Account you created (e.g. "srvc-acct-1234-5678-abcd-efgj-12345678abcd")
-
-
Custom Variable-
Variable name:
KAFKA_PASSWORD -
Variable value: Client secret of the Service Account you created. (e.g. "abcd1234-5678-abcd-efgj-12345678abcd")
-
-
KAFKA_BOOTSTRAP_SERVERKAFKA_USERNAMEKAFKA_PASSWORD
-
Click Start server
This will start your notebook server. Now you’re ready to head to the next section.